Introduction
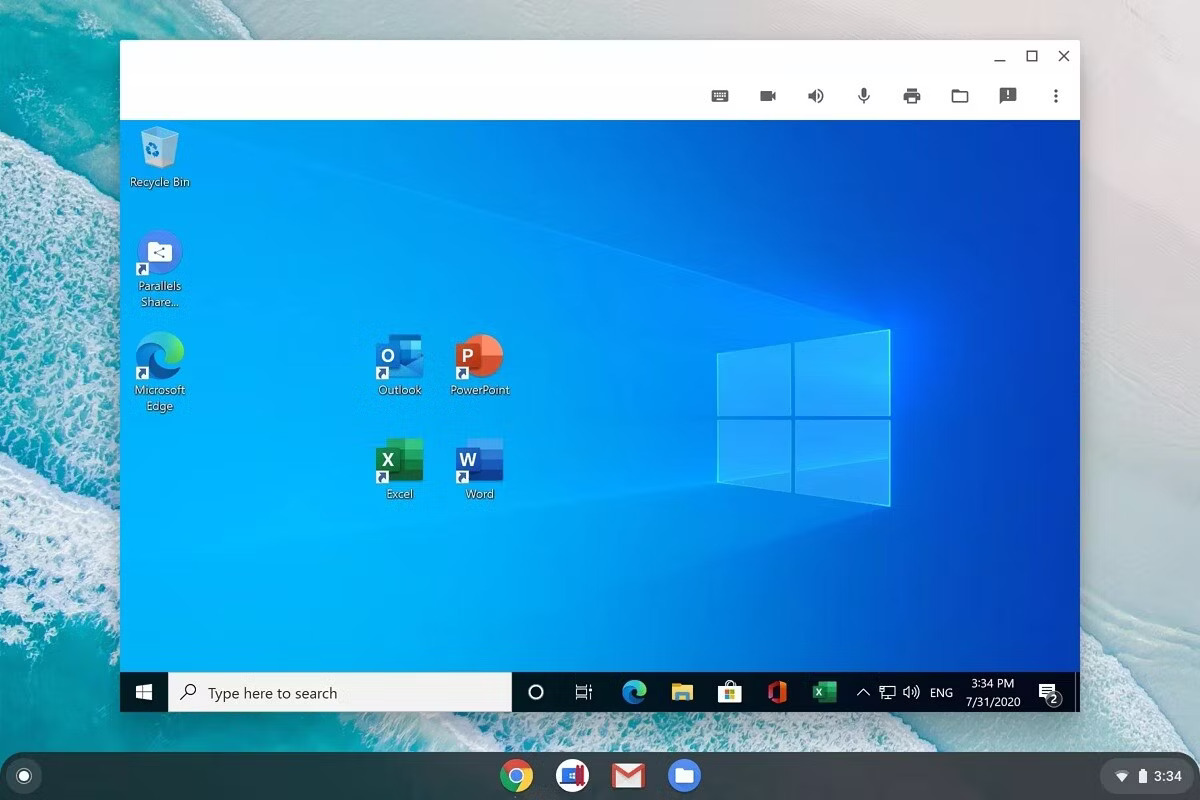
Welcome to the guide on how to install Wine on your Linux Chromebook. If you’re a Chromebook user and need to run Windows applications, Wine is a great solution. Wine is a compatibility layer that allows you to run Windows software on Linux systems, including Chrome OS. With Wine, you can enjoy the convenience and functionality of Windows applications right on your Chromebook.
By following this step-by-step guide, you’ll learn how to enable Linux (Beta) on your Chromebook, update Linux, install Wine from the command line, configure Wine, and install Windows applications. Whether you need to use productivity tools, play Windows games, or run other software that is exclusive to Windows, this guide will help you achieve it on your Chromebook.
It’s important to note that while Wine is a powerful tool, not all Windows applications are fully compatible. Some may have limited functionality or experience performance issues. However, many popular programs work well with Wine, making it a valuable asset for Chromebook users.
Before we get started, make sure you have administrative access to your Chromebook, as some steps may require elevated privileges. Additionally, it’s always a good idea to back up your important files and data before making any system changes.
Now, let’s dive into the process of installing Wine on your Linux Chromebook and open the doors to a world of Windows software!
Prerequisites
Before you begin the installation process for Wine on your Linux Chromebook, there are a few prerequisites you need to ensure are met:
- A Chromebook with Linux (Beta) enabled: To install Wine, you’ll need a Chromebook that supports Linux applications. Make sure you’ve enabled Linux (Beta) in your Chrome OS settings.
- Updated Chrome OS: It’s important to have the latest version of Chrome OS to ensure compatibility and stability with Wine and Linux applications. To update Chrome OS, click on the system tray in the bottom-right corner of the screen, select the gear icon for settings, and click on “About Chrome OS” to check for updates.
- Internet connectivity: You’ll need a stable internet connection to download and install Wine and any Windows applications.
- Administrative access: Some steps in the installation process may require administrative privileges. Make sure you have the necessary permissions or consult with your system administrator.
- Backup your data: Before making any system changes, it’s a good practice to back up your important files and data. This will ensure that you can restore them if anything goes wrong during the installation process.
Once you have met these prerequisites, you’re ready to enable Linux (Beta) on your Chromebook and proceed with the installation of Wine.
Step 1: Enable Linux (Beta) on Chromebook
To install Wine on your Linux Chromebook, you need to enable Linux (Beta) on your device. Here’s a step-by-step guide on how to do it:
- Click on the system tray in the bottom-right corner of the screen. You’ll find it as a small icon with the time and date.
- From the menu that appears, click on the gear icon to access the Chrome OS settings.
- In the settings menu, scroll down and locate the “Linux (Beta)” option. Click on it.
- A window will appear with an overview of Linux (Beta). Click on the “Turn On” button to enable Linux on your Chromebook.
- Chrome OS will now start downloading and installing the necessary components for Linux (Beta). This process may take a few minutes, so be patient.
- After the installation is complete, you’ll be prompted to set up a username and password for your Linux container. Enter the required information and click on the “Install” button.
- Once the setup process finishes, you’ll have Linux (Beta) enabled on your Chromebook.
Enabling Linux (Beta) on your Chromebook provides you with access to a terminal and a Linux environment where you can run various applications, including Wine to run Windows software.
With Linux (Beta) successfully enabled, you can now move on to the next step: updating Linux on your Chromebook.
Step 2: Update Linux
After enabling Linux (Beta) on your Chromebook, it’s important to keep your Linux environment up to date. This ensures that you have the latest security patches, bug fixes, and software updates. Here’s how you can update Linux on your Chromebook:
- Open the Linux Terminal on your Chromebook. You can do this by clicking on the app launcher, searching for “Terminal,” and launching it.
- In the terminal, type the following command and press Enter:
- You will be prompted to enter your Linux (Beta) password. Type it in and press Enter.
- The terminal will now check for updates and display a list of packages that can be upgraded. To proceed with the update, type ‘y’ and press Enter.
- Depending on the number and size of the updates, the process may take some time. Be patient and allow the terminal to complete the update.
- Once the update process is finished, you will be returned to the terminal prompt.
bash
sudo apt update && sudo apt upgrade
Updating Linux ensures that your system is equipped with the latest improvements and bug fixes. It also ensures compatibility with Wine and other Linux applications.
With Linux now updated on your Chromebook, you’re ready to move on to the next step: installing Wine from the command line.
Step 3: Install Wine from Command Line
Now that you have Linux and its packages updated on your Chromebook, you can proceed with the installation of Wine. Follow these steps to install Wine from the command line:
- Open the Linux Terminal on your Chromebook, if it’s not already open.
- In the terminal, type the following command and press Enter to add the Wine repository:
- Next, add the Wine repository to your system’s sources.list file:
- Once the repository is added, update the system’s package list by running the following command:
- Finally, install Wine by running the following command:
- You will be prompted to confirm the installation. Type ‘y’ and press Enter to proceed.
- The terminal will now download and install Wine on your Chromebook. The process may take some time, depending on your internet connection and system performance.
- Once the installation is completed, you can verify that Wine is installed by typing the following command:
- The terminal will display the Wine version if the installation was successful.
bash
wget -qO- https://dl.winehq.org/wine-builds/winehq.key | sudo apt-key add –
bash
sudo apt-add-repository ‘deb https://dl.winehq.org/wine-builds/ubuntu/ focal main’
Note: Replace ‘focal’ with the version of Ubuntu that matches your Chrome OS version (e.g., bionic or xenial).
bash
sudo apt update
bash
sudo apt install –install-recommends winehq-stable
bash
wine –version
Congratulations! You have successfully installed Wine on your Chromebook using the command line. Now, it’s time to proceed to the next step and configure Wine for optimal performance.
Step 4: Configure Wine
After installing Wine on your Linux Chromebook, it’s important to configure it for optimal performance. Wine provides a variety of configuration options that can be adjusted based on your specific needs. Follow these steps to configure Wine:
- Open the Linux Terminal on your Chromebook if it’s not already open.
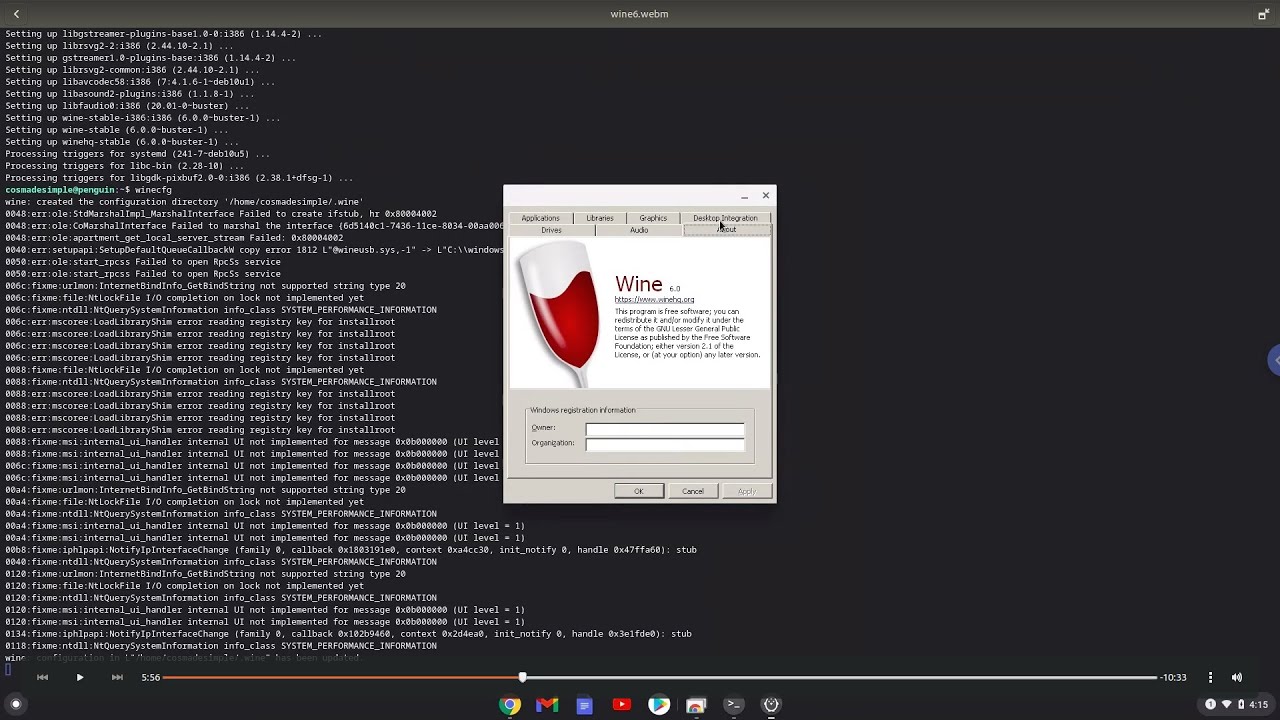
- Type the following command and press Enter to launch the Wine configuration:
- The Wine configuration window will appear, allowing you to customize various settings.
- By default, the “Applications” tab will be selected. Here, you can choose the default Windows version that Wine should emulate. Select the most appropriate Windows version for your applications from the drop-down menu.
- Next, navigate to the “Graphics” tab. Here, you can adjust settings related to graphics performance and compatibility. It’s recommended to enable the “Emulate a virtual desktop” option, which helps improve compatibility for applications that rely on specific screen resolutions.
- Continue exploring other tabs in the Wine configuration window to adjust settings such as audio, input devices, and libraries, based on your requirements and the specific Windows applications you intend to use.
- Once you have configured the desired settings, click on the “OK” button to save the changes and close the Wine configuration window.
bash
winecfg
Configuring Wine allows you to fine-tune its behavior and optimize it for running Windows applications on your Chromebook. Experiment with different settings based on your needs and the compatibility requirements of the applications you plan to use.
Now that you have successfully configured Wine, it’s time to move on to the last step: installing Windows applications.
Step 5: Install Windows Applications
With Wine installed and configured on your Linux Chromebook, you’re ready to install Windows applications. Here’s how you can do it:
- Download the setup file or the installation package of the Windows application you want to install. Make sure the file is compatible with the Windows version selected in the Wine configuration.
- Once downloaded, open the Linux Terminal on your Chromebook and navigate to the directory where the setup file is located.
- In the terminal, run the following command to start the installation process:
- Follow the installation wizard to proceed with the installation of the Windows application, just as you would on a Windows system.
- Once the installation is complete, you can launch the Windows application from the Linux Terminal using the `wine` command followed by the name of the executable file.
- If the installation process requires any additional libraries or dependencies, Wine will attempt to install them automatically. In some cases, you may need to manually install additional components using the `winetricks` tool.
bash
wine
Replace ` bash Replace `
wine
Remember that not all Windows applications are fully compatible with Wine. Some applications may have limited functionality or experience performance issues. It’s recommended to check the Wine Application Database (AppDB) to see if the specific application you want to install is reported to work well with Wine.
With the Windows application successfully installed, you can now enjoy running it on your Chromebook, thanks to Wine!
Congratulations! You have now completed all the steps to install Wine on your Linux Chromebook and run Windows applications. Explore the possibilities and take advantage of the convenience and functionality that Wine brings to your Chromebook.
Conclusion
Congratulations! You have successfully installed Wine on your Linux Chromebook and learned how to run Windows applications on your device. By following the steps outlined in this guide, you have gained the ability to leverage the power and versatility of Windows software on your Chromebook.
Enabling Linux (Beta) on your Chromebook, updating Linux, installing Wine from the command line, configuring Wine, and installing Windows applications are the key processes that allow you to seamlessly run Windows software on your Chromebook.
Remember that while Wine provides compatibility for many Windows applications, not all software may work perfectly. Some applications may have limited functionality or performance issues. It’s important to consult the Wine Application Database (AppDB) and community forums for guidance on compatibility and troubleshooting.
With Wine installed, you can experience the convenience and productivity of popular Windows applications right on your Chromebook. Whether you need to use productivity tools, play Windows games, or run specialized software, Wine opens up a new world of possibilities.
Embrace the flexibility and versatility that Wine brings to your Chromebook and explore the vast range of Windows applications available. From office productivity suites to creative software and entertainment applications, the possibilities are endless.
Remember to keep your Linux environment, Wine, and installed applications up to date to ensure optimal performance and compatibility. Regular updates will ensure that you have the latest bug fixes, security patches, and improvements.
Enjoy the best of both worlds with the combination of Chrome OS and Wine on your Linux Chromebook. Empower yourself with the ability to seamlessly integrate Windows applications into your workflow and unlock new levels of productivity and creativity.
Now that you have completed the installation and configuration of Wine, it’s time to start exploring and making the most of your Chromebook’s newfound capabilities. Embrace the power of compatibility and enjoy the benefits of a rich software ecosystem.