Introduction
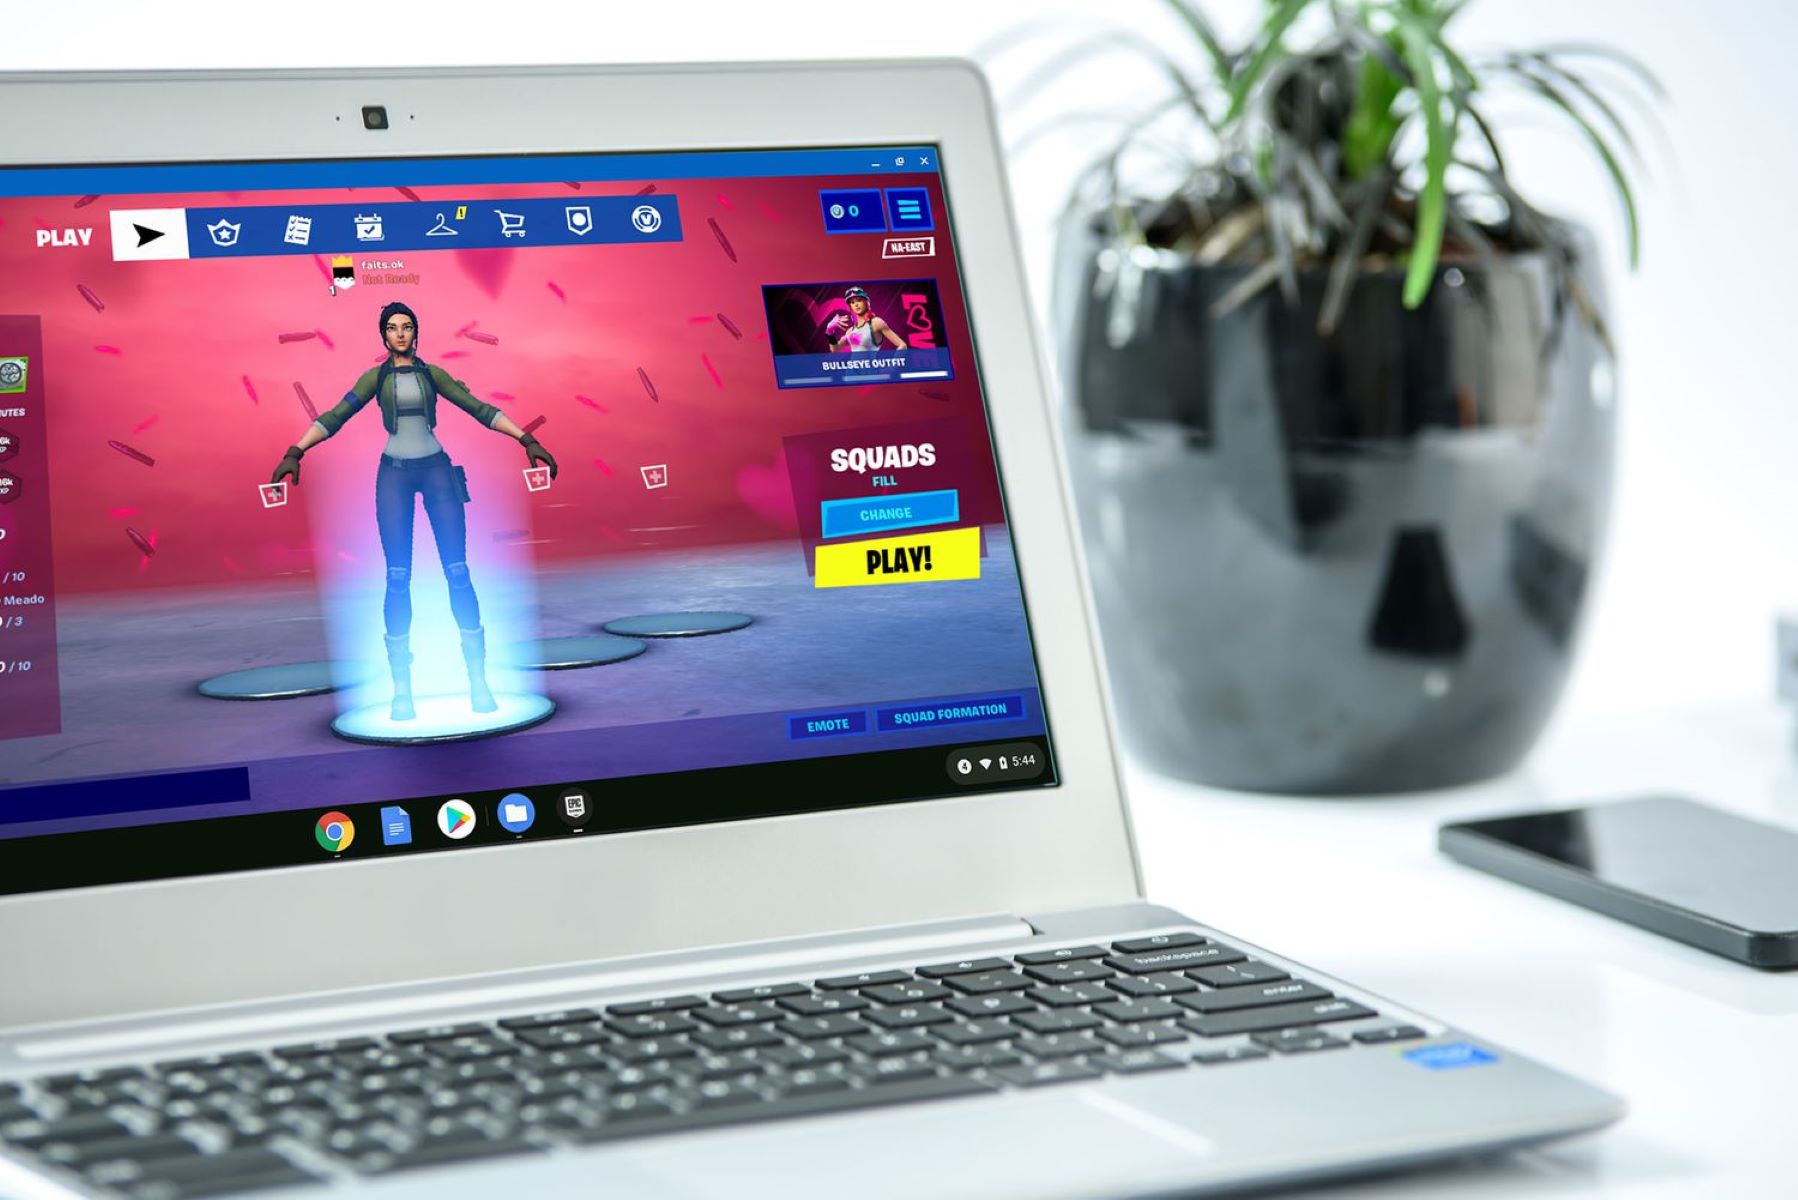
Chromebooks have gained popularity over the years for their simplicity and efficiency. However, there may be times when you need to use specific software or applications that are only available on Windows. In such cases, you may wonder if it is possible to install Windows on a Chromebook.
The good news is that it is indeed possible to install Windows on a Chromebook, thanks to the flexibility and versatility of these devices. With a few simple steps and some technical know-how, you can transform your Chromebook into a dual-boot machine that runs both Chrome OS and Windows.
Before you embark on this journey, it is important to note that installing Windows on a Chromebook will void the device’s warranty and may have some compatibility issues. Additionally, not all Chromebook models support this feature, so it is crucial to check if your device is compatible before proceeding.
In this guide, we will walk you through the process of installing Windows on a Chromebook, step by step. We will provide you with the necessary information and precautions to ensure a smooth installation process.
By the end of this guide, you will have a Chromebook that can run both Chrome OS and Windows, giving you access to a wider range of software and applications for increased productivity and versatility.
Checking System Requirements
Before attempting to install Windows on your Chromebook, it is crucial to ensure that your device meets the necessary system requirements. This will help avoid any potential compatibility issues and ensure a successful installation.
Here are the basic system requirements for installing Windows on a Chromebook:
- Processor: Your Chromebook should have an Intel or AMD processor capable of running Windows. Check the official Microsoft website for the specific processor requirements for the version of Windows you wish to install.
- Storage: Make sure that your Chromebook has sufficient storage space available for Windows. Most Chromebooks come with limited internal storage, so it is recommended to have an external storage device, such as a USB drive or external hard drive, to store the Windows installation files.
- RAM: Windows requires a minimum amount of RAM to function smoothly. Verify that your Chromebook has enough RAM to meet the requirements of the Windows version you intend to install.
- Internet Connection: A stable internet connection is necessary to download the Windows installation files and any necessary updates during the installation process.
It is important to note that these are general system requirements, and specific versions of Windows may have additional or different requirements. Refer to the official Microsoft website for more detailed information based on the version of Windows you plan to install.
Once you have confirmed that your Chromebook meets the minimum system requirements, you can proceed to the next steps of enabling Developer Mode and preparing a USB installation drive.
Enabling Developer Mode
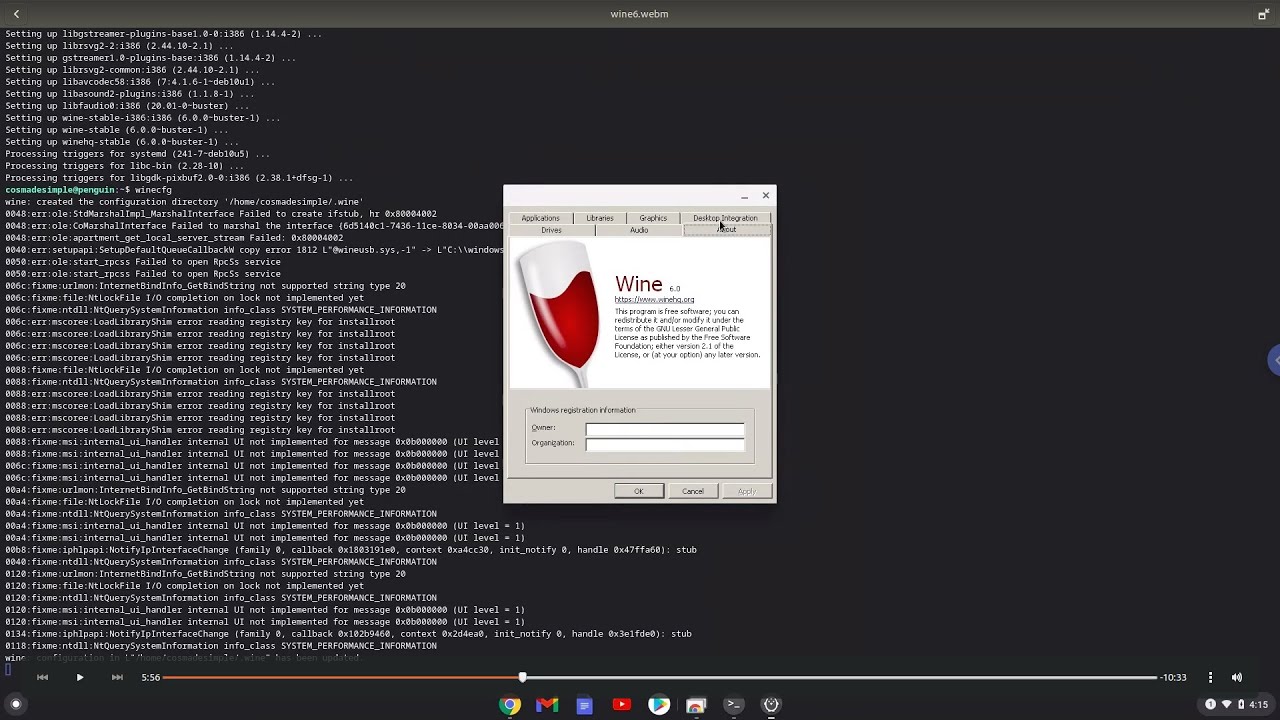
In order to install Windows on your Chromebook, you need to enable Developer Mode. Developer Mode allows you to access system files and make changes that are necessary for installing alternative operating systems.
Before proceeding, keep in mind that enabling Developer Mode will wipe all the data on your Chromebook, so it is vital to back up any important files before starting the process.
Here are the steps to enable Developer Mode:
- Power off your Chromebook.
- Press and hold the Esc key, Refresh key (the key with a circular arrow), and the Power button simultaneously.
- When the “Chrome OS is missing or damaged” screen appears, release all the keys.
- Press Ctrl + D on the keyboard.
- Press Enter to confirm and begin the process of enabling Developer Mode.
- Wait for your Chromebook to reboot and enter Developer Mode. This process may take several minutes.
Your Chromebook is now in Developer Mode, which allows you to proceed with the next steps of installing Windows. It is important to note that while in Developer Mode, your Chromebook will display a warning screen every time it boots up.
To bypass this warning screen, simply press Ctrl + D. However, keep in mind that this process will remove some security features, so exercise caution when using your Chromebook.
Once Developer Mode is enabled, you can move on to the next step of preparing a USB installation drive.
Preparing a USB Installation Drive
In order to install Windows on your Chromebook, you will need a USB installation drive that contains the necessary Windows installation files. Here are the steps to prepare a USB installation drive:
- Obtain a USB drive with sufficient storage capacity. It is recommended to use a USB drive with at least 16GB of storage to ensure that there is enough space for the Windows installation files.
- Connect the USB drive to your Chromebook.
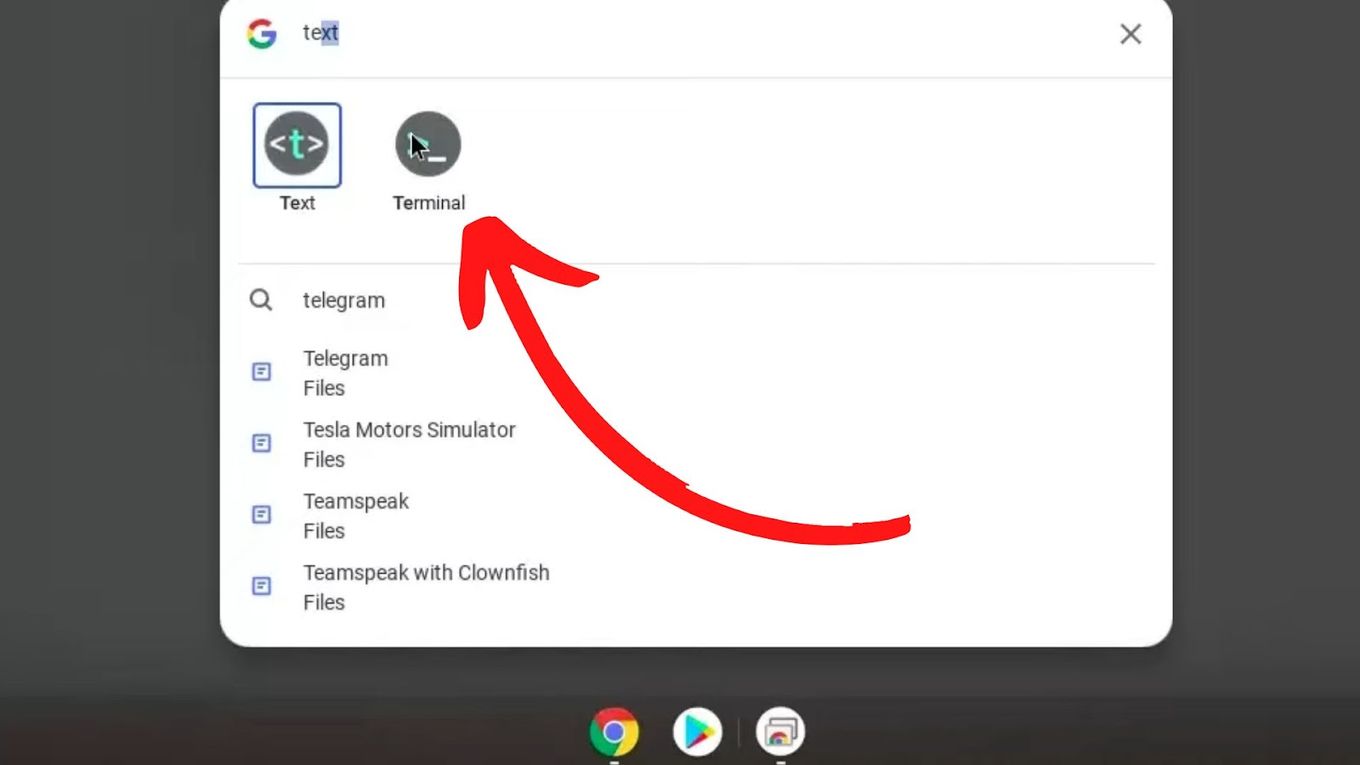
- Open a new tab in the Chrome browser and navigate to the official Microsoft website.
- Search for the Windows 10 Media Creation Tool and download it to your Chromebook.
- Launch the Media Creation Tool and follow the on-screen instructions to create a bootable USB drive with the Windows installation files. Make sure to select the USB drive as the destination for the installation files.
- Wait for the tool to complete the process of creating the bootable USB drive. This may take some time depending on the speed of your Chromebook and the size of the Windows installation files.
Once the bootable USB drive is created, you are ready to proceed with configuring your Chromebook to boot from the USB drive. This will allow you to start the Windows installation process.
It is important to note that the steps for preparing a USB installation drive may vary slightly depending on the version of Windows you are installing. Refer to the official Microsoft website for detailed instructions specific to your version of Windows.
With your USB installation drive prepared, you can now move on to the next step of configuring your Chromebook to boot from the USB drive and begin the Windows installation process.
Configuring the Chromebook for Booting from USB
Before you can begin the installation of Windows on your Chromebook, you need to configure the device to boot from the USB drive. Here are the steps to follow:
- Ensure that your Chromebook is powered off.
- Connect the USB installation drive that you created earlier to your Chromebook.
- Press the power button to turn on your Chromebook.
- As soon as the Chromebook starts to power on, press the key combination specific to your device to access the Boot Menu. This key combination may vary depending on your Chromebook model, but it is usually one of the following: Esc+F12, Esc+F3, or Esc+F10. Refer to the user manual or the manufacturer’s website for the exact key combination.
- In the Boot Menu, use the arrow keys to navigate to the USB drive option and press Enter to select it.
Once you have selected the USB drive as the boot option, your Chromebook will start booting from the USB installation drive. This will launch the Windows installation process, allowing you to proceed with the installation of Windows on your Chromebook.
It is important to note that the Boot Menu may look different depending on the Chromebook model and firmware version. If you are unable to find the USB drive option in the Boot Menu, refer to the manufacturer’s documentation or support resources for further assistance.
With the Chromebook configured to boot from the USB drive, you are now ready to start the installation of Windows. Follow the on-screen instructions to install Windows on your Chromebook, and make sure to carefully read and follow each step to ensure a successful installation.
Installing Windows
With your Chromebook configured to boot from the USB drive, you can now proceed with the installation of Windows. Follow these steps to install Windows on your Chromebook:
- Ensure that your Chromebook is connected to a stable power source to avoid any interruptions during the installation process.
- Power on your Chromebook and let it boot from the USB drive.
- Once the Windows installation screen appears, select your preferred language, time zone, and keyboard layout.
- Click on the “Install Now” button to begin the installation process.
- Read and accept the license terms to proceed.
- Choose the installation type. If you want to have both Windows and Chrome OS on your Chromebook, select the option to install Windows alongside Chrome OS.
- Select the drive or partition where you want to install Windows. Be cautious not to select the Chrome OS partition or any other important data partition.
- Follow the on-screen instructions to complete the installation process. Windows will automatically install the necessary files and configure your system.
- Once the installation is complete, your Chromebook will restart. Follow the initial Windows setup process, including creating a user account and customizing your settings.
It is important to note that the installation process may take some time, so be patient and avoid interrupting the process.
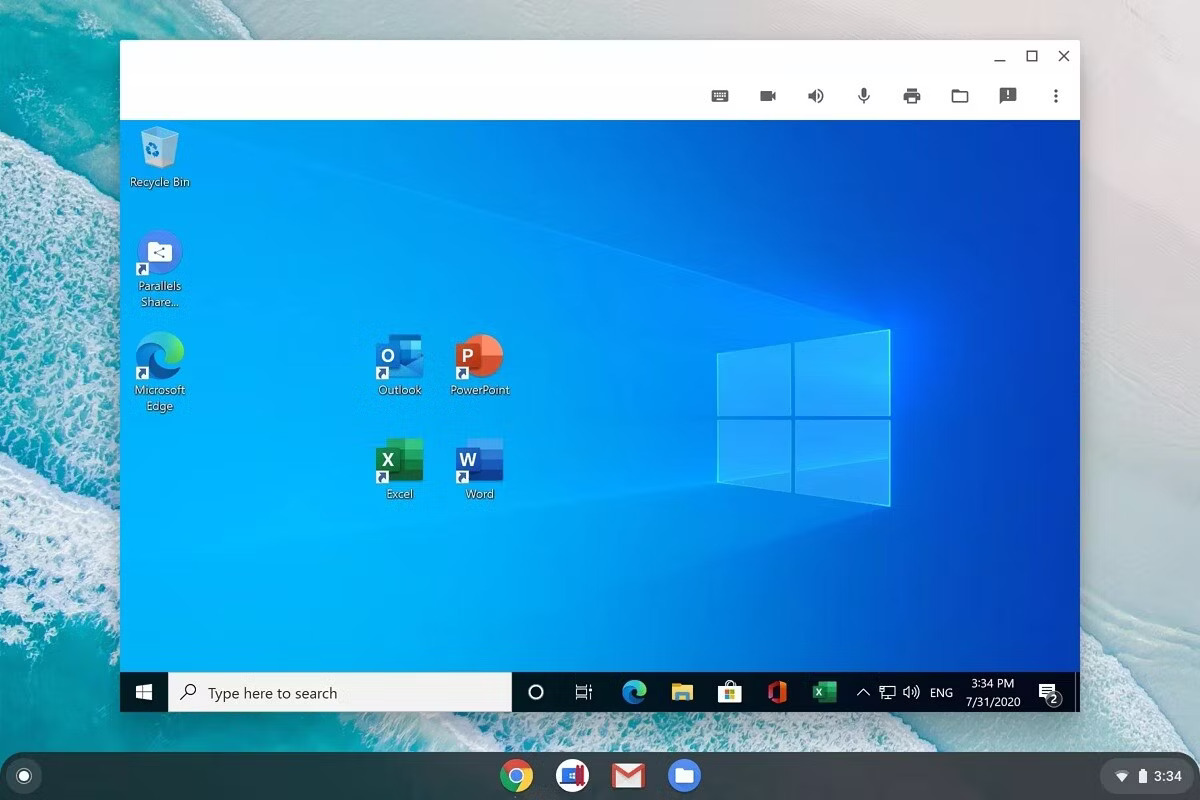
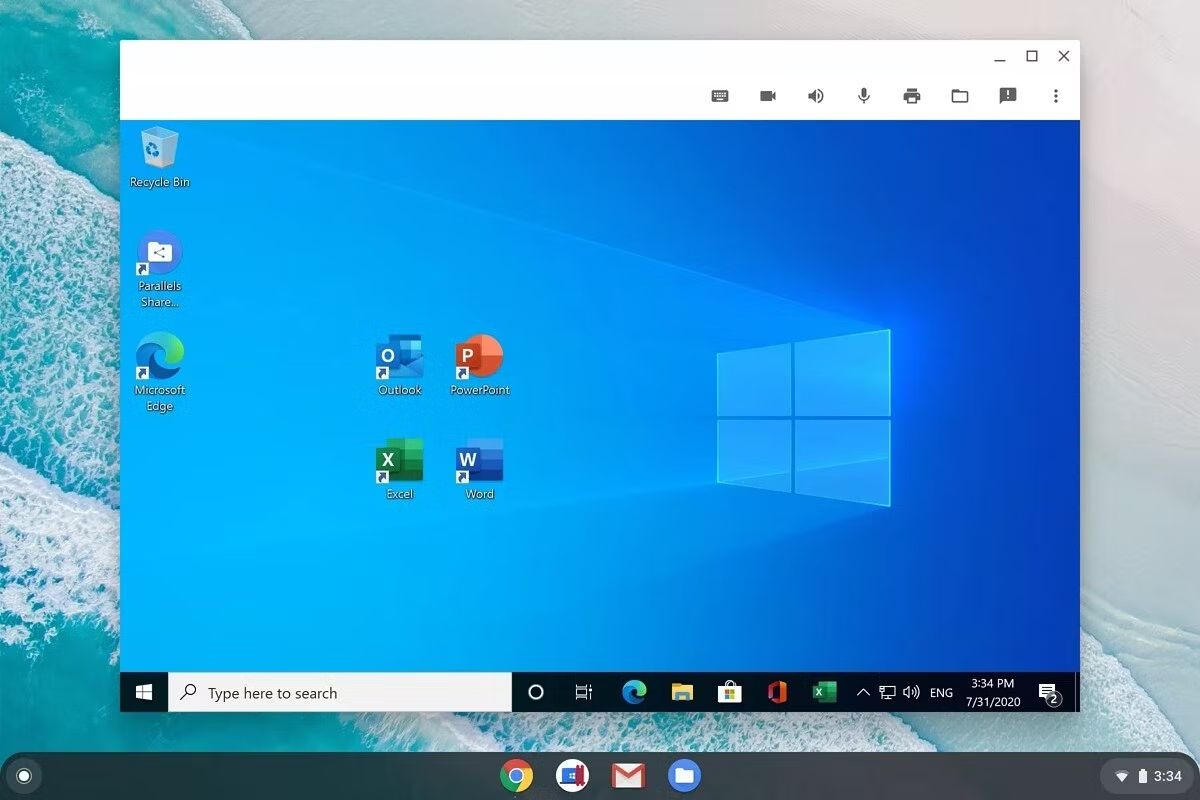
After the installation is complete and you have set up Windows on your Chromebook, you will be able to switch between Chrome OS and Windows whenever you start up your device. You can enjoy the benefits of both operating systems and have access to a wider range of applications and software.
Remember to install the necessary drivers and updates for Windows on your Chromebook to ensure optimal performance and compatibility with your hardware.
With Windows successfully installed on your Chromebook, you can now proceed with configuring the settings and customizing the Windows experience to suit your needs and preferences.
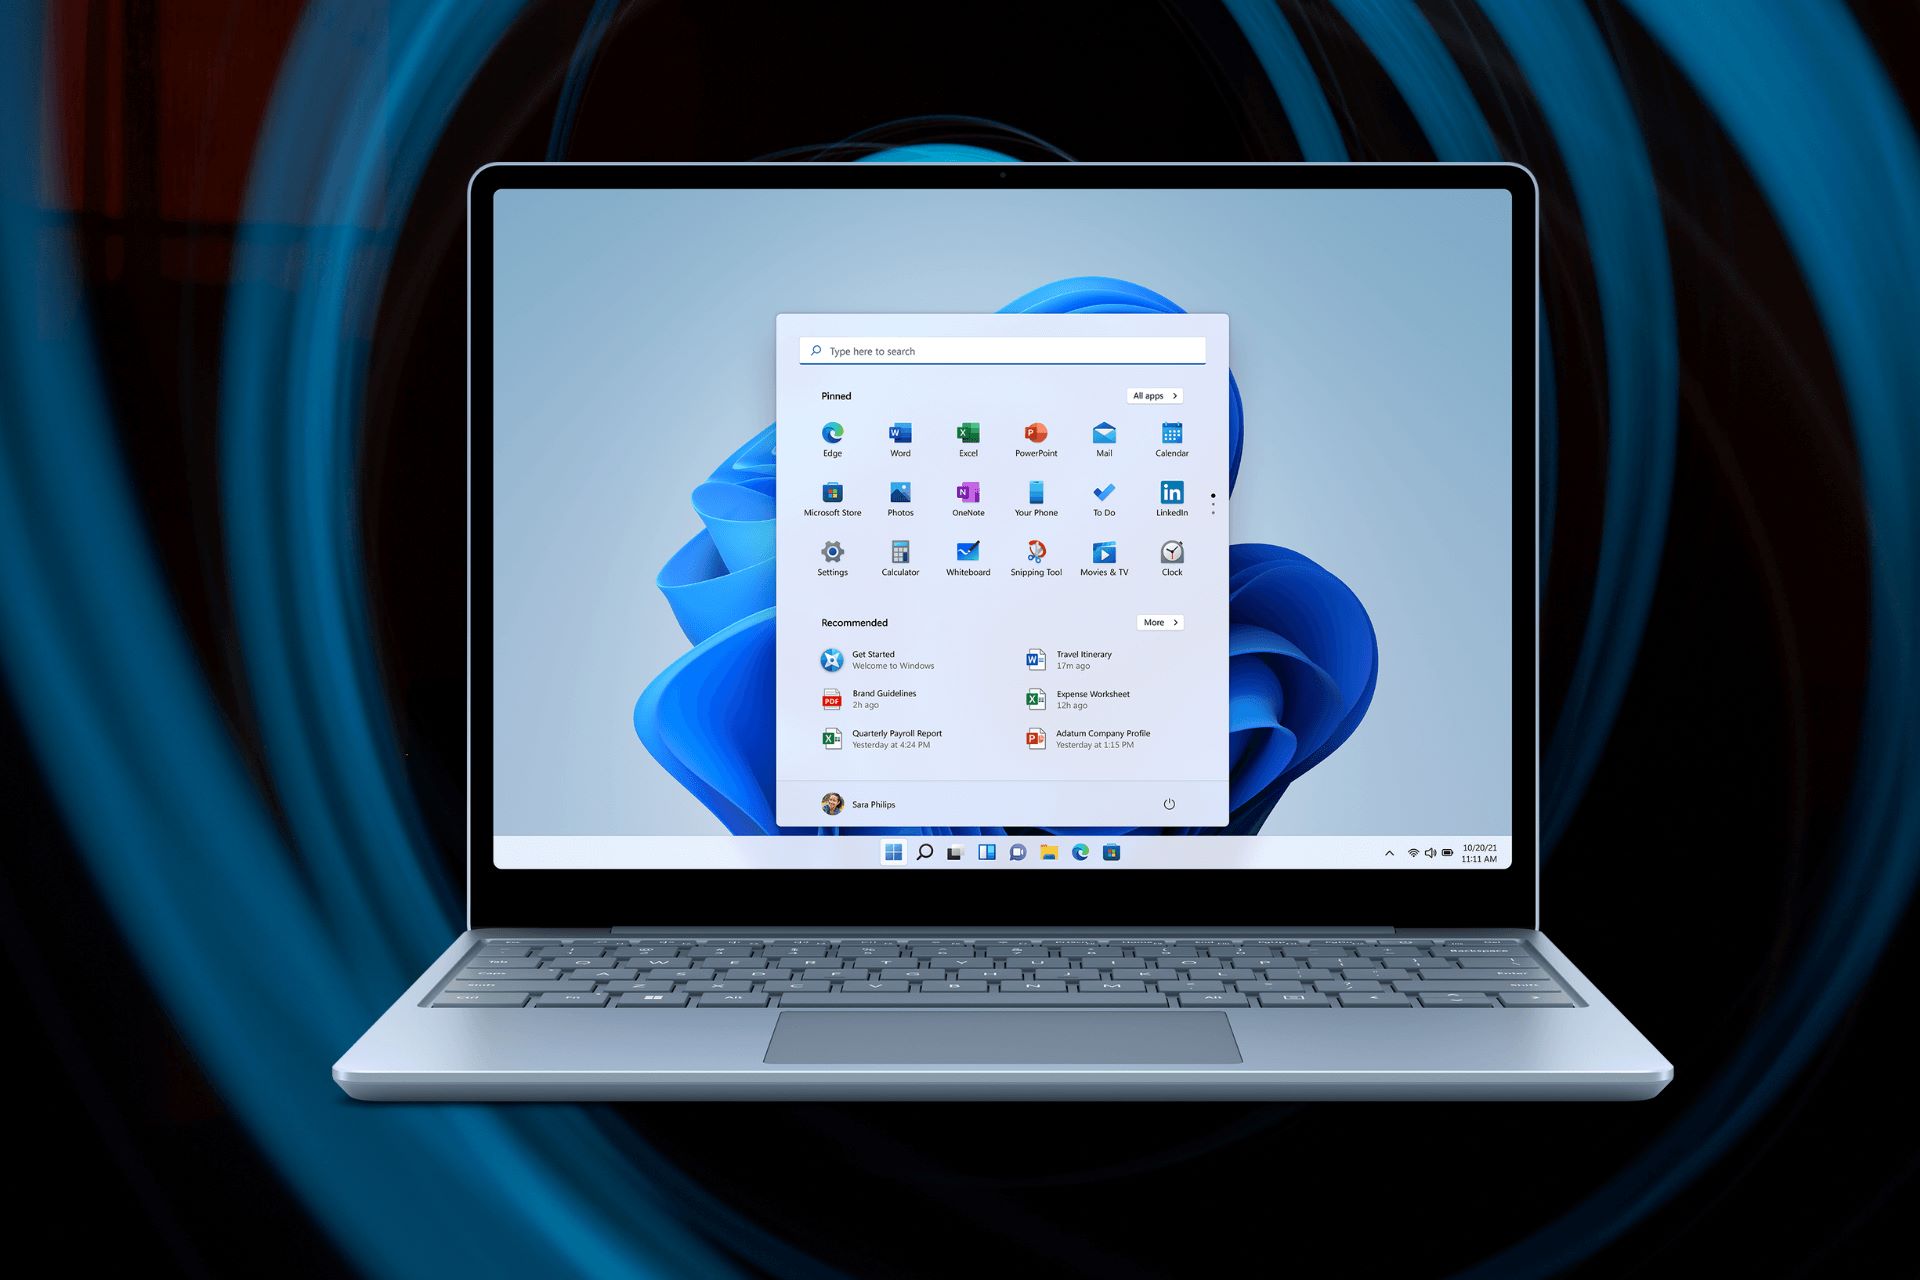
Configuring Windows on the Chromebook
After successfully installing Windows on your Chromebook, it’s time to configure the settings and customize the Windows experience to your liking. Here are some important steps to follow:
- Set up your user account: During the initial Windows setup process, you will be prompted to create a user account. Enter your desired username and password, and follow the on-screen instructions to complete the setup.
- Install drivers: To ensure optimal performance, it’s recommended to install any specific drivers required for your Chromebook’s hardware. Visit the manufacturer’s website or use the Windows Device Manager to install drivers for components such as the touchpad, keyboard, Wi-Fi adapter, and graphics card.
- Update Windows: Windows updates provide important bug fixes, security patches, and new features. Go to the Windows Update settings and check for available updates. Download and install any updates to keep your system up to date.
- Install essential software and programs: Install the necessary software and programs that you use regularly on your Chromebook. Make sure they are compatible with Windows and that you have the appropriate licenses or subscriptions.
- Personalize the desktop and settings: Customize your desktop background, screensaver, and other visual settings to make Windows feel more personalized. Explore the settings menu to adjust various aspects of the Windows interface, such as display, sound, and notifications, to suit your preferences.
- Set up antivirus and security software: Install a reputable antivirus program to protect your Windows installation from malware and other security threats. Keep the antivirus software updated for the best protection.
- Configure additional settings: Explore the Windows settings to configure additional features like power management, privacy settings, and default program associations. Adjust these settings to match your preferences and optimize your Chromebook’s performance.
By following these steps, you can ensure that your Windows installation is fully customized and optimized for your needs. Take the time to explore Windows and familiarize yourself with its features to maximize productivity and enjoyment.
Remember to regularly update your software and maintain a backup of your important files to protect your data and keep your Chromebook running smoothly with Windows.
Troubleshooting Common Issues
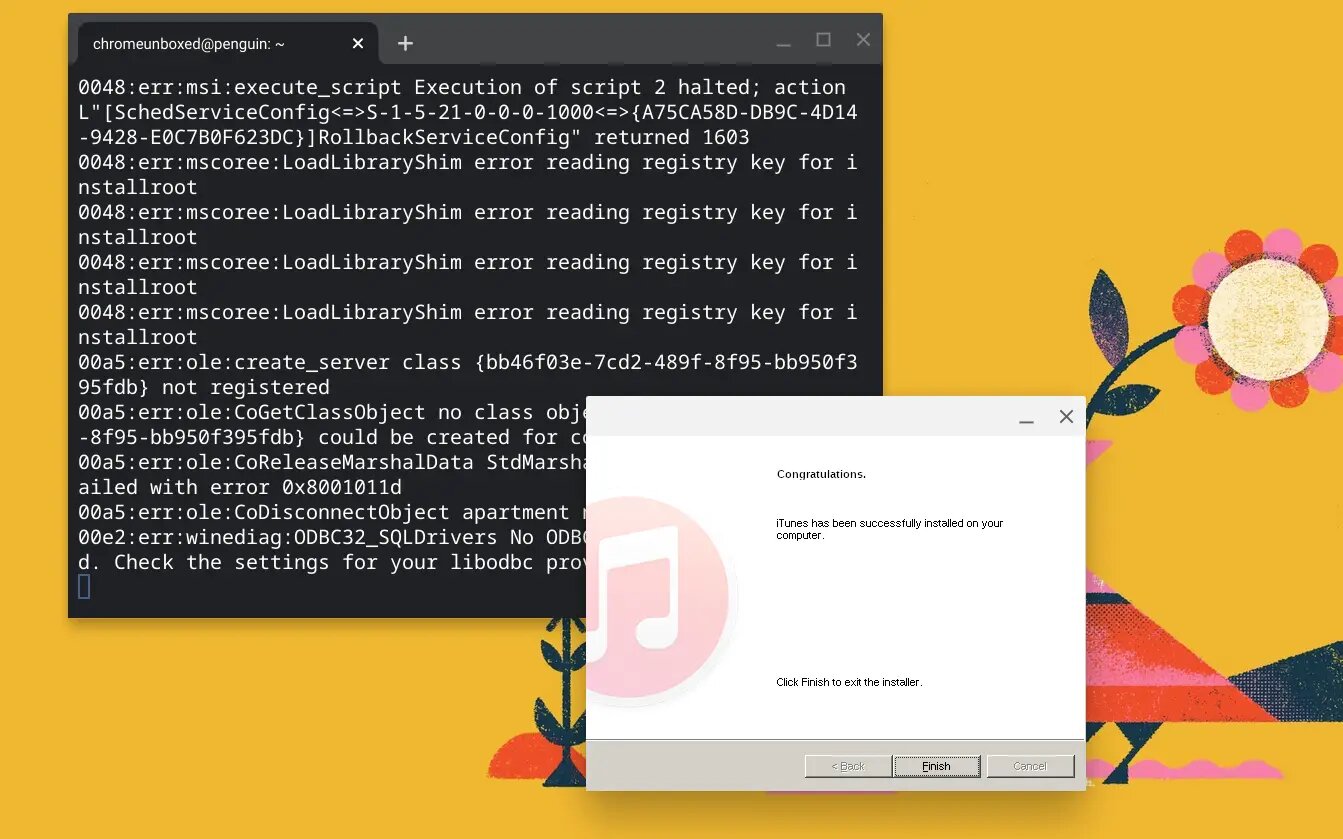
While installing or using Windows on your Chromebook, you may encounter some common issues. Here are a few troubleshooting tips to help you overcome these challenges:
- Compatibility issues: Ensure that your Chromebook model is compatible with the version of Windows you are installing. Incompatible hardware or software can cause issues during installation or while using Windows. Check the official documentation or support resources for specific compatibility information.
- Boot configuration problems: If you’re unable to boot from the USB drive or encounter booting issues after installing Windows, try resetting the boot configuration. Restart your Chromebook, access the Boot Menu, and select the option to restore the default boot configuration.
- Driver problems: If some hardware components on your Chromebook are not functioning correctly after installing Windows, it may be due to missing or incompatible drivers. Visit the manufacturer’s website or use the Windows Device Manager to download and install the appropriate drivers for your hardware.
- Wi-Fi connectivity: If you experience issues with Wi-Fi connectivity, make sure that the Wi-Fi drivers are installed and up to date. Additionally, check your network settings and ensure that your Wi-Fi network is set up correctly and within range.
- Software compatibility: Not all software and applications may work seamlessly on your Chromebook running Windows. Some programs may require specific configurations or have compatibility issues with the Chromebook hardware. Ensure that you are using the latest versions of your software and search for any known compatibility issues or workarounds.
- Performance issues: If your Chromebook is experiencing sluggishness or poor performance while running Windows, consider upgrading the hardware components or optimizing the system settings. Close unnecessary programs, disable unnecessary startup applications, and keep your system clean and free from malware.
If you encounter any persistent issues that you are unable to resolve, it may be helpful to consult the manufacturer’s support resources or seek assistance from online communities and forums dedicated to Chromebook users running Windows. Remember to provide as much detail as possible about the issue you are experiencing for accurate troubleshooting advice.
By addressing and resolving these common issues, you can ensure a smoother and more reliable experience while using Windows on your Chromebook.
Conclusion
Installing Windows on your Chromebook opens up a world of possibilities, allowing you to utilize software and applications that are only available on the Windows platform. With the step-by-step instructions provided in this guide, you can successfully transform your Chromebook into a dual-boot machine, running both Chrome OS and Windows.
Before proceeding with the installation, it is important to check the system requirements and ensure compatibility with your Chromebook model. Enabling Developer Mode and preparing a USB installation drive are fundamental steps that pave the way for a smooth installation process.
Configuring your Chromebook to boot from the USB drive and following the prompts during the Windows installation will lead you to a fresh Windows installation on your Chromebook. From there, you can customize the settings, install required drivers, and personalize the operating system to suit your needs.
While there may be occasional challenges, such as compatibility issues or driver problems, troubleshooting common issues using the tips provided can help you overcome them and ensure a smooth Windows experience on your Chromebook.
Remember to keep your Windows installation up to date with the latest software updates and security patches, and regularly back up your important files to prevent data loss.
With Windows installed on your Chromebook, you can benefit from the versatility of both Chrome OS and Windows, giving you access to a wider range of software and applications to enhance your productivity and creativity.
Embrace the possibilities and enjoy the best of two worlds on your Chromebook with Windows. Happy computing!