Introduction
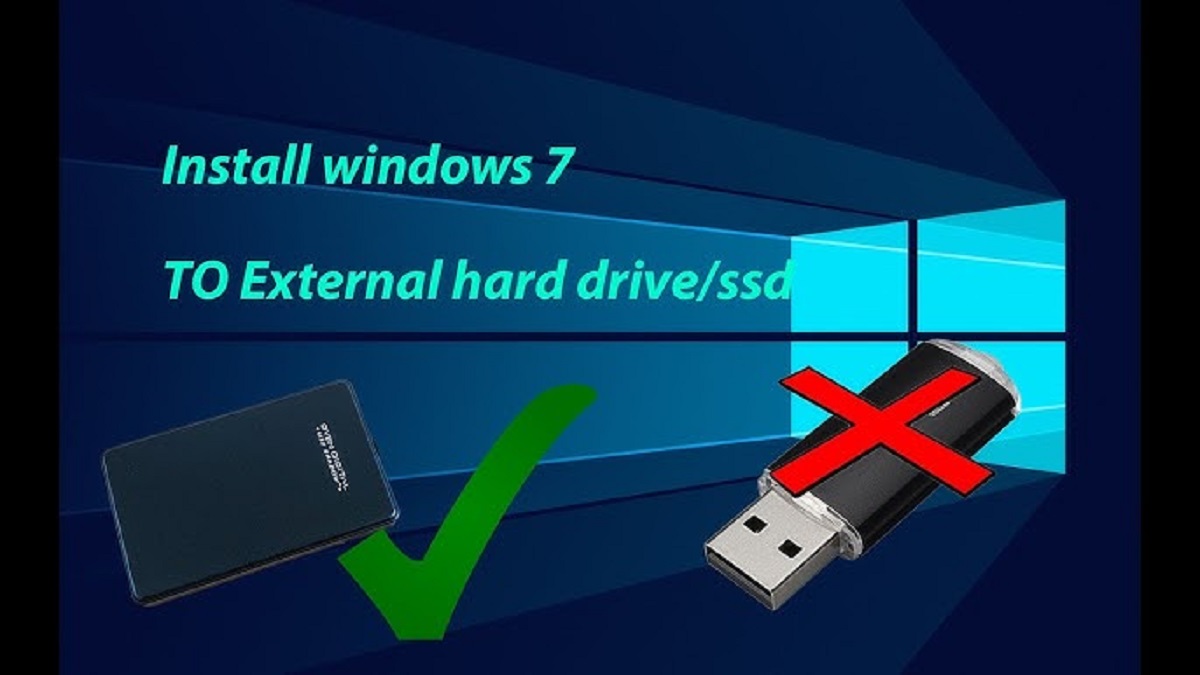
Installing Windows 7 on an external hard drive can be a useful solution for those who need to have a portable operating system or want to run Windows 7 on a computer without an internal hard drive. Whether you need to create a bootable drive for troubleshooting purposes or simply want to have Windows 7 with you at all times, this guide will walk you through the process step-by-step.
Windows 7 is a widely used operating system known for its stability and compatibility. Installing it on an external hard drive allows you to have the flexibility of accessing your files and applications from multiple computers, without the need for a dedicated internal hard drive on each machine. It also enables you to carry your personalized Windows 7 environment wherever you go, ensuring seamless productivity in any setting.
Before we dive into the installation process, it’s important to note that installing Windows 7 on an external hard drive requires some technical knowledge and may void the warranty of your device. Proceed with caution and ensure that you have backed up all important data before proceeding. Additionally, make sure that you have a compatible external hard drive with sufficient storage space and a reliable Windows 7 installation ISO file.
In this guide, we will cover the steps necessary to prepare the external hard drive, create a bootable Windows 7 installation USB, install Windows 7 on the external hard drive, configure the computer’s BIOS to boot from the external hard drive, and complete the installation process. We will also address common troubleshooting issues that you may encounter along the way.
By following this guide, you will have a fully functional Windows 7 operating system installed on your external hard drive, giving you the freedom to take your system with you wherever you go and have access to your files and applications on any compatible computer. So, let’s dive in and get started with installing Windows 7 on an external hard drive.
Preparing the External Hard Drive
Before you can install Windows 7 on your external hard drive, you’ll need to ensure that the drive is properly prepared. Here are the steps to follow:
- Check compatibility: Verify that your external hard drive is compatible with your computer and has enough storage capacity to install Windows 7. It’s recommended to have at least 16GB of free space on the drive.
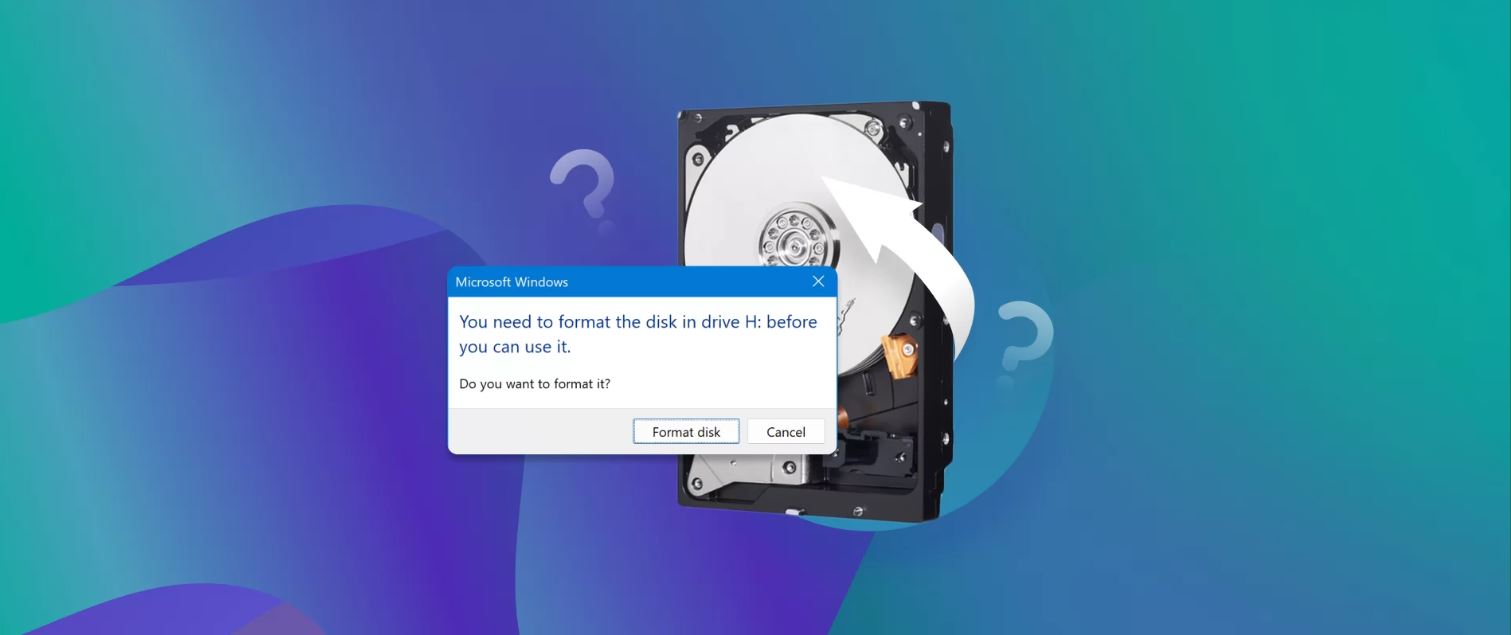
- Backup data: If you have any important data on the external hard drive, back it up to a separate storage device. The installation process will format the drive, erasing all existing data.
- Format the drive: Connect the external hard drive to your computer and open the Disk Management utility. Locate your external hard drive in the list of drives and right-click on it. Select the “Format” option and choose the file system as NTFS. Click “OK” to format the drive.
- Assign a drive letter: After formatting, right-click on the external hard drive in Disk Management and select “Change Drive Letter and Paths.” Choose an available drive letter and click “OK.”
- Create a partition: If your external hard drive does not already have a partition, you’ll need to create one. Right-click on the unallocated space on the drive and select “New Simple Volume.” Follow the on-screen instructions to create a partition with the desired size.
- Set the partition as active: In Disk Management, right-click on the newly created partition and select “Mark Partition as Active.” This will make the partition bootable.
Once you have completed these steps, your external hard drive will be properly prepared for the Windows 7 installation. In the next section, we will cover how to create a bootable Windows 7 installation USB, which will allow us to install Windows 7 onto the external hard drive.
Creating a Bootable Windows 7 Installation USB
To install Windows 7 on your external hard drive, you will need to create a bootable USB drive with the Windows 7 installation files. Follow these steps to create a bootable Windows 7 installation USB:
- Download the Windows 7 ISO: Obtain the Windows 7 installation ISO file from a trusted source or use an original Windows 7 CD if you have one. Ensure that you have a valid license key for Windows 7.
- Prepare the USB drive: Insert a USB drive with at least 4GB of storage capacity into your computer. Open the disk formatting utility and format the USB drive as FAT32.
- Mount the Windows 7 ISO: Use a disk mounting software, such as WinCDEmu or Virtual CloneDrive, to mount the Windows 7 ISO file. This will create a virtual disc drive on your computer.
- Copy the Windows 7 files: Open the virtual disc drive and copy all the files and folders from the mounted Windows 7 ISO to the USB drive. This will make the USB drive bootable with the Windows 7 installation files.
- Ensure bootability: Open the USB drive and check if it has the “bootmgr” file and a “boot” folder. If these files and folders are present, your USB drive is now bootable with the Windows 7 installation files.
By following these steps, you will have successfully created a bootable USB drive with the Windows 7 installation files. This USB drive will allow you to install Windows 7 on your external hard drive in the next section. Make sure to keep the USB drive in a safe place for future use.
Installing Windows 7 on the External Hard Drive
Once you have prepared the external hard drive and created a bootable Windows 7 installation USB, you are ready to install Windows 7 onto the external hard drive. Follow these steps to proceed with the installation:
- Connect the external hard drive: Plug the prepared external hard drive into the computer on which you want to install Windows 7. Ensure that the USB drive with the Windows 7 installation files is also connected.
- Boot from the USB drive: Restart your computer and enter the BIOS setup by pressing the designated key (usually F2, F10, or Del) during startup. In the BIOS settings, change the boot order so that the USB drive is the first boot option.
- Save changes and restart: Save the changes in the BIOS settings and restart the computer. The computer will now boot from the USB drive, starting the Windows 7 installation process.
- Follow the installation prompts: Once the Windows 7 installation starts, follow the on-screen prompts to select the language, time zone, and keyboard layout. When prompted to choose the installation type, select the “Custom” option.
- Select the external hard drive: On the list of available drives, choose the partition on the external hard drive where you want to install Windows 7. Ensure that you select the correct partition and proceed with the installation.
- Complete the installation: The installation process may take some time, during which your computer may restart multiple times. Follow the on-screen prompts to complete the installation, including setting up a user account and configuring your preferences.
Once the installation is complete, your external hard drive will now have a fully functional Windows 7 operating system. You can disconnect the USB drive and restart your computer. The computer should now boot from the external hard drive, allowing you to access Windows 7 and all its features.
In the next section, we will cover how to configure the BIOS settings to ensure that the computer boots from the external hard drive by default, without needing to change the boot order every time you start your computer.
Configuring the BIOS to Boot from the External Hard Drive
To ensure that your computer automatically boots from the external hard drive with Windows 7 installed, you need to configure the BIOS settings. Follow these steps to set the external hard drive as the default boot option in the BIOS:
- Restart your computer: Start by restarting your computer and accessing the BIOS setup by pressing the designated key (usually F2, F10, or Del) when prompted during startup.
- Navigate to the Boot menu: Once inside the BIOS setup, navigate to the Boot menu by using the arrow keys on your keyboard.
- Change the boot order: Look for the Boot Priority or Boot Sequence option, then change the order so that the external hard drive is listed as the first boot option. This will ensure that your computer boots from the external hard drive by default.
- Save the changes: Once you have made the necessary changes, save the settings and exit the BIOS setup. This will prompt your computer to reboot.
Upon restarting, your computer should now automatically boot from the external hard drive with Windows 7 installed. If you encounter any issues or the computer doesn’t boot as expected, repeat the steps and double-check the boot order in the BIOS settings.
It’s worth noting that configuring the BIOS settings may vary depending on your computer’s manufacturer and model. Refer to your computer’s documentation or manufacturer’s website for specific instructions tailored to your device.
In the next section, we will cover the final steps to complete the Windows 7 installation process on the external hard drive and provide some troubleshooting tips for common issues you may encounter along the way.
Completing the Installation Process
Now that you have installed Windows 7 on your external hard drive and configured the BIOS settings to boot from it, there are a few final steps to complete the installation process. Follow these steps to ensure a smooth experience:
- Install necessary drivers: After booting into Windows 7 on the external hard drive, you may need to install specific drivers for your computer’s hardware. Check the manufacturer’s website for the latest drivers and install them accordingly.
- Activate Windows: If you have a valid license key for Windows 7, activate it by going to the Control Panel and selecting the “System” option. Click on “Activate Windows” and follow the on-screen instructions to complete the activation process.
- Update Windows: To ensure that your operating system is up to date, go to the Windows Update settings and check for any available updates. Install the updates to enhance performance, security, and stability.
- Install necessary software: Install any additional software or applications that you frequently use on your Windows 7 system. This will ensure that your external hard drive is fully equipped to meet your needs.
- Personalize your settings: Customize your Windows 7 environment by adjusting settings such as desktop background, theme, language, and display preferences. Make the system feel personal and tailored to your liking.
By following these steps, you will have successfully completed the installation process and have a fully functional Windows 7 operating system on your external hard drive. Your customized settings, applications, and files will be available whenever you boot from the external hard drive.
Keep in mind that when using Windows 7 on an external hard drive, it may not perform as quickly as when installed on an internal drive. However, it offers the convenience of portability and accessibility across different computers.
In the next section, we will provide some troubleshooting tips for common issues you may encounter during the installation process and while using Windows 7 on the external hard drive.
Troubleshooting Common Issues
While installing and using Windows 7 on an external hard drive, you may encounter some common issues. Here are a few troubleshooting tips to help you resolve them:
- Boot errors: If you encounter boot errors or the computer fails to boot from the external hard drive, ensure that the boot order in the BIOS is correctly set. Try reconnecting the external hard drive and make sure it is properly recognized by the computer.
- Driver compatibility: If certain hardware components are not working correctly, ensure that you have installed the necessary drivers for your computer’s hardware. Check the manufacturer’s website for updated drivers compatible with Windows 7.
- USB connectivity issues: If your external hard drive is not being recognized or experiencing connectivity issues, try connecting it to different USB ports on your computer. Also, ensure that the USB drivers are up to date.
- Activation problems: If you encounter activation problems, double-check your license key to ensure its validity. Verify that you have entered the key correctly during the activation process and make sure you have an active internet connection.
- Performance issues: If your Windows 7 on the external hard drive is running slowly, consider optimizing the system by disabling unnecessary startup programs, removing unwanted files, and performing regular maintenance tasks such as disk cleanup and disk defragmentation.
If you continue to experience issues, you may need to consult online forums or seek professional assistance to troubleshoot and resolve specific problems related to your hardware or software configuration.
Remember, installing and running an operating system on an external hard drive may have limitations compared to an internal hard drive. Factors such as slower performance and reduced data transfer speeds should be taken into consideration when using Windows 7 on an external device.
With these troubleshooting tips, you can overcome common issues and enjoy a smooth experience using Windows 7 on your external hard drive. The portability and flexibility of having Windows 7 at your fingertips will enable you to work and access your files from anywhere with compatible computers.
Conclusion
Installing Windows 7 on an external hard drive can provide you with a portable and flexible solution for running the operating system on different computers. By following the steps outlined in this guide, you can successfully install Windows 7 on your external hard drive and enjoy the convenience of having your own personalized Windows 7 environment wherever you go.
We discussed the importance of preparing the external hard drive by checking compatibility, formatting the drive, creating a partition, and setting it as active. We also covered the process of creating a bootable Windows 7 installation USB drive, which is essential for installing the operating system on the external hard drive.
Moreover, we explored the installation process itself, including booting from the USB drive, selecting the external hard drive as the installation destination, and completing the necessary setup steps. We provided guidance on configuring the BIOS settings, troubleshooting common issues, and completing the installation process, including activating Windows and installing necessary drivers and software.
As with any technical process, it is important to approach the installation with caution and ensure that you have backup copies of important data. Additionally, remember that utilizing Windows 7 on an external hard drive may result in slightly slower performance compared to an internal hard drive.
With careful preparation and attention to detail, you can successfully install Windows 7 on your external hard drive and enjoy the benefits of having a portable and personalized operating system. Whether you need to troubleshoot a computer, work on different machines, or simply carry your Windows 7 environment with you, this guide has equipped you with the necessary knowledge to achieve your goal.
Make the most of this newfound mobility and flexibility as you navigate the world of Windows 7 on your external hard drive. Take advantage of the convenience and accessibility it offers, and embrace the freedom to work and access your files from different computers. Enjoy the familiarity and functionality of Windows 7, no matter where you are.