Introduction
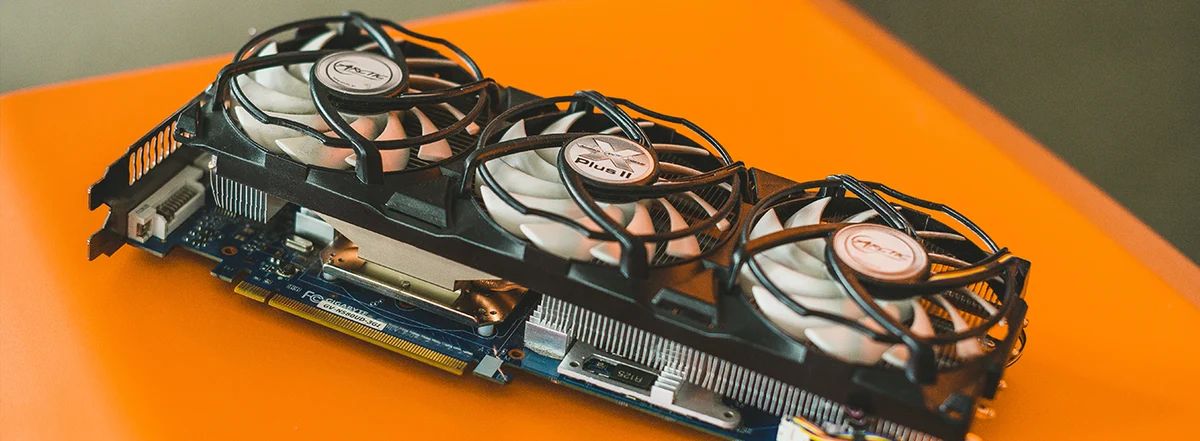
In today’s digital era, the field of machine learning and artificial intelligence has witnessed remarkable advancements. TensorFlow, developed by Google, has emerged as one of the most popular and powerful open-source frameworks for building and training machine learning models. TensorFlow-GPU, an optimized version of TensorFlow, leverages the power of graphics processing units (GPUs) to accelerate computation and enhance training speed.
Installing TensorFlow-GPU on your system allows you to take advantage of the immense processing power that GPUs offer, making it an ideal choice for training complex and resource-intensive machine learning models. In this article, we will guide you through the step-by-step process of installing TensorFlow-GPU on your machine.
Before we dive into the installation process, it’s important to note that TensorFlow-GPU requires a compatible GPU and some additional software components to function properly. Therefore, it’s crucial to ensure that your system meets the necessary prerequisites to avoid any compatibility issues.
Throughout this guide, we will cover the necessary steps to install TensorFlow-GPU, including checking system requirements, installing CUDA Toolkit, downloading and configuring cuDNN, creating a virtual environment, and finally installing TensorFlow-GPU itself. By following these steps, you will be able to set up TensorFlow-GPU on your machine and unlock the immense potential it offers for training machine learning models efficiently.
So, without further ado, let’s dive into the world of TensorFlow-GPU installation and equip ourselves with the tools needed to unleash the power of GPU-accelerated machine learning.
Prerequisites
Before we begin the installation process, it is essential to ensure that your system meets the necessary prerequisites to successfully install TensorFlow-GPU. Here are the key requirements:
- Compatible GPU: TensorFlow-GPU requires a compatible GPU with CUDA compute capability 3.5 or higher. Check the official TensorFlow documentation for a list of supported GPUs.
- Operating System: TensorFlow-GPU is compatible with various operating systems, including Linux, Windows, and macOS. Ensure that your system meets the minimum requirements for the chosen OS.
- CUDA Toolkit: TensorFlow-GPU depends on the CUDA Toolkit to leverage the power of GPUs. Depending on the TensorFlow version you are installing, there may be specific CUDA Toolkit requirements. We will cover the installation of CUDA Toolkit in the next section.
- cuDNN: To further optimize performance, TensorFlow-GPU utilizes cuDNN (CUDA Deep Neural Network) library. We will guide you through the process of downloading and configuring cuDNN later in this guide.
-
Python and pip: Make sure you have Python and pip installed on your system. TensorFlow-GPU requires Python 3.6, 3.7, or 3.8. You can check your Python version by running the command
python --versionin your terminal.
By ensuring that your system meets these prerequisites, you will be ready to install and use TensorFlow-GPU for machine learning tasks. In the upcoming sections, we will walk you through the installation steps in a detailed manner, ensuring a smooth and successful deployment of TensorFlow-GPU on your machine.
Step 1: Check system requirements
Before proceeding with the installation of TensorFlow-GPU, it’s crucial to verify that your system meets the necessary requirements. Performing this check will help ensure a smooth installation process without encountering any compatibility issues. Here’s how you can do it:
-
Check GPU compatibility: TensorFlow-GPU requires a compatible GPU with CUDA compute capability 3.5 or higher. Visit the official TensorFlow documentation for a list of supported GPUs. To find your GPU model and compute capability, you can use the command
nvidia-smiin the terminal (for NVIDIA GPUs). - Verify operating system compatibility: TensorFlow-GPU is compatible with various operating systems, including Linux, Windows, and macOS. Ensure that your system meets the minimum requirements for the chosen OS. You may also want to check the TensorFlow documentation for any specific OS-related considerations or recommendations.
- Ensure sufficient disk space: TensorFlow and its dependencies can occupy a significant amount of disk space. Make sure you have enough free space on your disk for the installation.
-
Check Python and pip versions: TensorFlow-GPU requires Python 3.6, 3.7, or 3.8. Verify that you have one of these versions installed on your system by running the command
python --versionin the terminal. Additionally, ensure that you have pip, the Python package manager, installed.
By performing these checks, you will have a clear understanding of whether your system meets the necessary prerequisites to proceed with the TensorFlow-GPU installation. If any of the requirements are not met, take the necessary steps to fulfill them before proceeding further.
Now that you have verified that your system meets the necessary requirements, it’s time to move on to the next step: installing the CUDA Toolkit. The CUDA Toolkit is a crucial component for leveraging the GPU’s computational power in TensorFlow-GPU. Follow along with the next section to learn how to install it on your system.
Step 2: Install CUDA Toolkit
The CUDA Toolkit is a vital software component required for utilizing the power of GPUs in TensorFlow-GPU. It provides a set of libraries and tools that enable efficient GPU computation. Follow the steps below to install the CUDA Toolkit on your system:
- Check CUDA Toolkit compatibility: Visit the official NVIDIA website or the TensorFlow documentation to ensure that the version of TensorFlow-GPU you are installing is compatible with the CUDA Toolkit version. Different versions of TensorFlow-GPU have specific requirements for the CUDA Toolkit.
- Download the CUDA Toolkit: Visit the NVIDIA Developer website and navigate to the CUDA Toolkit download page. Choose the appropriate version based on your operating system and follow the prompts to download the installer.
- Run the CUDA Toolkit installer: Once the installer is downloaded, run it and follow the on-screen instructions to install the CUDA Toolkit. Make sure to select the appropriate installation options based on your preferences and system requirements.
- Set up environment variables: After the installation completes, you need to set up the environment variables related to the CUDA Toolkit. This step will ensure that TensorFlow-GPU can locate and utilize the CUDA libraries. Refer to the documentation provided by NVIDIA or TensorFlow for specific instructions on setting up the environment variables based on your operating system.
-
Verify CUDA Toolkit installation: To ensure that the CUDA Toolkit is installed correctly, open a terminal or command prompt and run the command
nvidia-smi. This command should display information about your GPU, indicating that the CUDA Toolkit installation was successful.
By successfully installing the CUDA Toolkit, you have taken a significant step towards enabling GPU acceleration for TensorFlow-GPU. The CUDA Toolkit provides the necessary libraries and tools for efficient GPU computation, allowing TensorFlow-GPU to leverage the full potential of your GPU. In the next section, we will cover the next step: downloading and installing cuDNN, another essential component for optimizing performance in TensorFlow-GPU.
Step 3: Download and install cuDNN
To further optimize the performance of TensorFlow-GPU, it is essential to download and install cuDNN (CUDA Deep Neural Network) on your system. cuDNN is a GPU-accelerated library that provides highly optimized implementations of deep neural network operations. Follow the steps below to download and configure cuDNN:
- Check cuDNN compatibility: Before downloading cuDNN, ensure that the version you choose is compatible with the version of TensorFlow-GPU you are installing. Refer to the TensorFlow documentation for compatibility information.
- Create an NVIDIA Developer account: To download cuDNN, you need to create an account on the NVIDIA Developer website. Visit the cuDNN download page and register for an account if you haven’t already done so.
- Download cuDNN: Once you have an account, navigate to the cuDNN download page and select the appropriate version of cuDNN based on your operating system and the compatible CUDA Toolkit version. Download the cuDNN library and save it to your desired location.
- Extract and configure cuDNN: After the cuDNN package is downloaded, extract the contents of the archive. You will find several files and folders. Copy the cuDNN libraries (i.e., the files with the extensions .dll on Windows, .so on Linux, or .dylib on macOS) into the appropriate CUDA Toolkit installation directory.
- Verify cuDNN installation: To ensure that cuDNN is installed correctly, you can run a TensorFlow-GPU program or code snippet that utilizes deep neural network functionalities. If the program executes successfully without errors, it indicates that cuDNN is correctly configured and integrated with TensorFlow-GPU.
By downloading and installing cuDNN, you have taken another critical step towards optimizing the performance of TensorFlow-GPU. cuDNN provides highly optimized deep neural network implementations, enabling TensorFlow-GPU to leverage the full power of your GPU for efficient computation. In the next section, we will cover the process of creating a virtual environment to isolate the TensorFlow-GPU installation.
Step 4: Create a virtual environment
Creating a virtual environment is a recommended practice when working with TensorFlow-GPU. A virtual environment allows you to isolate the TensorFlow-GPU installation and its dependencies from other Python packages installed on your system. Follow the steps below to create a virtual environment:
-
Install virtual environment tools: If you don’t have virtual environment tools installed, you can install them by running the command
pip install virtualenvin your terminal or command prompt. -
Create a new virtual environment: Navigate to the desired location in your terminal or command prompt and run the command
virtualenv env_name, replacingenv_namewith the name you want to give your virtual environment (e.g.,tensorflow_env). -
Activate the virtual environment: Depending on your operating system, activate the virtual environment by running the appropriate command:
– On Windows:env_name\Scripts\activate
– On Linux or macOS:source env_name/bin/activate
Once the virtual environment is activated, any packages and libraries you install will only be available within that environment. This ensures that the TensorFlow-GPU installation and its dependencies do not conflict with other Python packages on your system. You can now proceed to the next step, which is the installation of TensorFlow-GPU.
Creating a virtual environment enables better organization and management of your TensorFlow-GPU installation. It helps prevent potential conflicts with other packages and ensures a clean and isolated environment for TensorFlow-GPU to work within. In the upcoming section, we will cover the installation of TensorFlow-GPU.
Step 5: Install TensorFlow-GPU
Now that you have set up the necessary components and created a virtual environment, it’s time to install TensorFlow-GPU. Follow the steps below to install TensorFlow-GPU:
- Activate the virtual environment: If you haven’t already done so, activate the virtual environment in which you want to install TensorFlow-GPU. This ensures that the installation is isolated within the virtual environment.
-
Install TensorFlow-GPU: Use the pip package manager to install TensorFlow-GPU by running the command
pip install tensorflow-gpu. This command will download and install the latest version of TensorFlow-GPU along with its dependencies. -
Verify the installation: After the installation is complete, you can verify it by importing TensorFlow in a Python shell or IDE. Run the command
pythonto open a Python shell, and then run the following code:
import tensorflow as tf

    print(tf.__version__)
If the installation was successful, the output should display the version of TensorFlow-GPU that you installed.
With TensorFlow-GPU successfully installed, you are now ready to leverage the power of GPU acceleration in your machine learning and deep learning projects. Make sure to activate the virtual environment whenever you want to use TensorFlow-GPU to ensure that the correct version is being utilized.
Congratulations! You have completed the installation process for TensorFlow-GPU. You can now start building and training machine learning models with the incredible speed and efficiency offered by the GPU. To continue your learning journey with TensorFlow-GPU, explore the official documentation and discover the vast possibilities that this powerful framework has to offer.
Conclusion
Installing TensorFlow-GPU on your system opens up a whole new world of possibilities for machine learning and deep learning tasks. With the power of GPU acceleration, TensorFlow-GPU enables faster computation, which is essential when working with complex and resource-intensive models.
In this guide, we have walked through the step-by-step process of installing TensorFlow-GPU. We began by checking the system requirements to ensure compatibility, verifying the presence of a compatible GPU, and confirming the availability of necessary software components like the CUDA Toolkit and cuDNN. We then created a virtual environment to isolate the TensorFlow-GPU installation and finally installed TensorFlow-GPU itself.
By following these steps, you have set up the foundation for harnessing the full potential of TensorFlow-GPU. You are now equipped to build and train powerful machine learning models efficiently.
As you embark on your machine learning journey with TensorFlow-GPU, it’s important to stay up to date with the latest developments and best practices. Consult the official TensorFlow documentation, participate in online communities, and explore tutorials and examples to deepen your understanding of TensorFlow-GPU.
Remember to leverage the power of GPU acceleration responsibly by monitoring system resources and optimizing your code. GPU utilization can significantly enhance performance but comes with certain considerations, such as memory management and performance optimizations.
With TensorFlow-GPU at your disposal, you are ready to dive into the world of GPU-accelerated machine learning. Experiment, learn, and push the boundaries of what’s possible with the power of TensorFlow-GPU!


