Introduction
TensorFlow is an open-source library widely used for machine learning and deep neural network computations. It offers excellent support for utilizing Graphics Processing Units (GPUs), which are powerful hardware accelerators capable of significantly speeding up the training and inference processes of machine learning models.
In this article, we will explore how to use GPUs with TensorFlow to maximize performance and accelerate your machine learning workflows. We will discuss the prerequisites, steps to check GPU compatibility, and how to install and configure GPU drivers, CUDA toolkit, and cuDNN library. Additionally, we will cover compiling and running TensorFlow with GPU support and verifying GPU usage within TensorFlow.
By harnessing the computing power of GPUs, TensorFlow allows you to train and deploy your machine learning models more efficiently, leading to faster training times and improved overall performance. Whether you are working on a personal project or a large-scale machine learning application, utilizing GPUs with TensorFlow can significantly enhance your workflow and get you closer to achieving your desired results.
Before we dive into the technical details, let’s briefly explain why using GPUs with TensorFlow is crucial and highlight the benefits it can offer.
Prerequisites
Before getting started with using GPUs in Tensorflow, there are a few prerequisites you need to have in place:
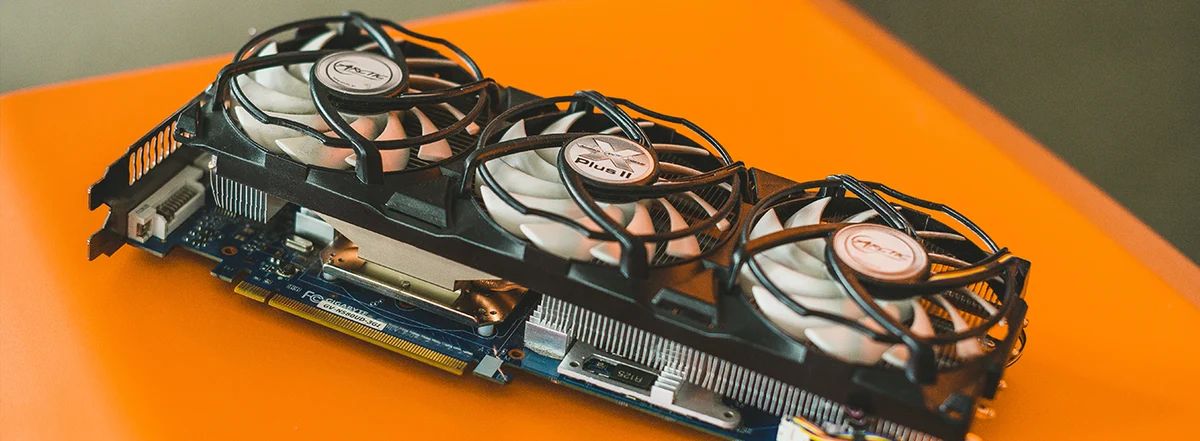
- A computer with a compatible GPU: NVIDIA GPUs are widely supported by Tensorflow. Ensure that your GPU is compatible with Tensorflow by checking the official documentation or NVIDIA’s website.
- A supported operating system: Tensorflow supports various operating systems such as Windows, Linux, and macOS. Ensure that your operating system is compatible and meets the minimum requirements specified by Tensorflow.
- Installation of Python and Tensorflow: Ensure that Python is installed on your system, along with the version of Tensorflow you intend to use. You can install Python using Anaconda or by downloading it from the official Python website. To install Tensorflow, you can use pip, the Python package manager.
It’s worth noting that using GPUs with Tensorflow can significantly boost performance, but it is not mandatory. You can still use Tensorflow without a GPU for smaller tasks or when working with limited computational resources.
Now that we have covered the prerequisites, let’s delve into the reasons why using GPUs with Tensorflow is highly recommended.
Why Use GPU with TensorFlow?
Using GPUs with TensorFlow offers several advantages that can greatly enhance your machine learning workflows. Let’s explore some of the key reasons why leveraging GPUs is highly recommended:
- Increased Computational Power: GPUs are designed to handle parallel processing, making them ideal for performing complex mathematical computations involved in training and running machine learning models. Compared to CPUs, GPUs can perform thousands of computations simultaneously, significantly speeding up the training process.
- Faster Training Times: When working with large datasets and complex models, training machine learning models can be time-consuming. By utilizing GPUs, the computational workload is offloaded from the CPU to the GPU, resulting in faster training times. This acceleration allows you to iterate and experiment with models more quickly.
- Improved Performance: The parallel processing power of GPUs can greatly improve the performance of your machine learning models. The ability to perform computations in parallel enables the simultaneous processing of multiple data points, leading to faster and more efficient prediction and inference times.
- Scalability: GPUs offer scalability by allowing you to increase the number of GPUs in your system. This scalability enables you to train and deploy larger and more complex models that would be otherwise challenging or impossible to handle with just a CPU.
- Cost Efficiency: Although GPUs can be an investment, they provide a cost-effective solution for machine learning tasks. The enhanced performance and reduced training times achieved by utilizing GPUs can save you significant resources in the long run by reducing the time required for experimentation and model development.
Overall, using GPUs with TensorFlow can lead to faster training times, improved model performance, and increased productivity in your machine learning projects. However, it’s important to ensure that your system is compatible with GPUs and that you follow proper installation and configuration steps.
Check GPU Compatibility
Before proceeding with using GPUs in TensorFlow, it’s essential to check if your GPU is compatible with the library. Tensorflow supports NVIDIA GPUs, and it’s recommended to use a GPU that meets the minimum requirements specified by Tensorflow.
To determine if your GPU is compatible, you can visit the official Tensorflow website or NVIDIA’s website for a list of supported GPUs. Look for your GPU model and ensure that it meets the requirements for Tensorflow.
In addition to compatibility, it’s important to consider the GPU’s available memory. Machine learning models, especially deep learning models, can be memory-intensive. Make sure that your GPU has sufficient memory to handle the size of the models you intend to train and run.
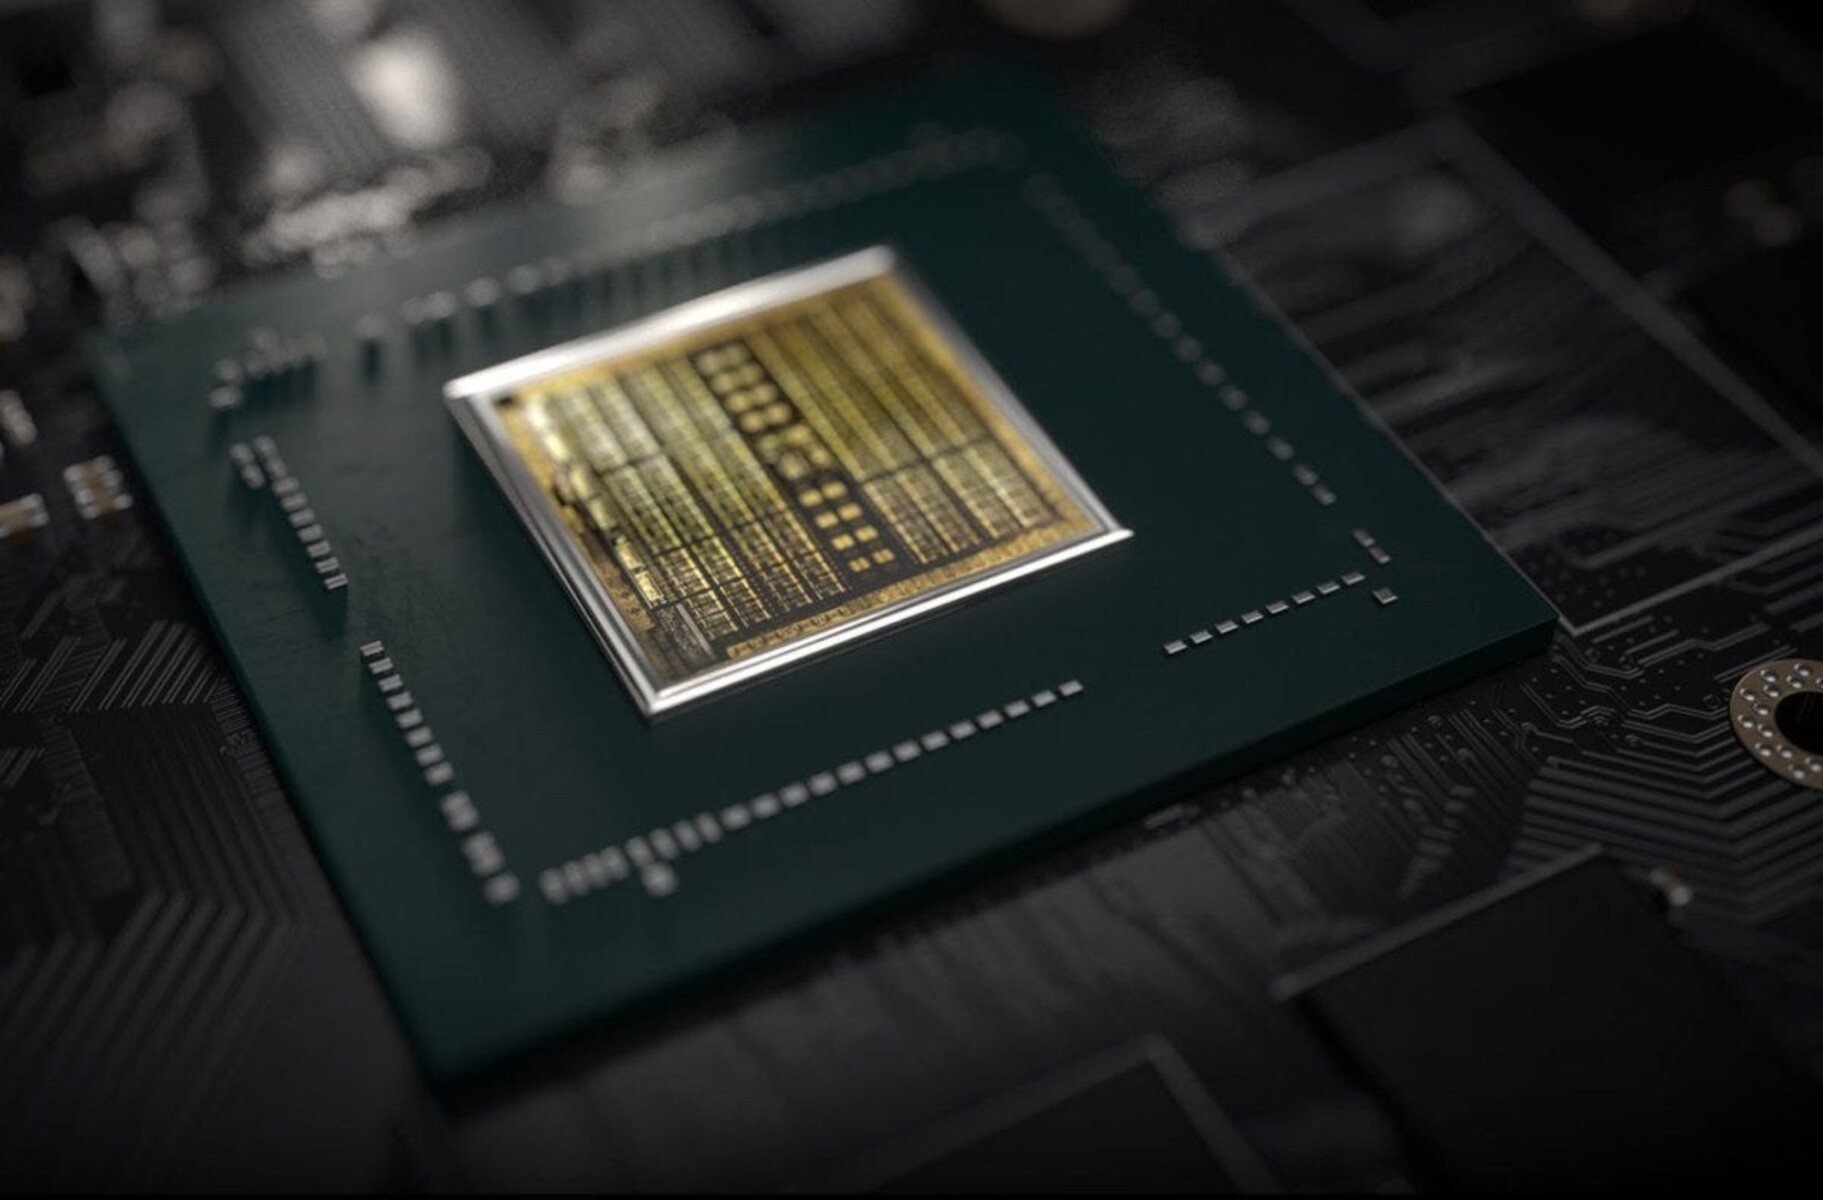
Another aspect to consider is the CUDA Compute Capability of your GPU. Tensorflow requires a minimum CUDA Compute Capability version to properly utilize the GPU. You can check the Compute Capability of your GPU on NVIDIA’s website or by using specialized tools like GPU-Z or GPU Caps Viewer.
Lastly, keep in mind that even if your GPU is not compatible with Tensorflow, you can still use the library with your CPU. While using a GPU can significantly accelerate machine learning tasks, TensorFlow also provides CPU support.
Once you have verified that your GPU is compatible, it’s time to proceed with the installation of the necessary GPU drivers.
Install GPU Drivers
Before you can utilize your GPU with TensorFlow, you need to have the appropriate GPU drivers installed on your system. These drivers enable communication between the operating system and the GPU, allowing TensorFlow to access and utilize the GPU’s computing power.
The process of installing GPU drivers varies depending on your operating system and the specific GPU model you have. Here are the general steps to install GPU drivers:
- Check the GPU manufacturer’s website: Visit the website of your GPU manufacturer, such as NVIDIA, AMD, or Intel, to find and download the latest GPU drivers for your specific GPU model.
- Download the drivers: Locate and download the appropriate GPU drivers for your operating system and GPU model. Make sure to download the version that is compatible with your system and supports the CUDA version required by TensorFlow.
- Run the driver installer: Once the driver package is downloaded, run the installer and follow the on-screen instructions. This will guide you through the installation process, which typically involves agreeing to the license terms and selecting the installation options.
- Restart the system: After the driver installation is complete, it is recommended to restart your computer to ensure that the changes take effect.
- Verify the driver installation: To confirm that the GPU drivers are installed correctly and functioning properly, you can check the device manager or use command-line tools such as “nvidia-smi” for NVIDIA GPUs or “rocm-smi” for AMD GPUs.
It is essential to keep your GPU drivers up to date to ensure compatibility with the latest versions of TensorFlow and to take advantage of any performance improvements and bug fixes provided by driver updates.
After successfully installing the GPU drivers, the next step is to install the CUDA toolkit, which provides additional libraries and tools necessary for GPU acceleration with TensorFlow.
Install CUDA Toolkit
The CUDA toolkit is a software development kit provided by NVIDIA that includes libraries, tools, and programming interfaces for GPU programming. To utilize the GPU acceleration capabilities of TensorFlow, you need to install the CUDA toolkit on your system.
Here are the steps to install the CUDA toolkit:
- Check the CUDA compatibility: Before installing the CUDA toolkit, ensure that your GPU is compatible with the CUDA version required by TensorFlow. You can find the CUDA compatibility information in the TensorFlow documentation or on NVIDIA’s website.
- Download the CUDA toolkit installer: Visit NVIDIA’s CUDA toolkit download page and select the appropriate version for your operating system.
- Run the installer: Execute the downloaded CUDA toolkit installer and follow the on-screen instructions. You may have the option to choose the installation location and select the components you want to install. It is recommended to install all the components to ensure full compatibility with TensorFlow.
- Set environment variables: After the installation, you need to set the environment variables to let your system know where the CUDA toolkit is installed. Depending on your operating system, the process for setting environment variables may vary. Refer to the CUDA toolkit documentation for detailed instructions for your specific OS.
- Verify the CUDA installation: To confirm that the CUDA toolkit is installed correctly, you can run the `nvcc –version` command in the command prompt or terminal. This should display the installed CUDA version.
Installing the CUDA toolkit is a crucial step in enabling GPU acceleration with TensorFlow. It provides the necessary libraries and tools for TensorFlow to communicate and interface with the GPU, making full use of its computational capabilities.
Once you have successfully installed the CUDA toolkit, the next step is to install the cuDNN library, which further optimizes GPU performance for deep neural networks.
Install cuDNN Library
The cuDNN (CUDA Deep Neural Network) library is a GPU-accelerated library provided by NVIDIA. It is specifically designed to enhance the performance of deep neural networks on CUDA-compatible GPUs. To maximize the performance of TensorFlow with GPU support, it is essential to install the cuDNN library.
Follow the steps below to install the cuDNN library:
- Download cuDNN: Visit the NVIDIA Developer website and navigate to the cuDNN download page. Select the version of cuDNN compatible with your CUDA version and operating system. You may need to create an NVIDIA Developer account and agree to the terms and conditions.
- Extract the downloaded file: Once the download is complete, extract the contents of the downloaded cuDNN file to a directory on your system.
- Copy files to CUDA installation: Navigate to the extracted cuDNN directory and locate the `bin`, `include`, and `lib` folders. Copy the files from these folders to the corresponding directories within your CUDA installation.
- Verify the installation: To verify the cuDNN installation, you can run a TensorFlow script or example that utilizes the GPU. If the installation is successful, TensorFlow will be able to utilize cuDNN for accelerated deep neural network operations.
The cuDNN library optimizes the GPU performance for deep neural networks, leading to faster training and inference times in TensorFlow. By installing cuDNN, you can take full advantage of the computational power of your GPU and further enhance the performance of your machine learning models.
Now that you have installed the necessary GPU drivers, CUDA toolkit, and cuDNN library, you are ready to compile and run TensorFlow with GPU support.
Compile and Run TensorFlow with GPU Support
After successfully installing the GPU drivers, CUDA toolkit, and cuDNN library, the next step is to compile and run TensorFlow with GPU support. Here’s a guide to help you through the process:
- Create a virtual environment (optional): It is recommended to create a virtual environment to isolate the TensorFlow installation. This allows you to manage packages and dependencies more efficiently.
- Install TensorFlow with GPU support: Use pip or a package manager like Anaconda to install the GPU-enabled version of TensorFlow. Make sure to install a version that matches your CUDA and cuDNN installations.
- Import TensorFlow and check GPU usage: In your Python script, import TensorFlow and check that it is using the GPU. You can use the `tf.config.list_physical_devices(‘GPU’)` function to verify that the GPU is recognized and available for use.
- Configure TensorFlow to use the GPU: By default, TensorFlow will automatically allocate GPU memory as needed. However, you can also set specific memory usage options using TensorFlow’s GPU configuration settings to optimize performance based on your specific requirements.
- Compile and run your TensorFlow code: Write your machine learning or deep learning code using TensorFlow and run it. TensorFlow will leverage the GPU resources to accelerate computations, resulting in faster training and inference times.
Remember to monitor the GPU usage during the execution of your TensorFlow code. You can use tools like NVIDIA System Monitor or the command-line utility `nvidia-smi` to check the GPU utilization and ensure that TensorFlow is effectively utilizing the GPU resources.
With TensorFlow properly configured to use GPU support, you can unleash the full power of your GPU and achieve significant performance improvements in your machine learning tasks.
Now that you are familiar with compiling and running TensorFlow with GPU support, let’s move on to verifying the GPU usage within TensorFlow.
Verify GPU Usage in TensorFlow
Once you have compiled and run TensorFlow with GPU support, it’s crucial to verify that TensorFlow is utilizing the GPU resources effectively. This verification ensures that your machine learning models are indeed benefiting from GPU acceleration. Here’s how you can verify GPU usage in TensorFlow:
- Check GPU device availability: Use the `tf.config.list_physical_devices(‘GPU’)` function in a Python script to check if the GPU device is available and recognized by TensorFlow.
- Enable GPU memory growth: TensorFlow automatically allocates all GPU memory by default. However, you can enable GPU memory growth by setting the `tf.config.experimental.set_memory_growth` option to True. This allows TensorFlow to allocate only what is necessary, preventing excessive memory allocation and potential issues.
- Monitor GPU memory usage: You can monitor the GPU memory usage during model training or inference using tools like the `nvidia-smi` command-line utility. It displays information about GPU usage, memory utilization, and other performance metrics in real-time.
- Run TensorFlow operations on the GPU: Ensure that your TensorFlow operations are being executed on the GPU by using the `with tf.device(‘/GPU:0’)` context manager or by explicitly placing tensors and operations on the GPU device.
- Measure execution time: Compare the execution time of your TensorFlow code with and without GPU support. If GPU acceleration is working correctly, you should observe a significant reduction in execution time when executing on the GPU.
By verifying GPU usage in TensorFlow, you can confirm that your machine learning models are utilizing the GPU resources as intended. This verification not only ensures optimal performance but also helps identify any potential issues or configuration problems.
With GPU usage verified and properly optimized, you can unleash the full potential of TensorFlow’s GPU acceleration and enjoy the benefits of faster training and inference times in your machine learning projects.
Now that you have successfully verified the GPU usage in TensorFlow, you are ready to apply the power of GPUs to accelerate your machine learning workflows.
Conclusion
Utilizing GPUs with TensorFlow can significantly enhance the performance and speed of your machine learning workflows. By following the steps outlined in this article, you can harness the power of GPUs to accelerate training and inference times, improve model performance, and boost productivity.
We began by understanding the prerequisites, including having a compatible GPU, supported operating system, and Python with TensorFlow installed. We then explored the reasons why using GPUs with TensorFlow is highly recommended, such as increased computational power, faster training times, improved performance, scalability, and cost efficiency.
Next, we covered the importance of checking GPU compatibility to ensure compatibility with TensorFlow, including verifying the GPU model, available memory, and CUDA Compute Capability. We then discussed the process of installing GPU drivers, CUDA toolkit, and cuDNN library, which are essential components for enabling CUDA-based GPU acceleration with TensorFlow.
Furthermore, we explored how to compile and run TensorFlow with GPU support, ensuring that TensorFlow is effectively leveraging the GPU resources for faster computations. We also explained the importance of verifying GPU usage in TensorFlow by checking the availability of the GPU device, monitoring GPU memory usage, and measuring the execution time.
By incorporating GPUs into your TensorFlow workflows, you can experience significant performance improvements, reduced training times, and enhanced productivity in your machine learning projects. However, it’s important to ensure compatibility, follow proper installation steps, and monitor GPU usage to achieve optimal results.
Now that you have learned how to use GPUs with TensorFlow, you are well-equipped to leverage the power of GPUs in your machine learning endeavors and unlock new possibilities in the field of AI. Start implementing GPU acceleration in your TensorFlow projects and witness the transformative impact it can have on your machine learning workflow.