Introduction
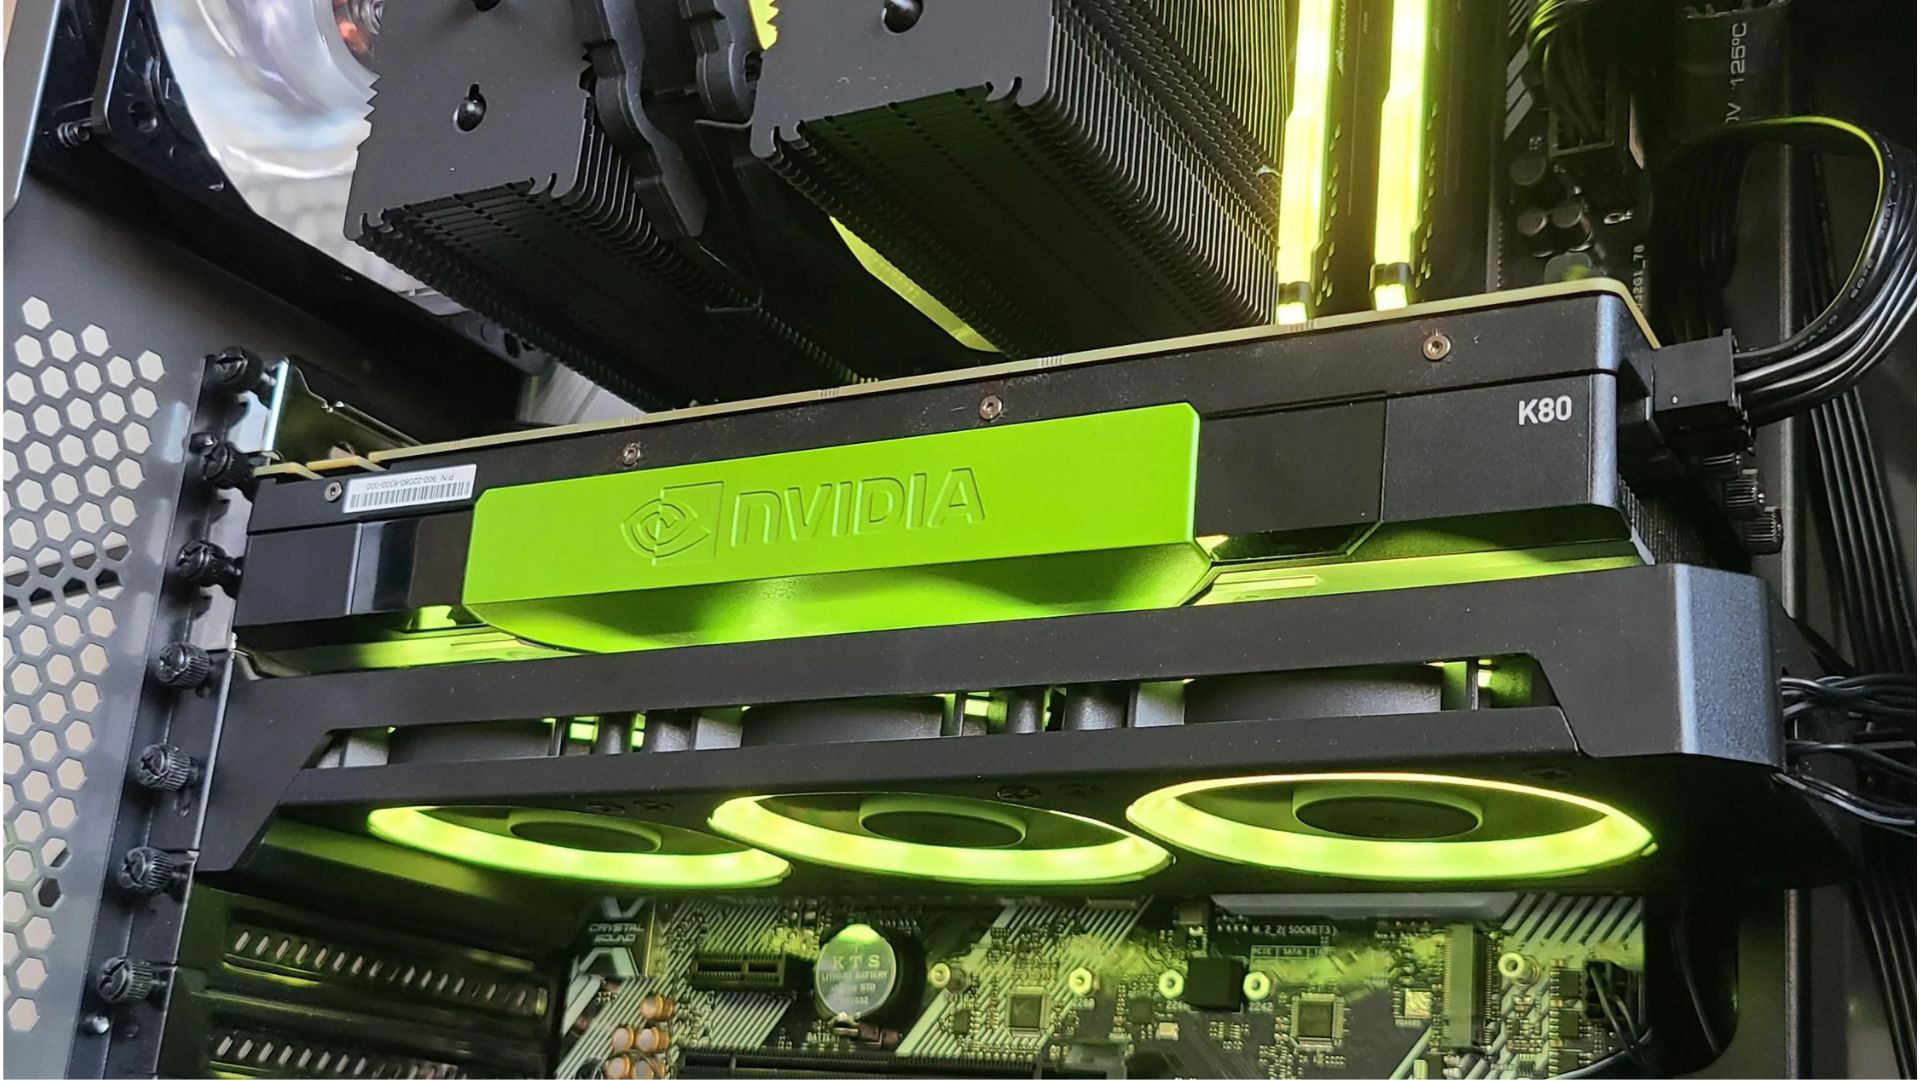
Welcome to the world of deep learning with PyTorch! PyTorch is a powerful and popular open-source machine learning library that allows you to build and train deep neural networks. One of the major advantages of PyTorch is its ability to utilize a GPU (Graphics Processing Unit) for accelerated computations, leading to faster training times and improved performance.
GPU-accelerated training is especially beneficial when dealing with complex models and large datasets. By leveraging the parallel processing capabilities of a GPU, PyTorch can significantly speed up the training process, making it an essential tool for many deep learning practitioners.
In this guide, we will walk you through the process of using GPUs with PyTorch. You will learn how to check for GPU availability, configure the device settings, load and preprocess data, define a deep learning model, and implement the training loop. Additionally, we will cover the evaluation process to assess the performance of your trained model.
Before we dive into the technical details, let’s make sure you have all the prerequisites in place.
If you are unfamiliar with PyTorch itself, it is recommended to have some basic knowledge of Python programming and machine learning concepts. Familiarity with deep learning frameworks will also be beneficial, but not mandatory.
Now that you are ready, let’s start harnessing the power of GPUs to accelerate your PyTorch deep learning projects!
Prerequisites
Before you get started with using GPUs in PyTorch, there are a few prerequisites that you need to fulfill:
- Python and PyTorch Installation: Make sure you have Python installed on your machine. You can download the latest version of Python from the official website. Once Python is installed, you can use the pip package manager to install PyTorch by running the command:
pip install torch. - NVIDIA Drivers and CUDA Toolkit: GPUs require specific drivers to work properly. Ensure that you have the latest NVIDIA drivers installed on your machine. Additionally, you will need to install the CUDA Toolkit, which provides the necessary libraries and tools for GPU processing. Visit the NVIDIA website to download the appropriate drivers and CUDA Toolkit version for your GPU and operating system.
- CUDA-capable GPU: To utilize GPU acceleration, you need a compatible NVIDIA GPU. Check the official NVIDIA documentation to verify if your GPU is CUDA-capable. Keep in mind that not all GPUs support CUDA, so it is crucial to ensure compatibility before proceeding.
Once you have fulfilled these prerequisites, you can move on to checking for GPU availability in PyTorch.
In the next section, we will guide you through the process of determining if your system has a GPU that can be used for accelerating PyTorch computations.
Checking for GPU Availability
Before you dive into GPU-accelerated training in PyTorch, it’s important to determine if your system has a GPU available for use. PyTorch provides a simple way to check for GPU availability using the torch.cuda.is_available() function.
To check for GPU availability, you can use the following code:
import torch

if torch.cuda.is_available():
    print("GPU is available!")
else:
    print("GPU is not available.")
The torch.cuda.is_available() function returns a boolean value indicating whether a GPU is available or not. If a GPU is available, the code will print “GPU is available!” to the console. Otherwise, it will print “GPU is not available.”
If you have multiple GPUs on your system and you want to check their availability separately, you can use the torch.cuda.device_count() function to get the number of available GPUs. You can then iterate over the GPUs using torch.cuda.get_device_name() to get the name of each GPU.
It’s important to note that even if your system has a GPU, it’s still possible that it may not be compatible with PyTorch or the CUDA Toolkit version you have installed. In such cases, you may need to update your drivers or CUDA Toolkit to ensure compatibility.
Now that you have checked for GPU availability, it’s time to configure the device settings for PyTorch.
Device Configuration
Once you have confirmed that a GPU is available for use, the next step is to configure PyTorch to utilize the GPU for computations. PyTorch provides a way to set the device on which tensors and operations will be executed using the torch.device class.
To configure the device, you can use the following code:
import torch

device = torch.device("cuda" if torch.cuda.is_available() else "cpu")

print("Device:", device)
The code above first checks for GPU availability using torch.cuda.is_available(). It then sets the device to “cuda” if a GPU is available, or “cpu” if a GPU is not available.
By setting the device to “cuda”, PyTorch tensors and operations will be executed on the GPU. This allows for accelerated computations and faster training times. If a GPU is not available, the code will fall back to using the CPU for computations.
It’s important to note that once the device is set, all subsequent tensors and operations will be executed on that device. To move a tensor to a specific device, you can use the to() method.
import torch

# Assuming device has been set as in the previous code snippet

# Create a tensor
x = torch.tensor([1, 2, 3])

# Move the tensor to the device
x = x.to(device)

# Perform operations on the tensor
y = x + 2

print("Result:", y)
In the code above, the to() method is used to move the tensor x to the device specified. Any subsequent operations performed on the tensor x will be executed on the specified device.
Now that you have configured the device settings, you are ready to proceed with loading and preprocessing your data in PyTorch.
Data Loading and Preprocessing
When working with deep learning models, it’s essential to load and preprocess the data before training. PyTorch provides various tools and utilities to facilitate data loading and preprocessing tasks.
To load data in PyTorch, you can utilize the torch.utils.data.Dataset class. This class allows you to define a custom dataset by implementing the __getitem__ and __len__ methods.
Here’s an example of creating a custom dataset:
import torch
from torch.utils.data import Dataset

class CustomDataset(Dataset):
    def __init__(self, data):
        self.data = data

    def __getitem__(self, index):
        # Get an item from the dataset
        item = self.data[index]

        # Perform preprocessing on the item

        # Return the preprocessed item
        return item

    def __len__(self):
        # Return the total number of items in the dataset
        return len(self.data)

# Usage example
data = [...] # Your data here
dataset = CustomDataset(data)

# Accessing data
sample = dataset[0]
In the code above, the CustomDataset class is defined with the __getitem__ and __len__ methods. The __getitem__ method is responsible for retrieving an individual item from the dataset at the specified index. Preprocessing can be performed on the item if necessary before returning it. The __len__ method returns the total number of items in the dataset.
Once you have your dataset, you can use PyTorch’s DataLoader class to iterate over the data in batches. This class provides functionality for shuffling, batching, and parallel data loading.
Here’s an example of using the DataLoader class:
from torch.utils.data import DataLoader

# Usage example
batch_size = 32
dataloader = DataLoader(dataset, batch_size=batch_size, shuffle=True)

# Training loop
for batch in dataloader:
    # Perform training on the current batch
    ...
In the code above, the DataLoader class is used to iterate over the dataset in batches. The batch_size parameter specifies the size of each batch. By setting shuffle=True, the data will be randomly shuffled at every epoch to introduce randomness in the training process.
With the data loaded and preprocessed, you’re now ready to define your deep learning model in PyTorch.
Model Definition
In PyTorch, defining a deep learning model involves creating a class that inherits from the torch.nn.Module class. This class represents the model and provides a way to organize layers and operations.
Let’s take a look at an example of defining a simple convolutional neural network (CNN) model:
import torch
import torch.nn as nn

class ConvNet(nn.Module):
    def __init__(self):
        super(ConvNet, self).__init__()

        # Define the layers of the model
        self.conv1 = nn.Conv2d(in_channels=3, out_channels=16, kernel_size=3, stride=1, padding=1)
        self.relu = nn.ReLU()
        self.pool = nn.MaxPool2d(kernel_size=2, stride=2)
        self.fc = nn.Linear(in_features=16 * 8 * 8, out_features=10)

    def forward(self, x):
        # Forward pass computations
        x = self.conv1(x)
        x = self.relu(x)
        x = self.pool(x)
        x = x.view(-1, 16 * 8 * 8)
        x = self.fc(x)
        return x

# Usage example
model = ConvNet()

# Move the model to the selected device
model = model.to(device)

# Print the model architecture
print(model)
In the code above, the ConvNet class is defined by inheriting from the torch.nn.Module class. The __init__ method is used to define the layers of the model. In this example, we have a convolutional layer, a ReLU activation function, a pooling layer, and a fully connected layer.
The forward method is responsible for performing the actual forward pass computations. It takes an input tensor x and passes it through the defined layers, returning the output tensor.
Later on, we create an instance of the ConvNet class and move the model to the selected device using the to() method. This ensures that the model’s parameters and computations are performed on the specified device.
By printing the model architecture, we can see the structure and parameters of the defined model.
Now that we have our model defined, we can move on to the next step, which is training the model using GPU acceleration in PyTorch.
Training Loop
Once you have defined your model, you can proceed to train it using the GPU-accelerated capabilities of PyTorch. The training loop is responsible for iterating over the data, computing the forward and backward passes, and updating the model’s parameters based on the loss.
Let’s take a look at an example of the training loop:
import torch
import torch.optim as optim
import torch.nn as nn

# Define the model
model = ConvNet()

# Define the loss function
criterion = nn.CrossEntropyLoss()

# Define the optimizer
optimizer = optim.SGD(model.parameters(), lr=0.001)

# Move the model and criterion to the selected device
model = model.to(device)
criterion = criterion.to(device)

# Training loop
for epoch in range(num_epochs):
    running_loss = 0.0

    for i, batch in enumerate(dataloader):
        # Get the inputs and labels from the batch
        inputs, labels = batch

        # Move the inputs and labels to the selected device
        inputs = inputs.to(device)
        labels = labels.to(device)

        # Zero the parameter gradients
        optimizer.zero_grad()

        # Perform forward pass
        outputs = model(inputs)

        # Compute the loss
        loss = criterion(outputs, labels)

        # Perform backward pass and optimization
        loss.backward()
        optimizer.step()

        # Update the running loss
        running_loss += loss.item()

    # Print the average loss for the epoch
    average_loss = running_loss / len(dataloader)
    print(f"Epoch [{epoch+1}/{num_epochs}], Loss: {average_loss}")
In the code above, we first define the model, loss function (criterion), and optimizer. These components are then moved to the selected device using the to() method.
Inside the training loop, we iterate over the batches provided by the DataLoader. For each batch, we move the inputs and labels to the selected device, zero the optimizer’s gradients, perform the forward pass, compute the loss, perform the backward pass, and update the model’s parameters using the optimizer.
We also keep track of the running loss, which is the cumulative loss over all batches within the epoch. After each epoch, we calculate the average loss by dividing the running loss by the number of batches and print it to monitor the training progress.
This training loop allows you to train your model on the GPU, leveraging the parallel processing capabilities to accelerate the training process and enhance performance.
Now that you have trained your model, it’s time to evaluate its performance using GPU acceleration.
Evaluation
Once the model is trained, it’s important to evaluate its performance to assess its accuracy and generalization capabilities. PyTorch provides a straightforward process for performing model evaluation using GPU acceleration.
Let’s take a look at an example of evaluating a trained model:
import torch
import torch.nn as nn

# Define the model
model = ConvNet()

# Load the trained model parameters
model.load_state_dict(torch.load('model.pth'))

# Move the model to the selected device
model = model.to(device)

# Set the model to evaluation mode
model.eval()

# Define the criterion
criterion = nn.CrossEntropyLoss()

# Move the criterion to the selected device
criterion = criterion.to(device)

# Initialize variables for evaluation
total_correct = 0
total_samples = 0

# Evaluation loop
with torch.no_grad():
    for i, batch in enumerate(test_dataloader):
        # Get the inputs and labels from the batch
        inputs, labels = batch

        # Move the inputs and labels to the selected device
        inputs = inputs.to(device)
        labels = labels.to(device)

        # Perform forward pass
        outputs = model(inputs)

        # Compute the predicted labels
        _, predicted = torch.max(outputs, 1)

        # Update the evaluation variables
        total_samples += labels.size(0)
        total_correct += (predicted == labels).sum().item()

# Calculate the accuracy
accuracy = total_correct / total_samples

# Print the accuracy
print("Accuracy:", accuracy)
In the code above, we first define the model and load the trained model parameters from a specified file (in this case, ‘model.pth’). The model is then moved to the selected device using the to() method.
We set the model to evaluation mode by calling model.eval(). This ensures that certain layers, such as dropout and batch normalization, behave differently during evaluation compared to training.
Inside the evaluation loop, we iterate over the test data batches and perform the forward pass to get the predicted outputs. We calculate the predicted labels by taking the maximum value along the appropriate dimension of the output tensor. We then update the total number of samples and the number of correct predictions.
After the evaluation loop, we calculate the accuracy by dividing the total number of correct predictions by the total number of samples and print the result.
This evaluation process allows you to measure the performance of your trained model using GPU acceleration, giving you insights into its accuracy and effectiveness.
Now that you have evaluated your model, you can make further improvements or deploy it for real-world applications.
Conclusion
In this guide, we have explored how to use GPUs with PyTorch to accelerate deep learning computations. We started by checking for GPU availability using the torch.cuda.is_available() function and configuring the device settings with the torch.device class.
We then discussed the process of loading and preprocessing data using the torch.utils.data.Dataset class and iterating over the data in batches using the torch.utils.data.DataLoader class.
Next, we covered the model definition process, including creating a class that inherits from the torch.nn.Module class and implementing the forward pass computations.
Afterwards, we delved into the training loop, which involved iterating over the data, computing forward and backward passes, and updating the model’s parameters. We also highlighted the benefits of GPU acceleration in speeding up the training process.
Finally, we explored the evaluation process, where we loaded the trained model, performed forward passes on test data, calculated the accuracy, and assessed the model’s performance.
Using GPUs with PyTorch can significantly improve the training time and performance of your deep learning models. It allows you to leverage the parallel processing capabilities of GPUs to accelerate computations and handle large datasets efficiently.
Now that you are equipped with the knowledge of using GPUs in PyTorch, you can unleash the full potential of your deep learning projects and continue to explore the exciting world of AI and machine learning.


