Introduction
Welcome to our guide on how to install the H100I CPU cooler! If you’re looking to upgrade your computer’s cooling system and ensure optimal performance, the H100I CPU cooler is an excellent choice. Designed to keep your processor cool even under heavy workloads, this CPU cooler is packed with top-of-the-line features and provides reliable cooling for your system.
Installing a CPU cooler can seem daunting, especially if you’re unfamiliar with the process. However, with our easy-to-follow steps and detailed instructions, you’ll be able to install the H100I CPU cooler like a pro. In this guide, we’ll walk you through each step, from unboxing the CPU cooler to configuring the cooling software.
Before we get started, it’s important to note that the H100I CPU cooler is compatible with most modern CPU sockets, including Intel’s LGA 115x, 2011/2066, and AMD’s AM3/AM4 sockets. However, it’s always a good idea to double-check your motherboard’s compatibility before proceeding.
Now, let’s dive into the installation process and get your H100I CPU cooler up and running!
Step 1: Unboxing the H100I CPU Cooler
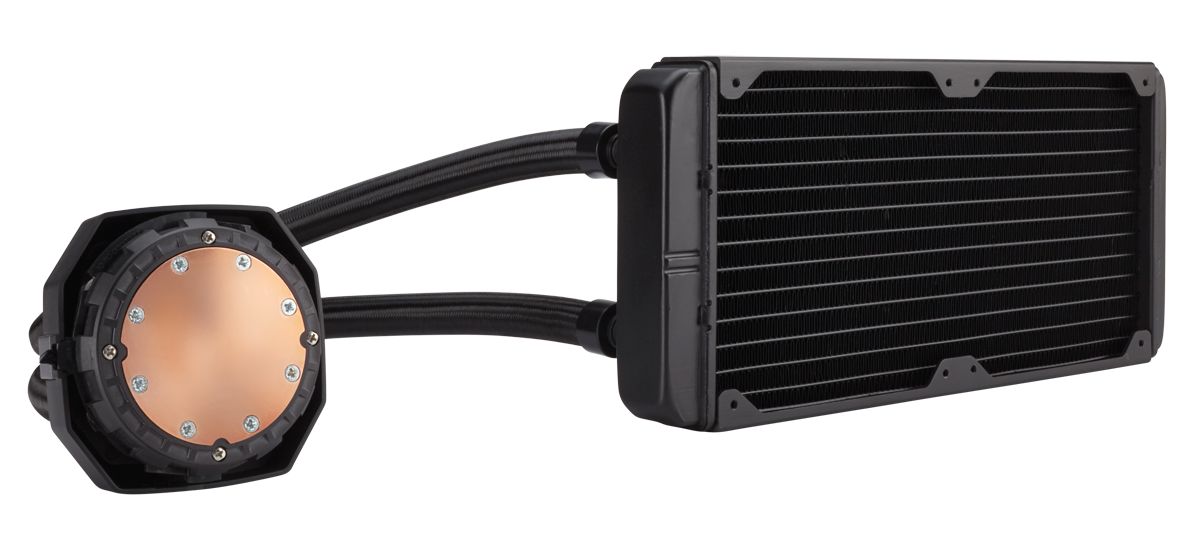
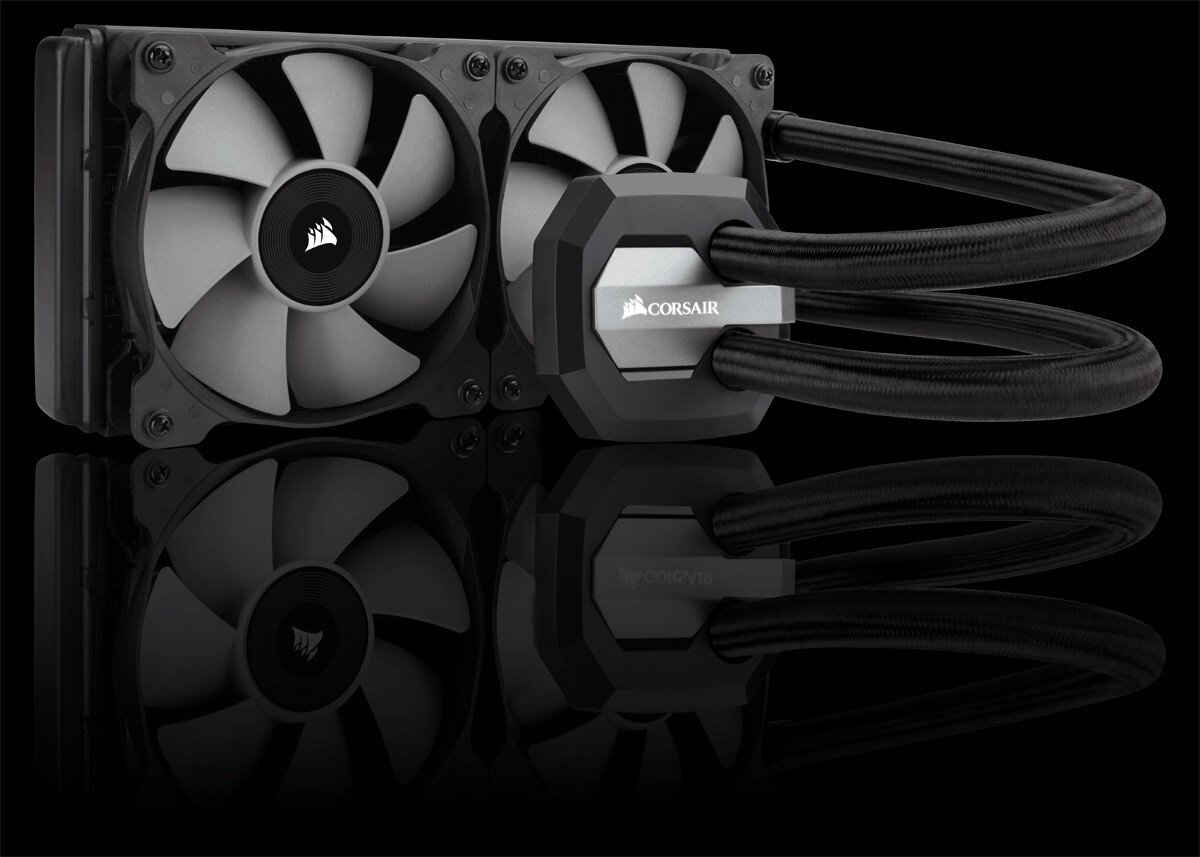
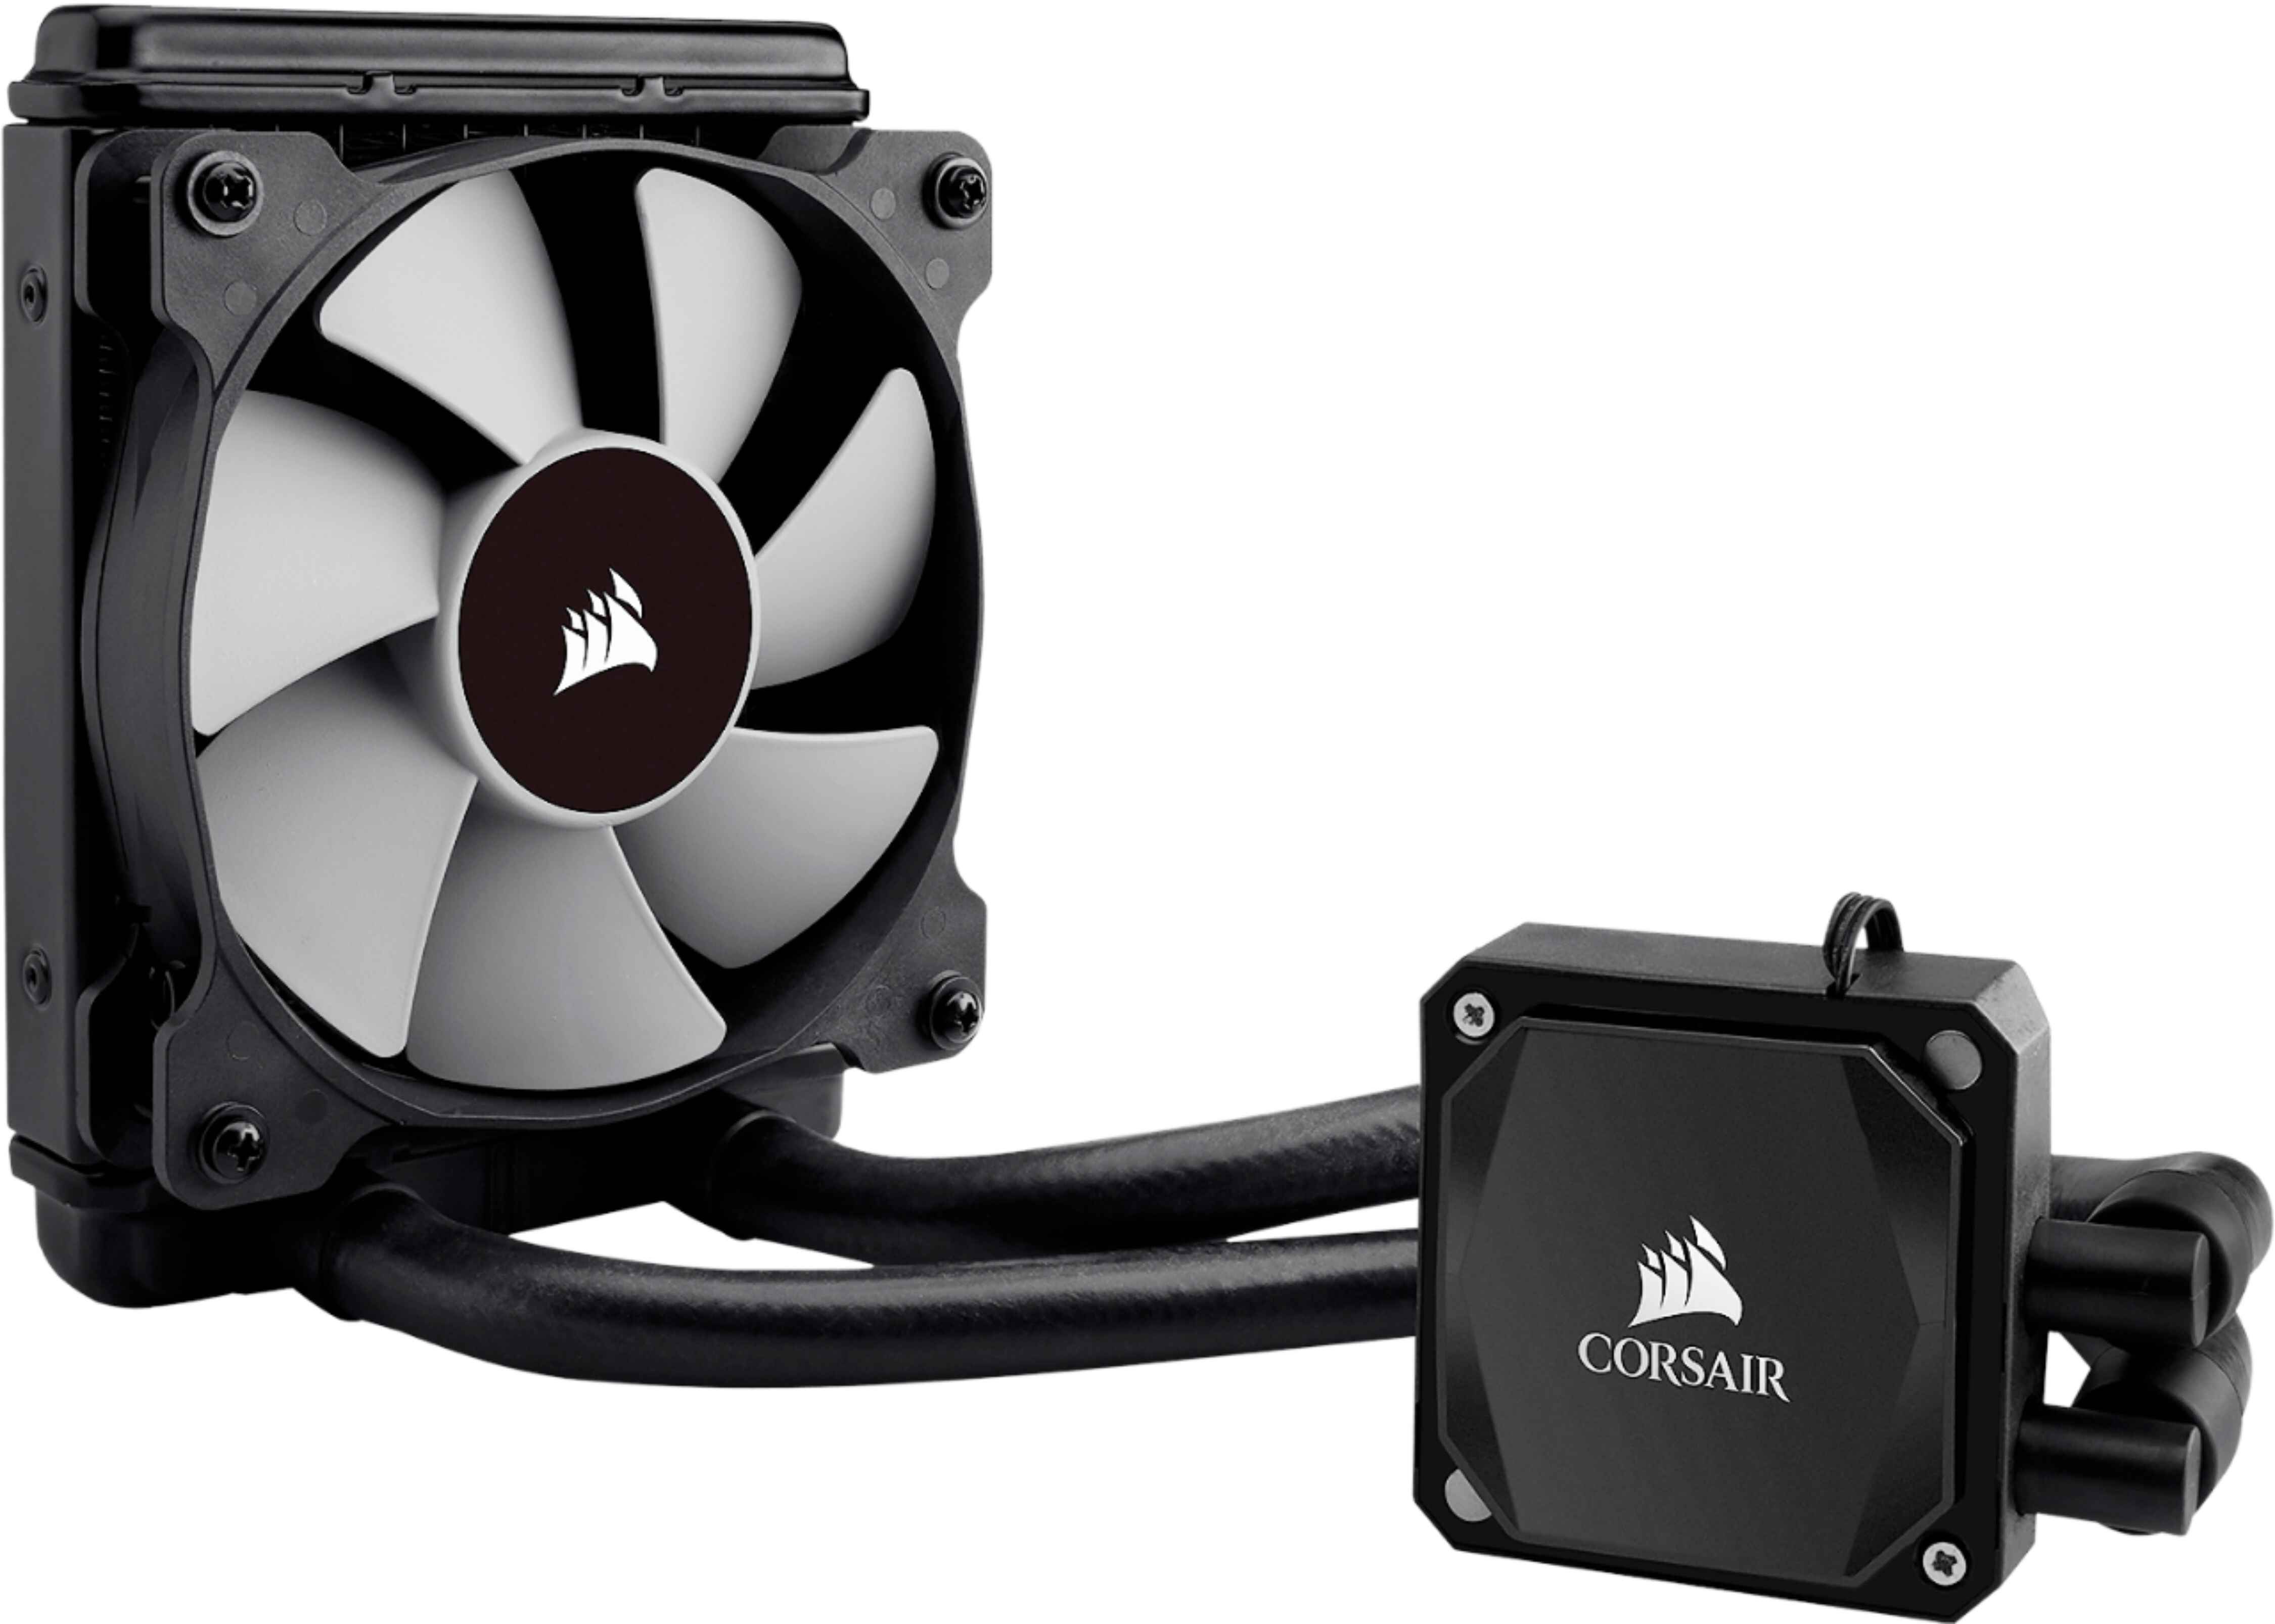
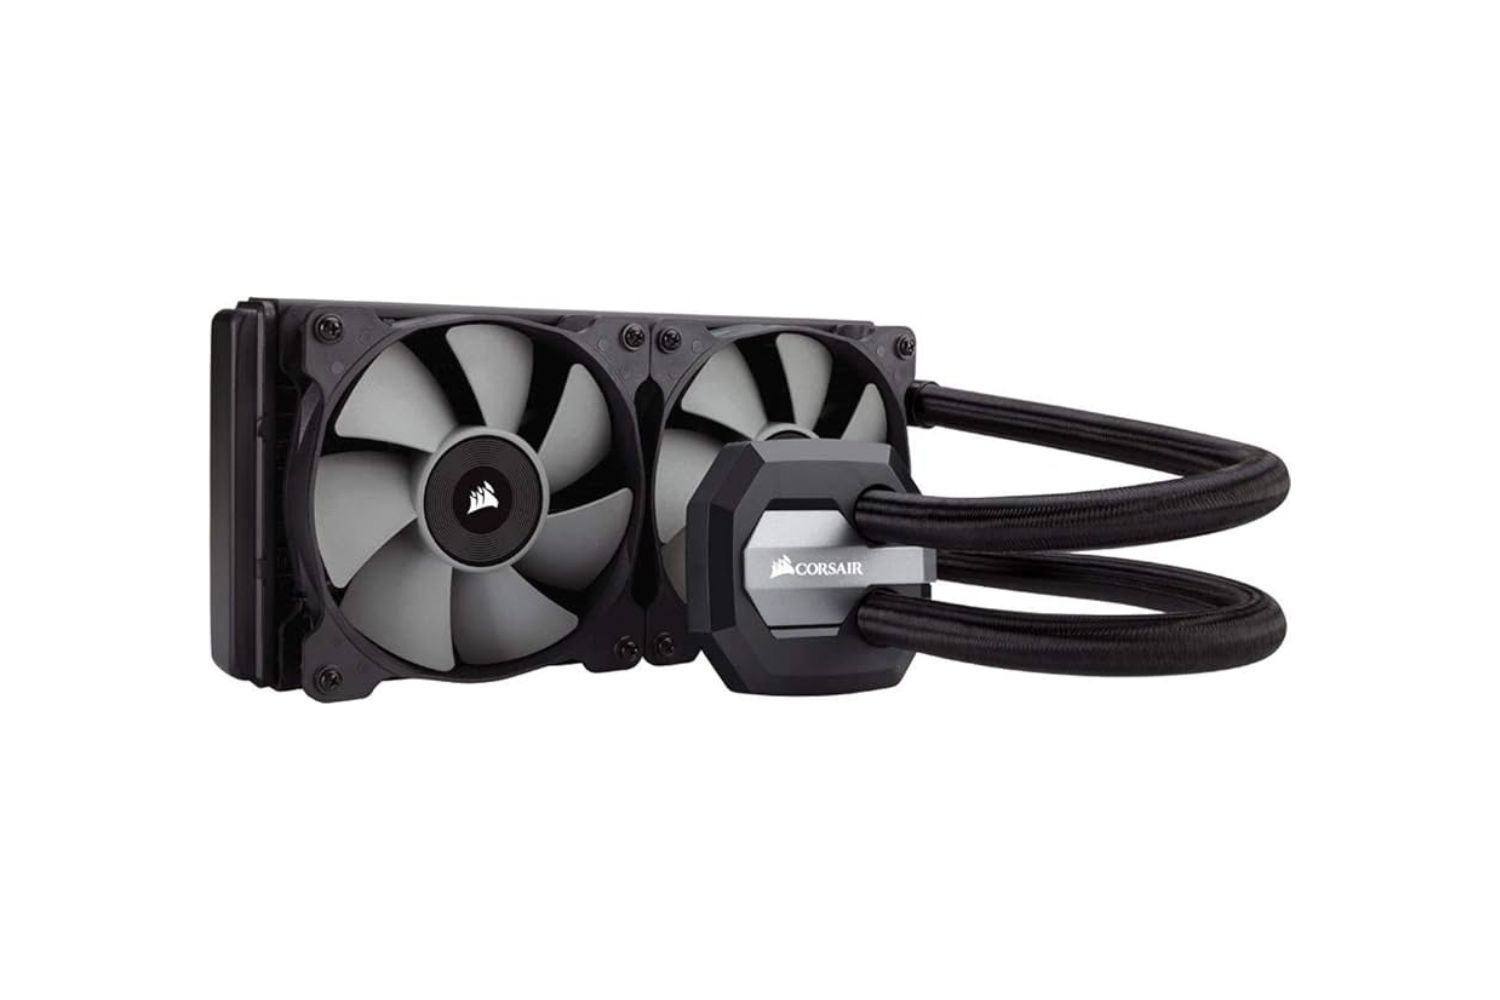
The first step in installing the H100I CPU cooler is unboxing the package and familiarizing yourself with its contents. When you open the box, you’ll find the CPU cooler itself, a mounting bracket, a set of screws and washers, and an instruction manual.
Take a moment to carefully inspect each component to ensure there is no visible damage. It’s also a good idea to read through the instruction manual, as it will provide you with specific guidelines for your CPU socket type and any additional equipment you may need.
Before moving on to the next step, ensure that you have all the necessary tools at hand. You’ll typically need a screwdriver (either flat-head or Phillips, depending on the screw type) and thermal paste to apply to the CPU.
Once you’re ready, let’s proceed to the next step: preparing the motherboard for installation.
Step 2: Preparing the Motherboard for Installation
Before mounting the H100I CPU cooler on your motherboard, it’s essential to prepare the motherboard to ensure a secure and effective installation. This step involves removing the existing cooler (if any) and locating the CPU socket on your motherboard.
If your motherboard already has a cooler attached, carefully loosen the screws or clips that hold it in place. Gently disconnect any power cables or fan connectors connected to the cooler. Remove the cooler from the CPU socket, ensuring not to damage any other components in the process.
Next, locate the CPU socket on your motherboard. Depending on your motherboard model, the CPU socket may have a protective plastic cover. In that case, remove the cover by carefully lifting it upward.
Once the CPU socket is exposed, take a moment to inspect its condition. Ensure that no dust, debris, or thermal paste residue is present. Use a can of compressed air or a soft brush to clean the area around the socket carefully.
It’s also important to note that some CPU coolers require a backplate installation. If this is the case with your H100I CPU cooler, check the instruction manual for the specific steps to mount the backplate securely.
With the motherboard prepared, you’re now ready to mount the H100I CPU cooler. In the following step, we’ll guide you through the process of securely attaching the cooler to the motherboard. So, let’s move on to Step 3: Mounting the CPU Cooler on the Motherboard.
Step 3: Mounting the CPU Cooler on the Motherboard
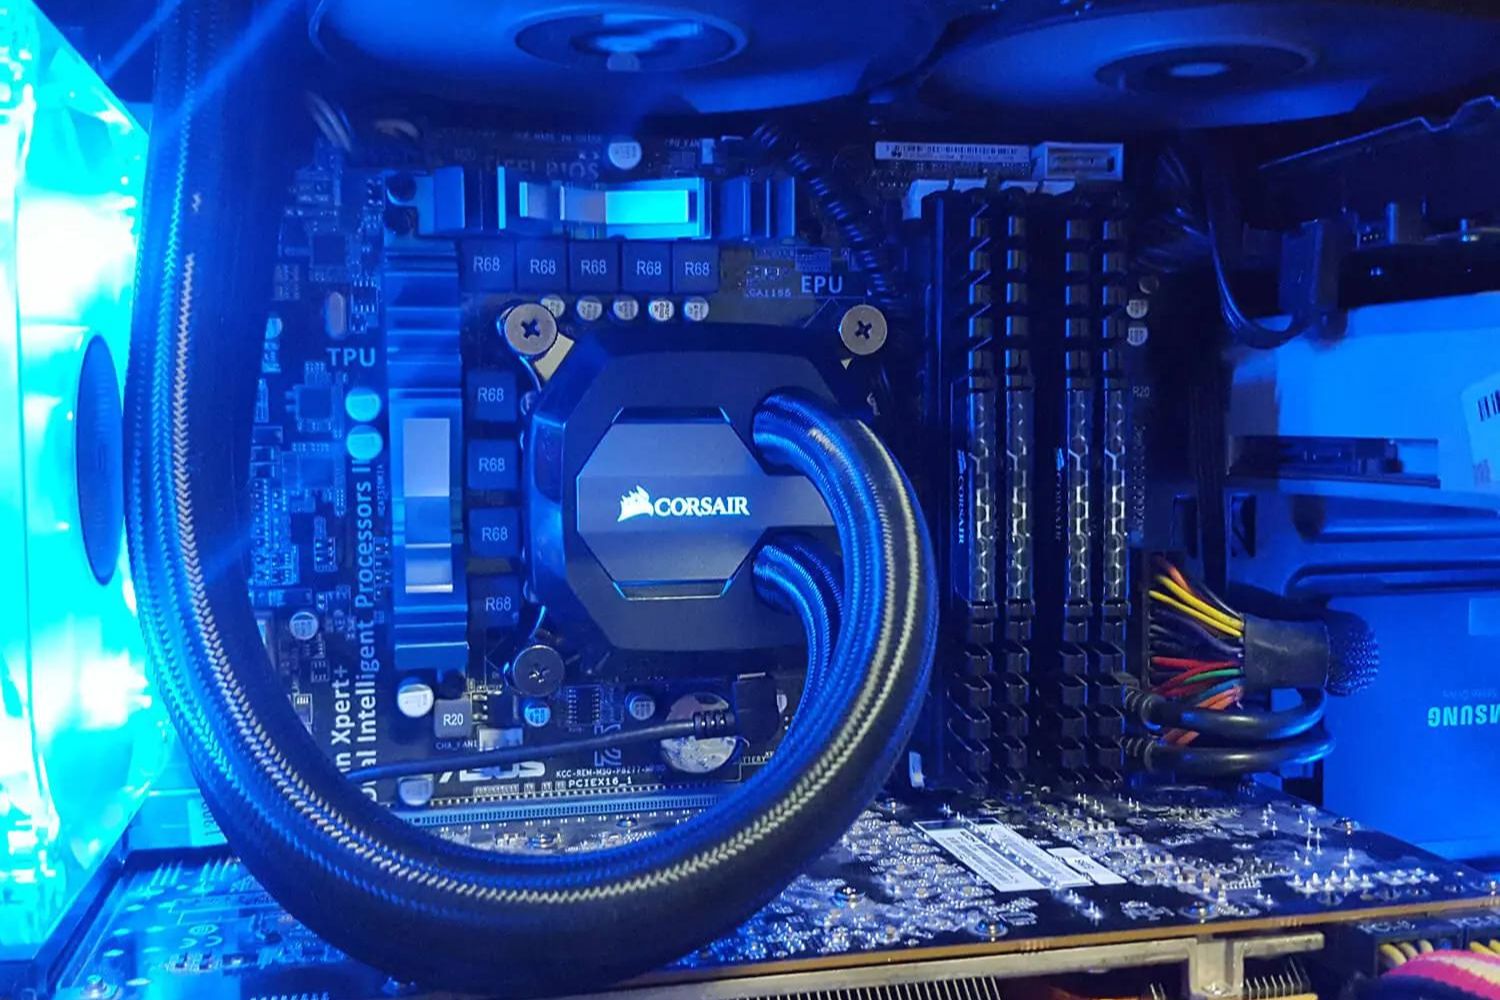
Mounting the H100I CPU cooler on your motherboard is a crucial step in ensuring efficient cooling for your processor. Follow these steps carefully to securely attach the CPU cooler:
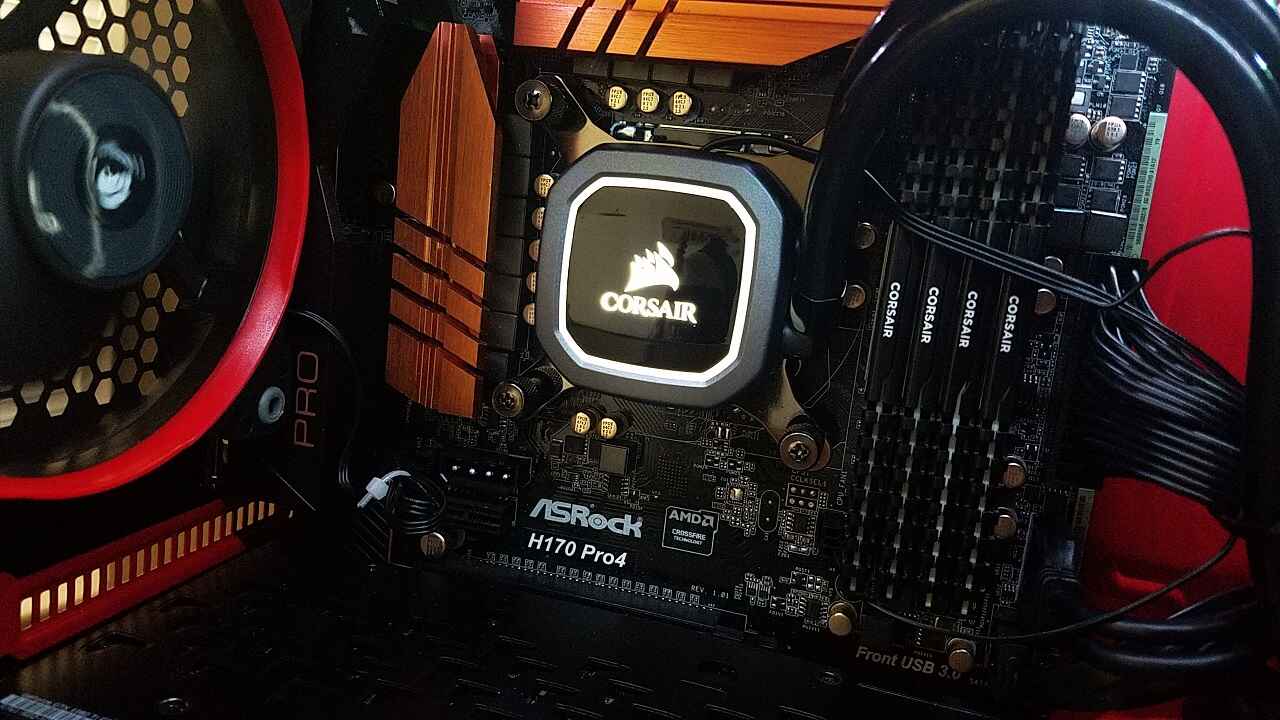
- Align the mounting bracket: Start by aligning the appropriate mounting bracket with the CPU cooler pump block. The bracket should securely fit around the CPU socket and line up with the screw holes on the pump block.
- Secure the mounting bracket: With the bracket properly aligned, use the provided screws to secure it in place. Tighten the screws evenly to ensure a secure and balanced installation.
- Apply thermal paste: Before placing the H100I CPU cooler onto the CPU, apply a small amount of thermal paste to the center of the processor. Thermal paste helps improve heat transfer between the CPU and the cooler, enhancing cooling performance.
- Attach the CPU cooler pump block: Carefully position the CPU cooler pump block over the CPU, ensuring that the mounting screws align with the holes on the mounting bracket. Gently press down on the pump block to evenly distribute the thermal paste.
- Tighten the mounting screws: With the pump block in position, use the provided screws to tighten the cooler onto the mounting bracket. Start with one screw and tighten it partially. Then, tighten the opposite corner screw partially as well. Alternate between tightening screws diagonally until all screws are securely fastened.
- Connect the fan connectors: Locate the fan connectors on the H100I CPU cooler and connect them to the appropriate motherboard fan headers. Ensure that the connections are secure and make necessary adjustments to accommodate cable management.
- Double-check the installation: Once the CPU cooler is mounted, double-check all screws and connections to ensure everything is properly secured. Take a moment to ensure that there are no loose cables obstructing the fans or impeding airflow.
With the CPU cooler securely mounted on the motherboard, you’re now ready to proceed to the next step: connecting the CPU cooler to the power supply. Follow the instructions in Step 4 to complete the installation process.
Step 4: Connecting the CPU Cooler to the Power Supply
Connecting the H100I CPU cooler to the power supply is an essential step in ensuring proper functionality and cooling performance. Follow these steps to complete the connection:
- Locate the power connectors: On the H100I CPU cooler, you will find two power connectors – one for the pump and one for the fans. These connectors are typically labeled as “C-Link” or “Power”.
- Connect the pump power cable: Take the power cable for the pump and plug it into a available 4-pin CPU fan header on your motherboard. Ensure that the connection is secure and properly aligned.
- Connect the fan power cables: The H100I CPU cooler comes with two fans that need to be connected. Plug the fan power cables into the appropriate headers on your motherboard or fan controller. If you have limited fan headers, consider using a fan splitter to connect multiple fans to a single header.
- Cable management: Take a moment to neatly route and manage the cables from the CPU cooler. Secure the cables using cable ties or clips to prevent them from interfering with other components or obstructing airflow.
- Double-check the connections: Once all the power cables are connected, double-check to ensure that each connection is secure and snug. Verify that the cables are not tangled or blocking any ventilation areas within your computer case.
With the H100I CPU cooler successfully connected to the power supply, you’re now ready to configure the cooling software in the next step. This will allow you to customize the cooler’s performance and monitor the temperatures of your CPU.
Step 5: Configuring the Cooling Software
The H100I CPU cooler comes with its own software that allows you to configure and control various aspects of its cooling performance. Follow these steps to configure the cooling software:
- Download and install the software: Visit the manufacturer’s website and download the latest version of the cooling software compatible with your H100I CPU cooler. Follow the installation instructions provided to install the software on your computer.
- Launch the software: Once the software is installed, launch it and familiarize yourself with the user interface. The software should provide you with options to adjust fan speeds, monitor CPU temperatures, and customize other settings.
- Create profiles: Depending on your usage scenarios, create different profiles for your CPU cooler. For example, you can have an “Extreme Performance” profile for gaming or resource-intensive tasks and a “Quiet” profile for everyday use.
- Adjust fan speeds and pump settings: Use the cooling software to adjust the fan speeds and pump settings according to your preferences. Some software allows you to set fan curves based on CPU temperature or manually control fan speeds.
- Monitor temperatures: Take advantage of the software’s monitoring capabilities to keep an eye on your CPU temperatures. This will help you ensure that your system is running within safe limits and make necessary adjustments if needed.
- Save and apply settings: After configuring the cooling settings to your liking, be sure to save your profiles and apply the changes. This will ensure that your desired settings are active every time you start your computer.
Take some time to explore the features and settings offered by the cooling software. Experiment with different profiles and fan configurations to find the optimal balance between cooling performance and noise levels for your system.
With the cooling software configured, you’re now ready to move on to the final step: testing the H100I CPU cooler. This will allow you to verify its effectiveness and ensure that your CPU is being properly cooled under different workload conditions.
Step 6: Testing the H100I CPU Cooler
After successfully installing and configuring the H100I CPU cooler, it’s crucial to test its effectiveness in cooling your processor. Follow these steps to ensure the cooler is functioning optimally:
- Load your system: Start running applications or software that puts a heavy workload on your CPU. This can include intensive tasks such as rendering videos, running benchmarks, or playing demanding games.
- Monitor CPU temperatures: Use the cooling software or third-party monitoring tools to keep an eye on your CPU temperatures. Monitor how the temperatures fluctuate under different workloads and observe if they remain within safe operating limits.
- Check fan speeds and pump performance: During the testing, verify that the fans of the H100I CPU cooler are running at appropriate speeds as configured in the cooling software. Additionally, ensure that the pump is functioning correctly and that the coolant is circulating properly.
- Listen for any unusual noises: Pay attention to any unusual or excessive noise coming from the CPU cooler. Although some noise is normal, loud or irregular sounds may indicate a problem with the cooler’s fan bearings or pump operation.
- Observe system stability: While testing, observe the stability of your system. Ensure that your computer doesn’t experience any sudden crashes, system freezes, or abnormal shutdowns. A well-functioning CPU cooler will help maintain system stability even during intense workloads.
- Perform extended testing: For more thorough testing, consider running stress tests or benchmark programs specifically designed for CPU cooling performance. These tests can provide you with detailed insights into the performance of your H100I CPU cooler.
By performing these tests, you can verify the effectiveness and reliability of the H100I CPU cooler. If you notice any issues such as excessively high temperatures, unusual noises, or unstable system behavior, double-check the installation, fan speeds, and cooling software settings to ensure everything is properly configured.
Congratulations! With the successful testing of the H100I CPU cooler, you have completed the installation process. Your CPU is now equipped with a high-quality cooling solution that will help maintain optimal temperatures and enhance the overall performance of your system.
Conclusion
Installing the H100I CPU cooler is a rewarding process that enhances your computer’s cooling capabilities and ensures optimal performance of your processor. By following the steps outlined in this guide, you have successfully installed and configured the H100I CPU cooler, providing your system with a reliable and efficient cooling solution.
Remember, the unboxing process allowed you to familiarize yourself with the components of the CPU cooler, while preparing the motherboard ensured a secure and stable installation. Mounting the CPU cooler with precision and connecting it to the power supply enables proper cooling performance.
Configuring the cooling software provided you with an opportunity to customize the performance of the CPU cooler, while testing its effectiveness allowed you to verify its functionality under various workloads. By monitoring temperatures, fan speeds, and system stability during testing, you can ensure that your CPU cooler is operating optimally.
With the H100I CPU cooler installed, you can expect improved cooling efficiency, lower CPU temperatures, and overall enhanced system performance. Whether you’re a gaming enthusiast, a content creator, or simply a computer user who demands reliable cooling, the H100I CPU cooler will help maintain the health and longevity of your CPU.
Lastly, remember to regularly clean and maintain your CPU cooler to ensure uninterrupted and efficient cooling. Dust and debris can accumulate over time and may impede airflow, affecting the cooler’s performance. By following the manufacturer’s guidelines and keeping your system clean, you can enjoy long-lasting and efficient cooling with the H100I CPU cooler.
Thank you for following our guide on how to install the H100I CPU cooler. We hope that this step-by-step process has been helpful and that you can now enjoy the benefits of a well-cooled and high-performing system.