Introduction
Are you tired of slow computer performance and long loading times? Upgrading to a solid-state drive (SSD) is a great solution to boost your computer’s speed and overall performance. Among the many options available, Crucial SSDs are known for their reliability and high performance. In this guide, we will walk you through the steps to install a Crucial SSD on your computer, allowing you to enjoy faster boot times, quicker application launches, and seamless multitasking.
Installing a Crucial SSD may seem like a daunting task, especially if you have never opened up your computer before. However, with the right tools and guidance, the process can be straightforward and hassle-free. By following the steps outlined in this guide, you can successfully install your Crucial SSD and reap the benefits of improved system performance.
Before diving into the installation process, it’s important to gather the necessary materials. You will need a Crucial SSD compatible with your computer, a screwdriver or necessary tools to open the computer case, and any additional cables or mounting brackets that may be required. Taking the time to gather all the materials beforehand will ensure a smooth installation process.
Once you have everything you need, you can proceed to prepare your computer for the installation. This involves shutting down your computer, disconnecting the power cord, and ensuring that you are working in a static-free environment. These precautions will help protect your computer and components from any potential damage.
Now that you have an overview of what to expect, let’s dive into the step-by-step process of installing your Crucial SSD. Follow our guide carefully to ensure a successful and smooth installation, and get ready to experience a significant performance boost in your computer.
Step 1: Gathering the necessary materials
Before you begin the installation process, it’s essential to gather all the materials you’ll need. This will ensure that you have everything on hand and avoid any unnecessary interruptions. Here are the materials you’ll need:
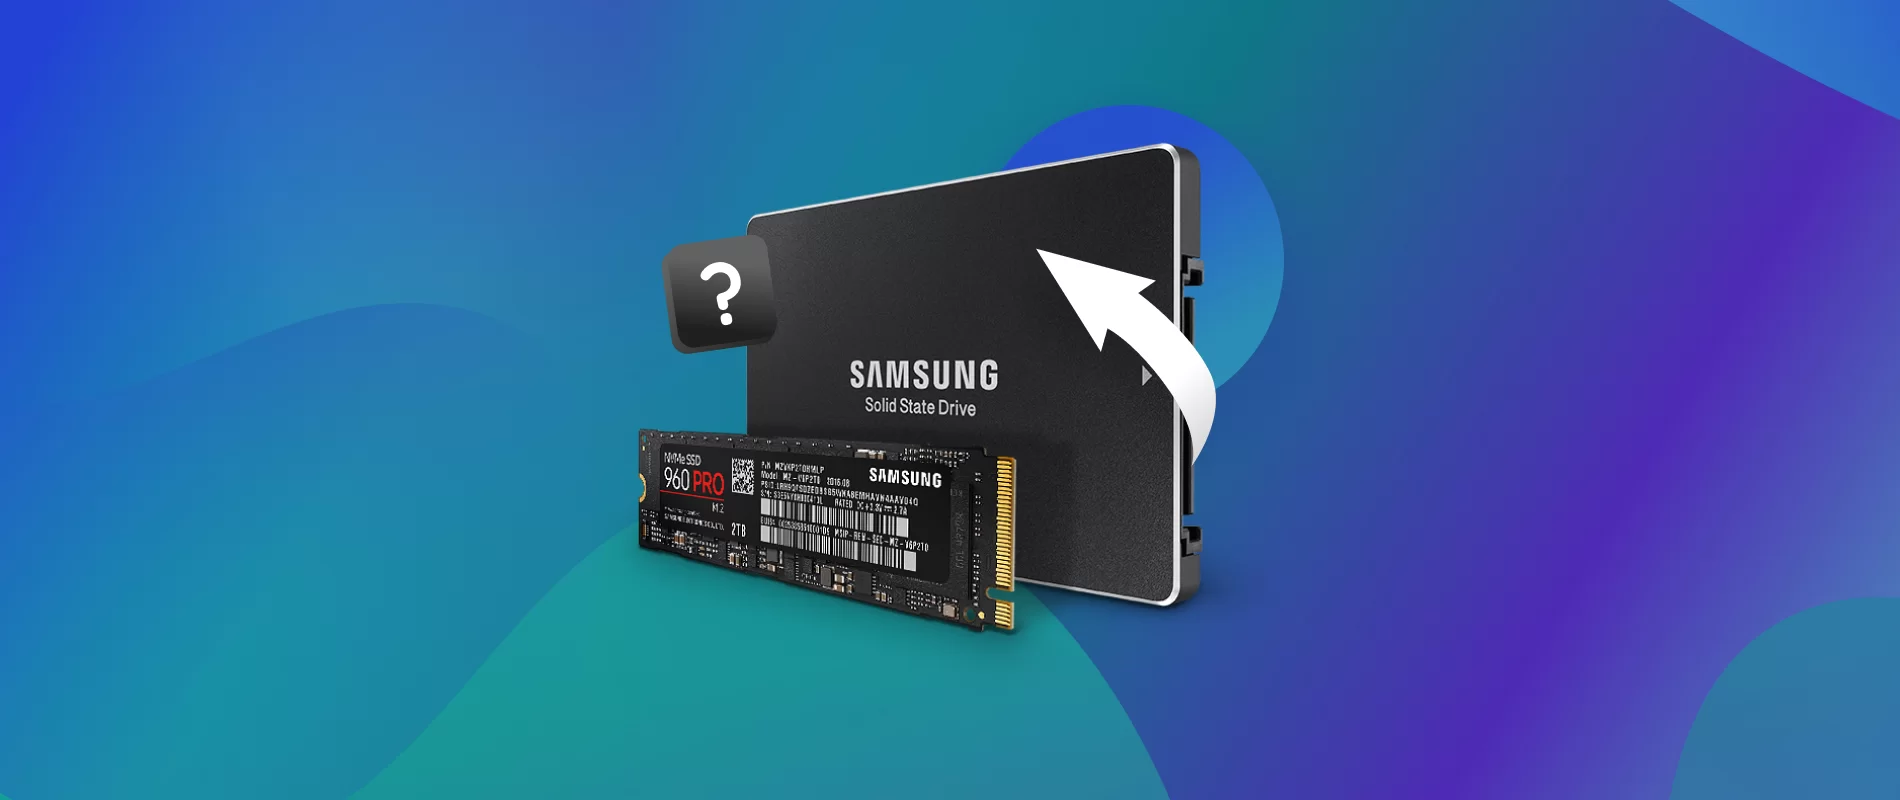
1. Crucial SSD: Make sure you have the appropriate Crucial SSD for your computer model. Check the specifications and compatibility information provided by Crucial to ensure a seamless installation process.
2. Screwdriver or toolset: Depending on your computer case, you may need a Phillips or Torx screwdriver to open the case. Ensure you have the necessary tools to safely remove and secure screws during the installation process.
3. Additional cables: In some cases, you may need additional cables to connect your Crucial SSD. Check the user manual or the Crucial website to determine if any extra cables, such as SATA or power cables, are required for your specific installation.
4. Mounting brackets: Some computer cases may require mounting brackets to secure the Crucial SSD in place. Check if your computer case includes these brackets or if you need to purchase them separately.
5. Anti-static wrist strap: While not mandatory, wearing an anti-static wrist strap can help protect sensitive components from electrostatic discharge. This is especially important if you are working in a dry environment or on carpeted flooring.
6. Work surface: Find a clean, well-lit, and static-free work surface to perform the installation. This can be a clean table or desk covered with an anti-static mat or a non-conductive surface.
By gathering all the necessary materials beforehand, you can ensure a smooth and uninterrupted installation process. Taking the time to double-check compatibility and availability of tools will save you time and frustration during the installation.
Step 2: Preparing your computer
Before you begin the installation of your Crucial SSD, it’s important to properly prepare your computer. This step will help minimize potential issues and ensure a successful installation process. Here’s what you need to do to prepare your computer:
1. Shut down your computer: Before working on your computer’s internal components, shut it down completely. This will prevent any accidental damage and ensure a safe installation process.
2. Disconnect the power cord: Unplug the power cord from the electrical outlet to eliminate any electrical current running through your computer. This is a crucial safety precaution that will protect you and your computer from any electrical mishaps.
3. Ground yourself: To avoid static electricity and potential damage to sensitive computer components, it’s important to ground yourself. You can do this by wearing an anti-static wrist strap or by touching a grounded metal object before touching any internal components.
4. Remove any external devices: Before opening your computer case, disconnect any external devices such as USB drives, headphones, or printers. This will provide you with more space and freedom to work comfortably inside your computer.
5. Prepare a clean and static-free workspace: Find a clean surface, preferably a non-conductive one like a wooden table or an anti-static mat. This will help protect your computer components from any static electricity that could potentially damage them.
By following these preparatory steps, you’ll ensure that your computer is ready for the installation process. Taking the time to shut down your computer, disconnect the power cord, ground yourself, and organize your workspace will contribute to a smooth and trouble-free installation of your Crucial SSD.
Step 3: Opening the computer case
Now that you have prepared your computer, it’s time to open the computer case to access the internals. Follow these steps to properly open the case:
1. Identify the case screws: Take a close look at the back of your computer case. You should see a series of screws holding the side panel in place. These screws may be Phillips head or thumb screws, depending on your computer model.
2. Unscrew the case screws: Using a screwdriver or your fingers, carefully unscrew the screws that secure the side panel to the computer case. Place the screws in a safe location, such as a small container, to prevent them from getting lost.
3. Remove the side panel: Once all the screws have been removed, gently slide the side panel away from the computer case. Be cautious not to force it or apply excessive pressure. Some cases may have a latch mechanism or sliding mechanism that needs to be released before the panel can be removed.
4. Ground yourself: Touch a grounded metal object or wear an anti-static wrist strap to discharge any static electricity accumulated on your body. This step will prevent any potential damage to the internal components of your computer.
5. Locate the storage area: With the side panel removed, you will now have a clear view of the internal components of your computer. Identify the hard drive or solid-state drive bays where you will install the Crucial SSD.
Every computer case may have slightly different mechanisms for opening the case, so consult the manual or manufacturer’s website for specific instructions pertaining to your computer model. However, in most cases, the process will involve unscrewing the side panel and gently removing it to gain access to the internal components.
Remember to take precautions, such as grounding yourself, to avoid any potential damage from static electricity. Opening the computer case is an important step in the installation process, as it allows you to access the storage area where the Crucial SSD will be installed.
Step 4: Locating the storage slots
After opening the computer case, the next step is to locate the storage slots where the Crucial SSD will be installed. These slots are typically located near the front or bottom of the computer case and are easily identifiable. Follow these steps to locate the storage slots:
1. Identify the existing storage devices: Inside your computer case, you will find one or more existing storage devices, such as a hard drive or another SSD. Take note of their location and how they are connected to the motherboard.
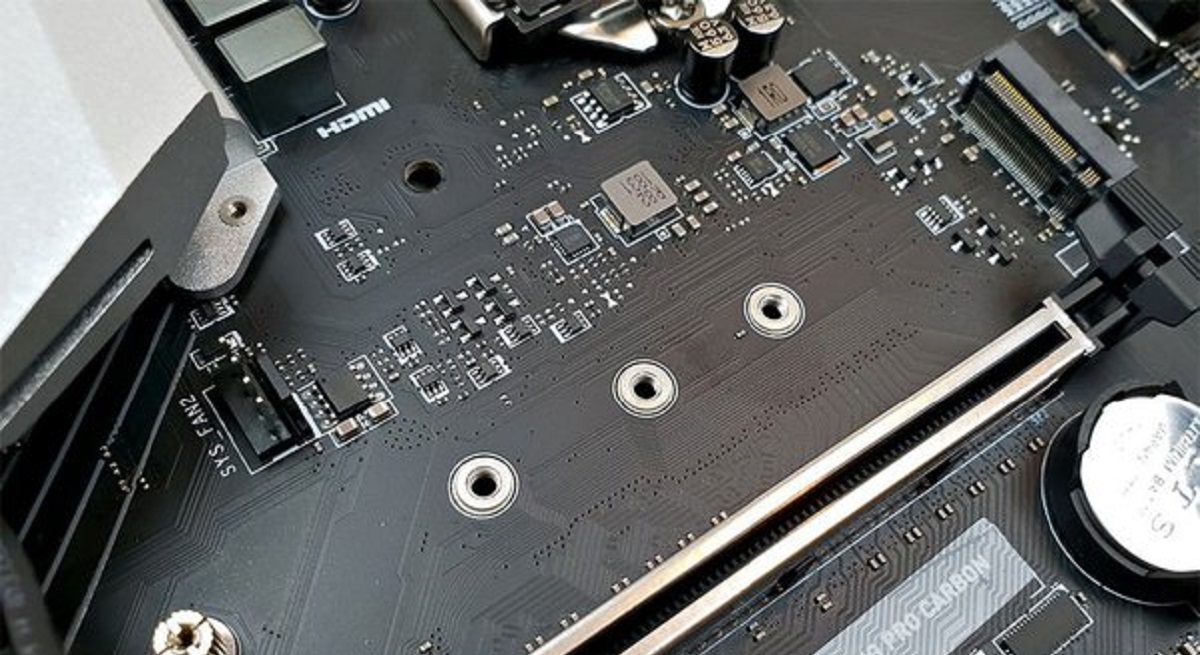
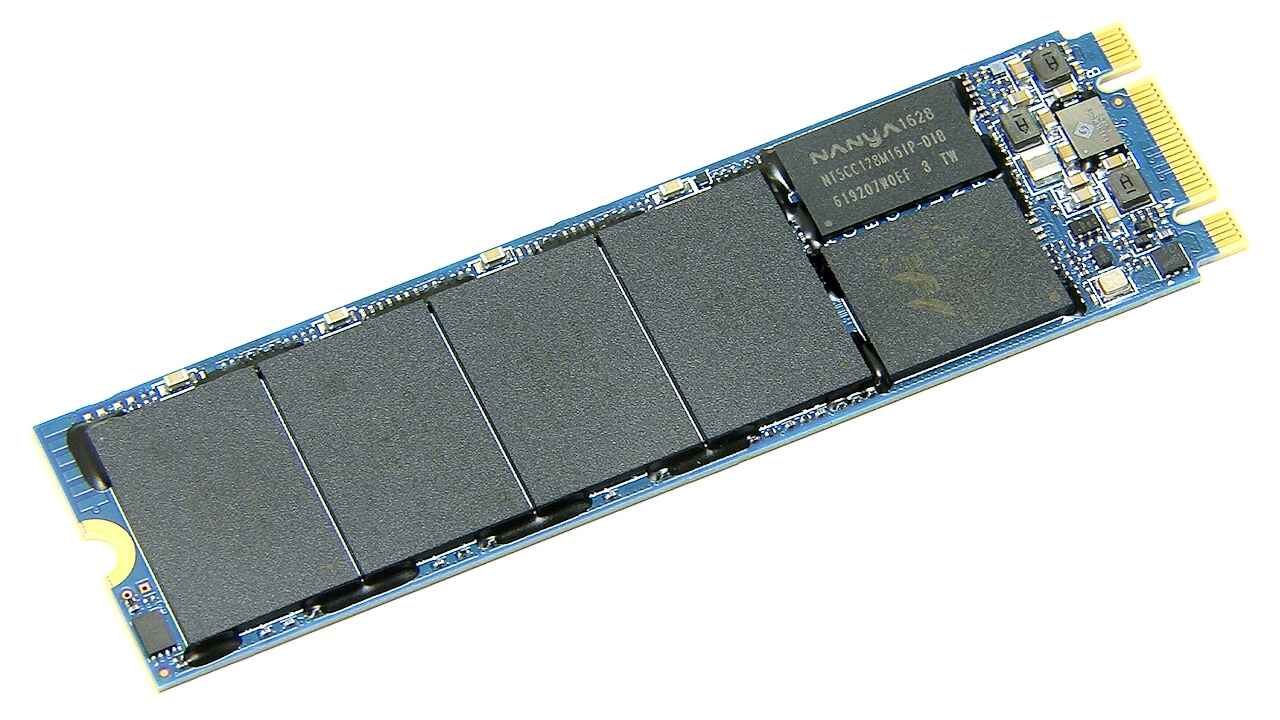
2. Locate the storage slots: Look for available storage slots nearby. These slots may be in the form of drive bays or slots with connectors that match the interface of your Crucial SSD. Common interfaces include SATA and M.2.
3. Check for compatibility: Ensure that the storage slots you identified are compatible with the Crucial SSD you have. Refer to the Crucial SSD specifications and your computer’s documentation to confirm compatibility.
4. Determine the type of connection: Depending on your computer and Crucial SSD model, the connection type may vary. If you are installing a 2.5-inch SSD, it will typically require a SATA connection. Whereas, if you have an M.2 SSD, it will require an M.2 slot on the motherboard.
5. Make space if necessary: If the storage slot you identified is already occupied, you may need to remove the existing storage device to make space for the Crucial SSD. Ensure that you have transferred any necessary data from the device and have a backup before removing it.
By carefully locating the storage slots and identifying any existing storage devices, you can prepare for the installation of the Crucial SSD. Understanding the compatibility and connection requirements will allow for a seamless integration of the SSD into your computer.
Step 5: Installing the Crucial SSD
Now that you have located the storage slots, it’s time to install the Crucial SSD. Follow these steps to ensure a proper installation:
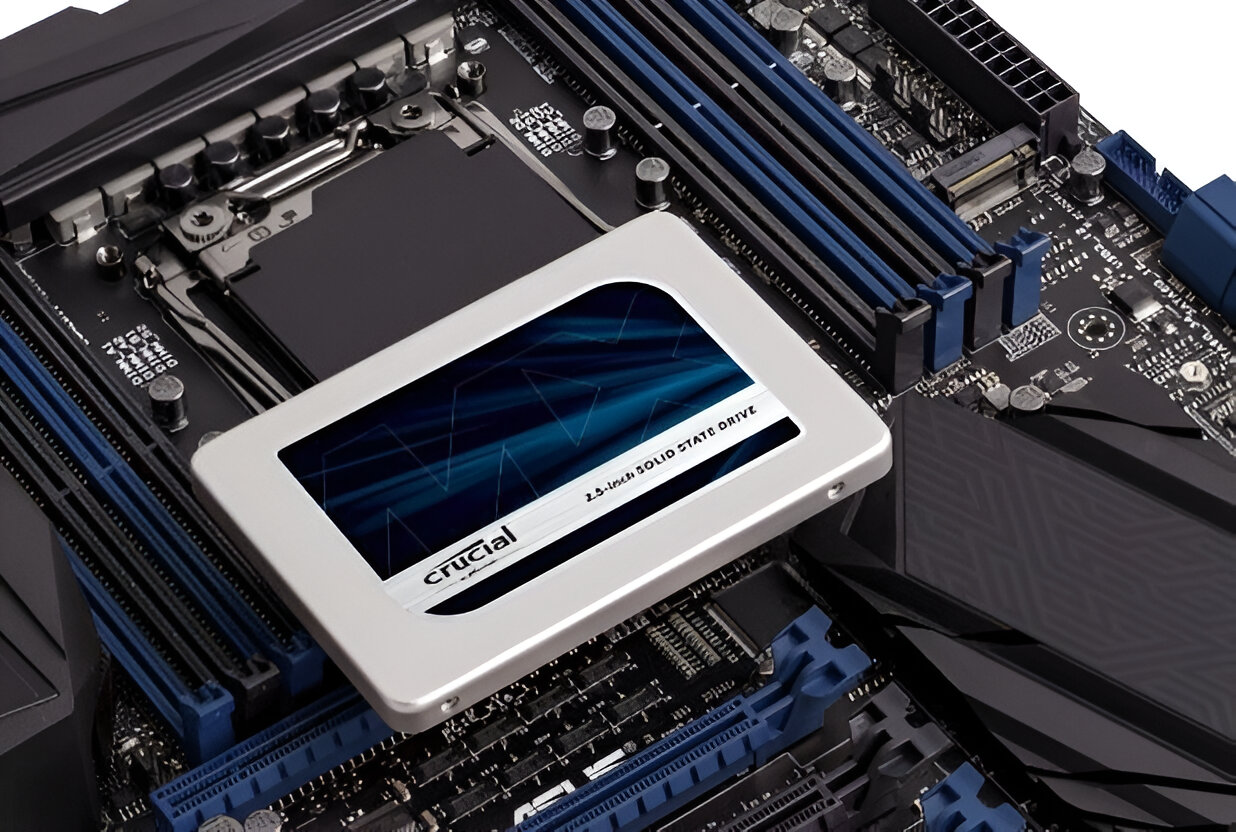
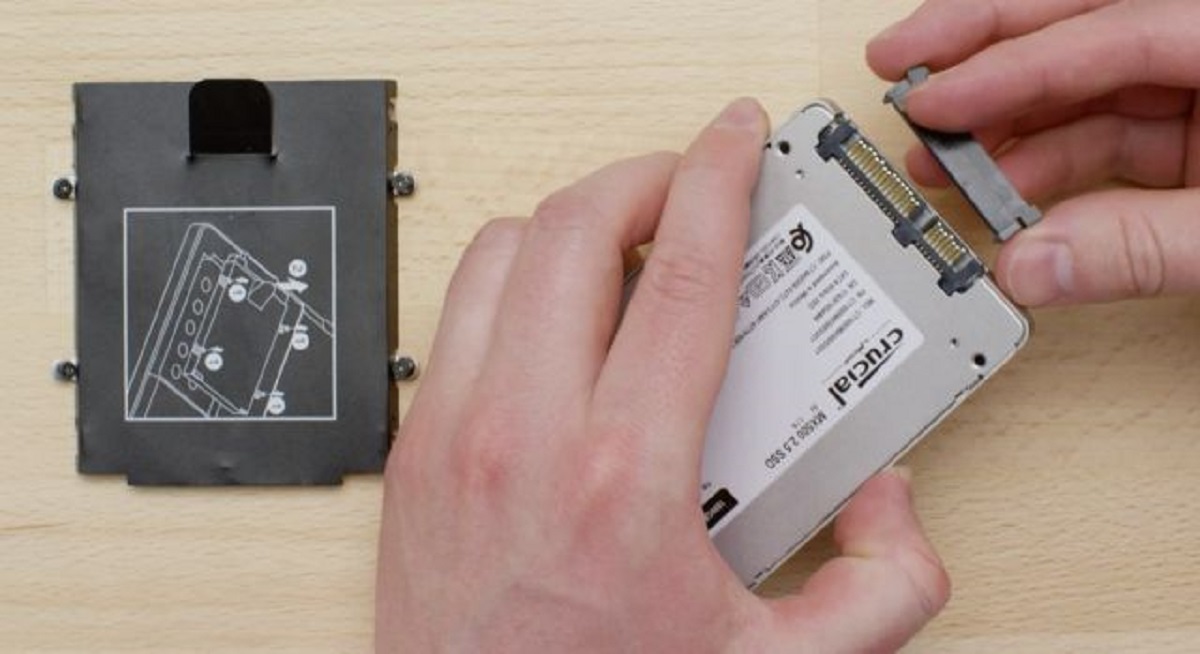
1. Position the Crucial SSD: Take the Crucial SSD and carefully position it in the available storage slot. Make sure the connectors align with the slot and that the SSD is properly oriented – consult the documentation or markings on the SSD for guidance.
2. Secure the SSD: Once positioned correctly, use screws or mounting brackets (if required) to secure the Crucial SSD in place. Ensure that it is firmly attached to prevent any movement or disconnection during usage.
3. Connect the cables: If your Crucial SSD requires data and power connections, proceed to connect the appropriate cables. For a SATA SSD, connect one end of a SATA cable to the SSD and the other end to an available SATA port on the motherboard. Additionally, connect a power cable to provide power to the SSD.
4. Verify connections: Double-check that all connections are secure and properly seated. Ensure that the data and power cables are connected firmly to prevent any accidental disconnection or data transfer issues.
5. Replace the side panel: After installing the Crucial SSD, carefully slide the side panel back onto the computer case. Align it properly and make sure it goes back into place without any resistance. Secure the panel using the screws you had previously removed.
By following these steps, you will be able to securely install the Crucial SSD into your computer. Taking the time to position the SSD correctly, tighten the screws, and connect the necessary cables will ensure a stable and reliable installation.
Step 6: Connecting the cables
Once you have installed the Crucial SSD into the storage slot, the next step is to connect the necessary cables. This will enable the SSD to communicate with your computer and receive power for proper functioning. Follow these steps to connect the cables:
1. SATA Data Cable: Begin by connecting the SATA data cable to the Crucial SSD. Locate an available SATA port on your motherboard and connect one end of the cable to the port and the other end to the corresponding SATA connector on the SSD. Ensure a secure connection by firmly pushing the connectors together.
2. Power Cable: The next step is to connect the power cable to the Crucial SSD. Locate an available SATA power connector from your power supply unit (PSU) or other power cables in your computer. Connect one end of the power cable to the SATA power connector on the Crucial SSD and the other end to the corresponding power connector. Again, ensure a secure connection by firmly pushing the connectors together.
3. Cable Management: Once the cables are connected, it’s important to properly manage them to keep your computer internals tidy and optimize airflow. Use cable ties, clips, or other cable management solutions to neatly arrange and secure the SATA data and power cables. This will prevent them from interfering with other components or blocking airflow within the computer case.
4. Double-check Connections: Before closing the computer case, double-check the SATA data and power cable connections. Ensure that they are securely connected to the Crucial SSD and the corresponding ports on the motherboard and power supply. Loose connections can lead to data transfer issues or power instability, so it’s crucial to verify their integrity.
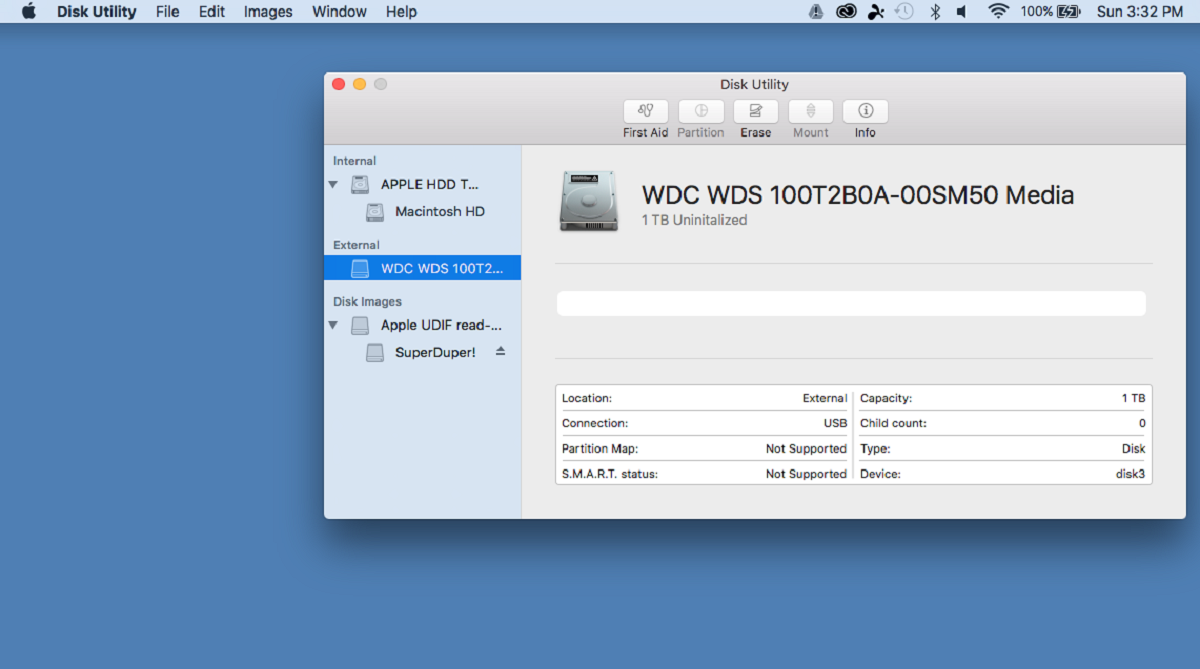
5. Test the Connections: Once all the cables are connected, power on your computer and check if the Crucial SSD is recognized by the system. Enter the BIOS or check your operating system’s device manager to confirm that the SSD is detected and properly connected. If any issues arise, double-check the cable connections and consult the Crucial SSD documentation for troubleshooting steps.
By following these steps, you will successfully connect the necessary cables to your Crucial SSD. Properly connecting the SATA data and power cables and managing them effectively will ensure a reliable and efficient functioning of the SSD within your computer system.
Step 7: Securing the SSD
After connecting the cables, the next step is to securely fasten the Crucial SSD in place within the computer case. Properly securing the SSD will prevent any movement or vibrations that could potentially damage the drive or cause connectivity issues. Follow these steps to ensure a secure installation:
1. Mounting brackets: If your computer case requires mounting brackets to secure the SSD, attach them to the Crucial SSD following the manufacturer’s instructions. These brackets, usually included with the case, provide additional stability and support for the SSD.
2. Screw it in: Using the appropriate screws or fasteners, secure the Crucial SSD to the mounting brackets or directly to the storage slot. Insert the screws into the designated holes on the SSD and tighten them evenly until the SSD is securely held in place. Be careful not to overtighten as it may cause damage to the drive.
3. Consider vibration dampening: If your computer case includes vibration dampening features or anti-vibration mounts, you may want to utilize them to further minimize any potential vibrations that might affect the Crucial SSD’s performance. These features help absorb vibrations and reduce noise levels.
4. Check for stability: Once the SSD is securely fastened, gently wiggle it to ensure it doesn’t move or come loose. If the SSD feels stable and doesn’t shift, then it is properly secured. If there is any movement, go back and double-check the mounting brackets or screws to ensure they are tightened adequately.
5. Check airflow: As a final step, check that the Crucial SSD installation doesn’t disrupt the airflow within the computer case. Ensure it is positioned in a way that promotes proper cooling for both the SSD and other components. Good airflow helps maintain optimal operating temperatures and extends the lifespan of the Crucial SSD.
By following these steps and properly securing the Crucial SSD in place, you can ensure that it remains stable and protected within your computer case. A secure installation not only minimizes the risk of damage but also ensures a reliable and consistent performance of the Crucial SSD.
Step 8: Closing the computer case
Once you have completed the installation of the Crucial SSD and ensured all connections are secure, it’s time to close the computer case. Properly closing the case will protect the internal components and maintain the overall integrity of your computer system. Follow these steps to close the computer case:
1. Align the side panel: Take the side panel you removed earlier and align it with the corresponding slots or hinges on the computer case. Make sure it is oriented correctly and fits snugly against the case. Take care not to force the panel into place as it should slide in smoothly.
2. Slide the side panel back: Gently slide the side panel back to its original position. Ensure that it is fully inserted and flush with the rest of the computer case. It should fit snugly without any gaps or misalignment. Take your time to align the panel correctly to avoid any potential damage to the case or internal components.
3. Secure the case screws: Once the side panel is in place, locate the screws that you removed earlier. Using a screwdriver, tighten them carefully to secure the side panel back onto the computer case. Make sure they are firm but not overly tightened to avoid damaging the screws or the case threads.
4. Verify proper closure: After securing the side panel, perform a visual check to ensure that the entire computer case is closed properly. Make sure all edges are aligned, and there are no loose or protruding parts. A fully closed case provides physical protection and helps maintain optimal airflow within the system.
5. Test the computer: Power on your computer and verify that it boots up without any issues. Monitor the startup process to ensure that the Crucial SSD is recognized by the system and operating correctly. You can also perform a quick check in your operating system to ensure that the SSD is being detected and available for use.
By following these steps and properly closing the computer case, you are ensuring the protection of the internal components and promoting optimal performance. A securely closed case helps maintain the integrity of your computer system and contributes to the longevity of the Crucial SSD.
Step 9: Powering on and configuring the SSD
With the Crucial SSD properly installed and the computer case closed, it’s time to power on your computer and configure the SSD to ensure it functions optimally. Here are the steps to power on and configure your new Crucial SSD:
1. Power on your computer: Connect the power cable to your computer and plug it into a power outlet. Press the power button to turn on your computer. Allow the system to complete the booting process.
2. Access the BIOS: During the boot process, your computer may display a message indicating which key to press to enter the BIOS setup. Common keys to access the BIOS include Del, F2, F10, or Esc. Press the designated key to access the BIOS settings.
3. Check SSD detection: Once in the BIOS settings, navigate to the storage or drive configuration section. Verify that the Crucial SSD is correctly detected by the BIOS. It should be listed as a recognized storage device. If it doesn’t appear, double-check the physical connections and consult the Crucial SSD documentation for troubleshooting steps.
4. Configure boot order: In the BIOS settings, navigate to the boot options or boot priority section. Set the Crucial SSD as the primary boot device, ensuring it is listed above any other storage devices. This will ensure that your computer boots from the SSD and takes advantage of its faster performance.
5. Save and exit: Once you have made the necessary changes in the BIOS settings to recognize and prioritize the Crucial SSD, save the changes and exit the BIOS. The process may vary depending on your specific motherboard and BIOS version, but typically you will find an option to save and exit or simply select ‘Exit’ to save the changes and restart the computer.
6. Operating system configuration: After restarting your computer, your operating system should now recognize the Crucial SSD as a storage device. Depending on your operating system, you may need to initialize and format the SSD. Refer to your operating system’s documentation or follow the on-screen prompts to partition and format the SSD for use.
7. Restore data or reinstall operating system: If you have transferred your data from the previous storage device, restore your data from the backup. If you are performing a fresh installation of the operating system, follow the standard installation procedure and select the Crucial SSD as the destination for the operating system installation.
By following these steps, you will successfully power on your computer and configure the Crucial SSD to function optimally. This ensures that your computer boots from the SSD and takes advantage of its high-performance capabilities, providing you with faster system responsiveness and improved overall efficiency.
Conclusion
Congratulations! You have successfully installed and configured your Crucial SSD, giving your computer a significant performance boost. By following the step-by-step guide provided, you have ensured a seamless installation process and optimized functionality of your new SSD.
The installation process involved gathering the necessary materials, preparing your computer, opening the case, locating the storage slots, installing the Crucial SSD, connecting the cables, securing the SSD, closing the computer case, and finally, powering on and configuring your new SSD.
By upgrading to a Crucial SSD, you will experience faster boot times, quicker application launches, and smoother multitasking. Your computer’s overall performance will be drastically improved, allowing you to work more efficiently and enjoy a more responsive system.
Remember to regularly update your Crucial SSD’s firmware and perform regular backups to ensure the longevity and reliability of your storage device. Additionally, it is important to keep your computer’s operating system and drivers up to date to maximize the potential of the Crucial SSD and maintain the highest level of performance.
Now that you have successfully installed the Crucial SSD, you can enjoy the benefits of increased speed and improved productivity. So sit back, relax, and experience the enhanced performance that your computer now offers thanks to the power of Crucial SSD technology.