Choosing the Right Antenna
When it comes to installing a TV antenna outside, one of the first and most crucial steps is choosing the right antenna. With the wide array of options available on the market, it can be overwhelming to determine the best one for your needs. However, by considering a few key factors, you can make an informed decision and ensure optimal reception.
Firstly, you must consider the type of antenna that suits your location. Different areas have varying signal strengths and broadcast frequencies, so it’s essential to choose an antenna designed for your specific region. You can consult online resources or contact local antenna specialists to determine the type that works best in your area.
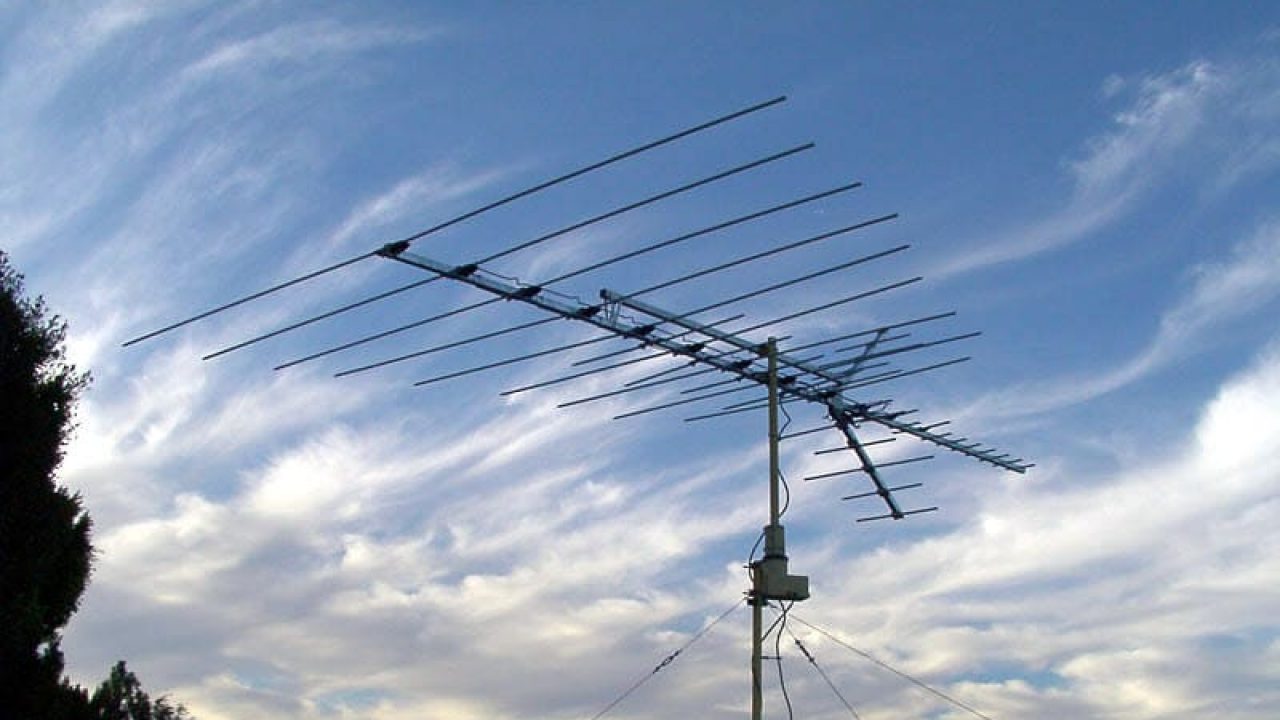
Another factor to consider is the range and directionality of the antenna. The range is the maximum distance the antenna can receive signals from, while the directionality represents its ability to capture signals from a specific direction. For urban areas with many broadcasting stations nearby, a multi-directional antenna would be ideal. In rural areas, where the signals may be further away, a long-range directional antenna would be more suitable.
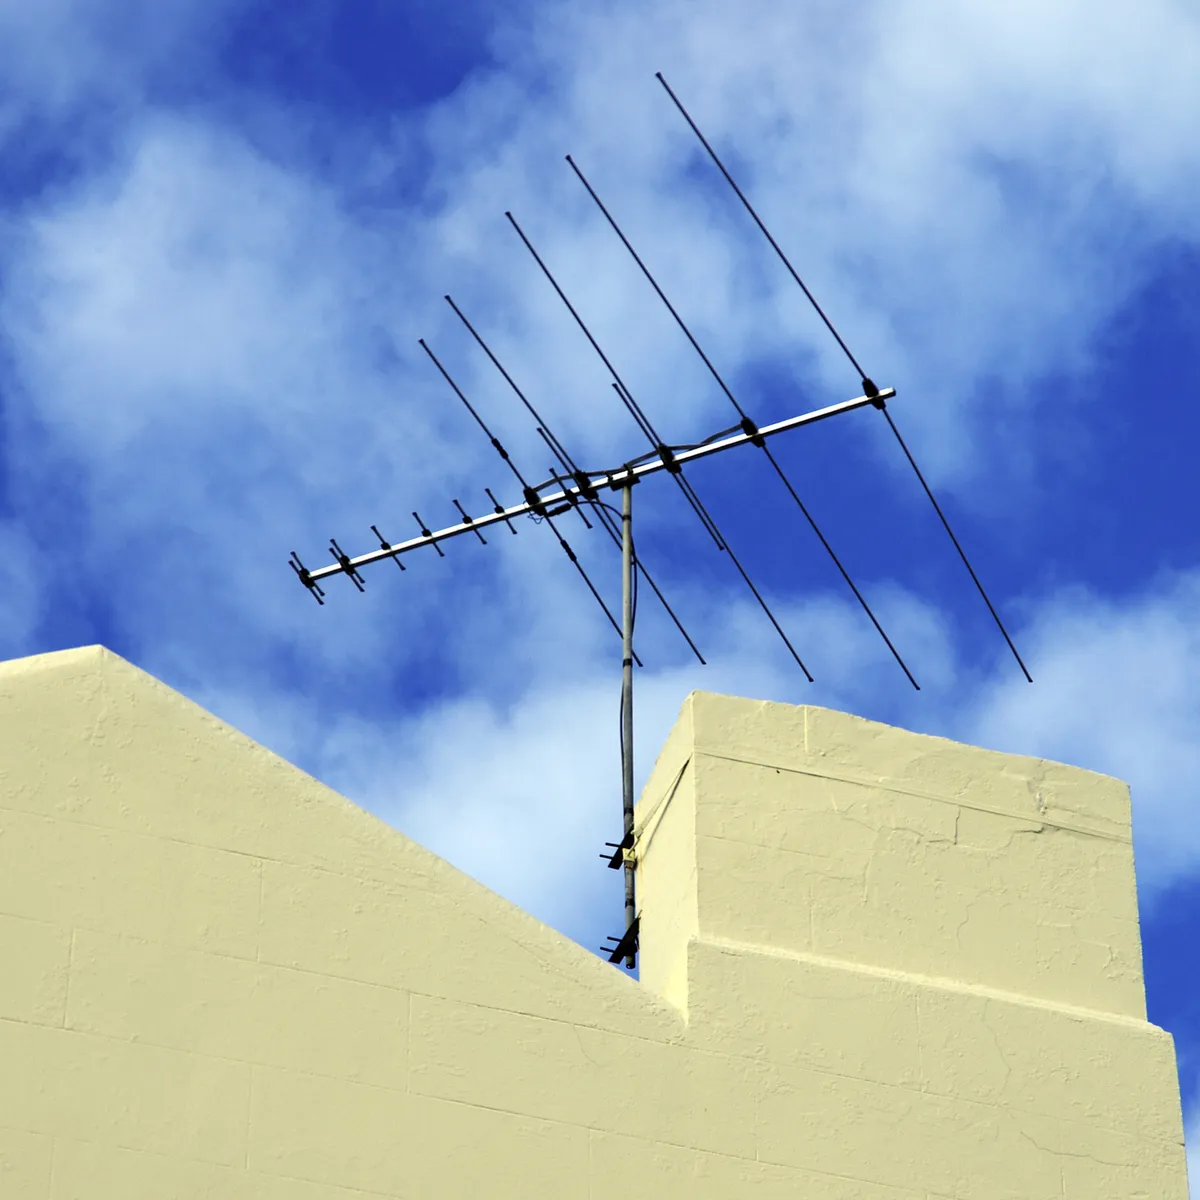
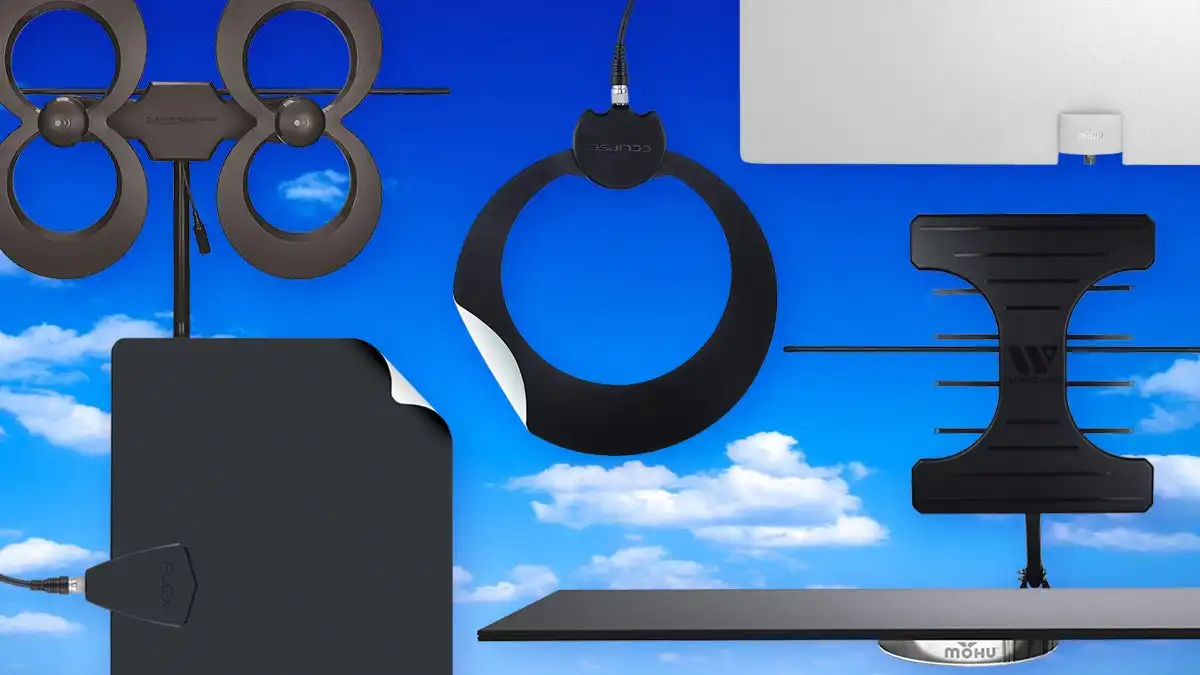
The design and mounting options are also important factors to consider. Traditional outdoor antennas are usually large and mounted on rooftops or poles. However, there are also sleeker and more compact options available, such as flat panel or indoor/outdoor antennas, which may be more suitable depending on your aesthetic preferences and installation constraints.
It’s also crucial to consider your anticipated signal strength and the number of channels you wish to receive. Different antennas have varying signal reception capabilities, so if you live in an area with weak signals or wish to receive channels from long distances, you may need a more powerful antenna.
Lastly, don’t forget to consider your budget when choosing an antenna. While there are high-end options with advanced features, there are also budget-friendly alternatives that still deliver reliable performance. Determine your requirements and set a realistic budget to guide your decision-making process.
By carefully considering these factors, you can select the antenna that best suits your needs and ensures optimal reception when installing it outside. Take your time, do thorough research, and consult professionals if needed to make an informed choice.
Gathering the Necessary Tools and Materials
Before starting the installation process, it is important to gather all the necessary tools and materials. This will help ensure a smooth and efficient installation of your TV antenna outside. Here are the essential items you will need:
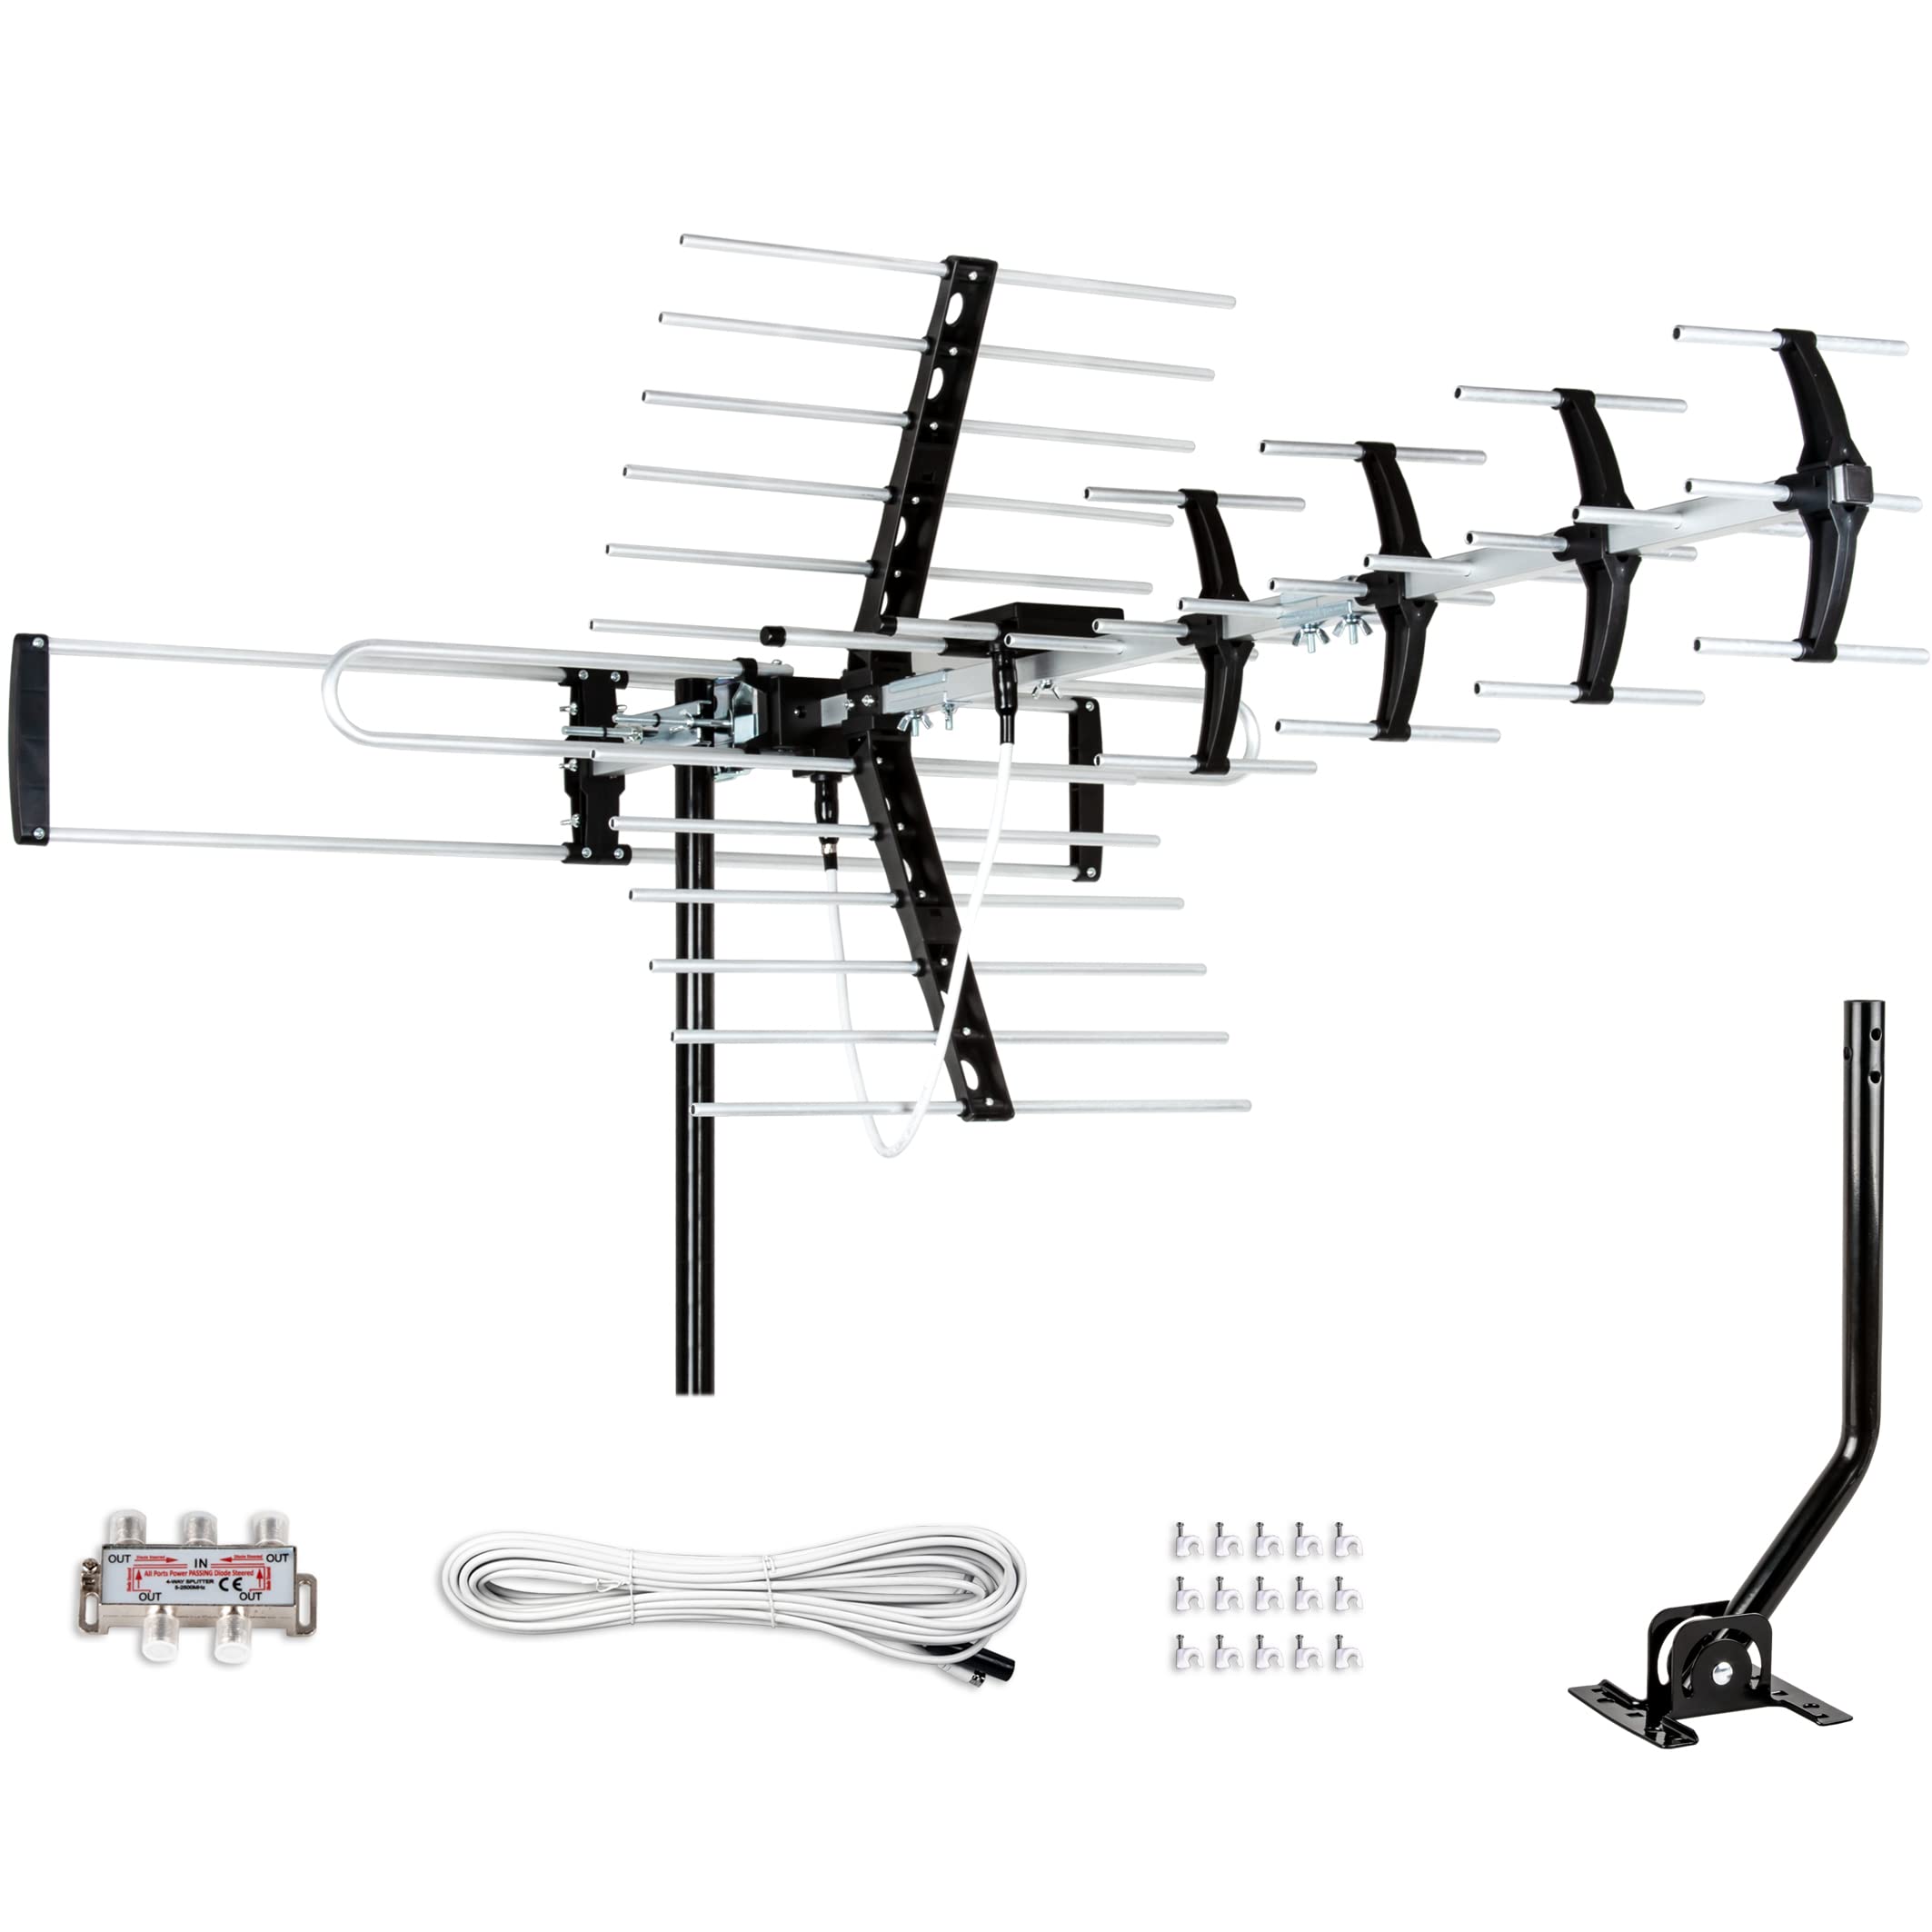
- TV Antenna: Purchase the antenna that you selected based on your previous research. Make sure it includes all the necessary components, such as the antenna itself, mounting brackets, and hardware.
- Mounting Brackets: Depending on the type of antenna you have chosen, you may need mounting brackets to securely attach the antenna to a pole or the side of your house. Check the antenna package or consult the manufacturer’s instructions for the appropriate brackets.
- Screws and Anchors: Determine the type and size of screws and anchors needed to mount the brackets securely. This will depend on the surface you are mounting the antenna on, whether it’s wood, concrete, or another material.
- Coaxial Cable: Purchase a suitable length of coaxial cable to connect your antenna to your TV. Measure the distance from the antenna to your TV location to ensure you have enough cable. It is recommended to use high-quality coaxial cable for optimal signal transmission.
- Connectors and Adapters: Depending on your specific setup, you may need connectors and adapters to ensure a proper connection between the coaxial cable and your TV or other equipment. These can include coaxial splitters, F-type connectors, or HDMI adapters, among others.
- Tools: Gather the necessary tools, such as a screwdriver, a wrench, cable cutters, and a coaxial cable stripper. These tools will be essential for assembling and mounting the antenna, as well as for making any necessary adjustments or modifications during the installation process.
It is important to have all these tools and materials on hand to avoid any interruptions or delays during the installation. Double-check your list before starting the process to ensure that you have everything you need. If necessary, consult the antenna manufacturer’s instructions or seek advice from professionals to confirm the specific tools and materials required for your antenna model.
Determining the Best Location to Mount the Antenna
Choosing the right location to mount your TV antenna is crucial for optimal signal reception. The placement of the antenna will greatly affect its performance and the number of channels you can receive. Here are some key considerations to help you determine the best location:
Signal Strength: Assess the signal strength in your area. You can use online tools or smartphone apps to check the signal strength of local broadcasting stations. Look for areas with strong signals, as they will provide better reception. Avoid locations with obstructions like tall buildings or dense trees, as they can block or weaken the signal.
Height and Elevation: Mounting your antenna as high as possible can improve signal reception. The higher the antenna is positioned, the fewer obstructions will interfere with the signal. Try to place it at least 10 feet above ground level for optimal performance. If you live in a hilly area, consider mounting the antenna on the highest point of your house or property.
Directionality: Determine the direction of broadcasting stations in your area. You can use online resources or consult a compass to identify the general direction of the broadcasting towers. Mount your antenna in a location that aligns with the direction of the signals. If you’re unsure, consider using a multi-directional antenna that can receive signals from various directions.
Structural Stability: Ensure that the chosen location can provide a stable and secure mount for the antenna. If you’re attaching it to a rooftop, make sure the roof is structurally sound and can support the antenna’s weight. If mounting on a pole or side of a building, ensure that the mounting brackets are securely anchored and can withstand exposure to the elements.
Accessibility: Consider the accessibility of the antenna for future adjustments or maintenance. You may need to access the antenna to make adjustments for fine-tuning the reception. Choose a location that allows easy access, especially if you live in an area with changing weather conditions that could potentially impact the alignment or performance of the antenna.
Local Regulations: Familiarize yourself with local regulations regarding antenna installation. Some areas may have restrictions on antenna placement or require permits for outdoor installations. Ensure you comply with any applicable regulations to avoid any potential issues or penalties.
By considering these factors, you can determine the best location to mount your TV antenna outside. Take the time to assess the signal strength, elevation, directionality, structural stability, accessibility, and local regulations to ensure a successful installation and optimal reception of your favorite TV channels.
Installing the Mounting Brackets
Once you have determined the best location to mount your TV antenna, the next step is to install the mounting brackets. These brackets will securely hold the antenna in place and ensure stability and optimal reception. Follow these steps to install the mounting brackets:
- Choose the Mounting Location: Position the brackets in the chosen location, ensuring they are level and aligned with the direction of the broadcasting towers. Use a pencil to mark the spots where the screws will go, making sure they are evenly spaced.
- Prepare the Surface: If you are mounting the brackets on a wall, use a drill and appropriate drill bit to create pilot holes for the screws. For a roof or other surfaces, make sure you have the necessary tools to securely fasten the brackets.
- Secure the Brackets: Attach the brackets to the wall or other surface using the screws and anchors recommended for your specific mounting location. Make sure the brackets are tightly secured to ensure stability.
- Check the Level: Use a level to verify that the brackets are still aligned correctly. This will ensure that the antenna is mounted straight, providing optimal reception. Adjust the brackets if needed.
- Test the Stability: Before proceeding with the antenna assembly, give the brackets a gentle shake to ensure they are securely attached. You don’t want any wobbling or movement that could affect the antenna’s performance and alignment.
It is important to follow the manufacturer’s instructions when installing the mounting brackets, as different antennas may have specific requirements or additional steps. Additionally, if you are uncertain about any aspect of the installation process, consider consulting a professional to ensure proper and safe installation.
By carefully installing the mounting brackets, you are setting the foundation for a stable and reliable TV antenna setup. Double-check your work, ensuring the brackets are level and securely attached, before proceeding to the next step of assembling and mounting the antenna.
Assembling and Mounting the Antenna
Now comes the exciting part of assembling and mounting your TV antenna. By following these steps, you’ll be well on your way to enjoying high-quality television signals:
- Prepare the Antenna: Unbox the antenna and gather all the components. Carefully read the manufacturer’s instructions to ensure you understand the assembly process. Attach any necessary elements, such as the reflectors or signal directors, following the provided guidelines. Some antennas may come pre-assembled or with minimal assembly required.
- Connect the Coaxial Cable: Locate the coaxial cable connector on the antenna. Depending on the design, it may be located on the bottom or back of the antenna. Connect the coaxial cable to the antenna, ensuring a secure and tight connection. Use cable clips or ties to keep the cable neatly tucked away, helping to prevent tripping hazards or damage.
- Mount the Antenna: Position the assembled antenna onto the mounting brackets that you installed earlier. Align the antenna according to the marked direction for optimal reception. Use the hardware provided with the antenna to securely attach it to the brackets. Ensure that the antenna is level and properly tightened to avoid movement or misalignment.
- Adjust the Antenna: Fine-tune the antenna’s alignment to improve signal reception. Refer to the manufacturer’s instructions for guidance on making adjustments. This may involve rotating the antenna horizontally or vertically or slightly tilting it to optimize signal strength. Use a compass or smartphone app with compass functionality to help determine the correct orientation.
- Test the Signal: Once the antenna is securely mounted and adjusted, connect the other end of the coaxial cable to your TV or signal amplifier. Perform a channel scan on your TV to see the available channels. Make any necessary adjustments to the antenna’s position or direction to maximize signal reception. Test multiple channels to ensure consistent reception.
Remember, proper assembly and mounting of the antenna are key to achieving optimal signal strength and reception. Take your time to carefully follow the manufacturer’s instructions and make the necessary adjustments to enhance your viewing experience.
If you encounter any difficulties during the process or are unsure about any steps, don’t hesitate to consult the manufacturer’s customer support or seek assistance from a professional. They can provide guidance or offer solutions to any challenges you may face.
Once you have completed the assembly and mounting process, you are one step closer to enjoying clear, free-to-air television channels from your outdoor TV antenna. The next steps involve running the coaxial cable and connecting the antenna to your TV.
Running the Coaxial Cable
Running the coaxial cable is a crucial step in the installation of your TV antenna. The coaxial cable carries the signal from the antenna to your TV, ensuring a clear and uninterrupted reception. Follow these steps to properly run the coaxial cable:
- Plan the Route: Determine the most direct and convenient route for the coaxial cable to travel from the antenna to your TV location. Consider factors such as obstructions, accessibility, and aesthetic preferences. It is best to avoid sharp bends or kinks in the cable, as they can impact signal quality.
- Prepare the Cable: If the coaxial cable is not pre-terminated, you may need to attach the appropriate connectors. Using a coaxial cable stripper, carefully remove a small portion of the cable’s outer insulation to expose the inner wire and shielding. Slide the connector onto the cable, making sure the wire and shielding are correctly aligned with the connector’s pins. Use a crimping tool or compression tool to secure the connector in place.
- Run the Cable: Starting from the antenna, run the coaxial cable along the planned route, avoiding sharp corners or areas with excessive moisture or heat. Secure the cable using cable clips or ties to keep it neatly attached to walls or other surfaces. If necessary, drill small holes to pass the cable through walls or floors, ensuring a neat and discreet installation.
- Protect the Cable: If you are running the cable outdoors or through an area prone to extreme weather conditions, consider using cable conduit or weatherproof tape to protect the cable from moisture and other environmental factors. This will help ensure the longevity and performance of the coaxial cable.
- Keep Cable Length in Mind: Measure the distance from the antenna to your TV before running the cable. It’s important to choose a cable with an appropriate length to avoid unnecessary slack or tension. Excess cable can be neatly coiled or secured using cable ties, while a cable that is too short may require an extension or relocation of the antenna or TV.
As you run the coaxial cable, periodically check for any interference or signal loss. Avoid routing the cable parallel to electrical wires or in close proximity to other electronic devices, as this can cause signal interference. If you encounter any issues, consider repositioning the cable or using additional measures, such as shielding, to minimize interference.
Once the coaxial cable is properly run from the antenna to your TV location, you are now ready to connect the antenna to your TV and test the signal strength. This will bring you one step closer to enjoying crisp, high-definition television channels with the help of your outdoor TV antenna.
Connecting the Antenna to the TV
After properly running the coaxial cable from the outdoor TV antenna to your TV location, the next step is to connect the antenna to your television. By following these steps, you’ll be able to enjoy the channels received by your antenna:
- Locate the Antenna Input: Look for the antenna input on your TV or digital converter box. This is typically labeled as “Antenna In,” “RF In,” or “Ant/Cable In.” It may also be represented by a coaxial symbol.
- Prepare the Cable: Ensure that the coaxial cable is securely connected to the antenna. Double-check that the connector is tightened and properly aligned with the pins in the antenna input. Be careful not to overtighten the connector, as it can damage the input or cause signal loss.
- Connect the Cable to the TV: Insert the other end of the coaxial cable into the antenna input on your TV or digital converter box. Push the connector in until it is snug and secure. Give it a slight twist to ensure a tight connection.
- Select the Antenna Input: On your TV or digital converter box settings, navigate to the input or source menu. Use the remote control or on-screen interface to select the antenna input as the source for your television signal. This may be labeled as “Antenna,” “Air,” or a similar term, depending on your TV model.
- Scan for Channels: Perform a channel scan or auto-tune on your TV or digital converter box. This will allow it to detect and store the available channels received from your outdoor antenna. The process may take a few minutes, and your TV will display the progress or a channel scanning message.
- Test the Channels: Once the channel scan is complete, use your TV’s remote control to navigate through the available channels. Test different channels to ensure a clear reception. If you experience any issues, such as weak signals or missing channels, consider adjusting the antenna’s position or orientation to optimize the signal strength.
It is noteworthy that some TVs may have additional settings for signal quality or reception enhancements. You can explore these settings to fine-tune the picture quality and overall viewing experience. Refer to your TV’s user manual or online resources for specific instructions.
By correctly connecting the antenna to your TV and performing a channel scan, you will be able to enjoy a wide variety of free-to-air television channels. If you encounter any difficulties or have questions about your specific TV model, consult the user manual or contact the manufacturer’s customer support for assistance.
Now that you have successfully connected the antenna to your TV, it’s time to test the signal strength and make any necessary adjustments to ensure optimal reception.
Testing the Signal Strength and Adjustments
Once you have connected your outdoor TV antenna to your television, it’s important to test the signal strength and make any necessary adjustments for optimal reception. Follow these steps to ensure that you are receiving the best possible quality from your antenna:
- Check Signal Strength: Access the signal strength or quality indicator on your TV or digital converter box. This can usually be found in the settings or information menu. The signal strength is typically represented by a bar, percentage, or signal meter. Aim for a strong signal by positioning the antenna in the direction that provides the highest signal strength.
- Make Small Adjustments: If you are experiencing weak or inconsistent signal strength, make small adjustments to the antenna’s position or orientation. This can involve rotating the antenna slightly, tilting it up or down, or moving it horizontally. Test the signal strength after each adjustment to determine the optimal position.
- Minimize Interference: Reduce any sources of interference that may compromise your signal quality. Avoid placing the antenna near electronics, metal objects, or high-frequency devices that can interfere with the signal. Additionally, if you live in a busy urban area, the presence of tall buildings or other structures might be causing interference. Adjust the antenna’s position to minimize these potential obstructions.
- Re-scan Channels: If you have made significant adjustments to the antenna’s position, it is advisable to re-scan the channels on your TV or digital converter box. This will ensure that you have the most up-to-date and accurate channel lineup based on your antenna’s current positioning.
- Consider Signal Amplification: If you are struggling with weak signal strength or are located quite far from the broadcasting towers, you may want to consider using a signal amplifier. A signal amplifier, also known as a preamplifier, can help boost weak signals and improve reception. Consult your antenna’s manufacturer or a professional for advice on choosing and installing a signal amplifier.
It is important to keep in mind that signal strength can be affected by factors such as weather conditions, geographical location, and nearby obstructions. Therefore, periodic testing of the signal strength and making necessary adjustments is recommended, especially after storms or changes in your surrounding environment.
By patiently testing the signal strength, making adjustments, and minimizing sources of interference, you can ensure that you are receiving the best possible reception from your outdoor TV antenna. Enjoy clear, crisp television channels and immerse yourself in the world of entertainment that broadcast television has to offer.