Introduction
Installing an operating system on a solid-state drive (SSD) can significantly boost the performance and speed of your computer. Whether you’re upgrading your existing system or building a new one, the process of installing an operating system on an SSD is relatively straightforward.
In this guide, we will walk you through the step-by-step process of installing an operating system on an SSD. We will cover everything from gathering the required materials to configuring the operating system after installation.
Before we dive into the installation process, it’s important to note that while SSDs offer numerous advantages over traditional hard disk drives (HDDs), there are a few considerations to keep in mind. SSDs have a limited lifespan, which means they can only endure a certain number of read and write cycles. However, modern SSDs have significantly improved in terms of durability and can last for many years with proper usage and care.
It’s also worth mentioning that installing an operating system on an SSD requires some technical knowledge and basic computer skills. If you’re not comfortable with the installation process, it’s always a good idea to seek assistance from a professional or consult the manufacturer’s documentation.
Now that we’ve covered the basics, let’s get started with the process of installing an operating system on a solid-state drive!
Step 1: Gathering the Required Materials
Before you begin the installation process, it’s essential to gather all the necessary materials. Here’s a checklist of what you’ll need:
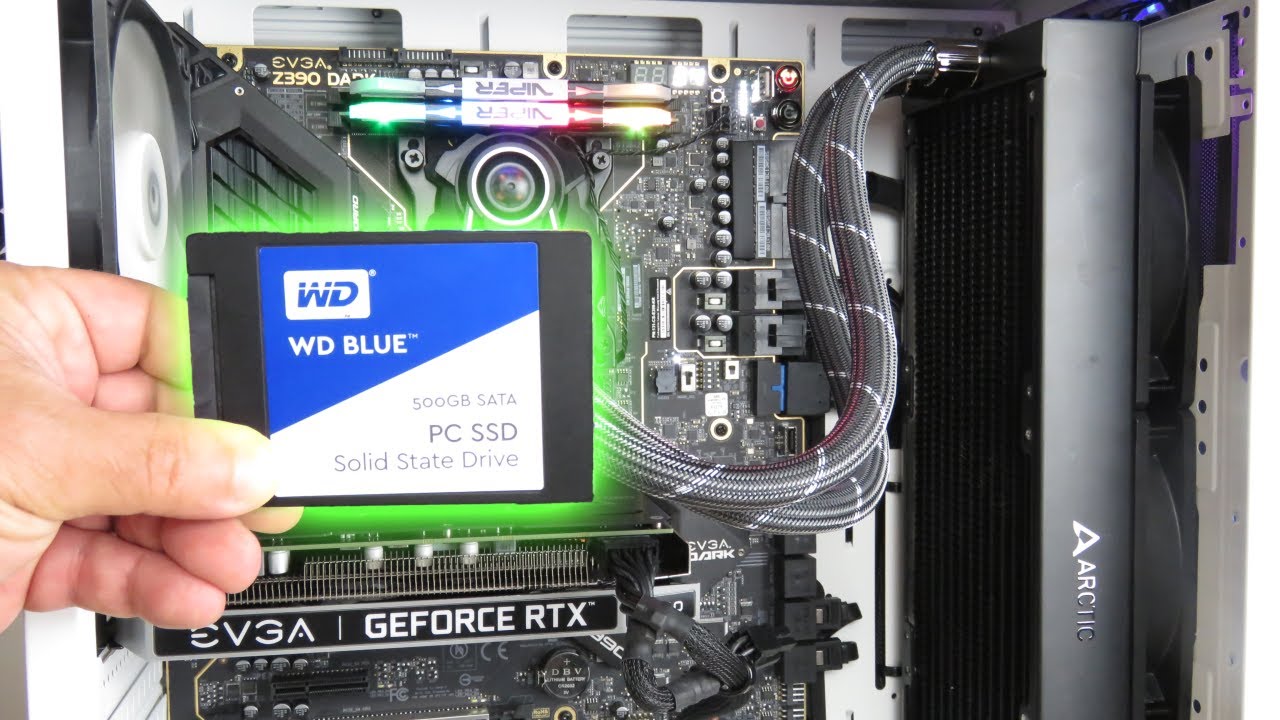
- A solid-state drive (SSD): This will be the storage device on which you’ll install the operating system. Make sure to choose an SSD with the appropriate capacity for your needs.
- An operating system installation media: This can be a DVD or a USB drive containing the installation files for the operating system you want to install. Ensure that you have a valid license for the operating system.
- A computer or laptop: This is where you’ll be installing the operating system. Ensure that your computer meets the minimum system requirements for the operating system.
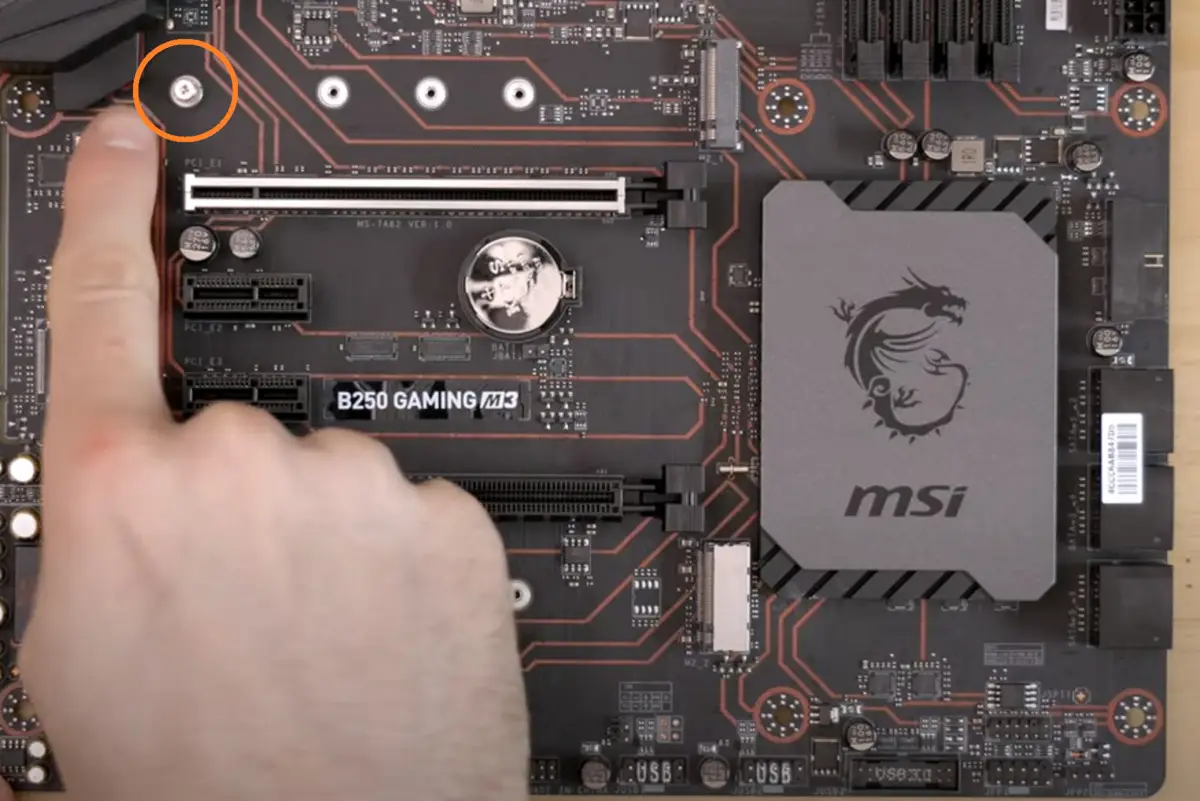
- A screwdriver: Depending on your computer’s casing, you may need a screwdriver to open it and install the SSD.
- A backup storage device: It’s crucial to create a backup of your important files and data before proceeding with the installation process. You can use an external hard drive, cloud storage, or any other reliable backup solution.
It’s important to note that the specific requirements may vary depending on the make and model of your computer. Make sure to consult the manufacturer’s documentation or visit their website for any additional instructions or recommendations.
Once you have gathered all the required materials, you’re ready to move on to the next step: backing up your data. It’s always a good practice to create a backup before making any changes to your system, as it will protect your valuable data in case anything goes wrong during the installation process.
Step 2: Backing Up Your Data
Before proceeding with the installation of the operating system on your SSD, it’s crucial to back up your data to ensure its safety. This step is essential to protect your valuable files and documents in case of any unforeseen circumstances during the installation process.
There are several methods you can use to back up your data, depending on your preferences and the amount of data you need to back up. Here are a few options:
- External Hard Drive: Connect an external hard drive to your computer and manually copy and paste your important files and folders onto the external drive.
- Cloud Storage: Use online cloud storage services such as Google Drive, Dropbox, or Microsoft OneDrive to upload and store your files securely in the cloud.
- Backup Software: Utilize backup software that automates the process of backing up your data. These software solutions often offer various options such as incremental backups, scheduled backups, and easy restoration of files.
Remember to back up all your important files, such as documents, photos, videos, and any other data that you want to keep safe. It’s also a good idea to make sure that the backup is complete and accessible before proceeding with the installation process.
Once you have successfully backed up your data, you can proceed to the next step: creating a bootable USB drive with the operating system installation files.
Step 3: Creating a Bootable USB Drive
Creating a bootable USB drive with the operating system installation files is a necessary step to install the operating system on your SSD. This method allows you to install the operating system directly from the USB drive, eliminating the need for a DVD drive.
Follow these steps to create a bootable USB drive:
- Obtain the operating system installation files: If you have a physical DVD of the operating system, you can use a software tool like Rufus (for Windows) or UNetbootin (for Linux) to create a bootable USB drive. If you have a digital copy of the installation files, you can download them from the official website of the operating system.
- Get a USB drive: Ensure that you have a USB drive with sufficient storage capacity to hold the operating system installation files.
- Format the USB drive: Connect the USB drive to your computer and format it to ensure a clean and reliable installation. Note that formatting the drive will erase all existing data, so make sure to back up any important files beforehand.
- Create a bootable USB drive: Use the software tool mentioned earlier to create a bootable USB drive. Follow the instructions provided by the tool, select the operating system installation files, and choose the USB drive as the destination.
- Verify the bootable USB drive: After the process is complete, verify that the USB drive is bootable by restarting your computer and accessing the boot menu. Consult your computer’s manual or the manufacturer’s website for instructions on how to access the boot menu.
Once you have successfully created a bootable USB drive, you’re one step closer to installing the operating system on your SSD. The next step is to change your computer’s BIOS settings to prioritize booting from the USB drive.
Step 4: Changing BIOS Settings
In order to install the operating system from the bootable USB drive onto your SSD, you’ll need to change the BIOS settings of your computer. The BIOS (Basic Input/Output System) is responsible for managing the hardware and initiating the booting process.
Follow these steps to change the BIOS settings:
- Restart your computer and access the BIOS: As the computer restarts, look for a message on your screen indicating which key to press to enter the BIOS setup. This key is usually displayed as “Press [key] to enter setup” or something similar. Common keys to access the BIOS include Del, F2, F10, or Esc.
- Navigate to the Boot menu: Once inside the BIOS setup, navigate to the Boot menu using the arrow keys on your keyboard.
- Change the boot order: Locate the boot order or boot priority setting in the BIOS. This setting determines the order in which devices are checked for bootable media. Make sure to set the USB drive as the first bootable device.
- Save and exit: Once you’ve changed the boot order, save the changes and exit the BIOS setup. The process of saving and exiting may vary depending on the BIOS version, but it’s usually done by pressing the F10 key or selecting the appropriate option.
After changing the BIOS settings, your computer will restart and attempt to boot from the USB drive. The operating system installation process should begin.
It’s important to note that some computers may require additional steps or specific settings depending on the manufacturer and BIOS version. Consult the documentation or the manufacturer’s website for detailed instructions.
With the BIOS settings correctly configured, you’re ready to proceed to the next step: installing the operating system on your SSD.
Step 5: Installing the Operating System
Now that you have prepared the bootable USB drive and configured the BIOS settings, it’s time to install the operating system on your SSD. Follow these steps to install the operating system:
- Connect the bootable USB drive: Insert the USB drive into one of the available USB ports on your computer.
- Restart your computer: Restart your computer and make sure it boots from the USB drive. If your computer doesn’t automatically boot from the USB drive, you may need to access the boot menu again and select the USB drive as the boot device.
- Follow the installation prompts: Once the computer boots from the USB drive, the operating system installation process will begin. Follow the on-screen prompts and instructions to proceed with the installation. You may be asked to choose the installation language, agree to the license terms, and select the SSD as the installation location.
- Customize the installation (optional): Depending on the operating system, you may have the option to customize the installation by choosing specific features, partitioning the SSD, or setting up user accounts. Customize these settings according to your preferences and requirements.
- Wait for the installation to complete: The installation process may take some time. It’s important to be patient and allow the installation to complete without interruption. Do not turn off your computer during this process.
- Restart your computer: Once the installation is complete, you will be prompted to restart your computer. Remove the USB drive before restarting.
After restarting your computer, the operating system should load from your SSD. You can then proceed to the final step: updating and configuring the operating system to ensure optimal performance.
It’s worth noting that the installation process and the options available may differ depending on the operating system you are installing. Refer to the official documentation or guidance provided by the operating system manufacturer for any specific instructions or troubleshooting steps.
Step 6: Updating and Configuring the Operating System
After successfully installing the operating system on your SSD, it’s crucial to update and configure it to ensure optimal performance and security. Follow these steps to update and configure your operating system:
- Connect to the internet: Ensure that your computer is connected to the internet either through a wired or wireless connection.
- Check for updates: Open the settings menu or control panel of your operating system and look for an option to check for updates. This process may vary depending on the operating system.
- Install available updates: If any updates are found, proceed to install them. Operating system updates often include bug fixes, security patches, and improvements in performance and stability.
- Configure system settings: Customize your system settings according to your preferences. This includes personalizing the desktop background, setting up user accounts, configuring privacy settings, and adjusting power management options.
- Install drivers and software: Install any necessary drivers for your hardware components, such as graphics cards, sound cards, or network adapters. Additionally, install software and programs that are essential for your needs.
- Set up security measures: Install a reliable antivirus software and enable a firewall to protect your computer from malware and unauthorized access. Create strong, unique passwords for your user accounts to enhance security.
- Restore your files and data: If you have backed up your files and data before the installation, restore them to your new operating system. Make sure to verify that all your important files and documents are intact and accessible.
- Test your system and troubleshoot: Take some time to test various functions and features of your operating system. If you encounter any issues, refer to the operating system documentation or online resources for troubleshooting steps.
By updating and configuring your operating system, you can ensure that it runs smoothly, operates efficiently, and remains secure against potential threats.
Congratulations! You have successfully installed and configured the operating system on your SSD. Enjoy the enhanced performance and speed that your SSD brings to your computer!
Conclusion
Installing an operating system on a solid-state drive (SSD) can greatly improve the performance and speed of your computer. By following the steps outlined in this guide, you have successfully learned how to install an operating system on an SSD.
We started by discussing the importance of gathering the required materials and backing up your data. It is essential to ensure that you have everything you need and have made a backup of your valuable files before proceeding with the installation process.
Next, we covered the process of creating a bootable USB drive, which allows you to install the operating system directly from the USB drive onto your SSD. We provided detailed steps on formatting the USB drive, obtaining the operating system installation files, and verifying that the USB drive is bootable.
After creating the bootable USB drive, we moved on to changing the BIOS settings of your computer. This step is crucial to prioritize booting from the USB drive, enabling the installation process to begin.
With the BIOS settings correctly configured, we then explained how to install the operating system from the bootable USB drive. We walked you through the installation prompts and highlighted the importance of customizing the installation settings according to your preferences and needs.
Once the operating system was successfully installed, we emphasized the significance of updating and configuring it. This involves checking for updates, installing necessary drivers and software, configuring system settings, and setting up security measures to ensure optimal performance and security.
Finally, we concluded by reiterating the importance of testing your system and troubleshooting any issues that may arise. As with any technological process, it’s important to be patient, thorough, and proactive in ensuring that your operating system is functioning correctly.
By following these steps, you have successfully installed an operating system on your SSD, unlocking the benefits of enhanced performance and speed. Enjoy the improved efficiency and responsiveness that your SSD brings to your computing experience!