Introduction
In today’s fast-paced digital world, where data storage and performance are of utmost importance, solid-state drives (SSDs) have become increasingly popular. Among the different types of SSDs available, M.2 SSDs have gained significant attention due to their small form factor and blazing-fast speeds. If you’re considering upgrading your computer’s storage with an M.2 SSD, this guide will walk you through the process of activating it.
M.2 SSDs provide an excellent solution for those looking to boost their computer’s performance and load times. With their compact size and high-speed interface, they are ideal for both desktops and laptops. However, simply installing an M.2 SSD is not enough—it requires proper activation to ensure it functions correctly and maximizes its potential.
In this guide, we will cover the necessary steps to activate your M.2 SSD. It is essential to understand the process thoroughly to prevent any compatibility issues, data loss, or performance bottlenecks that could arise from improper installation or configuration.
Whether you are a seasoned computer enthusiast or a novice user, this guide will provide you with the knowledge and instructions you need to successfully activate your M.2 SSD and take full advantage of its lightning-fast performance.
Understanding M.2 SSD
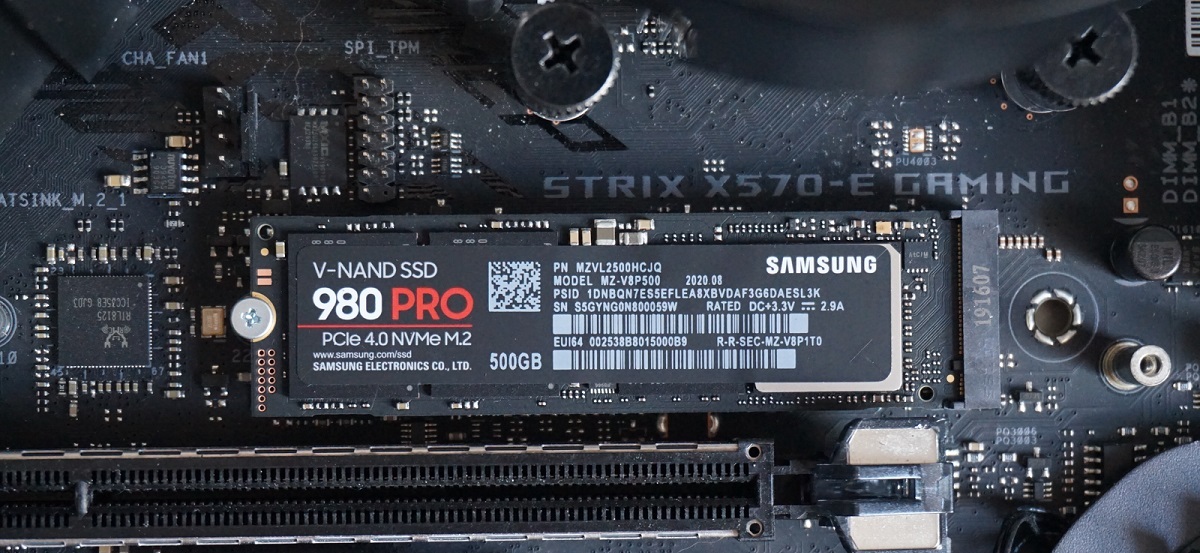
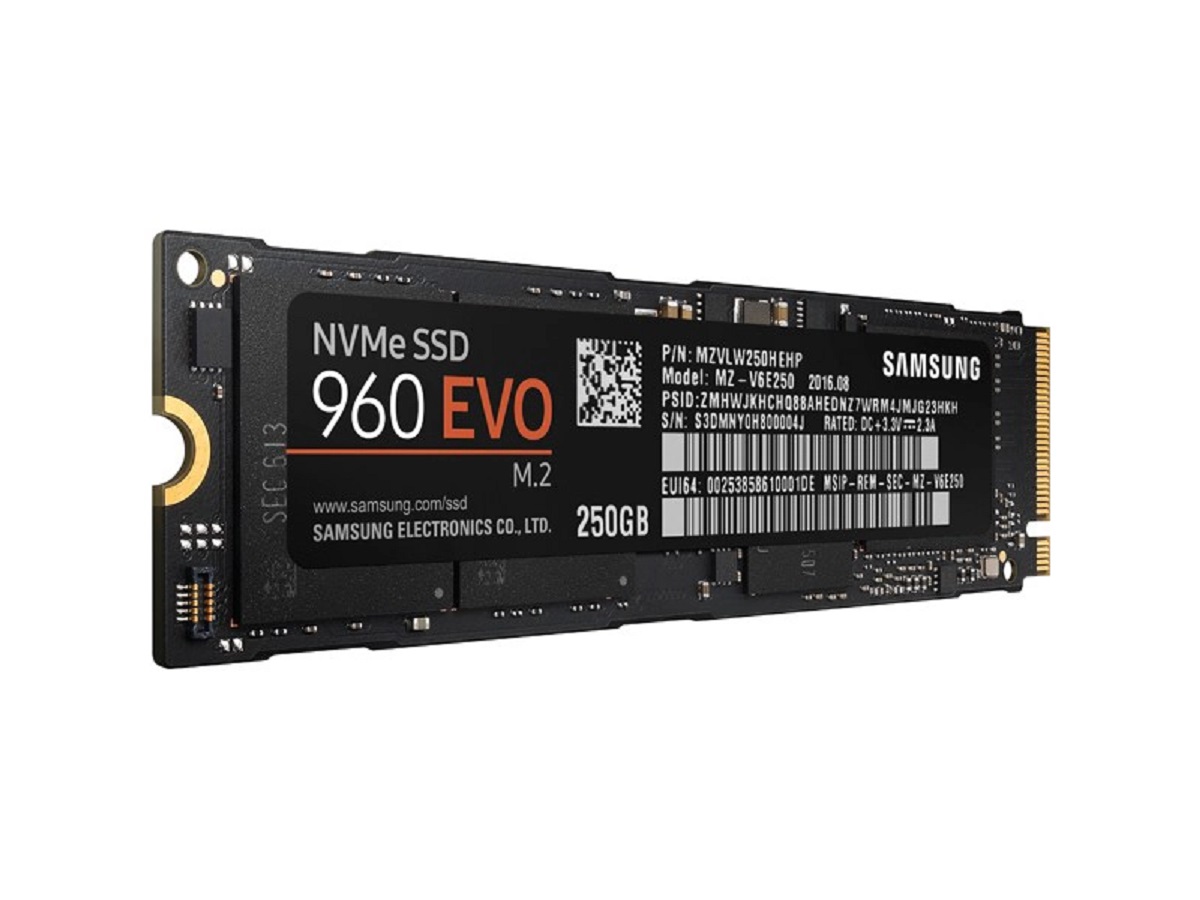
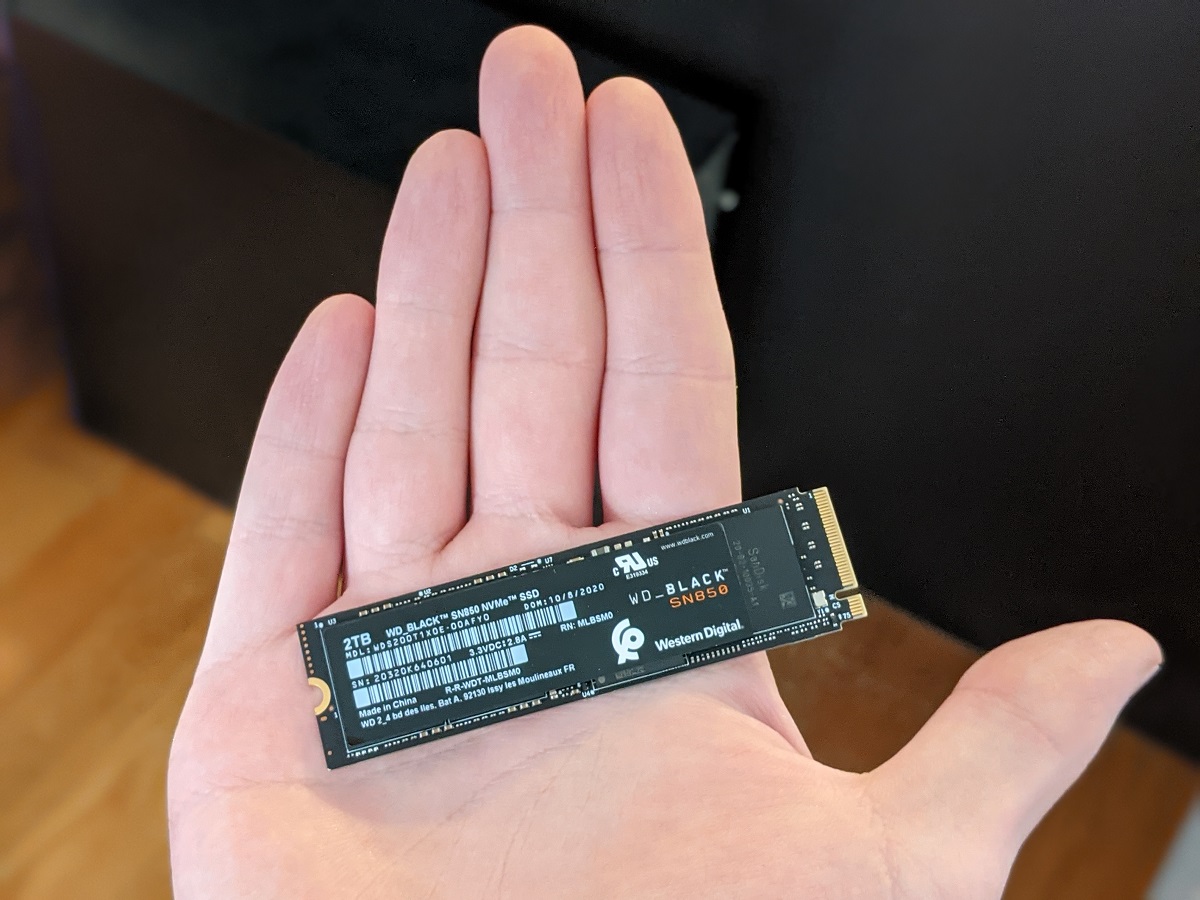
M.2 SSDs are a type of solid-state drive that utilize the M.2 interface, which is a small, compact, and versatile form factor. Unlike traditional 2.5-inch SSDs or hard disk drives, M.2 SSDs are a fraction of the size and offer significantly faster speeds. This makes them a popular choice for those seeking high-performance storage solutions.
The M.2 interface supports various storage technologies, including SATA and PCIe, which affect the performance and compatibility of the drive. SATA-based M.2 SSDs provide faster speeds than traditional hard disk drives but are generally slower than PCIe-based M.2 SSDs. On the other hand, PCIe-based M.2 SSDs offer next-level performance, often rivaling or surpassing traditional SSDs.
M.2 SSDs come in different lengths and key configurations, which determine their physical compatibility with your motherboard. The most common key configurations are B and M. It’s essential to check your motherboard’s specifications and ensure compatibility with the M.2 SSD you intend to install.
One significant advantage of M.2 SSDs is their ability to directly connect to the motherboard without the need for cables. This not only simplifies the installation process but also reduces clutter in your computer case. Additionally, M.2 SSDs do not require separate power cables, as they draw power directly from the motherboard.
Due to their small form factor, M.2 SSDs are often located on the motherboard in areas that may have limited airflow. This can cause them to heat up quickly, potentially impacting performance. To mitigate this, many M.2 SSDs come with built-in heatsinks or thermal pads to dissipate heat effectively.
Understanding the basics of M.2 SSDs, including their interface, storage technologies, and physical compatibility, is crucial before proceeding with the activation process. By familiarizing yourself with these key aspects, you’ll be better equipped to make informed decisions when selecting, installing, and optimizing your M.2 SSD for maximum performance.
Checking Compatibility
Before diving into the installation process, it’s crucial to ensure that your computer’s motherboard is compatible with an M.2 SSD. Checking compatibility beforehand will save you time and prevent potential issues arising from incompatible hardware.
To determine if your motherboard supports M.2 SSDs, you can refer to the manufacturer’s documentation or visit their website to check the specifications. Look for the presence of an M.2 slot or an M.2 socket on the motherboard.
Furthermore, it’s important to identify the type of M.2 SSD your motherboard supports. This can be SATA-based or PCIe-based, and it will dictate the speed and performance capabilities of the M.2 SSD. Consult your motherboard documentation or manufacturer’s website to confirm the supported M.2 protocols.
Additionally, verify the form factor supported by your motherboard’s M.2 slot. Common sizes include 2230, 2242, 2260, and 2280, which represent the length and width dimensions in millimeters. Ensure that the M.2 SSD you plan to install matches the supported form factor.
Some motherboards may have multiple M.2 slots, each with different compatibility and speeds. Make note of the specific slot you intend to use and its associated limitations or requirements.
Besides checking motherboard compatibility, it’s also essential to consider other factors that may affect the installation and practicality of an M.2 SSD. For instance, check if there are any clearance issues with other components, such as graphics cards or cooling solutions, that could obstruct the installation or airflow around the M.2 SSD.
By thoroughly checking the compatibility of your motherboard and considering other potential limitations or interferences, you can ensure a smooth and successful installation of your M.2 SSD. Taking the time to verify compatibility will help you avoid any frustrations or complications during the activation process.
Preparing Your Computer
Before installing an M.2 SSD, it’s necessary to prepare your computer to ensure a smooth and efficient installation process. Taking the time to properly prepare your computer will help prevent any accidental damage and ensure that your M.2 SSD functions optimally.
First, make sure to power off your computer and disconnect it from the power source. This step is crucial to prevent any electrical discharge or potential damage to sensitive components.
Next, open up your computer case. The location of the M.2 slot may vary depending on your motherboard’s design. Consult your motherboard’s manual or manufacturer’s website to identify the specific location of the M.2 slot.
Once you have located the M.2 slot, check for any covers or heat shields that may be present. Some motherboards come with protective covers or heatsinks over the M.2 slot. If present, remove these covers carefully to expose the slot.
After removing any covers, take a moment to inspect the M.2 slot for any dust, debris, or obstructions. Use a can of compressed air or an anti-static brush to gently clean the slot if necessary. Ensuring a clean and debris-free slot will help facilitate a secure and stable connection with the M.2 SSD.
If your motherboard supports multiple M.2 slots, identify the slot you want to use for your M.2 SSD installation. Take note of the slot number or position for reference during the installation process.
Lastly, if you plan to use your M.2 SSD as the primary storage device for your operating system, you will need to create a bootable installation media. This can be a USB drive or a DVD containing the operating system installation files. Follow the instructions provided by your operating system’s manufacturer to create the bootable media.
By adequately preparing your computer, including powering it off, opening the case, cleaning the M.2 slot (if necessary), and creating a bootable media, you will be ready for the smooth installation of your M.2 SSD. Taking these steps will help ensure a hassle-free process and minimize any potential risks or complications.
Installing the M.2 SSD
Now that you have prepared your computer, it’s time to proceed with the installation of the M.2 SSD. Follow these steps to ensure a successful installation:
- Locate the M.2 slot on your motherboard. It is a small, rectangular slot usually labeled with the M.2 designation. Refer to your motherboard’s manual or the manufacturer’s website if you need assistance identifying the correct slot.
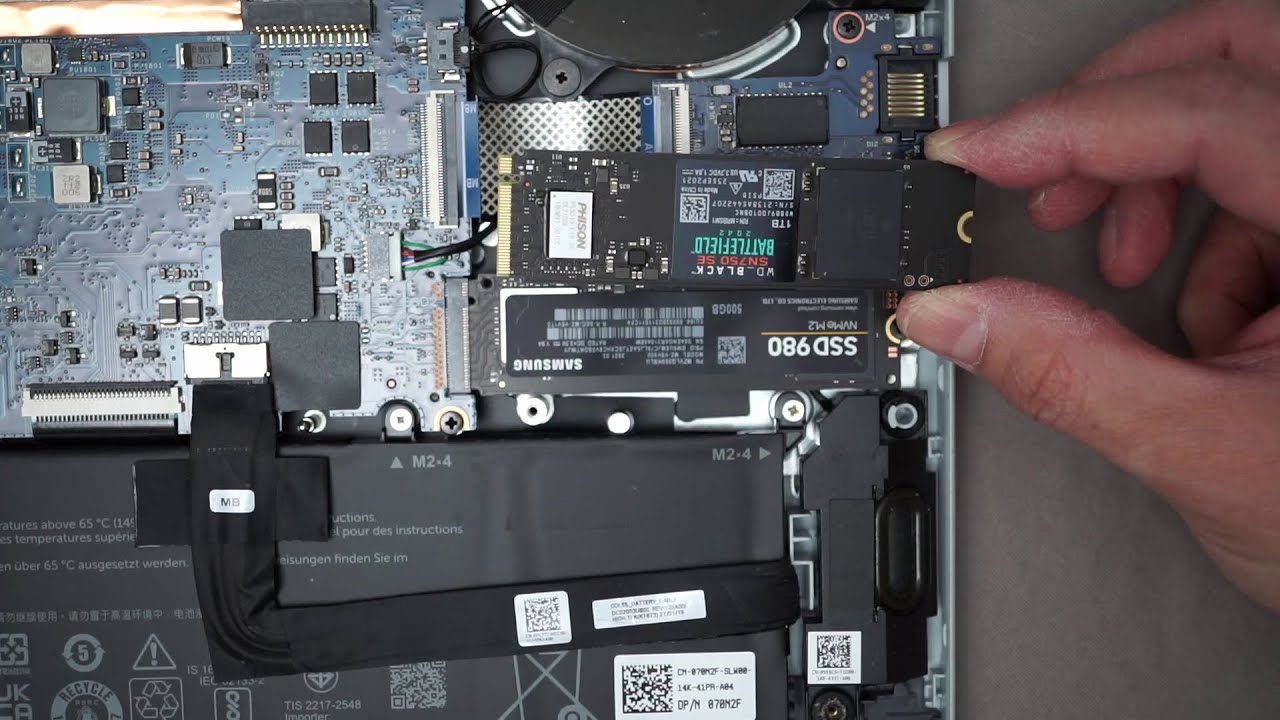
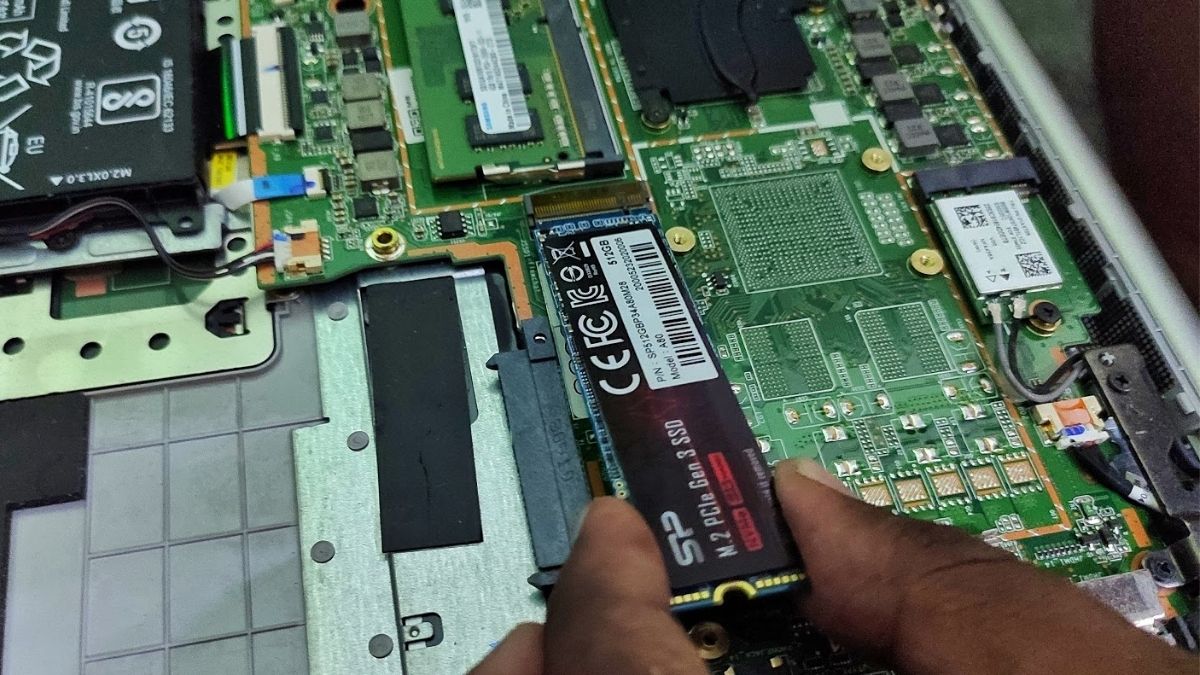
- Handle the M.2 SSD with care, holding it by its edges to avoid touching the sensitive components. Align the notches on the M.2 SSD with the key notches on the slot.
- Gently insert the M.2 SSD at a slight angle into the slot. Make sure it is fully inserted and seated properly. Do not force it, as excessive pressure may cause damage.
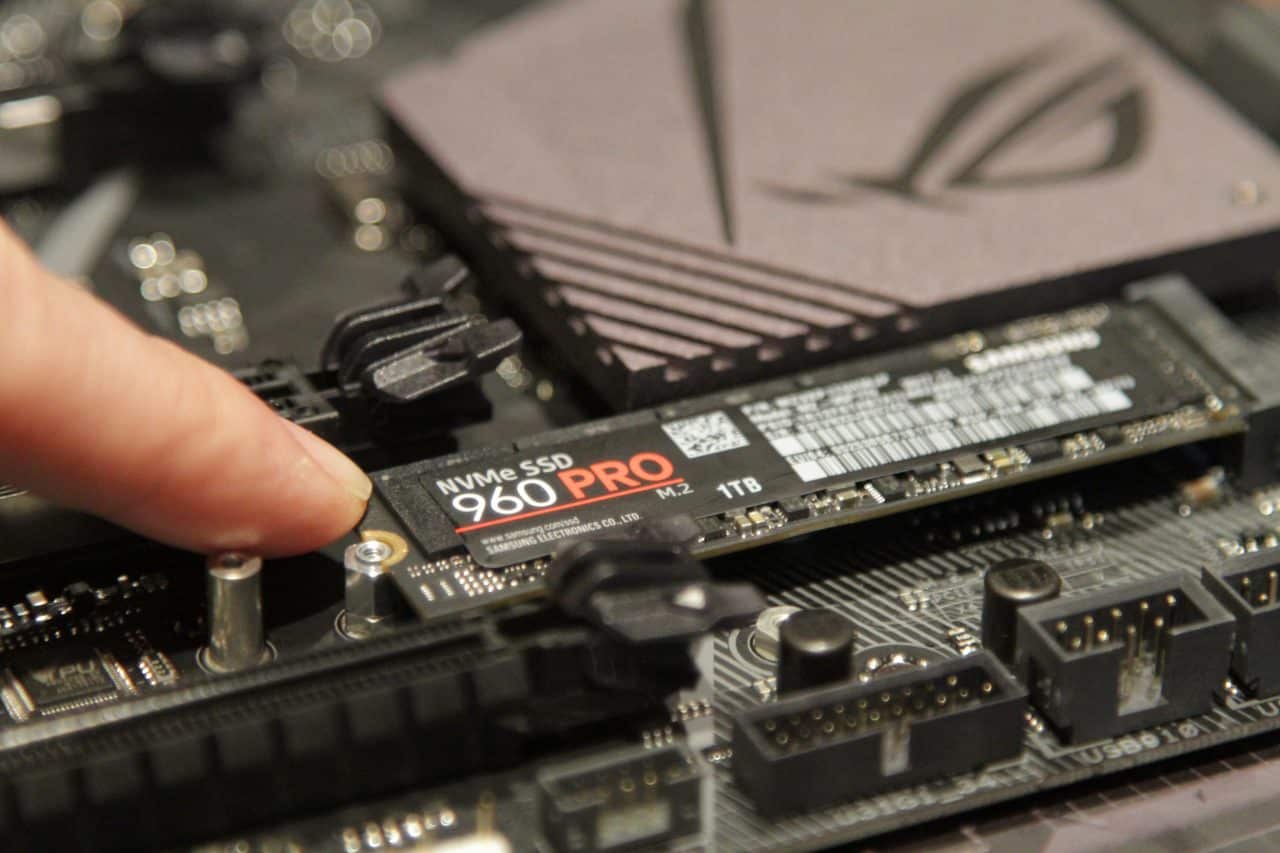
- Once the M.2 SSD is inserted into the slot, apply gentle pressure to ensure it is securely in place. Some motherboards have retention screws or clips to secure the M.2 SSD. If your motherboard has this feature, use the provided screws or clips to hold the M.2 SSD in place.
- Replace any covers or heatsinks that were removed earlier to protect the M.2 slot. Ensure they are properly aligned and secured.
- Close the computer case, making sure all cables are properly organized and connected. Reconnect the power source and any other peripherals.
Once the M.2 SSD is installed, you can power on your computer to verify that the motherboard detects the new storage device. Enter the BIOS/UEFI settings by pressing the designated key during the startup process (usually F2, F10, or Del). Navigate to the “Storage” or “Boot” settings to check if the M.2 SSD is recognized.
If the M.2 SSD is not detected in the BIOS/UEFI settings, double-check the installation to ensure it is properly seated in the slot. If the issue persists, consult your motherboard’s documentation or contact the manufacturer’s support for further assistance.
By following these steps, you can successfully install an M.2 SSD into your computer. This will pave the way for the next vital step, which is configuring the BIOS/UEFI settings to optimize your M.2 SSD’s performance.
Configuring Your BIOS
After installing the M.2 SSD, it’s essential to configure your computer’s BIOS (Basic Input/Output System) or UEFI (Unified Extensible Firmware Interface) settings to maximize the performance of the newly installed drive. Follow these steps to adjust the necessary settings:
- Restart your computer and enter the BIOS/UEFI settings. This is typically done by pressing a specific key during the startup process, such as F2, F10, or Del. Refer to your motherboard’s manual or the manufacturer’s website if you are unsure.
- Navigate to the “Storage” or “Boot” settings in the BIOS/UEFI interface. Look for options related to the M.2 slot or storage devices.
- Enable the appropriate setting to ensure the M.2 SSD is recognized as a bootable device. This setting may be labeled “Boot from M.2,” “NVMe Boot,” or something similar.
- Check if there are any additional settings related to the specific M.2 SSD model you have installed. Some SSD manufacturers provide specific settings or optimization options that can enhance performance.
- Review and adjust other relevant settings, such as SATA mode or RAID mode, depending on your specific configuration. Consult your motherboard’s documentation or the manufacturer’s website for guidance on optimizing these settings for M.2 SSDs.
- Once you have made the necessary changes, save the settings and exit the BIOS/UEFI interface. The computer will restart.
Upon reboot, your computer will recognize and utilize the M.2 SSD as per the configured settings. This will ensure that the M.2 SSD is operating at its full potential and delivering the expected performance benefits.
Keep in mind that every motherboard and BIOS/UEFI interface may have slight variations in terminology and layout. It’s essential to refer to your specific motherboard’s documentation and consult the manufacturer’s instructions for accurate and updated information.
By configuring your BIOS/UEFI settings correctly, you will optimize the performance of your M.2 SSD and take full advantage of its speed and storage capabilities.
Verifying the M.2 SSD
After installing and configuring your M.2 SSD, it’s crucial to verify that it is functioning correctly. This step ensures that the M.2 SSD is recognized by your operating system and can be utilized for storage and other purposes. Follow these steps to verify the M.2 SSD:
- Boot your computer into the operating system. If you have installed a fresh operating system on the M.2 SSD, follow the on-screen prompts to complete the installation.
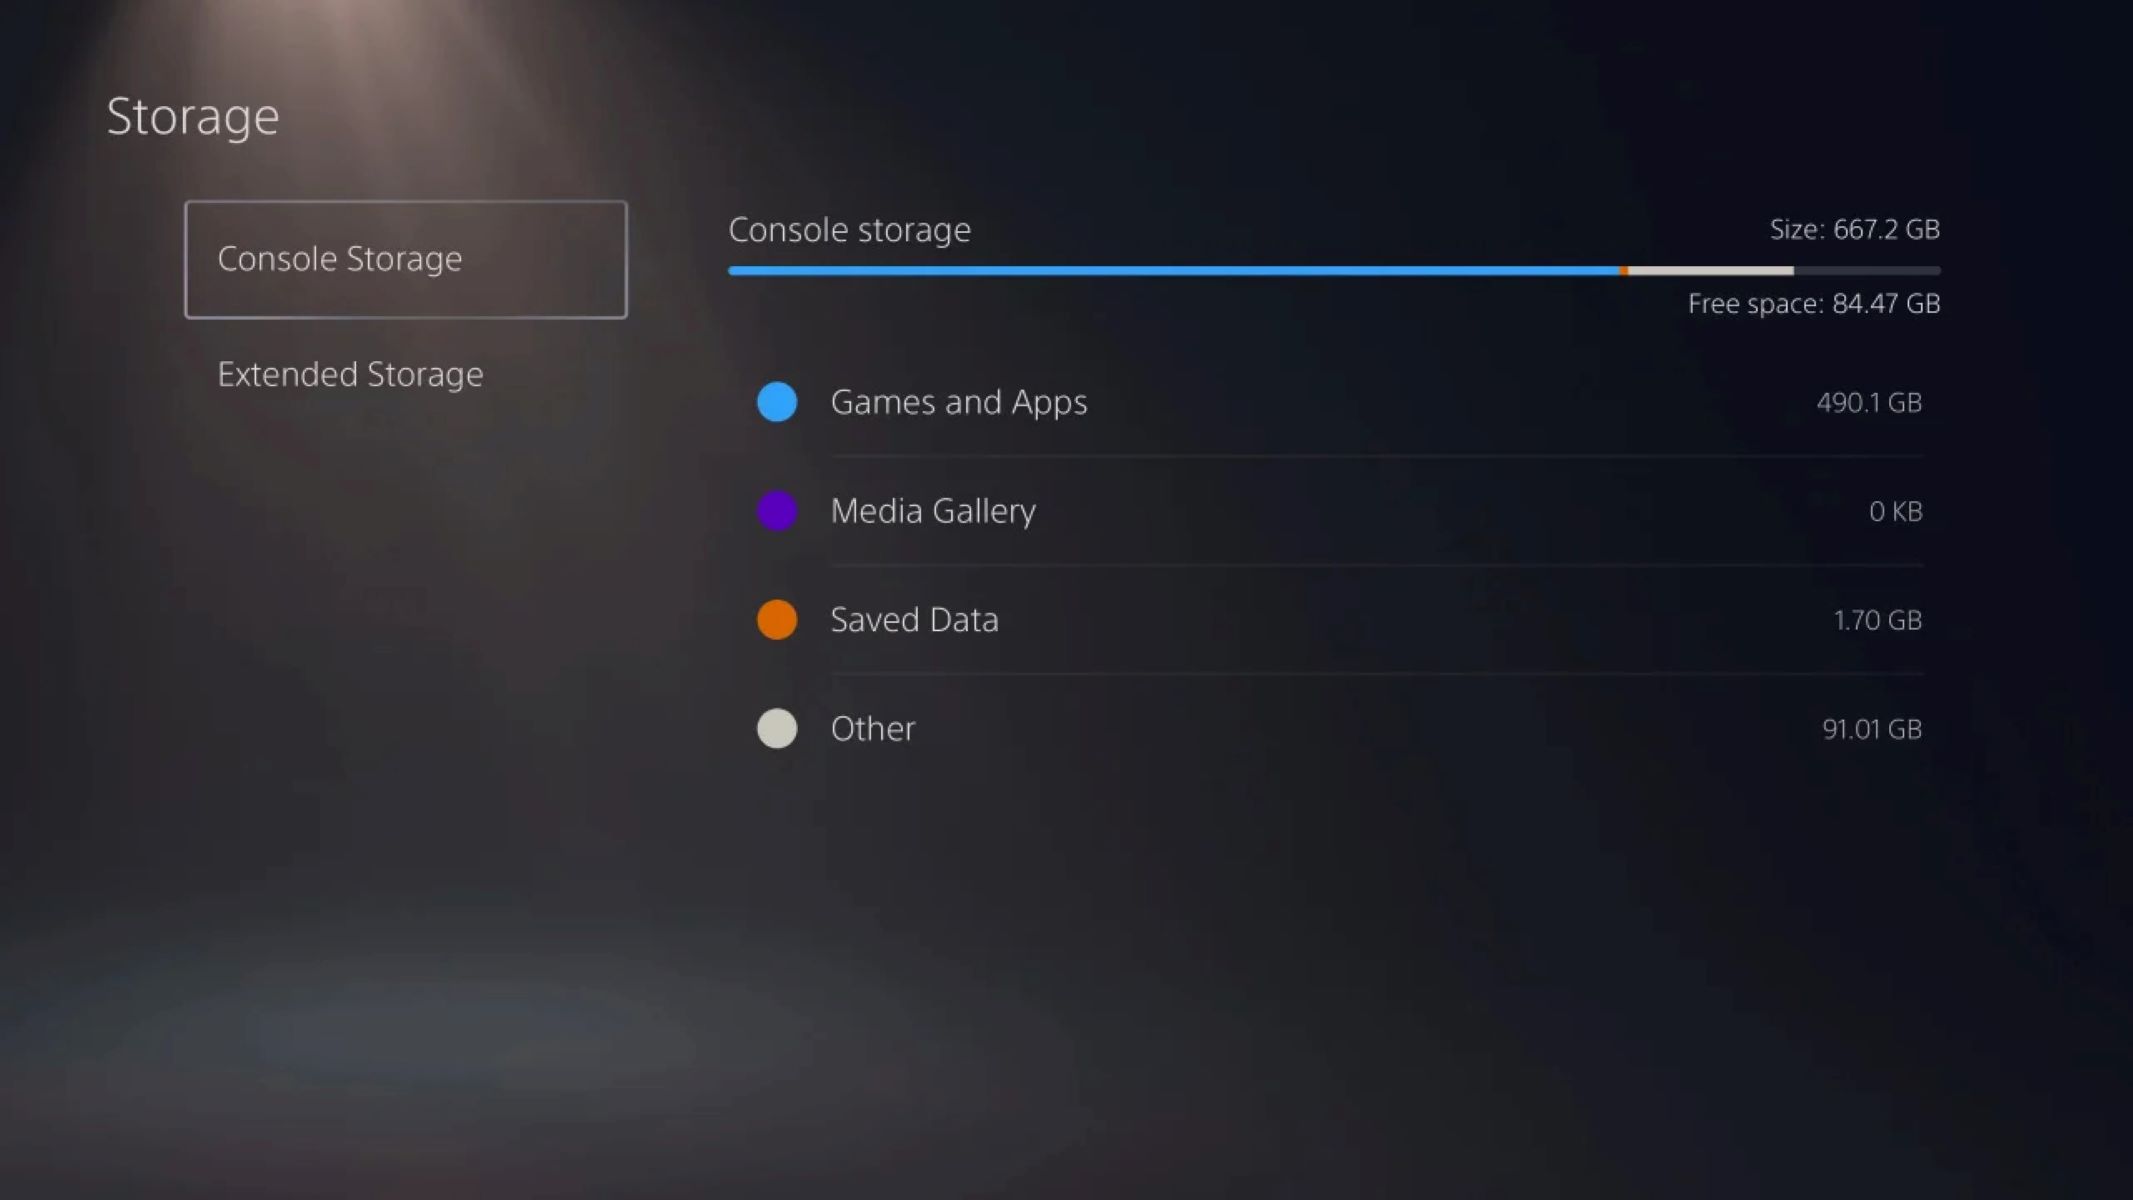
- Once in the operating system, open the “Disk Management” utility. In Windows, you can access this by right-clicking the “Start” button and selecting “Disk Management” from the menu.
- In the Disk Management window, you should see the M.2 SSD listed as a new disk. It may be labeled as “unallocated” or have a similar designation.
- Right-click on the M.2 SSD and select “New Simple Volume” (Windows) or the equivalent option for your operating system. Follow the prompts to create a new partition and format the M.2 SSD, if necessary.
- Once the M.2 SSD is formatted and assigned a drive letter, you can explore it in your file explorer or file manager. Move or copy files to the M.2 SSD to verify that it is functioning as expected.
- Run benchmarking software or disk speed tests to assess the performance of the M.2 SSD. This will help you confirm that it is operating at the expected speeds.
If the M.2 SSD is not recognized in the Disk Management utility or is experiencing any issues, double-check the installation and BIOS/UEFI settings. Ensure that the drive is properly connected and configured.
If the issue persists, consult the M.2 SSD’s documentation or the manufacturer’s support for further assistance. They may provide firmware updates or specific troubleshooting steps to resolve any problems.
Successfully verifying the M.2 SSD ensures that it is ready for use and functioning correctly. By confirming its recognition, formatting, and performance, you can have confidence in the reliability and effectiveness of your M.2 SSD.
Formatting and Partitioning the M.2 SSD
After the M.2 SSD has been recognized and verified by your operating system, it’s necessary to format and partition the drive to make it usable for storing data. Here’s how you can format and partition your M.2 SSD:
- Open the Disk Management utility in your operating system. In Windows, you can access this by right-clicking the “Start” button and selecting “Disk Management” from the menu.
- In the Disk Management window, locate the M.2 SSD drive. It should be listed as “unallocated” or without any assigned partitions.
- Right-click on the unallocated space of the M.2 SSD and select “New Simple Volume” or the equivalent option for your operating system.
- Follow the prompts in the wizard to create a new partition on the M.2 SSD. Specify the size of the partition, assign a drive letter, and choose the file system format (NTFS is the most commonly used for Windows).
- Once the partition has been created, click “Finish” to complete the formatting process.
- Repeat the above steps if you want to create multiple partitions on the M.2 SSD. This can be useful if you want to separate data, install multiple operating systems, or have specific storage requirements.
- After formatting and partitioning, the M.2 SSD will have assigned drive letters for each partition. You can now access and use the M.2 SSD as regular storage for saving files, installing programs, or any other data storage needs.
It’s important to note that formatting and partitioning a drive will erase any existing data on it. Therefore, ensure that you have backed up any important files before proceeding.
If you encounter any issues or errors during the formatting and partitioning process, double-check the steps and ensure that you have correctly followed the prompts. If the problem persists, consult your operating system’s documentation or seek assistance from the appropriate support channels.
By properly formatting and partitioning the M.2 SSD, you can organize your data, allocate storage space according to your needs, and ensure efficient usage of the drive for various purposes.
Activating the M.2 SSD
Once you have formatted and partitioned the M.2 SSD, the final step is to activate it, ensuring that your computer recognizes it as a functional storage device. Follow these steps to activate your M.2 SSD:
- Open your file explorer or file manager and navigate to the drive where the M.2 SSD is located.
- Create folders or directories to organize your files and data according to your preferences. This step allows you to structure your storage effectively.
- Start using the M.2 SSD by transferring files, installing programs, or saving data directly to the drive.
- Test the M.2 SSD’s performance by copying or accessing files from the drive. You should experience significantly faster read and write speeds compared to traditional hard drives.
- If you have installed an operating system on the M.2 SSD, reboot your computer and make sure the system boots up from the M.2 SSD successfully.
- Regularly back up your files stored on the M.2 SSD to prevent data loss. Consider implementing a backup solution, such as cloud storage or an external hard drive, for added peace of mind.
- Monitor the health and performance of your M.2 SSD using manufacturer-provided software or third-party utilities. These tools can provide insights into the drive’s temperature, lifespan, and overall performance.
It’s important to note that M.2 SSDs, like any other storage device, have a finite lifespan. Over time, their performance may degrade, and they may eventually fail. Regularly backing up your data and monitoring the health of the M.2 SSD can help you identify any potential issues and take appropriate action.
By activating the M.2 SSD and using it for data storage, you can enjoy the benefits of faster access times, improved overall system performance, and enhanced productivity.
Conclusion
Activating an M.2 SSD can greatly enhance the speed and performance of your computer’s storage system. Through this guide, we have covered the essential steps involved in activating an M.2 SSD, from understanding its characteristics and checking compatibility to preparing your computer, installing the M.2 SSD, configuring the BIOS, and verifying its functionality.
By carefully following the instructions provided in this guide, you can ensure a successful installation and activation process. Remember to always consult your motherboard’s manual or manufacturer’s website for specific instructions and updated information.
Once your M.2 SSD is activated, take advantage of its benefits by utilizing proper formatting and partitioning techniques to organize your data effectively. Regularly monitor the health and performance of the M.2 SSD to ensure its optimal operation and consider implementing backup solutions to safeguard your important files.
With its compact size and lightning-fast speeds, an M.2 SSD is a worthy investment for users who value high-performance storage. By activating and utilizing it correctly, you can enjoy a seamless computing experience with faster boot times, quicker file transfers, and improved overall system responsiveness.
As technology continues to evolve, it’s important to stay informed and updated on the latest advancements in M.2 SSDs and the corresponding software and firmware updates. This will ensure that you can maximize the performance and longevity of your M.2 SSD.
Now that you have the knowledge and understanding of activating an M.2 SSD, you can confidently upgrade your computer’s storage to experience the benefits of this cutting-edge technology.