Introduction
Welcome to our step-by-step guide on how to install an NVMe SSD! If you’re looking to boost the storage and performance of your computer, installing an NVMe SSD can be a game-changer. With its lightning-fast speeds and reliable performance, an NVMe SSD is a fantastic addition to any system.
NVMe, which stands for Non-Volatile Memory Express, is a type of storage technology that allows for faster data transfer rates and lower latency compared to traditional storage devices like SATA SSDs or HDDs.
In this guide, we’ll walk you through the process of installing an NVMe SSD into your computer. Whether you’re a tech-savvy enthusiast or a computer novice, don’t worry – we’ve got you covered. Just follow these steps, and you’ll be enjoying the benefits of an NVMe SSD in no time.
Before we dive into the installation process, it’s essential to ensure that you have the necessary tools and equipment. You’ll also need to familiarize yourself with your computer’s internals and locate the M.2 slot on your motherboard. Don’t worry; we’ll explain everything in detail as we move forward.
Ready to accelerate your computer’s storage and speed? Let’s get started with this comprehensive guide on installing an NVMe SSD. Follow along, and before you know it, you’ll have a blazing-fast system with ample storage for all your needs.
Step 1: Gather the necessary tools and equipment
Before you begin the installation of your NVMe SSD, it’s important to gather all the tools and equipment you’ll need. Here’s a list of the essential items:
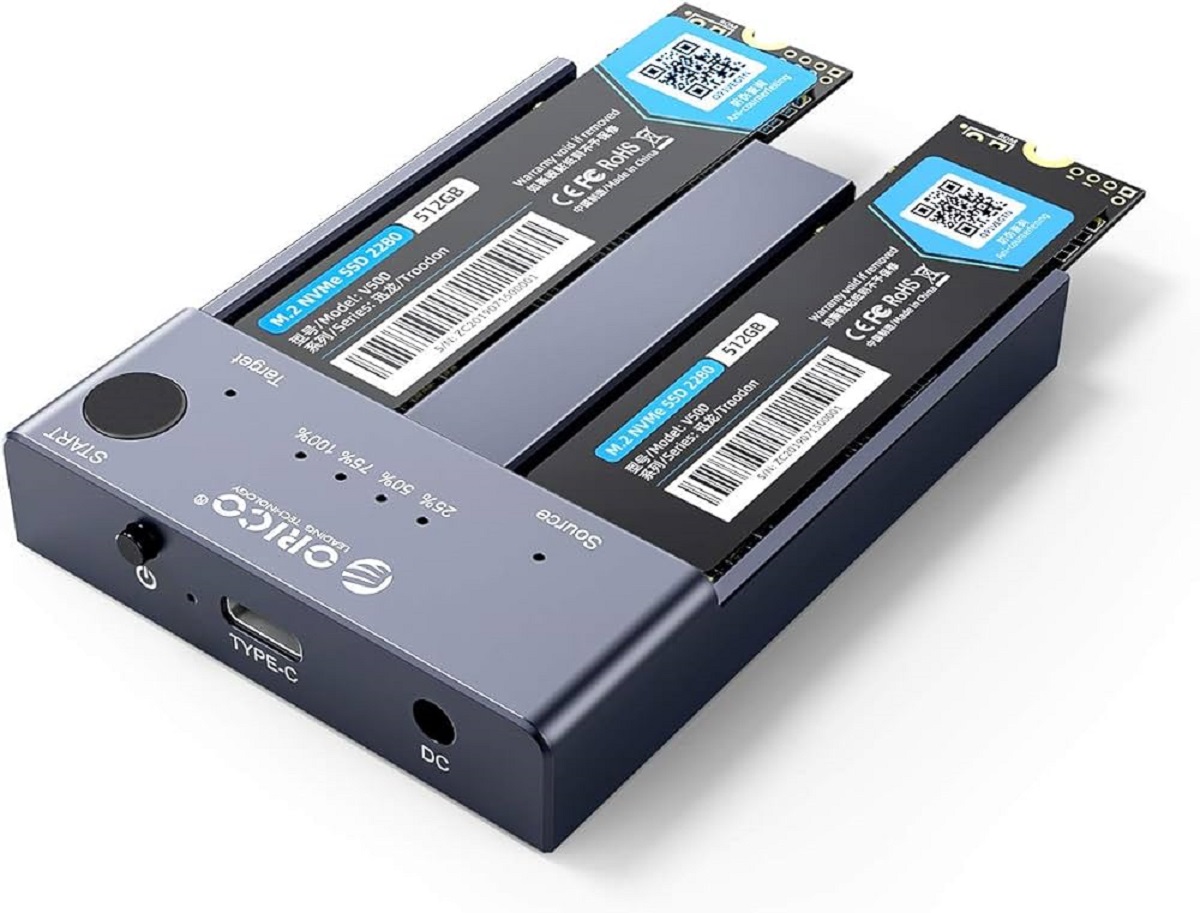
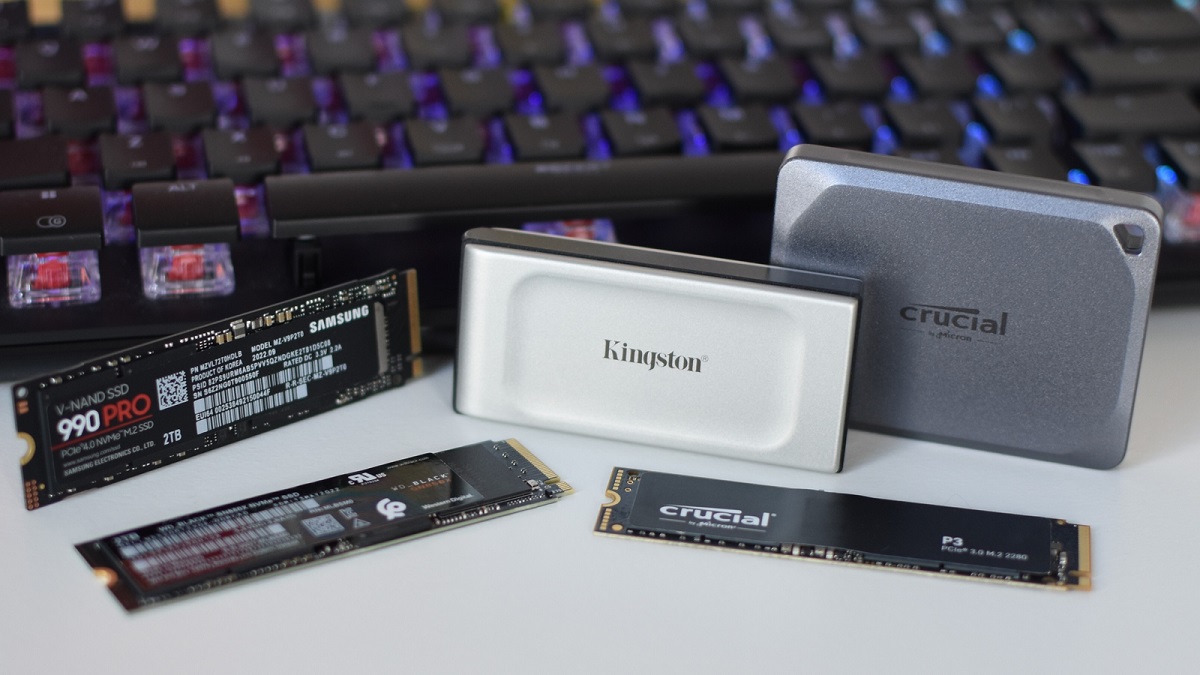
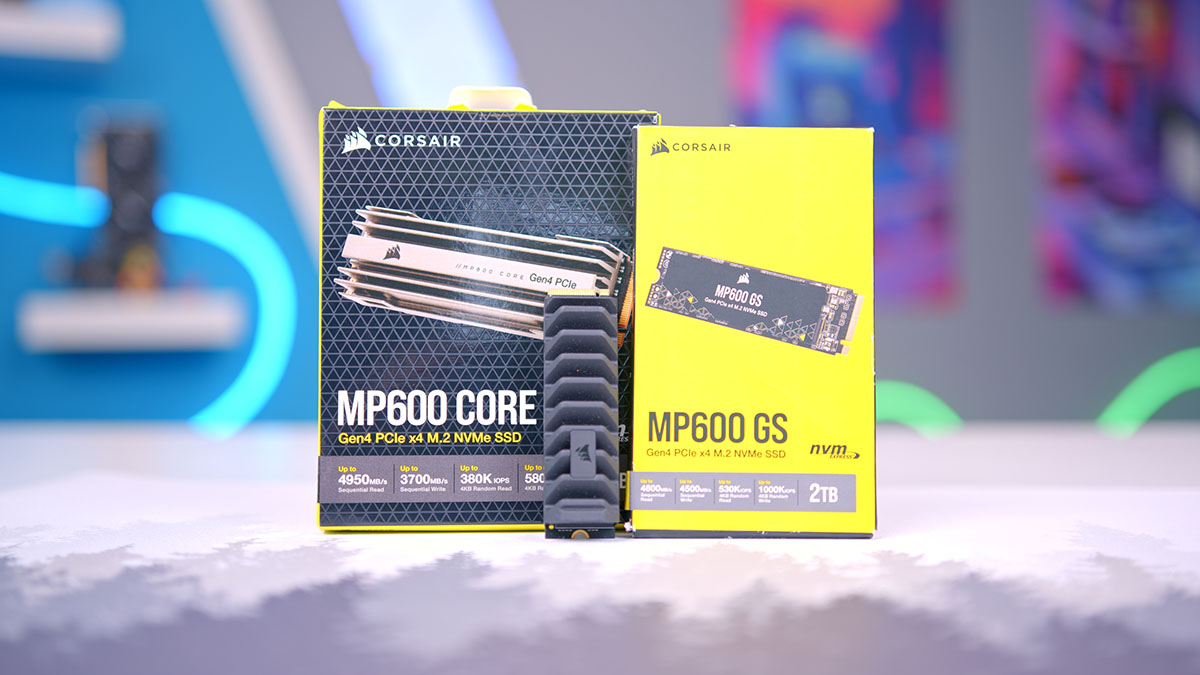
- NVMe SSD: Ensure you have a compatible NVMe SSD for your system. Check the specifications of your motherboard or consult the manufacturer’s documentation to verify the supported NVMe SSD types and sizes.
- Screwdriver: Depending on your computer case, you may need a Phillips head or a small screwdriver to open the case and secure the NVMe SSD.
- Anti-static wrist strap: It’s essential to discharge any static electricity buildup on your body before handling sensitive computer components. An anti-static wrist strap will help you stay grounded and avoid damaging your hardware.
- Cleaning cloth: Keeping your hardware clean is crucial for optimal performance. Have a lint-free cleaning cloth handy to wipe down any dust or fingerprints that may accumulate during the installation process.
Once you have gathered these tools and equipment, you’re ready to proceed with the NVMe SSD installation. It’s important to remember that different systems may require additional tools or have specific requirements, so refer to your computer’s documentation or consult with the manufacturer if needed.
Now that you’re fully equipped let’s move on to the next step and prepare your computer for the installation process.
Step 2: Prepare your computer
Before diving into the installation process, it’s crucial to prepare your computer to ensure a smooth and successful NVMe SSD installation. Follow these steps:
- Power down your computer: Shut down your computer completely before starting the installation process. Unplug the power cord and any other external cables.
- Remove the side panel: Depending on your computer case, you may need to remove the side panel to access the internal components. Refer to your computer’s documentation or check for screws or latches that hold the panel in place.
- Ground yourself: Before touching any internal components, it’s essential to ground yourself to prevent any static electricity damage. Use an anti-static wrist strap and connect it to a metal surface or wear gloves to discharge any static electricity.
- Locate the NVMe SSD slot: Identify the M.2 slot on your motherboard where the NVMe SSD will be installed. Refer to your motherboard’s documentation to find the exact location and ensure compatibility.
- Verify available space: Check if there is enough physical space in your computer case to accommodate the NVMe SSD. Some larger NVMe SSD models may require additional clearance.
- Check for thermal solutions: If your NVMe SSD generates a significant amount of heat, it’s essential to check if your computer case has thermal solutions such as heatsinks or cooling fans to ensure proper airflow and temperature regulation.
- Read the NVMe SSD installation instructions: Before proceeding, carefully read the installation instructions provided by the NVMe SSD manufacturer. This will help familiarize yourself with any specific requirements or installation steps for the particular model you’re using.
By preparing your computer following these steps, you are now ready to move on to the next stage – opening the computer case. Ensure you handle your computer components with care during the installation process to avoid any damage.
Step 3: Open the computer case
Now that you have prepared your computer, it’s time to open the case to gain access to the internal components. Follow these steps carefully:
- Locate the screws or latches: Identify the screws or latches that hold the side panel of your computer case in place. These may be located at the back or on the edges of the case. Refer to your computer’s documentation if you’re unsure.
- Remove the screws or unlatch the panel: Use a screwdriver or release the latches to detach the side panel from the case. Set the screws aside in a safe place to avoid misplacing them.
- Slide or lift off the side panel: Once the screws or latches are removed, gently slide or lift off the side panel of the case. Be mindful of any cables or wires attached to the panel and carefully navigate around them.
- Place the side panel in a safe location: Set the side panel down in a secure place where it won’t get damaged or cause any obstructions during the installation process.
- Inspect the internal components: Take a moment to inspect the internal components of your computer. Familiarize yourself with the layout and locate the M.2 slot where the NVMe SSD will be installed. Refer to your motherboard’s documentation if needed.
Opening the computer case is a fundamental step in the installation process. Ensure you handle the side panel with care and keep it in a safe location. Now that you have access to the internal components, you’re ready to move on to the next step – locating the M.2 slot on your motherboard.
Step 4: Locate the M.2 slot on your motherboard
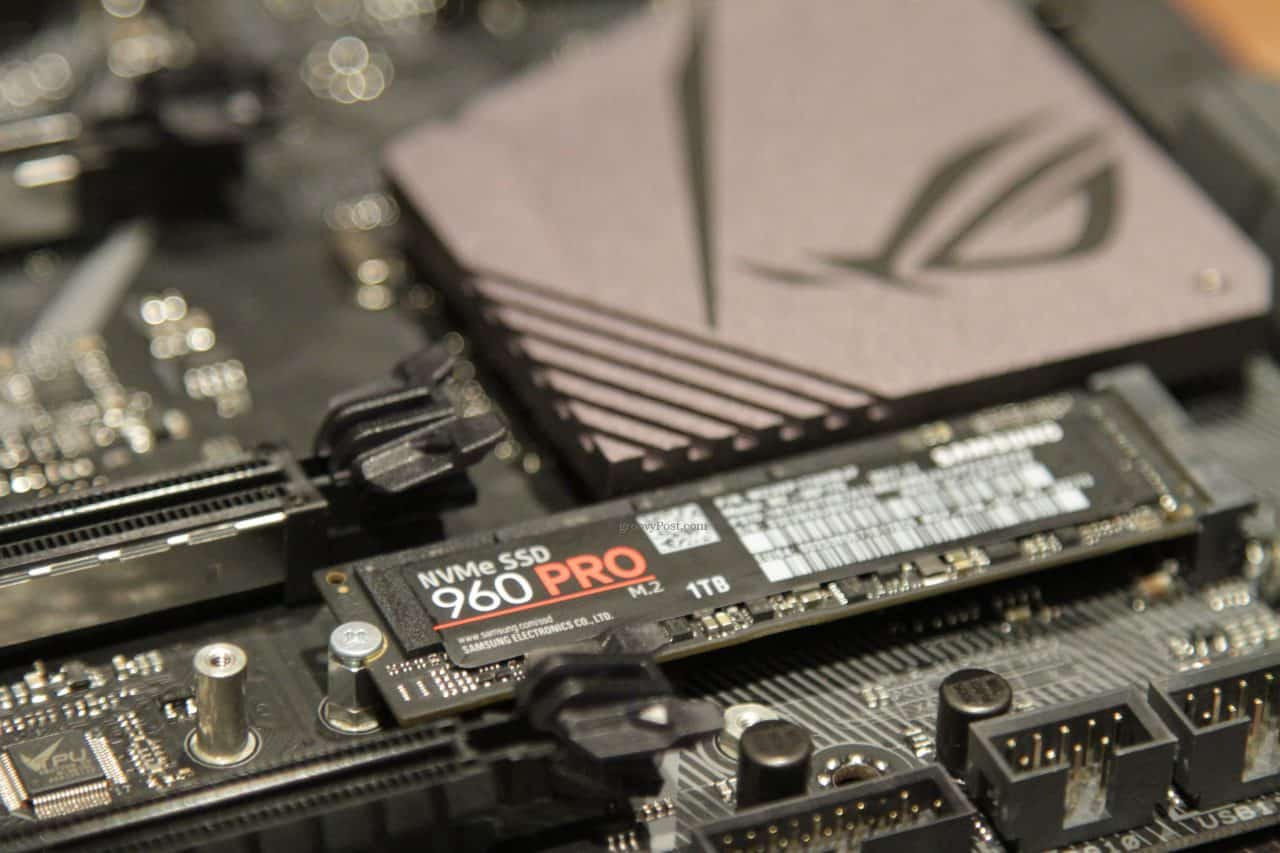
Locating the M.2 slot on your motherboard is an essential step in the NVMe SSD installation process. The M.2 slot is where the NVMe SSD will be securely inserted. Follow these steps to find the M.2 slot:
- Refer to your motherboard’s manual: Consult the documentation that came with your motherboard. It will provide detailed information and diagrams on the various components, including the M.2 slot.
- Identify the M.2 slot visually: In most cases, the M.2 slot will be easily identifiable on the motherboard. It is a rectangular slot with a keying notch to ensure proper alignment with the NVMe SSD.
- Check for M.2 labels: Some motherboards may have labels or markings near the M.2 slot. These labels may indicate the specific keying and length compatibility for the slot.
- Note the M.2 slot number and specifications: Take note of the specific M.2 slot number and specifications, such as its maximum supported length (e.g., 2242, 2260, or 2280) and key type (e.g., B-key, M-key, or M+B-key). This information will help ensure you choose the correct NVMe SSD for installation.
- Clear any thermal covers or heatsinks: Some motherboards may have thermal covers or heatsinks pre-installed on the M.2 slot. If present, carefully remove these thermal covers or heatsinks to expose the slot.
Locating the M.2 slot on your motherboard is crucial to ensure a successful NVMe SSD installation. Take your time to find the slot and familiarize yourself with its specifications. Once you’ve located the M.2 slot, you’re ready to move on to the exciting part – inserting the NVMe SSD into the slot.
Step 5: Insert the NVMe SSD into the M.2 slot
Now that you have located the M.2 slot on your motherboard, it’s time to insert the NVMe SSD. Follow these steps carefully to ensure a proper installation:
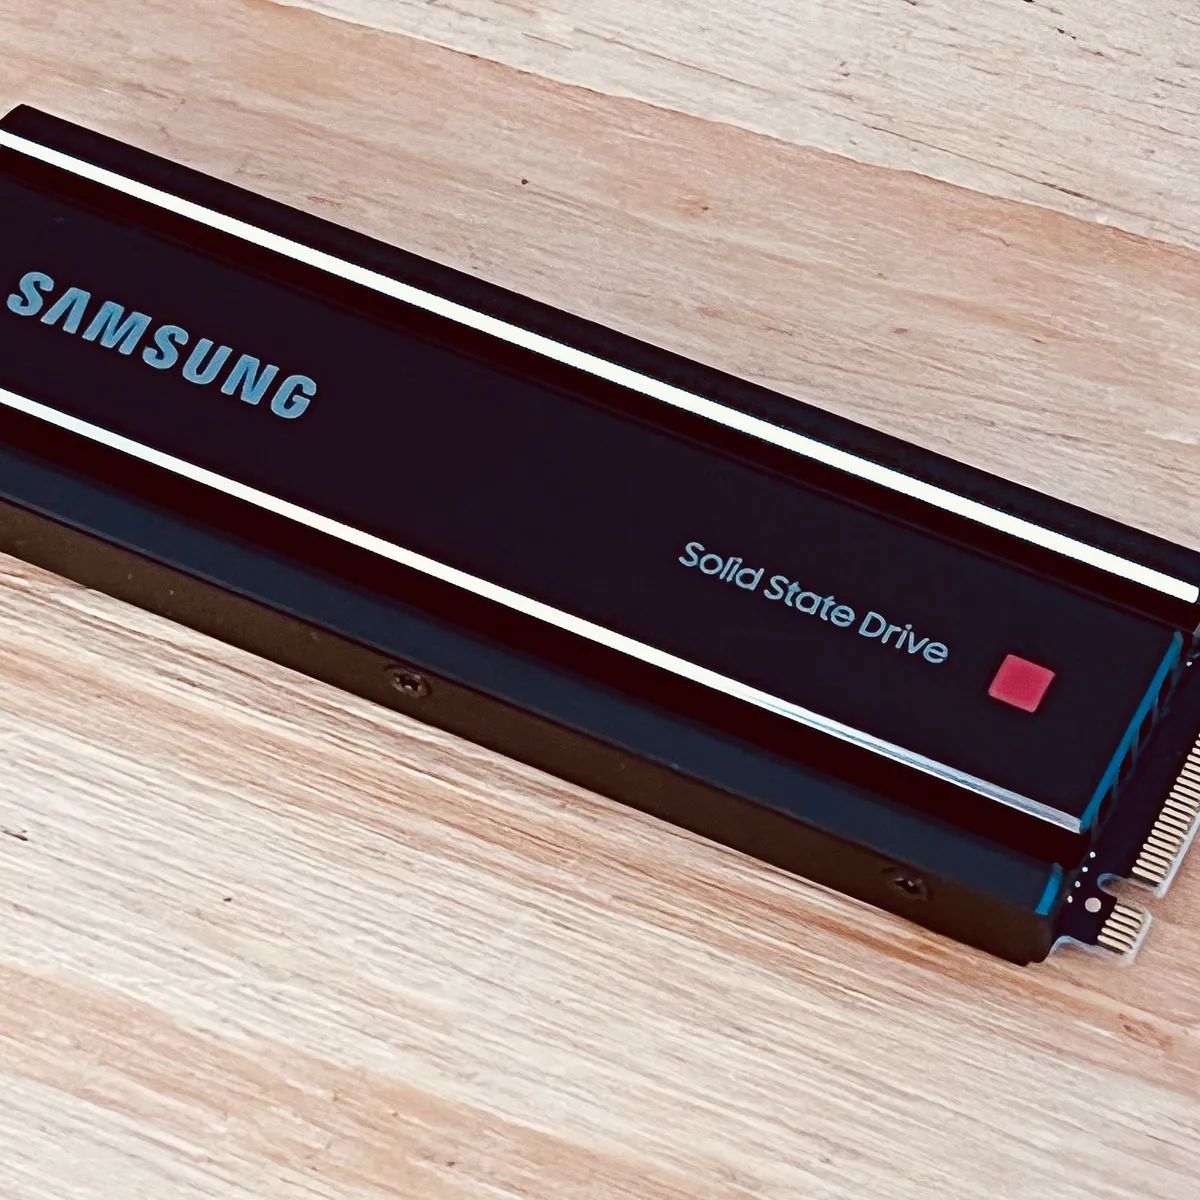
- Prepare the NVMe SSD: Remove the NVMe SSD from its packaging and handle it with care. Avoid touching the gold connectors or any sensitive components as it may affect performance.
- Align the NVMe SSD: Line up the keying notch on the NVMe SSD with the keying slot on the M.2 slot. This ensures correct alignment and prevents improper insertion.
- Insert the NVMe SSD: Gently insert the NVMe SSD into the M.2 slot at a 30-45 degree angle. Apply even pressure and push it down until it is fully seated in the slot.
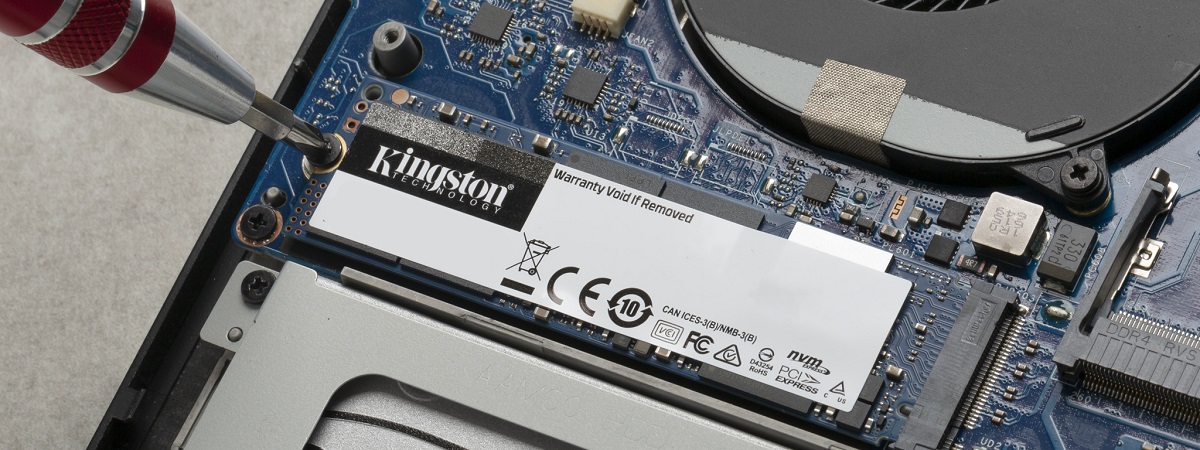
- Secure the NVMe SSD: Once the NVMe SSD is inserted, secure it in place using the mounting screw provided with your motherboard. Refer to your motherboard’s documentation for the exact location of the screw hole.
- Avoid overtightening: Be cautious not to overtighten the screw. Tighten it just enough to hold the NVMe SSD securely in place without causing any damage to the motherboard or the SSD.
Remember to handle the NVMe SSD with care and avoid excessive force during the insertion process. If the NVMe SSD does not slide into the M.2 slot smoothly, double-check the alignment and try again. Once the NVMe SSD is securely inserted and fastened, you can proceed to the next step – securing the NVMe SSD.
Step 6: Secure the NVMe SSD
After inserting the NVMe SSD into the M.2 slot, it’s important to secure it properly to ensure it remains in place during operation. Follow these steps to secure the NVMe SSD:
- Locate the mounting screw: Refer to your motherboard’s documentation to find the specific location of the mounting screw for the M.2 slot. It is usually a small screw hole near the slot.
- Place the mounting screw: Once you’ve identified the screw hole, take the mounting screw provided with your motherboard and carefully place it into the hole. Make sure it aligns with the screw hole on the NVMe SSD.
- Tighten the mounting screw: Using a screwdriver, gently tighten the mounting screw until it is snug. Be careful not to overtighten as it may damage the motherboard or the NVMe SSD.
Securing the NVMe SSD is crucial to prevent it from coming loose and causing potential issues with your system’s performance. Ensure that the mounting screw is tightened adequately but not excessively.
Some motherboards may have additional installation methods or brackets to secure the NVMe SSD. In such cases, refer to your motherboard’s documentation for specific instructions on how to secure the NVMe SSD properly.
With the NVMe SSD securely in place, you’re almost ready to complete the installation process. The next step is to reassemble your computer.
Step 7: Reassemble the computer
Now that the NVMe SSD is securely installed in the M.2 slot, it’s time to reassemble your computer. Follow these steps to put everything back together:
- Retrieve the side panel: Locate the side panel you removed earlier and carefully place it back onto the computer case.
- Align the panel: Align the screw holes or latches on the panel with the corresponding slots on the case.
- Slide or secure the panel: Slide the panel back into place or secure it using the screws or latches you removed earlier.
- Tighten the screws: If you removed any screws from the side panel, make sure to tighten them securely, but again, avoid overtightening.
- Reconnect cables and cords: Reconnect the power cord, monitor cable, keyboard, mouse, and any other peripherals that were disconnected earlier.
- Power on the computer: Plug in the power cord, switch on the power supply, and press the power button to turn on the computer.
As your computer starts up, it may take a moment to recognize the newly installed NVMe SSD. The BIOS or UEFI may display a message indicating the detection of a new storage device. If the NVMe SSD is not recognized, refer to your motherboard’s documentation or consult the manufacturer for troubleshooting steps.
Once your computer is up and running, you can proceed to the final step – checking if the NVMe SSD is recognized by the system.
With the computer reassembled, you have successfully completed the installation process. The next step is to power on the computer and ensure that the NVMe SSD is properly recognized and functioning.
Step 8: Power on the computer and check for recognition
After reassembling your computer, it’s time to power it on and verify if the NVMe SSD is recognized by the system. Follow these steps to check for recognition:
- Press the power button: Press the power button on your computer case or laptop to turn it on. Wait for the system to boot up and reach the operating system.
- Enter the BIOS or UEFI: During the startup process, you may need to press a specific key (such as Delete, F2, or F10) to enter the BIOS or UEFI settings. Refer to your motherboard’s documentation to know the exact key.
- Navigate to the storage settings: Once inside the BIOS or UEFI, navigate to the storage settings section. Look for a section labeled “Storage,” “Boot,” or “Drives.”
- Check for the NVMe SSD: In the storage settings, check if the NVMe SSD is detected and listed as a recognized drive. It may be displayed with its model number or name.
- Save and exit: If the NVMe SSD is recognized, save any changes you made in the BIOS or UEFI settings and exit the setup utility. Your computer will then proceed to boot into the operating system.
- Verify drive availability: Once you’re back in the operating system, verify the availability of the NVMe SSD. Open “This PC” (Windows) or “Finder” (Mac) and check if the NVMe SSD is listed as a drive.
If the NVMe SSD is detected in both the BIOS or UEFI settings and the operating system, congratulations! You have successfully installed and recognized the NVMe SSD. You can now start using it to store files, install applications, and enjoy the enhanced performance it offers.
However, if the NVMe SSD is not recognized, double-check the installation and make sure it is correctly seated in the M.2 slot. You can also try updating the motherboard’s firmware or BIOS/UEFI to ensure compatibility with the NVMe SSD.
Remember, in case of any difficulties or uncertainties, consult your motherboard’s documentation or contact the manufacturer for further assistance.
Conclusion
Congratulations on successfully completing the installation of your NVMe SSD! By following these step-by-step instructions, you have enhanced the storage and performance of your computer. Your system will now benefit from faster data transfer rates and quicker response times, thanks to the NVMe SSD’s cutting-edge technology.
Throughout the installation process, you have learned how to gather the necessary tools and equipment, prepare your computer, open the case, locate the M.2 slot on your motherboard, insert and secure the NVMe SSD, reassemble the computer, and check for recognition.
Now that your NVMe SSD is properly installed and recognized, you can take full advantage of its benefits. Experience faster boot times, rapid application launches, and quicker file transfers. The increased storage capacity will allow you to store more files, photos, videos, and games without worrying about running out of space.
Don’t forget to regularly backup your data and maintain proper care for your NVMe SSD. Keep an eye out for firmware updates and optimize your system’s settings to maximize the performance of your NVMe SSD.
We hope this guide has been helpful in assisting you through the installation process. Should you encounter any difficulties or have further questions, consult your computer’s documentation or reach out to the manufacturer for additional support.
Now, enjoy the speed and efficiency of your newly installed NVMe SSD. Happy computing!