Introduction
Welcome to the world of virtual machines! Whether you’re a software developer, IT professional, or hobbyist, knowing how to import an OVA (Open Virtualization Appliance) file in Workstation Player can open up a whole new realm of possibilities. Workstation Player is a powerful and user-friendly virtualization software that allows you to run multiple operating systems and applications on a single physical machine.
In this article, we’ll walk you through the step-by-step process of importing an OVA file in Workstation Player. An OVA file is a standardized package format that contains a virtual machine’s disk image, configuration settings, and other necessary files. By importing an OVA file, you can quickly set up and run pre-configured virtual machines without the hassle of manually configuring each component.
Whether you want to test software in a controlled environment, experiment with different operating systems, or create virtual labs for training purposes, importing an OVA file in Workstation Player is a convenient and efficient way to get started.
Before we dive into the steps, it’s essential to ensure that you have the necessary prerequisites in place. This will help ensure a smooth and successful OVA import process. Let’s take a look at what you’ll need.
Prerequisites
Before you begin the process of importing an OVA file in Workstation Player, make sure you have the following prerequisites in place:
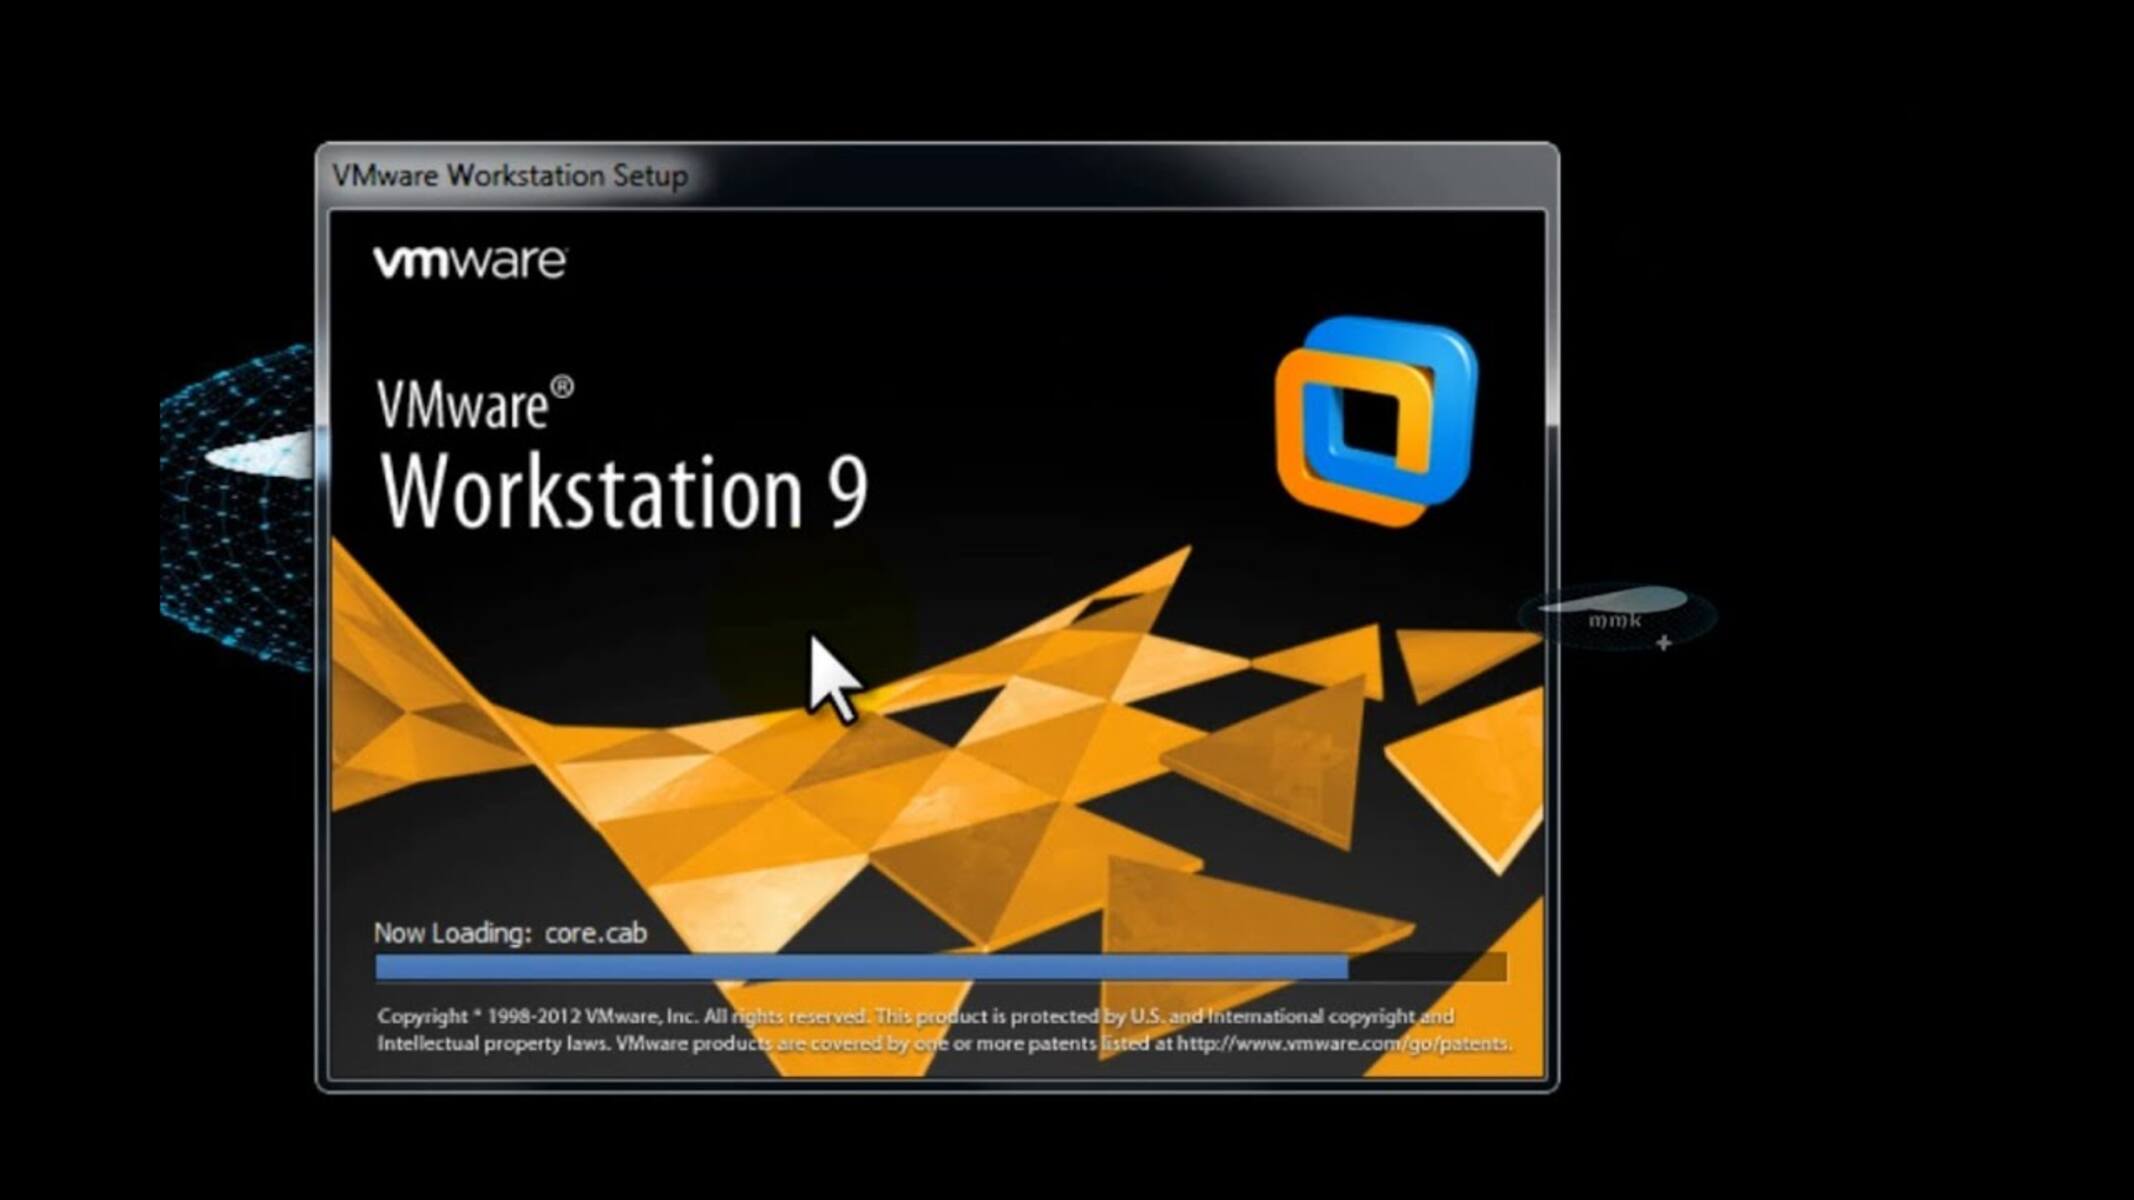
- A working installation of Workstation Player: Ensure you have Workstation Player installed on your computer. You can download the latest version from the VMware website and follow the installation instructions specific to your operating system.
- An OVA file: Obtain the OVA file that you want to import. This file must be compatible with Workstation Player.
- Sufficient disk space: Ensure that you have enough free disk space to accommodate the imported virtual machine. The size of the OVA file and the allocated virtual machine disk space will determine the amount of space required.
- System requirements: Verify that your computer meets the system requirements for running Workstation Player. Check the VMware website for the specific system requirements based on your operating system.
Once you have these prerequisites in place, you’re ready to dive into the steps involved in importing an OVA file in Workstation Player. Let’s get started!
Step 1: Launch Workstation Player
The first step in the process of importing an OVA file in Workstation Player is to launch the software. Follow the steps below to get started:
- Locate the Workstation Player application icon on your computer. It is typically found on the desktop or in the Start menu.
- Double-click on the icon to launch Workstation Player.
- Once the application is launched, you will be greeted with the Welcome screen. From here, you can choose to create a new virtual machine, open an existing virtual machine, or import an OVA file.
If you already have Workstation Player open, you can skip this step and move on to the next section.
Now that you have launched Workstation Player, you’re ready to proceed to the next step, where we will explore how to open an OVA file. Let’s continue!
Step 2: Click on “Open a Virtual Machine”
Once you have launched Workstation Player, the next step is to click on the “Open a Virtual Machine” option. This will allow you to browse for and select the OVA file that you want to import. Follow the steps below:
- On the Workstation Player Welcome screen, you will see different options for creating, opening, or importing virtual machines.
- Click on the “Open a Virtual Machine” option. This will open a file explorer window for you to navigate to the location where the OVA file is stored.
- In the file explorer window, browse to the directory where your OVA file is located.
- Select the OVA file by clicking on it once to highlight it, and then click the “Open” button.
By clicking on “Open a Virtual Machine” and selecting the OVA file, you are indicating to Workstation Player that you want to import this virtual machine. This will initiate the process of importing the OVA file into Workstation Player.
Now that you have selected the OVA file, we will move on to the next step, where we will review and customize the virtual machine settings. Let’s continue!
Step 3: Select the OVA file
Once you have clicked on “Open a Virtual Machine” in Workstation Player, the next step is to select the OVA file that you want to import. Follow the steps below:
- After clicking “Open a Virtual Machine,” a file explorer window will appear.
- Using the file explorer window, navigate to the directory where your OVA file is located.
- Locate the OVA file you wish to import and click on it to select it.
- Once the OVA file is selected, click on the “Open” button in the file explorer window.
By selecting the OVA file, you are indicating to Workstation Player the specific virtual machine that you want to import, along with its associated configuration settings and disk image.
It’s important to ensure that you select the correct OVA file, especially if you have multiple OVA files in the same directory or if you have OVA files from different sources. Confirm the file name and location before proceeding with the import process.
Now that you have successfully selected the OVA file, we will move on to the next step, where we will review and customize the virtual machine settings. Let’s continue!
Step 4: Review and customize the virtual machine settings
After selecting the OVA file in Workstation Player, the next step is to review and customize the virtual machine settings before importing it. This step allows you to configure various aspects of the virtual machine, such as its hardware specifications and networking options. Follow the steps below:
- Once you have selected the OVA file, Workstation Player will display the details and settings associated with the virtual machine in the import window.
- Review the settings and make any necessary changes or customizations. You can modify parameters such as the virtual machine name, disk size, memory allocation, CPU settings, and more.
- If you want to allocate more or less disk space, select the appropriate option and specify the desired disk size.
- Similarly, you can adjust the memory allocation and CPU settings based on your requirements and the resources available on your host machine.
- Take a moment to review other settings such as networking options, display settings, and guest operating system compatibility. Make adjustments as needed.
It’s important to carefully review and customize the virtual machine settings to ensure optimal performance and compatibility with your host machine. Pay attention to the requirements and recommendations specified by the OVA file provider, if applicable.
Once you have reviewed and customized the settings, you are now ready to proceed with the import process. In the next step, we will import the virtual machine. Let’s continue!
Step 5: Import the virtual machine
After reviewing and customizing the virtual machine settings in Workstation Player, the next step is to import the virtual machine. This process will extract and configure the OVA file to create a functional virtual machine within Workstation Player. Follow the steps below:
- Once you have finalized the virtual machine settings, click on the “Import” button in the import window.
- Workstation Player will start the import process, which may take a few moments depending on the size of the OVA file and the resources of your host machine.
- During the import, you will see a progress bar indicating the status of the import process. You can also view detailed logs and status updates if needed.
- Once the import is complete, you will receive a notification indicating that the virtual machine has been successfully imported into Workstation Player.
It’s important to allow the import process to complete without interruption. Avoid closing Workstation Player or interrupting the process until you receive confirmation of a successful import.
After importing the virtual machine, it will be listed in the Workstation Player window, ready for use. You can power it on, interact with the virtual machine, and perform various tasks as needed.
Congratulations! You have successfully imported the virtual machine in Workstation Player. In the next step, we will explore how to power on the virtual machine. Let’s proceed!
Step 6: Power on the virtual machine
After importing the virtual machine in Workstation Player, the final step is to power it on. This will initiate the boot process of the virtual machine and allow you to start using the operating system and applications within it. Follow the steps below:
- In the Workstation Player window, locate the virtual machine that you just imported. It should be listed in the virtual machine library.
- Select the virtual machine by clicking on it once to highlight it.
- Click on the “Power On” button in the Workstation Player interface. Alternatively, you can right-click on the virtual machine and select the “Power On” option from the context menu.
- The virtual machine will start the boot process, just like a physical computer would. You will see the operating system loading and the virtual machine environment becoming accessible.
- Once the virtual machine has successfully booted up, you will be able to interact with it through the Workstation Player window and use the guest operating system and applications as if you were using a physical computer.
Keep in mind that the boot time may vary depending on the specifications of the virtual machine and the performance of your host machine. Be patient and allow the virtual machine to complete the boot process.
Now you have successfully powered on the virtual machine! You can start using it for various tasks, such as software testing, development, or simulations.
Congratulations on completing the steps to import and power on a virtual machine in Workstation Player! You are now ready to explore and utilize the full potential of virtualization technology.
In this article, we have covered the step-by-step process from launching Workstation Player to importing and powering on a virtual machine. We hope this guide has been helpful in getting you started in the world of virtual machines.
Conclusion
Importing an OVA file in Workstation Player allows you to leverage the benefits of virtualization and run multiple operating systems and applications on a single physical machine. In this article, we walked through the step-by-step process of importing an OVA file to get you started on your virtual machine journey.
By following the steps outlined in this guide, you learned how to launch Workstation Player, open the OVA file, review and customize the virtual machine settings, import the virtual machine, and power it on.
Throughout the process, it’s important to ensure that you have the necessary prerequisites, such as a working installation of Workstation Player, the OVA file you want to import, sufficient disk space, and a computer that meets the system requirements. Paying attention to these details will help ensure a smooth and successful import process.
Once the virtual machine is imported and powered on, you can utilize it for various purposes, such as software testing, development, running different operating systems, or setting up virtual labs for training purposes. The possibilities are endless.
Virtualization technology, facilitated by tools like Workstation Player, has revolutionized the way we use computer systems. It offers flexibility, efficiency, and the ability to experiment in a controlled environment. Whether you’re a professional in the IT field or a curious enthusiast, importing OVA files in Workstation Player opens up a world of possibilities.
Now that you have a good understanding of the import process, it’s time to explore further and unlock the full potential of virtualization. Experiment, learn, and take advantage of the benefits that virtual machines offer in your professional and personal pursuits.
Thank you for following this guide. We hope it has provided you with the foundation to embark on an exciting virtual machine journey. Happy virtualizing!