Introduction
Welcome to the world of Android devices, where countless possibilities await. As technology continues to advance at a rapid pace, our smartphones and tablets are becoming more powerful with each new release. However, even with the latest hardware and cutting-edge processors, we sometimes find ourselves needing more memory to run resource-intensive apps and games smoothly. This is where virtual RAM comes into play.
Virtual RAM, also known as swap space, acts as an extension of your device’s physical RAM. It allows your Android device to temporarily store data that is not actively being used in the physical RAM, thereby freeing up valuable resources and ensuring optimal performance. In simple terms, virtual RAM provides a way to expand the memory capacity of your device without physically upgrading the RAM hardware.
But why would you need virtual RAM on your Android device in the first place? The answer lies in the ever-increasing demands of modern apps and games. As developers push the boundaries of what mobile devices can do, the need for more memory becomes evident. Running multiple apps simultaneously, playing graphically-intensive games, or running memory-intensive tasks can quickly exhaust the available physical RAM, leading to a sluggish device and frequent app crashes.
Fortunately, virtual RAM offers a solution to this problem. By enabling virtual RAM on your Android device, you can give it a memory boost, allowing you to multitask more efficiently, run memory-hungry apps and games smoothly, and reduce the frequency of app crashes. Virtual RAM can significantly enhance your overall user experience, making your device feel faster and more responsive.
Before we delve into the methods of getting virtual RAM on your Android device, it’s important to determine if your device actually needs it. Checking your device’s memory usage is essential to understand whether virtual RAM will be beneficial for you. In the next section, we will explore how to determine if your Android device needs virtual RAM, followed by an explanation of the risks and limitations associated with using virtual RAM. So, let’s dive in and find out if your device could benefit from virtual RAM.
What is Virtual RAM?
Virtual RAM, also known as swap space, is a portion of storage on your Android device that acts as an extension of the physical RAM. RAM, or Random Access Memory, is the temporary storage space where your device stores data that is actively being used by running apps and processes. When the physical RAM is full, the device has to start transferring data to the storage, which is a much slower process. This can lead to lag, slow performance, and even app crashes.
Virtual RAM helps alleviate this issue by providing extra memory for your device to use when the physical RAM is insufficient. It allows your device to temporarily store data that is not actively being used, freeing up space in the physical RAM for more critical data. In other words, virtual RAM serves as a buffer, enabling your device to run smoothly even when dealing with memory-intensive tasks or running multiple apps simultaneously.
Unlike physical RAM, virtual RAM is not a physical hardware component. Instead, it is created by allocating a portion of your device’s internal storage or SD card as swap space. When the device’s physical RAM reaches its limit, the operating system automatically transfers some data from the physical RAM to the virtual RAM, making room for new data to be loaded into the physical RAM. This seamless swapping process ensures that your device can continue running without experiencing performance issues due to memory constraints.
It’s important to note that virtual RAM is not a magical solution that guarantees lightning-fast performance. While it can certainly enhance your device’s performance under certain circumstances, it does have limitations. The speed at which data is accessed in virtual RAM is much slower compared to physical RAM. This means that accessing data stored in virtual RAM can introduce a slight delay, especially when dealing with resource-intensive tasks. However, the benefits of having virtual RAM, such as improved multitasking capabilities and reduced app crashes, outweigh the minor performance trade-off.
Now that we have a better understanding of what virtual RAM is and how it functions, let’s move on to the next section, where we will discuss how to determine if your Android device needs virtual RAM. Stay tuned to find out if your device could benefit from this memory-boosting feature.
Why Do You Need Virtual RAM on Your Android Device?
As our smartphones and tablets become more powerful, the demands we place on them also increase. We use our devices to perform a wide range of tasks, from browsing the web and checking emails to running complex apps and playing graphics-intensive games. All these activities require memory, and if your device’s physical RAM is insufficient, you may experience performance issues. This is where virtual RAM can come to the rescue.
One of the main reasons you may need virtual RAM on your Android device is to improve multitasking capabilities. Running multiple apps simultaneously can quickly consume the available physical RAM, leading to slower performance and frequent app crashes. By utilizing virtual RAM, you expand the memory capacity of your device, allowing it to handle more apps without experiencing drastic performance degradation.
In addition to multitasking, virtual RAM is especially beneficial for running memory-intensive apps and games. These applications often require a significant amount of RAM to operate smoothly, and if your device lacks sufficient physical RAM, you may encounter lag, freezes, or even app crashes. By enabling virtual RAM, you ensure that your device has the extra memory it needs to handle these demanding tasks, resulting in a smoother and more enjoyable user experience.
Virtual RAM is also useful if you frequently use resource-intensive apps, such as graphic design tools, video editing software, or music production apps. These applications are known to utilize a large amount of memory to process complex tasks. By having virtual RAM on your device, you provide it with the additional memory it requires to run these apps efficiently, preventing performance bottlenecks and allowing for seamless creative workflows.
Another advantage of virtual RAM is its ability to reduce app crashes. When your device’s physical RAM is overwhelmed, it may struggle to keep up with the demands of running multiple apps or memory-intensive tasks. This can cause apps to freeze, become unresponsive, or crash altogether. With virtual RAM, you can alleviate the strain on the physical RAM and ensure that your device can handle the workload without compromising stability.
Overall, virtual RAM is a valuable feature to have on your Android device, particularly if you frequently use resource-intensive apps, play graphics-intensive games, or engage in multitasking. It provides you with the additional memory your device needs to perform at its best, improving overall performance, reducing app crashes, and enhancing your user experience.
In the next section, we will explore how to check if your Android device needs virtual RAM. Stay tuned to find out if your device could benefit from this memory-boosting capability.
How to Check if Your Android Device Needs Virtual RAM?
Before you dive into the process of getting virtual RAM on your Android device, it’s important to determine whether your device actually needs it. While virtual RAM can offer significant benefits, not all devices require it to improve performance. Here are a few methods to check if your Android device needs virtual RAM:
- Observe Performance: Pay attention to how your device performs during multitasking or when running memory-intensive apps. If you notice frequent lag, slow response times, or app crashes, it could be an indication that your device is running low on physical RAM and would benefit from virtual RAM.
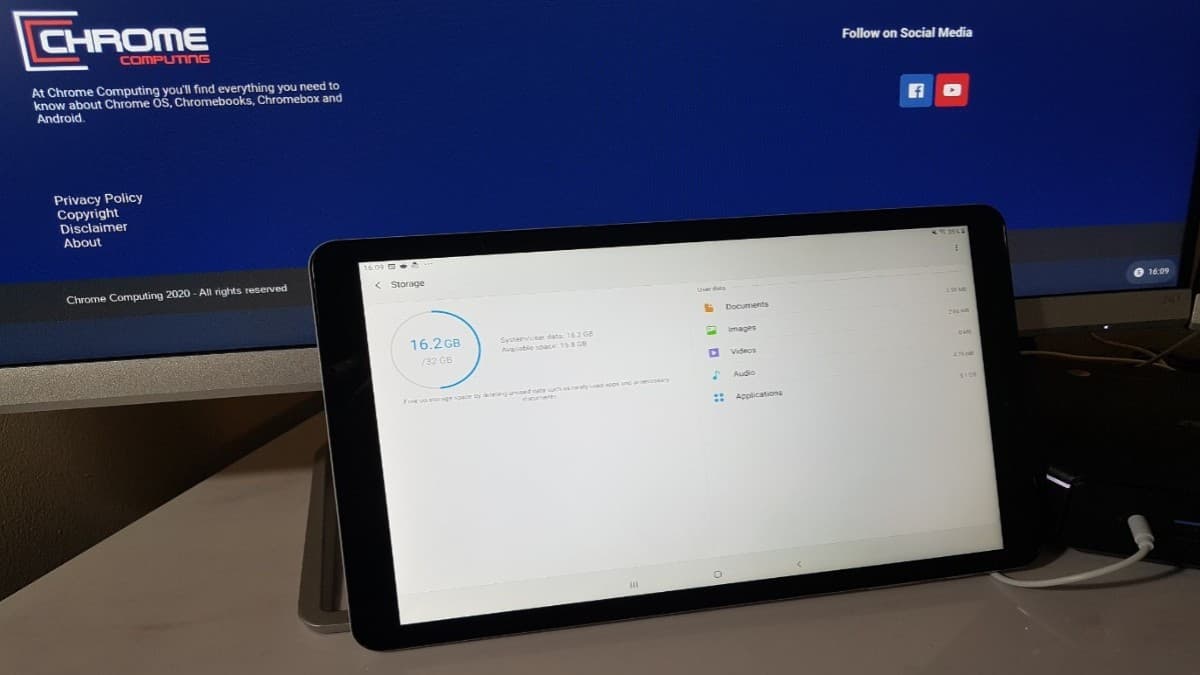
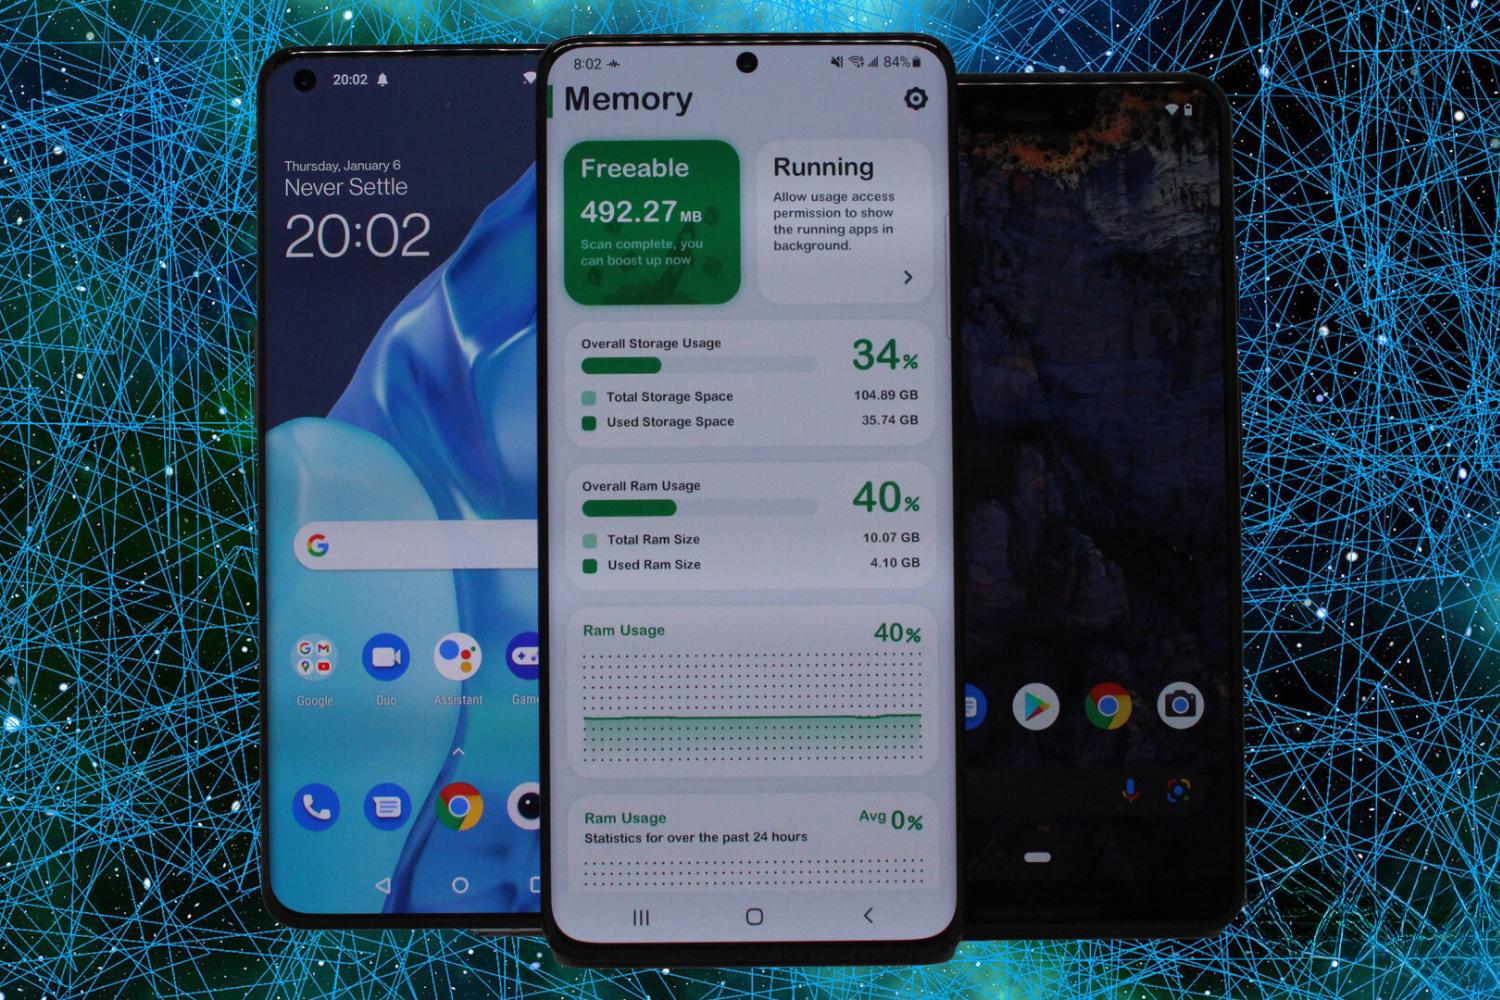
- Check RAM Usage: Android devices have a built-in feature that allows you to monitor RAM usage. To access this, go to your device’s Settings, then navigate to the Memory or RAM section. Here, you can view the amount of available RAM and how much is currently in use. If the amount of available RAM is consistently low or close to full, it may be a sign that virtual RAM would be beneficial to alleviate memory constraints.
- Use Performance Monitoring Apps: There are various performance monitoring apps available on the Google Play Store that can provide detailed insights into your device’s performance. These apps can show you real-time RAM usage, CPU usage, and other metrics that can help you determine if your device would benefit from virtual RAM.
By utilizing these methods, you can get a clearer understanding of your device’s memory usage and whether virtual RAM would be beneficial for optimizing its performance. It’s important to note that not all Android devices have the capability to enable virtual RAM, as it requires certain system configurations. If you find that your device lacks the option to enable virtual RAM, you may want to consider alternative methods to enhance performance, such as clearing cache, uninstalling unnecessary apps, or upgrading to a device with larger physical RAM.
In the next section, we will discuss the risks and limitations of using virtual RAM on your Android device. It’s essential to be aware of these factors before proceeding with enabling virtual RAM. So, let’s explore the potential downsides and considerations associated with virtual RAM.
Understanding the Risks and Limitations of Virtual RAM on Android
While virtual RAM can provide significant benefits in terms of device performance and memory expansion, it’s essential to be aware of the risks and limitations associated with using virtual RAM on your Android device. Understanding these factors will help you make an informed decision and set realistic expectations. Here are some key considerations:
- Performance Impact: Virtual RAM operates at a slower speed compared to physical RAM. When data is swapped between physical RAM and virtual RAM, it takes additional time for the device to access that data from the virtual RAM. This slight delay can result in a small performance impact, especially when dealing with memory-intensive tasks or resource-intensive apps. However, the performance trade-off is generally minimal and may not be noticeable during regular day-to-day usage.
- Storage Space Consumption: Virtual RAM relies on allocating a portion of your device’s internal storage or SD card as swap space. This means that enabling virtual RAM will consume some of your storage space. If your device has limited storage capacity, you need to consider the trade-off between the benefits of virtual RAM and the reduction in available storage for other purposes.
- Battery Consumption: Using virtual RAM can have a slight impact on battery life. The process of swapping data between physical RAM and virtual RAM requires additional system resources, which can slightly increase power consumption. However, the impact on battery life is generally minimal, and most users will not notice a significant difference.
- Compatibility: Not all Android devices support virtual RAM. This feature requires specific system configurations and may not be available on older or lower-end devices. Before attempting to enable virtual RAM, it’s important to check your device’s specifications or consult the manufacturer’s documentation to ensure compatibility.
- System Stability: Although virtual RAM is generally safe to use, there is a slight risk of system instability or crashes. This is particularly true if you allocate a large amount of virtual RAM or if your device’s hardware is not capable of handling the increased memory load. It’s recommended to start with a conservative allocation of virtual RAM and monitor your device’s stability after enabling it.
- Potential Data Loss: Enabling virtual RAM involves modifying system settings and allocating storage space on your device. While the process is generally safe, there is a small risk of data loss if the settings are not configured correctly or if there are issues during the implementation. It’s crucial to back up your important data before attempting to enable virtual RAM.
By understanding these risks and limitations, you can make an informed decision and weigh the potential benefits against the potential drawbacks of using virtual RAM on your Android device. If you decide to proceed, it’s essential to follow the recommended methods and guidelines to minimize any potential risks and ensure a smooth experience.
In the next section, we will discuss the step-by-step methods to get virtual RAM on your Android device. Whether you choose to use swapfile, third-party apps, or manual configuration, we will guide you through the process to help you expand your device’s memory and improve performance.
How to Get Virtual RAM on Android: Step-by-Step Guide
Now that you have determined that your Android device could benefit from virtual RAM, it’s time to explore the methods to enable it. Below, you will find a step-by-step guide outlining three different methods to get virtual RAM on your Android device:
Method 1: Using Swapfile
- Ensure that your device is rooted. This method requires root access as it involves modifying system settings.
- Download a compatible file manager app from the Google Play Store.
- Create a swap file. Open the file manager app and navigate to the root directory of your device’s internal storage or SD card. Create a new file with the “.swp” extension, specifying the desired size of the swap file (e.g., 1GB, 2GB, etc.).
- Open a terminal emulator app (available on the Play Store), grant it root access, and execute the command “mkswap /path/to/swapfile.swp” (replace “/path/to/” with the actual path of the swap file).
- Enable the swap file. In the terminal emulator, execute the command “swapon /path/to/swapfile.swp”.
- To make the swap file permanent, open the “/etc/fstab” file using a text editor app and add the following line at the end: “/path/to/swapfile.swp none swap sw 0 0” (replace “/path/to/” with the actual path of the swap file).
- Reboot your device to apply the changes. Now, your Android device should have virtual RAM enabled through the swap file.
Method 2: Using Third-Party Apps
- Open the Google Play Store and search for “virtual RAM” or “swap space” apps.
- Choose a reliable and well-rated app that suits your needs.
- Install the selected app and follow its on-screen instructions to configure and enable virtual RAM on your device.
- Many of these apps offer customization options, allowing you to adjust the size of the virtual RAM and other settings according to your preferences.
- Once the virtual RAM is enabled, you can enjoy the benefits without the need for manual configuration.
Method 3: Manual Configuration
- Ensure that your device is rooted. Manual configuration requires root access to modify system settings.
- Download a text editor app from the Play Store for editing system files.
- Open the text editor app and navigate to the “/system/build.prop” file.
- Add the following line at the end of the file: “ro.sys.fw.use_swapping=true”.
- Save the file and reboot your device to apply the changes.
- Once your device restarts, the virtual RAM will be enabled based on the system configuration.
It’s important to note that not all devices may be compatible with these methods, and results may vary. Additionally, it’s crucial to follow the instructions carefully and back up your important data before attempting any modifications. If you encounter any issues or instability after enabling virtual RAM, you can revert the changes or seek assistance from Android forums or technical support.
Now that you have learned the step-by-step methods to get virtual RAM on your Android device, you can choose the one that suits you best and provides the memory boost you need. Enjoy the enhanced multitasking capabilities, improved app performance, and a smoother overall user experience on your Android device!
Method 1: Using Swapfile
If you’re looking to enable virtual RAM on your Android device, one method is to use a swapfile. This technique involves creating a file on your device’s internal storage or SD card, which acts as the virtual RAM. Below is a step-by-step guide on how to set up virtual RAM using a swapfile:
- Ensure that your Android device is rooted. This method requires root access as it involves modifying system settings.
- Download a file manager app from the Google Play Store that supports root access.
- Open the file manager app and navigate to the root directory of your device’s internal storage or SD card.
- Create a new file with the “.swp” extension. For example, you can create a file called “swapfile.swp”. This file will serve as the swap space for virtual RAM.
- Next, open a terminal emulator app from the Play Store, grant it root access, and execute the command “mkswap /path/to/swapfile.swp” (replace “/path/to/” with the actual path of the swapfile).
- To enable the swapfile, use the terminal emulator app and execute the command “swapon /path/to/swapfile.swp”. This will activate the virtual RAM.
- To make the swapfile permanent, open the “/etc/fstab” file using a text editor app that supports root access.
- Add the following line at the end of the “/etc/fstab” file: “/path/to/swapfile.swp none swap sw 0 0” (replace “/path/to/” with the actual path of the swapfile).
- Save the changes and exit the text editor app.
- Finally, reboot your device to apply the changes. Once your device restarts, it will have virtual RAM enabled through the swapfile.
It’s important to note that enabling virtual RAM using a swapfile requires some technical knowledge and the risks associated with rooting your device. Additionally, the effectiveness of virtual RAM may vary depending on your device’s specifications and the amount of space allocated to the swapfile. Monitor your device’s performance after enabling virtual RAM to ensure it is functioning as expected.
With virtual RAM set up through a swapfile, you can take advantage of the additional memory to improve multitasking capabilities and enhance the performance of memory-intensive applications on your Android device.
Method 2: Using Third-Party Apps
If you’re looking for a simpler and user-friendly method to enable virtual RAM on your Android device, using third-party apps can be a convenient option. These apps are specifically designed to handle virtual RAM management, making the process more accessible for users. Here’s a step-by-step guide on how to enable virtual RAM using third-party apps:
- Open the Google Play Store on your Android device.
- Search for “virtual RAM” or “swap space” apps using the search bar.
- Choose a reputable and well-rated app from the available options. Look for apps with positive user reviews and high ratings to ensure reliability.
- Install the selected app by clicking on the “Install” button.
- Once the installation is complete, open the app on your device.
- Follow the on-screen instructions provided by the app to configure and enable virtual RAM.
- Depending on the app, you may be able to adjust the size of the virtual RAM and customize other settings to suit your preferences.
- After configuring the settings to your liking, save the changes within the app.
- Once virtual RAM is enabled, it will start working in the background automatically.
It’s important to note that using third-party apps for virtual RAM management may vary in features and functionality. Therefore, it’s recommended to read the app’s instructions and user reviews to ensure compatibility and effectiveness with your specific device.
With virtual RAM enabled through a third-party app, you can leverage the benefits of additional memory to improve multitasking capabilities, enhance app performance, and ensure a smoother user experience on your Android device.
Method 3: Manual Configuration
If you prefer to have more control over the virtual RAM configuration on your Android device, you can opt for manual configuration. This method involves modifying system files to enable virtual RAM. Here’s a step-by-step guide on how to enable virtual RAM through manual configuration:
- Ensure that your Android device is rooted. Manual configuration requires root access as it involves modifying system settings.
- Download a text editor app from the Google Play Store that supports root access.
- Open the text editor app and navigate to the “/system/build.prop” file using the app’s file browser.
- Edit the “build.prop” file and add the following line at the end: “ro.sys.fw.use_swapping=true”.
- Save the changes and exit the text editor app.
- Reboot your Android device to apply the modifications.
- After the device restarts, virtual RAM will be enabled based on the system configuration.
It’s important to note that manual configuration requires advanced technical knowledge and the risks associated with rooting your device. Ensure that you follow the instructions accurately and understand the implications of modifying system files.
By enabling virtual RAM through manual configuration, you have more control over the settings and can adjust it according to your device’s specifications and your specific requirements. However, be cautious when modifying system files and monitor your device’s performance to ensure stability and optimal functionality.
Conclusion
Having virtual RAM on your Android device can significantly enhance its performance, especially when multitasking or running memory-intensive apps and games. By expanding your device’s memory capacity, virtual RAM allows for smoother operation, reduced app crashes, and an overall improved user experience.
In this article, we explored three different methods to get virtual RAM on your Android device.
The first method involved creating a swapfile, a file stored on your device’s internal storage or SD card that acts as the virtual RAM. This method requires root access and some technical knowledge to set up, but it offers more control over the virtual RAM configuration.
The second method involved using third-party apps specifically designed for virtual RAM management. These apps provide a simpler and user-friendly approach to enable virtual RAM, making it accessible to a wider range of users.
The third method focused on manual configuration, which requires root access and involves modifying system files. This method gives you more flexibility in customizing the virtual RAM settings to suit your device and requirements.
It’s important to note that enabling virtual RAM on your Android device comes with risks and limitations. These include potential performance impact, storage space consumption, and the need for root access in certain methods. Additionally, the results may vary depending on your device’s specifications and compatibility.
Before enabling virtual RAM, take the necessary precautions such as backing up your data and understanding the implications of the methods. Monitor your device’s performance after enabling virtual RAM to ensure its stability and evaluate if it meets your expectations.
In conclusion, with the methods outlined in this article, you now have the knowledge and tools to expand your Android device’s memory through virtual RAM. Whether you choose to create a swapfile, use a third-party app, or manually configure it, virtual RAM can help enhance multitasking capabilities, improve app performance, and provide a smoother user experience on your Android device.