Introduction
Welcome to the world of technology, where faster and more powerful devices are constantly evolving to meet our ever-growing needs. Whether you’re a gamer, a video editor, or simply someone who enjoys watching high-definition videos, you may have encountered the term “Video RAM” or “VRAM.” This crucial component of your computer’s graphics system plays a vital role in providing smooth and lag-free video playback and gaming experiences.
Video RAM, also known as graphics memory, is a type of dedicated memory that stores and quickly accesses data related to graphical operations. It acts as a buffer between the CPU and the graphics card, ensuring that images and videos are rendered swiftly and displayed with high-quality visuals. The amount of Video RAM your system has directly impacts its ability to handle graphically intensive tasks, such as running demanding games or editing high-resolution videos.
If you’ve ever experienced stuttering or lag while playing a game or watching a video, it may be an indication that your system’s Video RAM is being pushed to its limits. The good news is that there are several steps you can take to increase the amount of Video RAM available to your system and optimize its performance for an enhanced multimedia experience.
In this guide, we will explore various methods to get more Video RAM on Windows 8. We will cover everything from checking your current Video RAM allocation, adjusting settings, updating drivers, optimizing your computer’s performance, and even upgrading your hardware if necessary. By the end of this article, you’ll have a comprehensive understanding of how to improve your system’s Video RAM and maximize its graphics capabilities.
What is Video RAM?
Video RAM, often referred to as VRAM, is a type of memory specifically designed to handle graphical operations on your computer. It serves as dedicated storage for the data required to render images, videos, and 3D graphics efficiently. While your computer’s main RAM handles general computing tasks, Video RAM is responsible for rapidly processing and storing the graphical information needed for smooth and high-quality visuals.
Unlike conventional RAM, Video RAM is integrated into your computer’s graphics card or GPU (Graphics Processing Unit). This proximity to the GPU allows for quick access to the necessary data, reducing latency and ensuring seamless rendering of visuals. Higher amounts of Video RAM enable your system to handle more complex graphics, resulting in smoother gameplay, faster video editing, and improved image rendering.
Video RAM is primarily used to store textures, shaders, and other graphical elements required by applications and games. When a game or program requests a specific texture or graphical effect, the GPU retrieves the necessary data from VRAM and applies it to the screen in real-time. The speed and size of the Video RAM directly influence the visual quality and performance of your graphics-intensive tasks.
Modern GPUs come equipped with different types of Video RAM, including GDDR (Graphics Double Data Rate) and HBM (High Bandwidth Memory). These technologies provide faster data transfer rates, allowing for more efficient rendering of complex scenes and textures. The amount of Video RAM you have available on your system determines how much graphical data can be stored at any given time, ultimately impacting the level of detail and performance you experience in games, videos, and other visually demanding applications.
It’s essential to note that Video RAM is separate from system RAM and operates independently. While adding more system RAM can improve overall performance, it won’t directly increase the amount of Video RAM available to your graphics system. However, having a sufficient amount of both system RAM and Video RAM is crucial for ensuring optimal performance in resource-intensive tasks.
Now that we have a better understanding of what Video RAM is and how it contributes to your computer’s graphics performance, let’s explore why increasing Video RAM can be beneficial and how you can check your current Video RAM allocation on a Windows 8 system.
Why do You Need More Video RAM?
Video RAM plays a crucial role in delivering smooth and immersive multimedia experiences. As graphics-intensive applications and games continue to advance in complexity, having sufficient Video RAM becomes increasingly important. Let’s explore some reasons why you may need more Video RAM on your Windows 8 system.
1. Better Visual Quality: With more Video RAM, your system can store larger textures and graphical assets, resulting in improved visual quality. Higher resolution textures, detailed lighting effects, and realistic shadows can all be rendered seamlessly with increased Video RAM, enhancing the overall immersive experience.
2. Higher Frame Rates: Video RAM availability directly affects the frame rate in games and videos. When a system has limited Video RAM, it may struggle to load and display all the necessary graphical elements quickly, resulting in lower frame rates and choppy gameplay. By increasing Video RAM, you can achieve smoother and more fluid motion in games and videos.
3. Support for High-Resolution Displays: If you have a high-resolution monitor, such as a 4K display, you’ll need more Video RAM to handle the increased number of pixels. The larger the resolution, the more Video RAM is required to render images and videos without compromising on performance.
4. Improved Video Editing Performance: Video editing software relies heavily on graphics processing power, especially when working with high-resolution footage or applying complex visual effects. By increasing Video RAM, you can ensure faster rendering times, smoother timeline playback, and quicker application of effects, enhancing your productivity as a video editor.
5. Future-Proofing Your System: As technology advances, new applications and games will continue to demand more resources, including Video RAM. By increasing the amount of Video RAM in your system, you’re investing in its future compatibility with upcoming software, ensuring you can enjoy the latest graphic-intensive experiences without limitations.
While it’s important to note that increasing Video RAM alone may not entirely eliminate performance issues, it can significantly improve graphics performance and enhance your overall multimedia experience. In the following sections, we’ll explore different methods you can use to check your current Video RAM allocation, adjust settings, and even upgrade your hardware to get more Video RAM on a Windows 8 system.
Checking Your Current Video RAM
Before exploring methods to increase your Video RAM, it’s essential to determine the amount of Video RAM currently available on your Windows 8 system. There are several ways to check this information, and here are a few simple methods:
1. System Information: Windows 8 provides a built-in tool called System Information that displays comprehensive details about your computer’s hardware and software. To access this tool, press the Windows key + R to open the Run dialog box, type “msinfo32” (without the quotes), and press Enter. In the System Information window that appears, navigate to the “Display” category. Here, you’ll find information about your graphics card, including the Video RAM size listed under “Adapter RAM.”
2. DirectX Diagnostic Tool: Another method to check Video RAM is by using the DirectX Diagnostic Tool. To open this tool, press the Windows key + R, type “dxdiag” (without the quotes), and press Enter. In the DirectX Diagnostic Tool window, navigate to the “Display” tab. Here, you’ll find the information about your graphics card, including the Video Memory size listed under the “Approx. Total Memory” section.
3. Third-Party Software: Numerous third-party programs can provide detailed information about your system’s hardware, including the amount of Video RAM. GPU-Z, for example, is a popular utility that displays comprehensive information about your graphics card, including Video RAM size, GPU clock speed, and more. You can download GPU-Z from the official website and install it on your Windows 8 system.
Once you have identified the amount of Video RAM available on your system, you can proceed with the methods mentioned in the following sections to adjust Video RAM allocation, optimize performance, and even upgrade hardware, if necessary. Keep in mind that in some cases, the Video RAM allocation may not be adjustable in the BIOS or graphics card settings. However, there are still other ways to maximize your system’s performance, which we will explore further.
Adjusting the Video RAM Allocation
Adjusting the Video RAM allocation can help optimize the performance of your graphics system and ensure that it has sufficient resources to handle graphics-intensive tasks. While the ability to change the Video RAM allocation may vary depending on your system’s BIOS settings or graphics card configuration, here are some general steps you can try to adjust the Video RAM allocation on a Windows 8 system:
1. Accessing BIOS Settings: Restart your computer and enter the BIOS settings by pressing the designated key (such as F2, Del, or Esc) during the boot process. The specific key varies depending on your computer manufacturer. Once in the BIOS, navigate to the section related to your graphics settings, which may be labeled as “Graphics Configuration,” “Advanced Settings,” or similar.
2. Finding Video RAM Allocation: Look for an option that allows you to adjust the Video RAM allocation. The option may be labeled as “Graphics Memory,” “DVMT (Dynamic Video Memory Technology),” or similar. The available options will depend on your system’s BIOS version and manufacturer.
3. Adjusting Allocation: Depending on your graphics system, you may have the option to select a specific amount of Video RAM or allocate it dynamically. If you can choose a specific amount, consider increasing it to ensure more resources are dedicated to graphics operations. If there’s an option for dynamic allocation, enable it to allow the system to adjust Video RAM allocation based on the requirements of the running applications and games.
4. Save Changes and Exit: Once you have made the necessary adjustments, save the changes and exit the BIOS settings. Your computer will reboot, and the new Video RAM allocation settings will take effect.
It’s important to note that not all BIOS settings provide options to adjust the Video RAM allocation, especially on laptops or pre-built systems. In such cases, the system automatically allocates the necessary amount of Video RAM based on the available system resources.
If you’re unable to adjust the Video RAM allocation through the BIOS, there are other methods you can try to optimize your computer’s graphics performance, such as updating your graphics drivers, optimizing your computer’s performance settings, and even considering hardware upgrades. We will explore these options in the following sections.
Updating Your Graphics Drivers
One of the key factors influencing the performance of your graphics system, including Video RAM utilization, is the graphics driver installed on your Windows 8 system. Outdated or incompatible graphics drivers can lead to reduced performance, stability issues, and even prevent you from accessing certain features of your graphics card. Updating your graphics drivers can help resolve these problems and improve the overall performance and efficiency of your graphics system.
Here’s how you can update your graphics drivers on a Windows 8 system:
1. Identify Your Graphics Card: Before proceeding with the driver update, you need to identify the specific graphics card model installed on your system. To do this, right-click on the Windows Start button, select “Device Manager,” and expand the “Display adapters” category. The listed device will be your graphics card model (e.g., NVIDIA GeForce GTX 1080).
2. Visit the Manufacturer’s Website: Once you have identified your graphics card model, open a web browser and navigate to the official website of the manufacturer (e.g., NVIDIA, AMD, Intel). Look for their support or drivers section and search for the latest drivers available for your specific graphics card model and Windows 8.
3. Download and Install the Drivers: On the manufacturer’s website, locate the appropriate drivers for your graphics card and Windows 8. Download the driver package that matches your system’s specifications and save it to a location on your computer. Once downloaded, double-click the file to start the installation process and follow the on-screen instructions.
4. Reboot Your System: After the driver installation is complete, it is essential to restart your computer so that the changes can take effect. This will ensure that the updated drivers are successfully loaded and ready to enhance your graphics system’s performance.
Many graphics card manufacturers also provide driver update software that automates the process and checks for the latest drivers for your system. You can choose to use these tools for a more convenient and hassle-free update experience.
Regularly updating your graphics drivers is recommended as it helps ensure compatibility with new games and software releases, improves performance, and enhances stability. By keeping your graphics drivers up to date, you can maximize the utilization of Video RAM and experience smoother gameplay, faster video rendering, and overall better graphics performance on your Windows 8 system.
Optimizing Your Computer’s Performance
Aside from adjusting the Video RAM allocation and updating graphics drivers, optimizing your computer’s performance can also contribute to better utilization of your graphics system, including Video RAM. By following these steps, you can enhance overall system performance and potentially free up resources for graphics-intensive tasks on your Windows 8 system:
1. Closing Unnecessary Programs and Processes: Close any programs or processes running in the background that are not essential to your immediate tasks. This will free up system resources, including Video RAM, and ensure that your computer can allocate more resources to the active programs and games.
2. Adjusting Power Settings: Windows 8 offers several power plans that prioritize energy efficiency over performance. To optimize your computer’s performance, you can set your power plan to “High Performance.” This setting ensures that your system doesn’t throttle the performance of the CPU and graphics card, allowing them to operate at their maximum capabilities.
3. Optimizing Visual Effects: Windows 8 provides various visual effects and animations that can consume system resources. By adjusting these settings, you can reduce the strain on your graphics system. To access these settings, right-click on the Windows Start button, select “System,” then choose “Advanced system settings.” Under the “Performance” section, click on “Settings” and select the “Adjust for best performance” option or manually disable specific visual effects that are not necessary for your usage.
4. Removing Bloatware: Over time, your computer might accumulate unnecessary programs and applications that can impact system performance. Identify and uninstall any unused or unnecessary software to declutter your system and free up valuable resources.
5. Performing Regular Maintenance: Regularly perform system maintenance tasks, such as disk cleanup, defragmentation, and updating other software programs on your system. These processes help optimize system performance and ensure that your computer runs smoothly and efficiently.
Optimizing your computer’s performance can significantly enhance the utilization of your graphics system and Video RAM. By following these steps, you can create a more efficient environment for graphics-intensive tasks, resulting in smoother gameplay, faster video rendering, and an overall improved multimedia experience on your Windows 8 system.
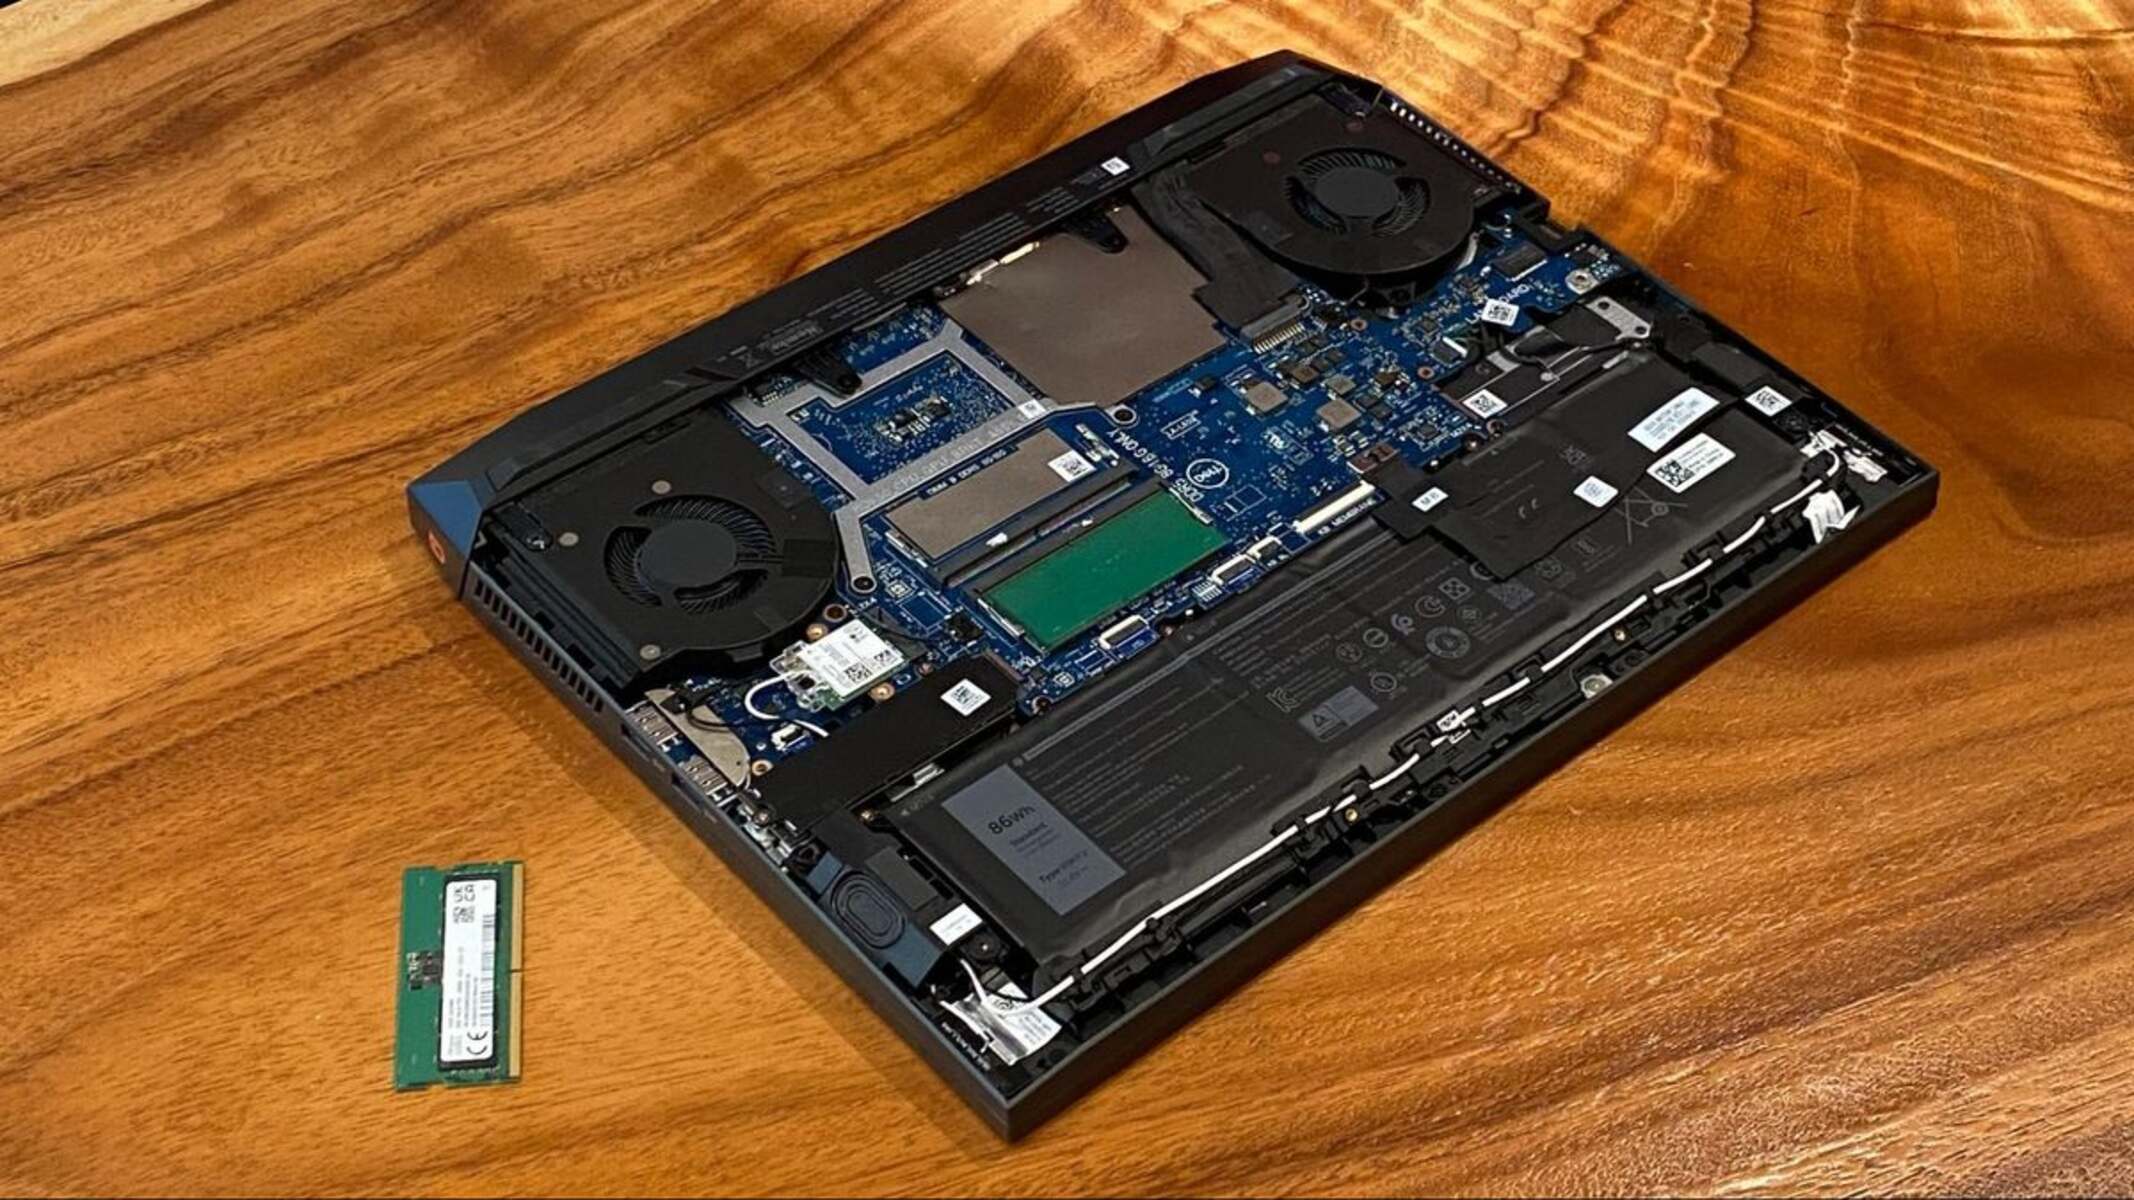
Upgrading Your Hardware
If you’ve tried adjusting the Video RAM allocation, updating graphics drivers, and optimizing your computer’s performance, but you’re still not satisfied with the graphics performance on your Windows 8 system, it may be time to consider upgrading your hardware. Upgrading specific components can provide a significant boost to your system’s graphics capabilities and overall performance.
1. Graphics Card: The graphics card is the most critical component when it comes to graphics performance. Upgrading to a more powerful graphics card can provide a substantial increase in Video RAM, as well as better GPU performance. Look for a graphics card that meets your requirements and is compatible with your system’s specifications.
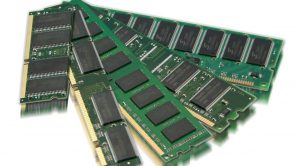
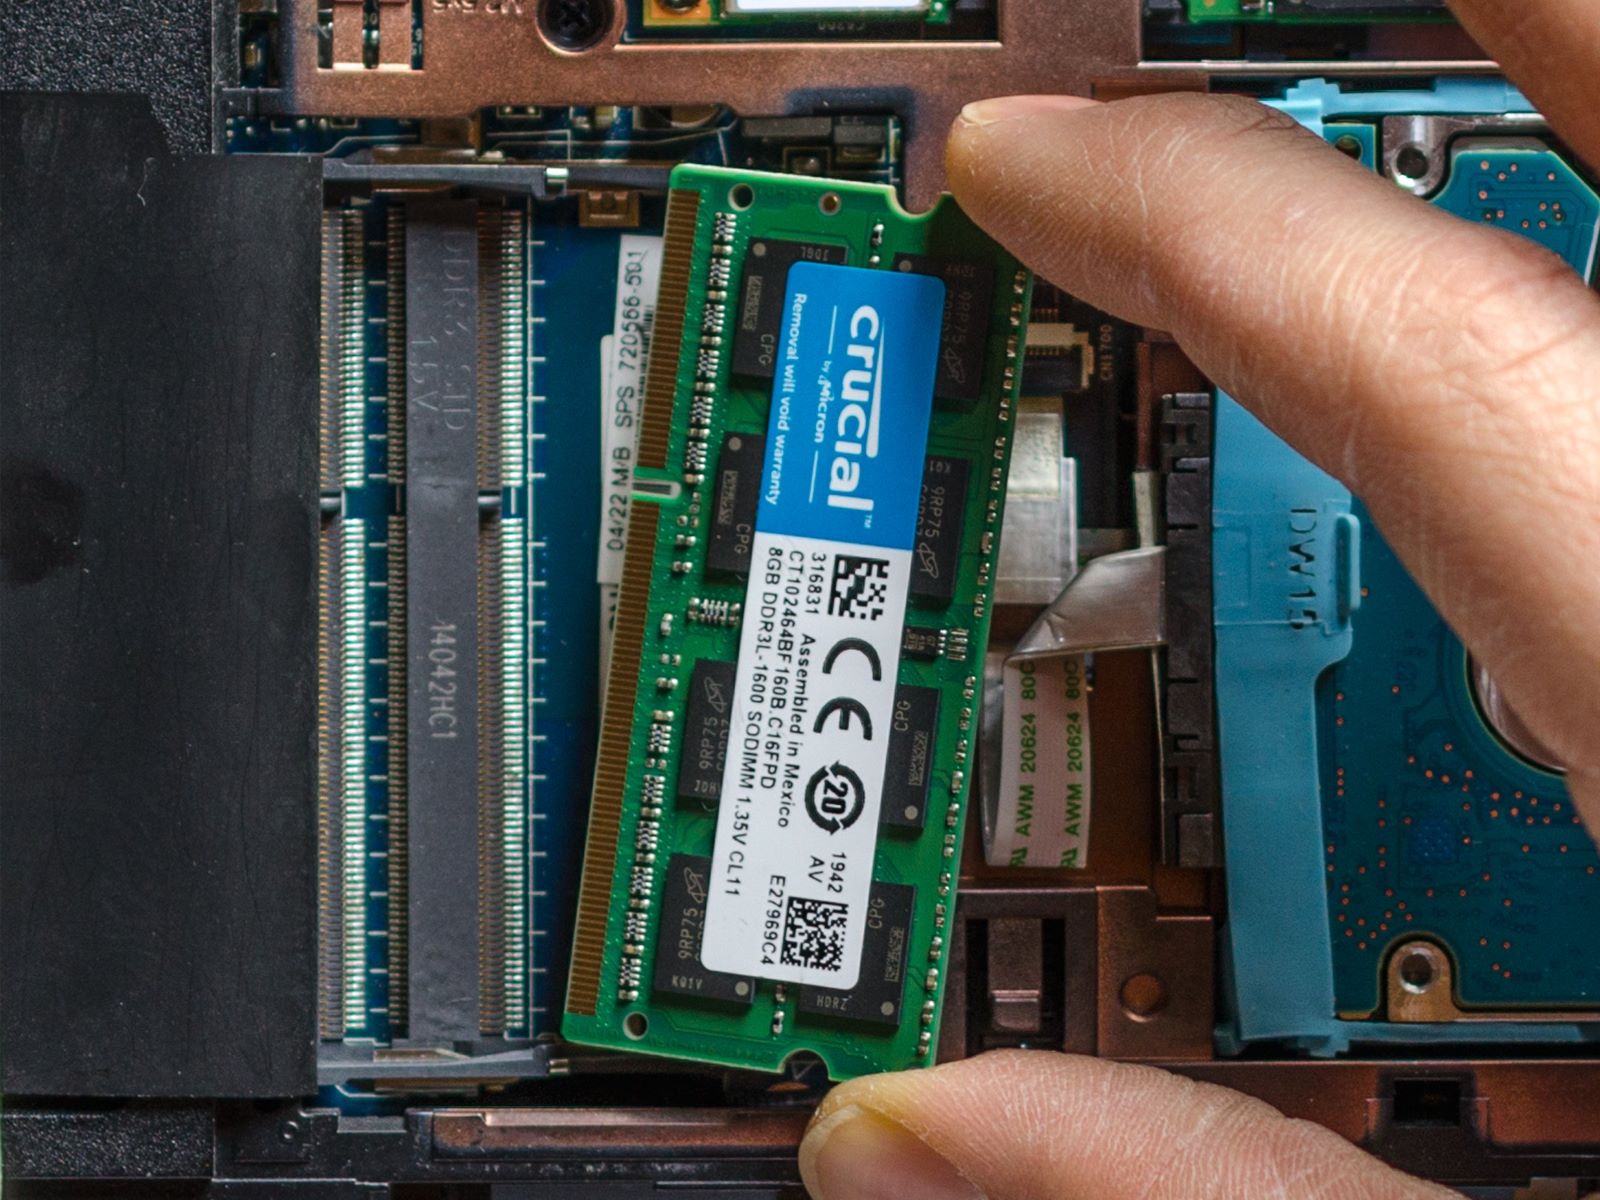
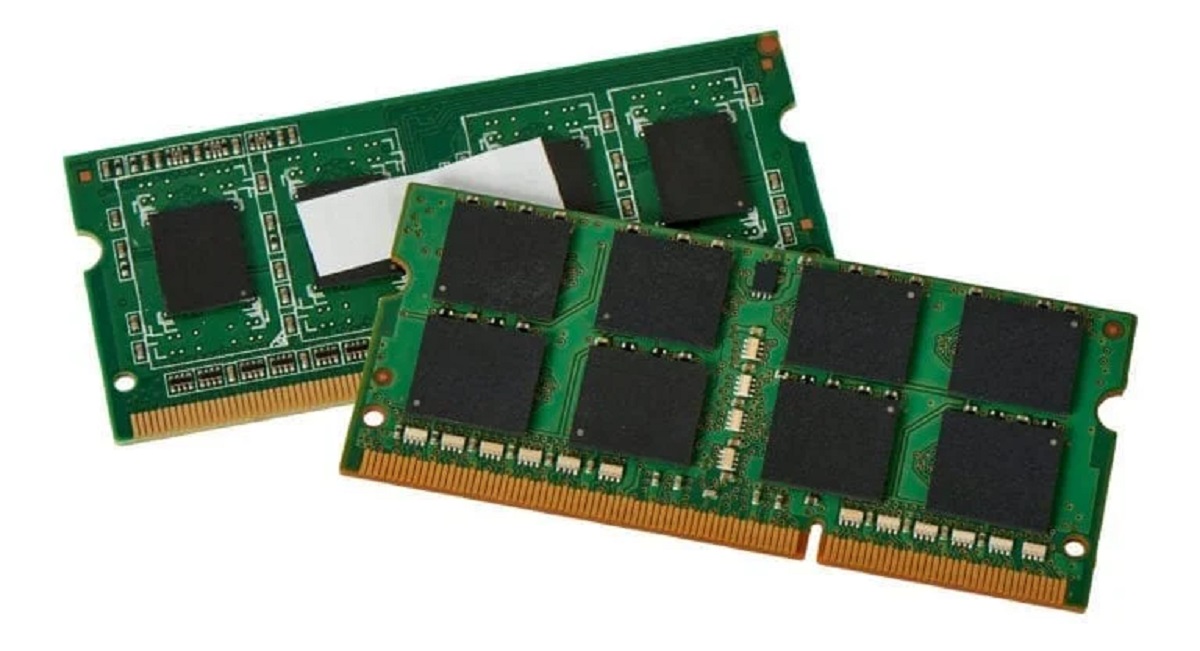
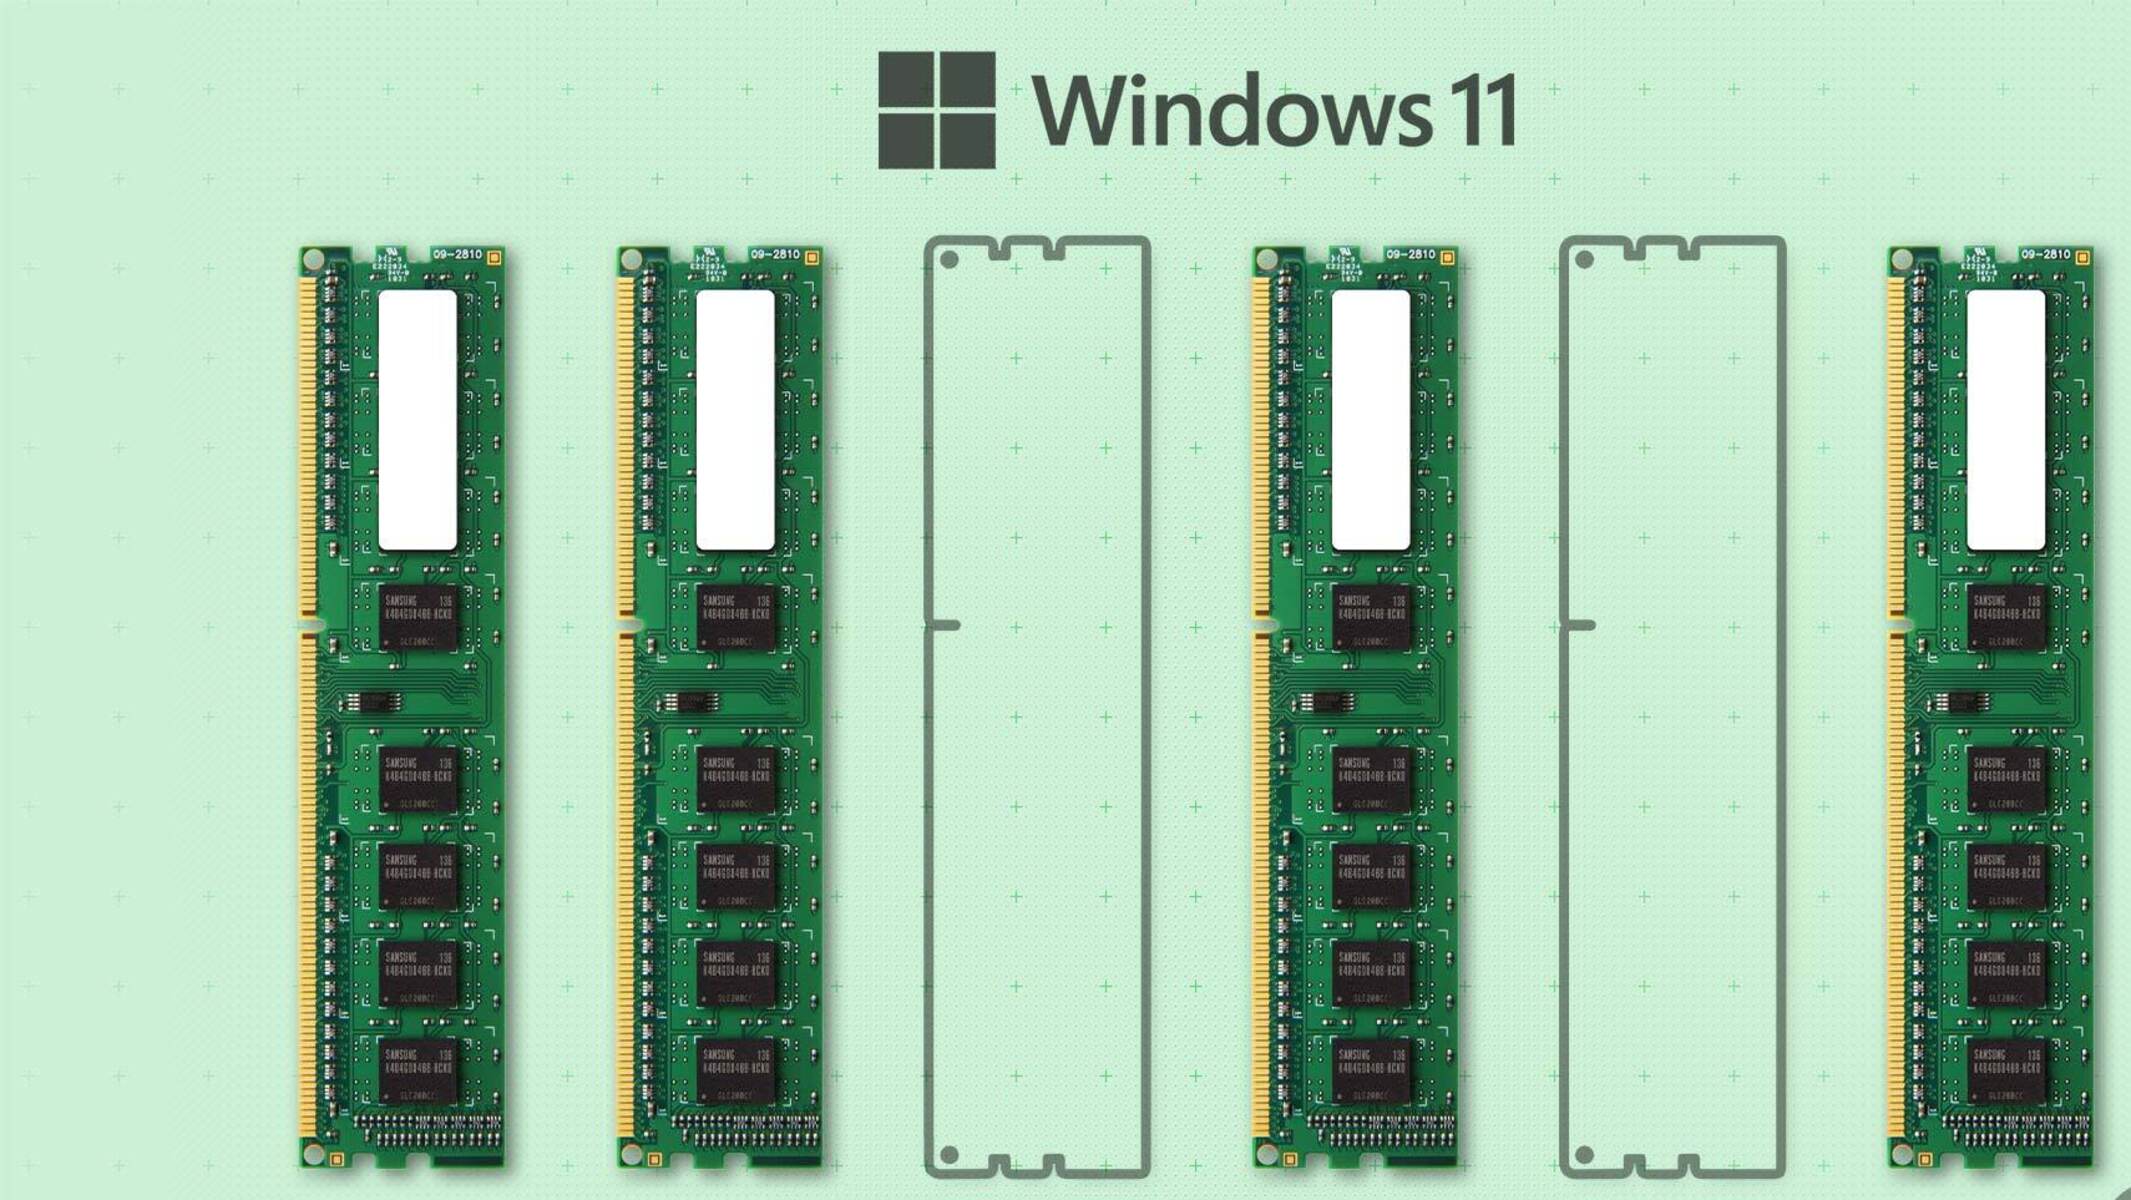
2. System RAM: While upgrading system RAM doesn’t directly increase the Video RAM available, it can indirectly improve graphics performance by allowing your computer to handle more demanding tasks simultaneously. Ensure that your system has sufficient RAM to support your graphics-intensive applications and games.
3. Storage Drive: Consider upgrading to a solid-state drive (SSD) if you haven’t already. SSDs offer faster data transfer speeds, allowing for quicker loading times and improved system responsiveness when accessing files, including graphics assets.
4. Processor: Although the processor’s impact on graphics performance may not be as significant as the graphics card, upgrading to a newer and more powerful CPU can provide an overall performance boost, enabling your system to handle graphics-intensive tasks more efficiently.
5. Monitor: Upgrading to a monitor with a higher resolution or a faster refresh rate can enhance your visual experience. A better monitor can fully showcase the capabilities of your upgraded graphics system and allow you to fully enjoy high-quality graphics.
Before upgrading any hardware component, it’s essential to ensure compatibility with your existing system. Check the specifications of your computer, consult the manufacturer’s documentation, and research compatibility requirements for the specific hardware you plan to upgrade.
Upgrading hardware can be a significant investment, but it can also have a substantial impact on your computer’s graphics performance. By increasing the capabilities of your system’s hardware components, including Video RAM, you can enjoy smoother gameplay, faster video rendering, and better overall graphics performance on your Windows 8 system.
Conclusion
Congratulations! You’ve reached the end of our guide on how to get more Video RAM on Windows 8. We’ve covered various methods to optimize your computer’s graphics performance, including adjusting Video RAM allocation, updating graphics drivers, optimizing system settings, and upgrading hardware. By implementing these techniques, you can enhance your system’s ability to handle graphics-intensive tasks, leading to smoother gameplay, faster video rendering, and an overall improved multimedia experience.
Remember, before making any changes to your system, it’s important to understand your computer’s specifications, ensure compatibility, and follow best practices. The steps we’ve discussed are general guidelines that may vary depending on your specific hardware and software configuration.
If you’re experiencing graphics performance issues, start by checking your current Video RAM allocation and updating your graphics drivers. From there, you can optimize your computer’s performance by adjusting settings, closing unnecessary programs, and performing regular maintenance tasks. If you require even more significant improvements, consider upgrading your hardware, such as the graphics card, system RAM, storage drive, or monitor.
Ultimately, finding the perfect balance between system performance and graphics capabilities is a continuous process as technology advances and new software releases become more demanding. By staying proactive and keeping your system up to date, you can ensure that you’re getting the most out of your Windows 8 system and enjoy a seamless multimedia experience.
We hope this guide has provided you with valuable insights and actionable steps to enhance your computer’s graphics performance. Now, go ahead and unleash the full potential of your Windows 8 system!