Introduction
3D printing has revolutionized the way we create objects, enabling us to turn digital designs into physical reality. However, one of the challenges in 3D printing is achieving successful bridging, which occurs when the printer creates layers that form a bridge between two distant points without any additional support. Bridging is a crucial aspect of 3D printing, as it allows for the creation of complex and intricate designs.
Although some 3D printers excel at bridging, it can still be a tricky process, often resulting in sagging, drooping, or even collapsing of the bridged sections. To overcome these challenges and achieve better bridging in 3D printing, it’s necessary to understand the factors that contribute to successful bridging and optimize various settings and techniques.
In this article, we will explore the key aspects of achieving better bridging in 3D printing. We will delve into selecting the right material for bridging, adjusting printer settings, utilizing support structures, and implementing effective design tips. Additionally, we will discuss common bridging issues and provide troubleshooting tips to overcome them.
By mastering the techniques and strategies outlined in this article, you will be able to improve the quality of your 3D prints and ensure successful bridging, opening up possibilities for more complex and creative designs.
Understanding Bridging in 3D Printing
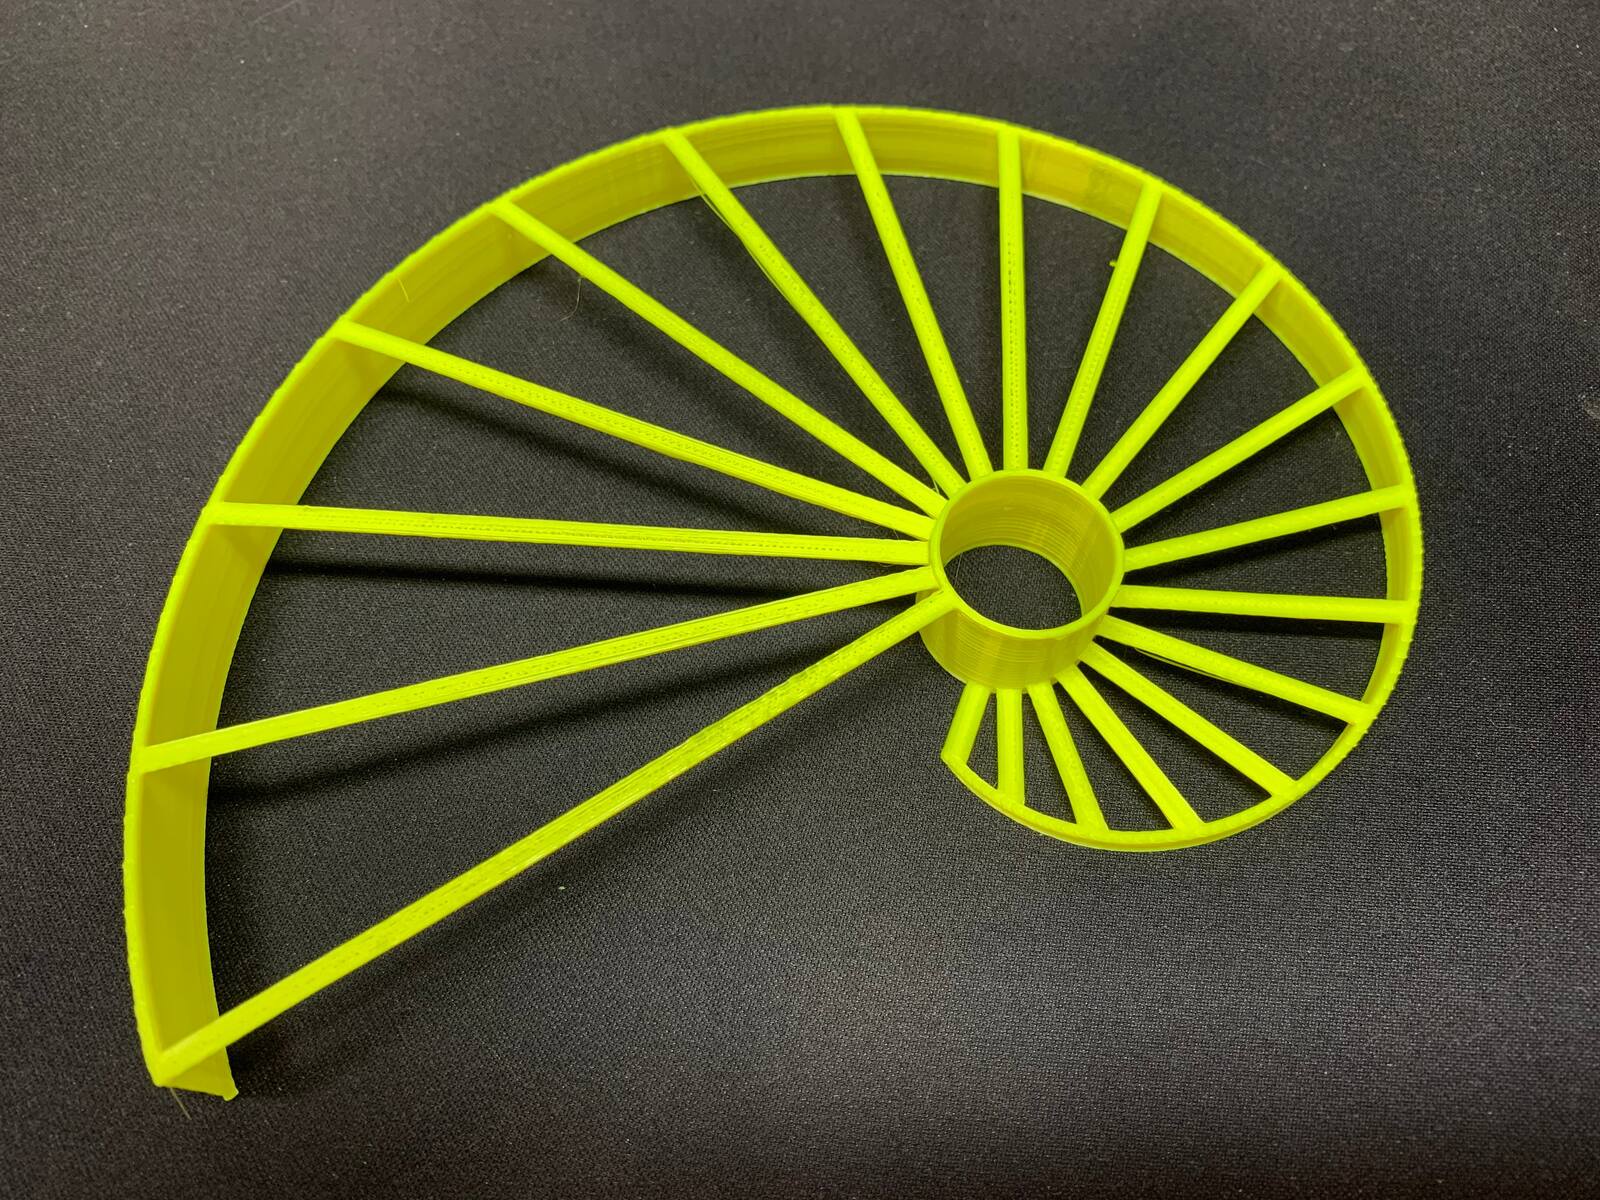
Bridging in 3D printing refers to the process of creating horizontal sections or layers between two distant points without the need for additional support structures. Unlike regular printing where each layer is supported by the layer below it, bridging requires the printer to create a stable structure that spans an empty space. This is a critical skill in 3D printing as it allows for the creation of complex designs with overhangs and intricate details.
The success of bridging largely depends on various factors, including the material being used, the design of the model, and the printer settings. Understanding these factors can help optimize the printing process and achieve better bridging results.
One of the key considerations in bridging is the material. Different materials have varying bridging capabilities due to their viscosity, elasticity, and adhesion properties. PLA filament, for example, is known for its good bridging capabilities, while materials like ABS may require more precise printer settings to achieve successful bridging.
Another important aspect is the design of the model. Sharp angles and overhangs can pose challenges for bridging, as the printer needs to accurately create the layers without any support. Designing models with gradual angles and properly supported overhangs can greatly improve bridging results.
Printer settings also play a crucial role in successful bridging. Adjusting parameters such as the temperature, print speed, and fan speed can greatly impact the bridging performance. It’s important to find the right balance to ensure that the material flows smoothly and solidifies properly during bridging.
Additionally, the density and orientation of the infill structure can also affect bridging. Increasing the infill density or using infill patterns specifically designed for bridging can provide additional support during the printing process.
By understanding these key aspects of bridging in 3D printing, you can make informed decisions in selecting materials, designing models, and adjusting printer settings to achieve better bridging results. In the following sections, we will explore these aspects in more detail and provide practical tips to enhance bridging capabilities.
Selecting the Right Material for Bridging
Choosing the right material is crucial for achieving successful bridging in 3D printing. Different materials have varying properties that affect their bridging capabilities. Here are some factors to consider when selecting a material for bridging:
Viscosity: The viscosity of a material refers to its ability to flow. Materials with a lower viscosity, such as PLA, tend to have good bridging capabilities as they can flow more easily and solidify quickly. On the other hand, materials with higher viscosity, like ABS, may require more precise printer settings to achieve successful bridging.
Elasticity: The elasticity of a material determines its flexibility and ability to withstand stress. A material with higher elasticity, such as TPU, can often make better bridges as it can withstand the expansion and contraction that occurs during the printing process. However, overly elastic materials may result in sagging or drooping bridges.
Adhesion: The adhesion properties of a material influence how well it sticks to the print bed and to subsequent layers. Materials with good bed adhesion, like PETG, can provide a solid foundation for bridging, reducing the likelihood of sagging or collapsing. Proper bed leveling and adhesion aids like rafts or brims can further enhance adhesion during the printing process.
Recommended Settings: Different materials may require specific printer settings to optimize bridging. Manufacturers often provide recommended temperature ranges and settings for their materials. It is essential to consult these guidelines and experiment with different settings to find the best configuration for successful bridging.
Test Prints: Conducting test prints with different materials can help determine their bridging capabilities. Create models with varying degrees of difficulty for bridging, such as sharp angles or large spans, and observe how each material performs. This can provide valuable insights into the suitability of a material for bridging and help make informed decisions.
Ultimately, selecting the right material for bridging involves considering the viscosity, elasticity, adhesion properties, recommended settings, and conducting test prints. By choosing a material that aligns with the desired bridging requirements, you can greatly improve the success rate of bridging in your 3D prints.
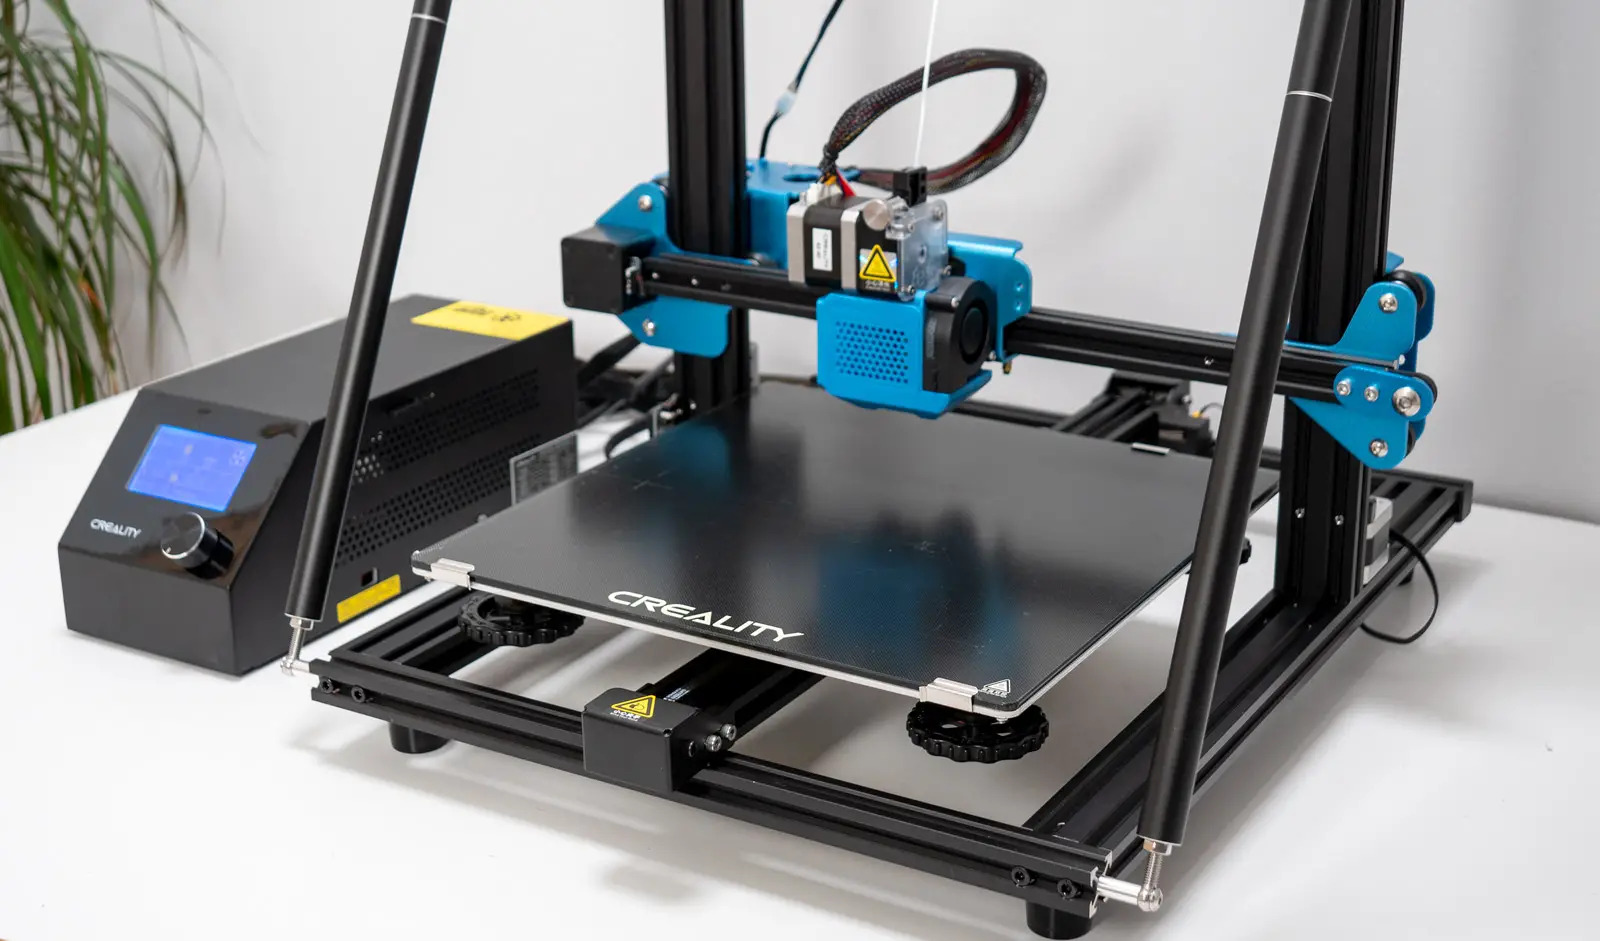
Adjusting the Printer Settings for Better Bridging
Aside from choosing the right material, adjusting the printer settings is crucial for achieving better bridging in 3D printing. Fine-tuning these settings can greatly improve the quality and success rate of bridging. Here are some key printer settings to consider:
Temperature: The temperature of the extruder and the heated bed can have a significant impact on bridging. Higher temperatures can lead to better flow and adhesion, while lower temperatures can help reduce stringing and drooping. It’s important to find the optimal temperature range for the selected material and experiment with adjustments to achieve the best bridging results.
Print Speed: Slowing down the print speed during bridging can enhance the quality of the bridges. Decreasing the speed allows the material more time to solidify and reduces the chances of sagging or collapsing. However, it’s important to strike a balance, as excessively slow speeds can lead to overcuring or increased print time.
Retraction: Retraction is the process of pulling filament back into the nozzle to prevent oozing or stringing between printed sections. Adjusting the retraction distance and speed can minimize the presence of unwanted filament during bridging, resulting in cleaner and more precise bridges. Test different retraction settings to find the best values for your specific printer and material.
Fan Speed: The cooling fan plays a critical role in bridging, as it helps to rapidly cool the material and improve its stability. Increasing the fan speed during bridging can effectively reduce the chances of sagging or drooping. However, it’s important to carefully balance the fan speed, as excessive cooling can result in warping or layer adhesion issues.
Layer Height: Adjusting the layer height can also impact bridging performance. Using a smaller layer height can improve the precision and accuracy of the bridging layers. However, it may also increase print time. Experiment with different layer heights to find the optimal balance between quality and efficiency.
Flow Rate/Extrusion Multiplier: Adjusting the flow rate or extrusion multiplier can fine-tune the amount of material being extruded during bridging. Increasing the flow rate can help compensate for any inconsistencies in material flow, while decreasing it can prevent over-extrusion and improve bridge accuracy. Calibration cubes or specific bridging test models can assist in finding the ideal flow rate values.
It’s important to note that printer settings may vary depending on the specific printer model, slicing software, and filament used. It’s recommended to consult the printer and filament manufacturer’s guidelines, as well as conduct test prints to determine the optimal settings for achieving better bridging in your 3D prints.
Using Support Structures for Improved Bridging
Support structures play a vital role in achieving improved bridging in 3D printing. While the goal is to create bridges without any additional support, sometimes it is necessary to utilize support structures to ensure successful and stable bridging. Here are some key considerations when using support structures:
Automatic Supports: Most slicing software offers an automatic support generation feature. When enabled, the software analyzes the model and generates support structures under overhang areas and bridges. This can greatly enhance the stability of the bridges and prevent sagging or collapsing. It’s important to carefully examine and adjust the support settings to ensure optimal placement and ease of removal after printing.
Manual Support Placement: In some cases, automatic supports may not generate the desired results, or you may want more control over the support structures. Manually placing supports using the slicing software allows for precise positioning and can help reinforce specific areas prone to sagging. This method may require more expertise and trial and error to achieve the desired results.
Support Material: Consider the type of support material to use. Most commonly, supports are printed with the same material as the model, but some materials may require different support materials that are easier to remove or provide better support. It’s important to select a support material that adheres well to the model but can be easily removed without damaging the print.
Support Settings: Adjusting support settings such as density, pattern, and angle can also impact bridging performance. A higher support density or a pattern specifically designed for bridging can provide adequate support during the printing process. Additionally, setting the support angle to a larger value can ensure better support for the bridges.
Cleanup: After printing, it’s crucial to carefully remove the support structures without causing damage to the model. Various tools like pliers, tweezers, or support removal aids can assist in this process. Take your time and ensure all support material is completely removed to achieve a clean and professional end result.
While the ultimate goal is to achieve bridges without the need for support structures, they can prove invaluable in ensuring successful bridging. By utilizing automatic or manually placed supports and optimizing the support settings, you can enhance the stability and quality of the bridges in your 3D prints.
Design Tips to Enhance Bridging Capabilities
Proper design techniques can significantly enhance the bridging capabilities of your 3D prints. Taking certain factors into consideration during the design phase can greatly improve the structural integrity of the bridges. Here are some design tips to help enhance bridging capabilities:
Gradual Angles: Design your models with gradual angles instead of sharp overhangs. Gradual angles provide a smoother transition for the printer, making it easier to create stable bridges. Avoid abrupt changes in the model’s geometry that can create unsupported areas, as they are more prone to sagging or collapsing during bridging.
Support the Overhangs: Reinforce the overhang areas by incorporating small support structures or sacrificial walls. These supports can help bear the weight of the bridge during printing and significantly improve its stability. Carefully position these supports to minimize their impact on the overall design or consider removing them after printing if they are easily removable.
Bridge Geometry: Consider the geometry of the bridge itself. Designing bridges with thicker cross-sections or adding ribs underneath can enhance their strength and stability. It’s important to strike a balance, as overly thick bridges can lead to increased material usage and longer print times.
Right Orientation: Proper orientation of the model can significantly impact the bridging capabilities. Orienting the model to minimize overly long bridges or aligning bridges along the printer’s X or Y-axis can offer better stability and improve the chances of successful bridging. Experimenting with different orientations can help identify the optimal position for bridging success.
Use Fillet/Radius: Incorporating fillets or rounded edges in the design can eliminate sharp edges that are more susceptible to errors during bridging. Fillets distribute the stress more evenly and allow for smoother transitions during printing, improving the overall quality of the bridges.
Model Support Structures: Designing your models with integrated support structures can offer added stability during bridging. These support structures are an inherent part of the model’s design, providing the necessary reinforcement while minimizing the need for additional supports.
Iterate and Test: As with any aspect of 3D printing, iteration and testing are key to optimizing design for bridging capabilities. Conducting small-scale test prints or using bridging-specific test models can help identify areas for improvement and allow you to make necessary adjustments before printing a larger or more complex design.
By applying these design tips, you can greatly enhance the bridging capabilities of your 3D prints. Experiment with different techniques and iterate on your designs to achieve improved stability, structural integrity, and aesthetic appeal in bridging areas.
Troubleshooting Common Bridging Issues
Despite implementing various techniques to achieve better bridging, issues may still arise during the 3D printing process. Understanding and troubleshooting these common bridging problems can help you overcome challenges and improve the quality of your bridged prints. Here are some common bridging issues and tips to troubleshoot them:
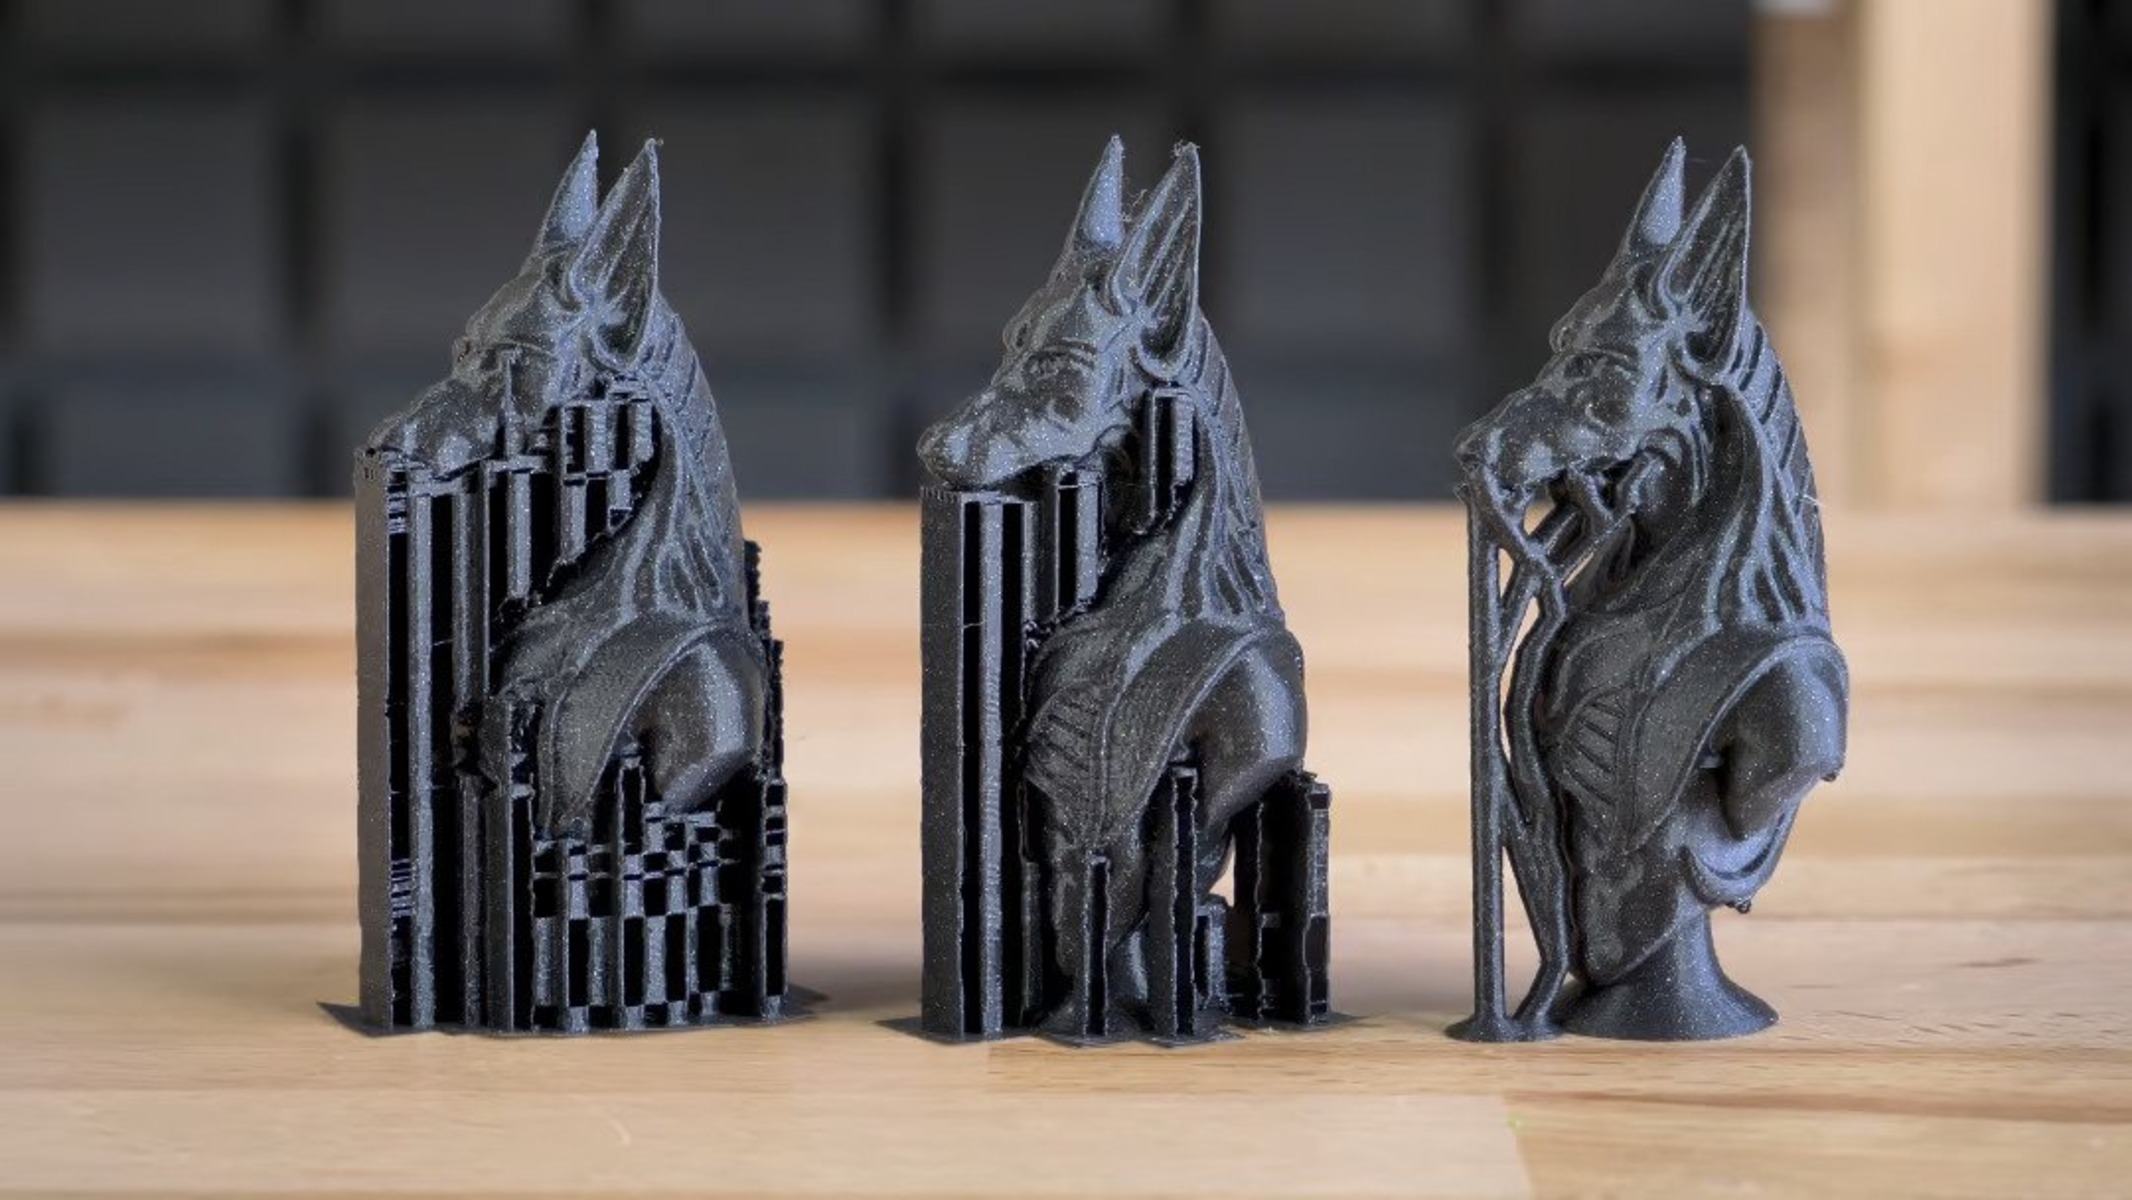
Sagging Bridges: Sagging bridges occur when the material is not adequately supported and starts to droop or sag in the middle. To troubleshoot this issue, you can try adjusting the printing temperature to ensure proper flow and solidification of the material. Another solution is to decrease the bridging distance by redesigning the model to create shorter bridge spans.
Collapsed Bridges: Collapsed bridges happen when the material cannot support the distance between two points, resulting in the bridge collapsing or breaking apart. To address this issue, you can increase the flow rate or extrusion multiplier to add more material during bridging, strengthening the bridges. Additionally, adjusting the print speed or increasing the support density can provide added reinforcement.
Stringing and Over-Extrusion: Stringing occurs when excess material is dragged between separate sections of the print. To fix this issue, you can increase retraction settings to prevent oozing or stringing. Adjusting the retraction distance and speed can help pull the filament back into the nozzle and minimize unwanted stringing. Decreasing the extrusion multiplier or flow rate can also reduce over-extrusion and control the amount of material being deposited during bridging.
Unsupported Areas: Unsupported areas can occur when there are gaps or holes in the bridge due to design or printing errors. To troubleshoot this issue, ensure that your model has adequate support structures or sacrificial walls to reinforce the bridge during printing. Review your design for any missing or disconnected geometry that may cause unsupported areas and make the necessary adjustments.
Poor Adhesion: Poor adhesion between the bridged layers can cause weak and brittle bridges. To enhance adhesion, ensure proper bed leveling and good adhesion aids like rafts or brims. Increasing the bed temperature can also improve adhesion between the layers. Additionally, adjusting the fan speed to provide adequate cooling can help solidify the layers and enhance adhesion.
Warping or Warped Bridges: Warping can occur when the bridges become distorted or warped, resulting in an uneven or unstable surface. To address this issue, ensure the printer’s build plate or heated bed is properly leveled and that the bed adhesion is sufficient. Increasing the bed temperature or using a heated build chamber can help minimize warping by reducing temperature differentials between the layers.
It’s important to note that troubleshooting bridging issues may require a trial-and-error approach, as the optimal solutions may vary depending on the specific printer, material, and design. Experimentation, testing, and adjusting settings are necessary to find the most effective solutions for your specific scenario.
By implementing these troubleshooting tips, you can overcome common bridging challenges and achieve better results in your 3D prints. Continuously refine your techniques and settings based on your observations to improve the bridging capabilities and overall quality of your 3D printed objects.
Conclusion
3D printing offers endless possibilities for creating intricate and complex designs, and achieving successful bridging is crucial for pushing these possibilities even further. Throughout this article, we have explored various aspects of achieving better bridging in 3D printing.
Understanding the factors that contribute to successful bridging, such as material selection, printer settings adjustment, the use of support structures, and effective design techniques, can greatly enhance the quality of bridged prints. Selecting the right material, adjusting temperature and speed settings, and utilizing support structures can all contribute to better bridging results.
Additionally, implementing design tips and troubleshooting common bridging issues can help overcome challenges that may arise during the printing process. Gradual angles, reinforced overhangs, and proper orientation can all improve bridging capabilities. Troubleshooting techniques such as adjusting temperature, flow rate, and support structures can address common issues like sagging, stringing, and poor adhesion.
However, it is important to remember that achieving optimal bridging may require some experimentation and fine-tuning, as there are various factors at play, including the specific 3D printer, material, and design. Through iteration, testing, and continuous improvement, you can refine your techniques and settings to achieve the best bridging results.
By mastering the art of bridging in 3D printing, you can unlock new possibilities for creating intricate and complex designs that were once considered challenging. With careful consideration of materials, adjustments to printer settings, utilization of support structures, and thoughtful design techniques, you can achieve better bridging, opening up new frontiers in your 3D printing projects.
Embrace the challenges and opportunities that come with bridging in 3D printing, and let your creativity soar as you embark on the exciting journey of pushing the boundaries of what is possible in this innovative and rapidly evolving field.