Introduction
Are you experiencing sluggish performance or encountering software issues on your Samsung Galaxy S7? Performing a factory reset can help resolve these problems. A factory reset is a process that restores your device to its original factory settings, erasing all data and customized settings in the process. This can be beneficial when troubleshooting software issues or preparing to sell or give away your device.
However, it is important to note that a factory reset will permanently delete all data from your device, so it’s crucial to back up any important files, photos, or documents before proceeding. In this article, we will guide you through the steps to perform a factory reset on your Samsung Galaxy S7, both through the device’s settings menu and using hardware buttons.
By following these instructions, you will be able to reset your device to its default state, eliminating any potential glitches or unwanted files that may be causing issues. Please note that this process will erase all data, so make sure to create a backup before proceeding.
Now, let’s explore the different methods you can use to factory reset your Samsung Galaxy S7.
Backup Your Data
Before performing a factory reset on your Samsung Galaxy S7, it is crucial to back up your data to prevent any loss of important information. A factory reset will erase all data on your device, including contacts, messages, photos, videos, and app data. Here are a few methods you can use to ensure your data is safely stored:
1. Use Samsung Cloud
If you have an active Samsung account, you can take advantage of Samsung’s cloud storage service. Simply go to the Settings menu on your Galaxy S7, select “Cloud and accounts,” and then tap on “Samsung Cloud.” From there, you can choose which types of data you want to back up, such as app data, photos, or contacts. Once enabled, your data will be automatically backed up to the cloud whenever your device is connected to a Wi-Fi network.
2. Use Google Account
Another reliable method to back up your data is by using your Google account. Ensure that you are signed in with your Google account on your Galaxy S7. You can then go to the Settings menu, select “Accounts” or “Backup and Restore,” and enable the backup option for your Google account. This will sync your contacts, calendar events, app data, and other settings with your Google account, making it easy to restore them on your new device or after the factory reset.
3. Use Third-Party Backup Apps
If you prefer more control over your backup process, you can opt for third-party backup apps available on the Google Play Store. Many apps, such as Titanium Backup, Helium, or MyBackup, offer comprehensive backup options, allowing you to choose specific files, folders, or even individual apps to back up. These apps generally provide more flexibility and customization options to ensure your data is securely backed up.
Remember to verify that the backup is successfully completed and accessible before proceeding with the factory reset. Once you have a backup of your important data, you can confidently proceed with the factory reset process. Let’s explore the steps to factory reset your Samsung Galaxy S7 using both the settings menu and hardware buttons in the following sections.
Steps to Factory Reset Samsung Galaxy S7
To perform a factory reset on your Samsung Galaxy S7, you have two options: resetting from the settings menu or using the hardware buttons. Both methods will achieve the same result of restoring your device to its factory default settings. Let’s explore each method in detail:
Option 1: Reset from Settings Menu
Follow these steps to factory reset your Samsung Galaxy S7 using the settings menu:
- Open the “Settings” app on your Galaxy S7. You can access the settings by swiping down from the top of the screen and tapping the gear icon, or by finding the app in your app drawer.
- Scroll down and tap on “General Management.”
- Tap on “Reset.”
- Select “Factory Data Reset.”
- Read the information on the screen and tap on “Reset.”
- Enter your device PIN or password, if prompted.
- Finally, tap on “Delete All” to confirm the factory reset.
Your Samsung Galaxy S7 will now begin the process of resetting to its factory settings. This may take a few minutes to complete. Once finished, your device will reboot, and you will be greeted with the initial setup screen, just like when you first purchased it.
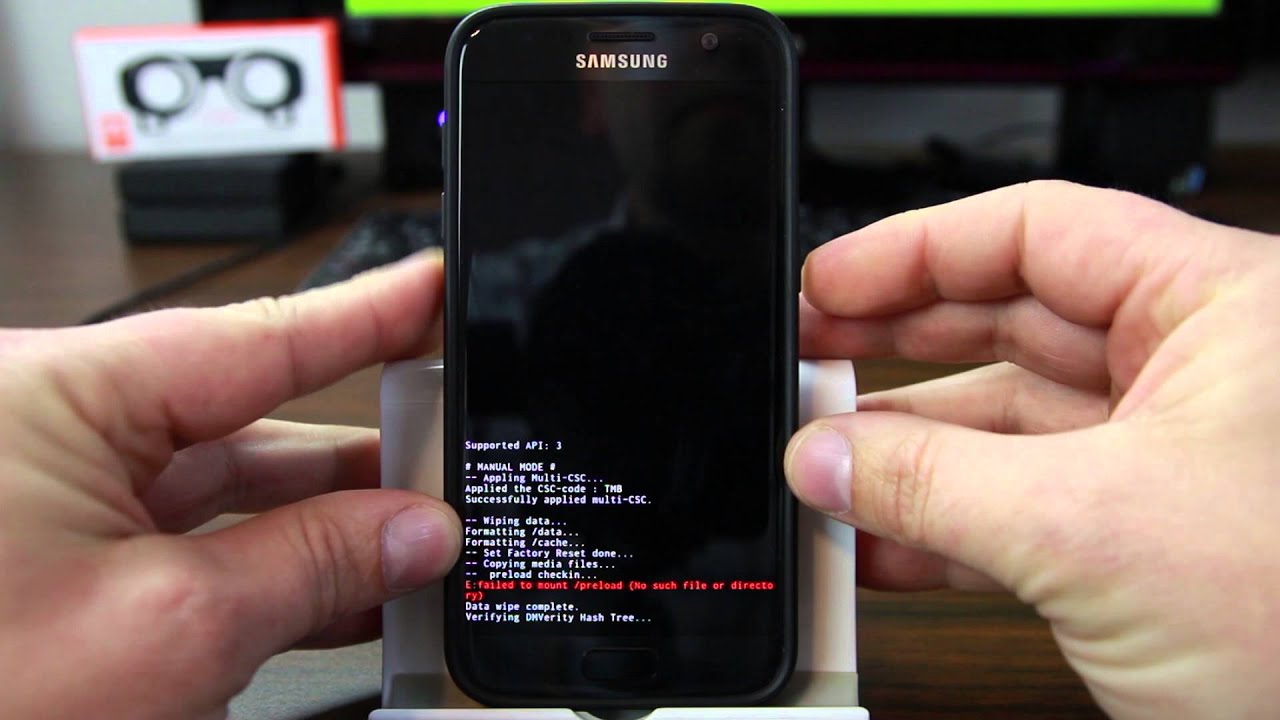
Option 2: Reset Using Hardware Buttons
If you are unable to access your device’s settings menu, you can perform a factory reset using the hardware buttons. Follow these steps:
- Turn off your Samsung Galaxy S7 completely.
- Press and hold the Volume Up, Home, and Power buttons simultaneously.
- Release the buttons once the Samsung logo appears on the screen.
- Using the Volume buttons to navigate and the Power button to select, highlight the “Wipe data/factory reset” option.
- Confirm the factory reset by selecting “Yes.”
- Wait for the process to complete, and then select “Reboot system now.”
Your Samsung Galaxy S7 will now be reset to its factory default settings. It will take a few minutes for the device to restart, and when it does, you will need to go through the initial setup process once again.
Choose the method that best suits your situation and follow the steps carefully to perform a factory reset on your Samsung Galaxy S7. Next, we will provide some tips to ensure a successful factory reset.
Option 1: Reset from Settings menu
If you have access to the settings menu on your Samsung Galaxy S7, performing a factory reset is a straightforward process. Follow these steps:
- Open the “Settings” app on your device. You can find the app in the app drawer or by swiping down from the top of the screen and tapping the gear icon.
- Scroll down and tap on “General Management.”
- Tap on “Reset.”
- Select “Factory Data Reset.”
- Read through the information displayed on the screen. This will explain what a factory reset does and what data will be erased. Make sure you have backed up any important data.
- Tap on “Reset” to proceed.
- If prompted, enter your device’s PIN or password to authenticate the reset process.
- Finally, tap on “Delete All” to confirm the factory reset.
Once you have confirmed the factory reset, your Samsung Galaxy S7 will begin the process. It may take a few minutes for the device to erase all data and restore itself to the original factory settings. During this time, it is important not to interrupt the process or turn off the device.
After the factory reset is complete, your phone will automatically reboot. When it turns back on, you will be greeted with the setup screen, just like when you first purchased the device. Follow the on-screen instructions to set up your Samsung Galaxy S7 and restore your data from any backups you created.
Please note that a factory reset will erase all data on your device, including contacts, messages, photos, videos, and app data. It is essential to back up any important information before proceeding with the reset process.
This method provides a convenient way to reset your Samsung Galaxy S7 if you can access the device’s settings. However, if you are unable to access the settings menu, you can utilize the hardware buttons to perform a factory reset, which will be explained in the next section.
Option 2: Reset using hardware buttons
If you are unable to access the settings menu on your Samsung Galaxy S7, you can still perform a factory reset using the device’s hardware buttons. Follow these steps:
- Ensure that your Samsung Galaxy S7 is completely powered off.
- Press and hold the Volume Up button, Home button, and Power button simultaneously.
- Continue holding all three buttons until the Samsung logo appears on the screen.
- Once the logo appears, release all buttons.
- Use the Volume Down button to navigate through the options on the recovery screen.
- Highlight the “Wipe data/factory reset” option using the Volume Down button.
- Press the Power button to select the highlighted option.
- On the next screen, use the Volume Down button to select “Yes” and confirm the reset.
- Press the Power button to initiate the factory reset process.
- Wait for the device to complete the reset process. This may take a few minutes.
- Once the process is complete, the recovery screen will appear again.
- Use the Power button to select the “Reboot system now” option.
After selecting “Reboot system now,” your Samsung Galaxy S7 will restart. It may take a few minutes for the device to boot up and complete the initial setup process. You will need to go through the setup process and restore any backed-up data and settings.
Performing a factory reset using the hardware buttons can be helpful when your device is unresponsive or experiencing issues that prevent you from accessing the settings menu. However, please note that a factory reset will erase all data on your device, so it is vital to back up any important information before proceeding.
Now that you know how to perform a factory reset using both the settings menu and hardware buttons, let’s move on to some tips to ensure a successful reset process.
Tips for a Successful Factory Reset
Performing a factory reset on your Samsung Galaxy S7 is a significant step that can resolve various software issues and restore your device to its original state. To ensure a successful factory reset, consider the following tips:
1. Back up your data:
Before initiating a factory reset, make sure to back up all your important data, including contacts, photos, videos, and documents. Use cloud storage services, such as Samsung Cloud or Google Drive, or third-party backup apps for a comprehensive backup solution.
2. Charge your device:
Ensure that your Samsung Galaxy S7 has enough battery power before initiating a factory reset. It is recommended to have at least 50% battery charge to avoid any interruptions during the reset process.
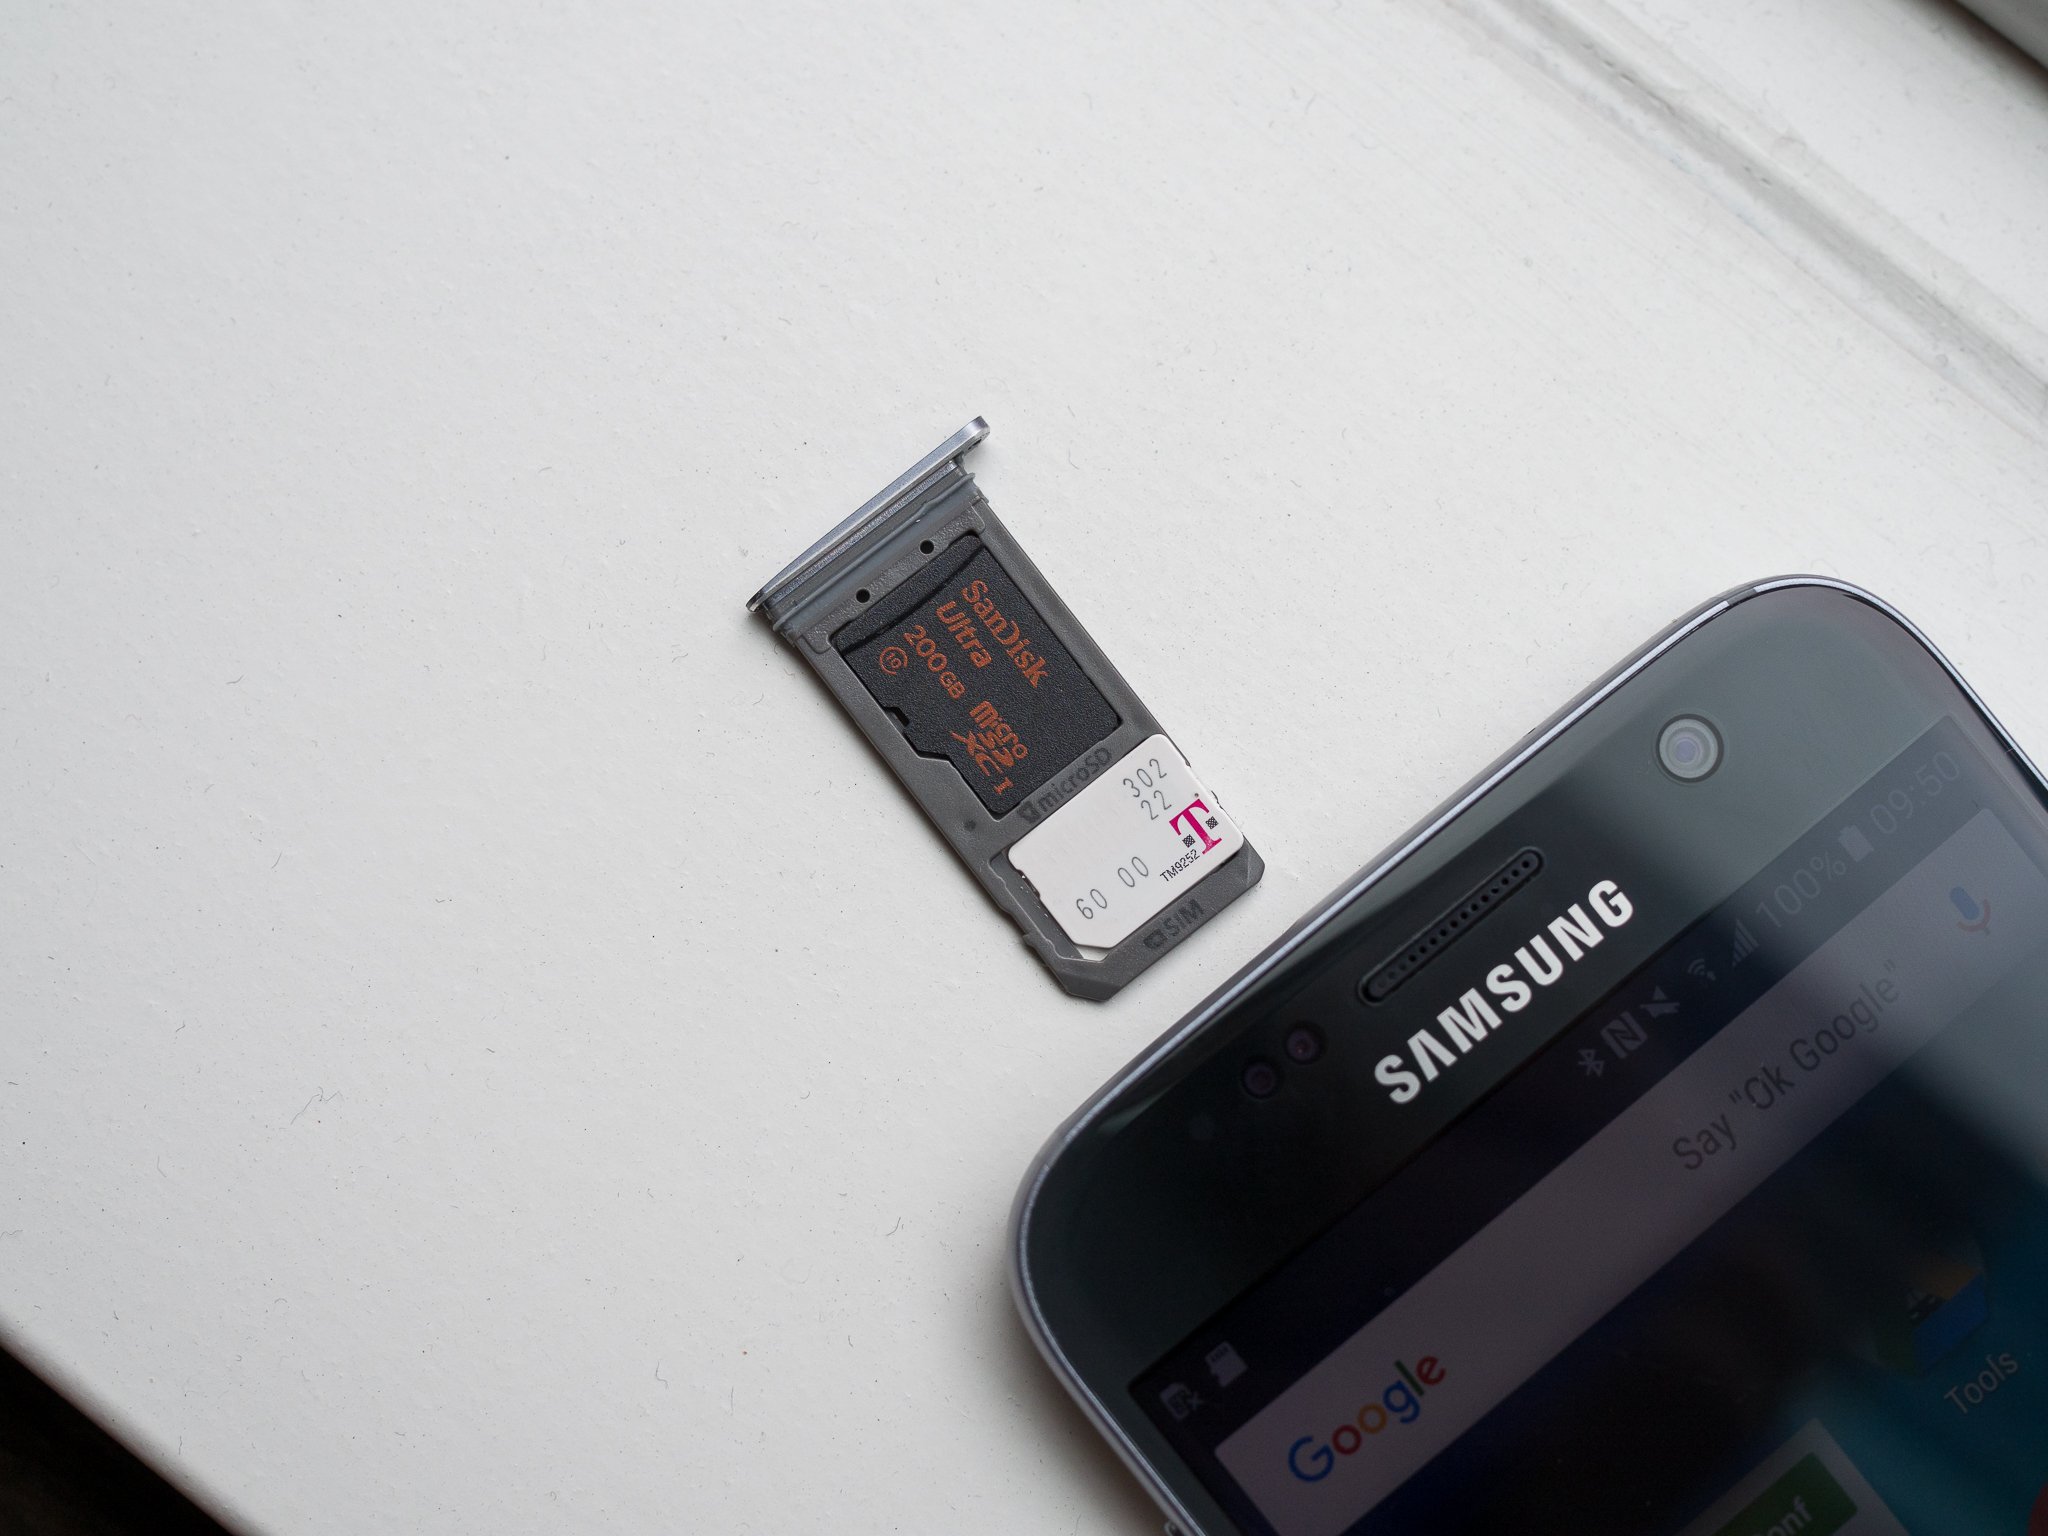
3. Disconnect external storage:
If you have an external SD card inserted into your device, remove it before performing a factory reset. This will prevent any potential issues and ensure that the reset only affects internal storage.
4. Remember your Google account:
After a factory reset, you will need to sign in with your Google account to restore your device and access your previously synced data. Ensure that you remember your Google account credentials or have them handy to avoid any inconvenience during the setup process.
5. Patience during the process:
A factory reset may take some time to complete, depending on the amount of data on your device. Be patient and allow your Samsung Galaxy S7 to finish the reset process without interruption. Avoid restarting the device or attempting any actions that may hinder the reset process.
6. Verify your backup:
Before initiating the factory reset, double-check that your backup is complete and accessible. Verify that all important files and data are properly backed up to ensure a smooth transition after the reset is completed.
By following these tips, you can increase the chances of a successful factory reset on your Samsung Galaxy S7. Remember, a factory reset will erase all data on your device, so it is crucial to back up any important information before proceeding.
Conclusion
A factory reset can be a useful solution for resolving software issues or preparing your Samsung Galaxy S7 for a fresh start. Whether you opt to reset from the settings menu or using the hardware buttons, it is essential to back up your data beforehand to prevent any loss of valuable information.
Resetting from the settings menu provides a convenient method when your device is accessible, while utilizing the hardware buttons can help in situations where access to the settings menu is not possible.
Remember to follow the provided steps carefully and wait for the reset process to complete without interruption. Once the factory reset is done, you will need to go through the initial setup process and restore any backed-up data to restore your device to your desired settings.
Keep in mind that a factory reset will erase all data on your Samsung Galaxy S7, so it’s crucial to back up any important files, photos, contacts, and app data before proceeding.
Following the tips mentioned in this article will help ensure a successful factory reset and minimize any potential issues or inconveniences. So, before proceeding with a factory reset, take the time to back up your data and follow the steps carefully.
We hope that this guide has been helpful in assisting you with performing a factory reset on your Samsung Galaxy S7. If you have any further questions or encounter any difficulties, consult the official Samsung support documentation or seek assistance from customer support.
Remember, a factory reset can be a powerful tool to resolve software issues and rejuvenate your Samsung Galaxy S7, but it should always be approached with caution and a thorough understanding of the process.
Wishing you a successful factory reset and a smooth user experience with your Samsung Galaxy S7!