Introduction
Welcome to the comprehensive guide on how to factory reset your Micros Workstation 5. Whether you’re experiencing software issues, sluggish performance, or simply want a fresh start, a factory reset can help restore your device to its original state.
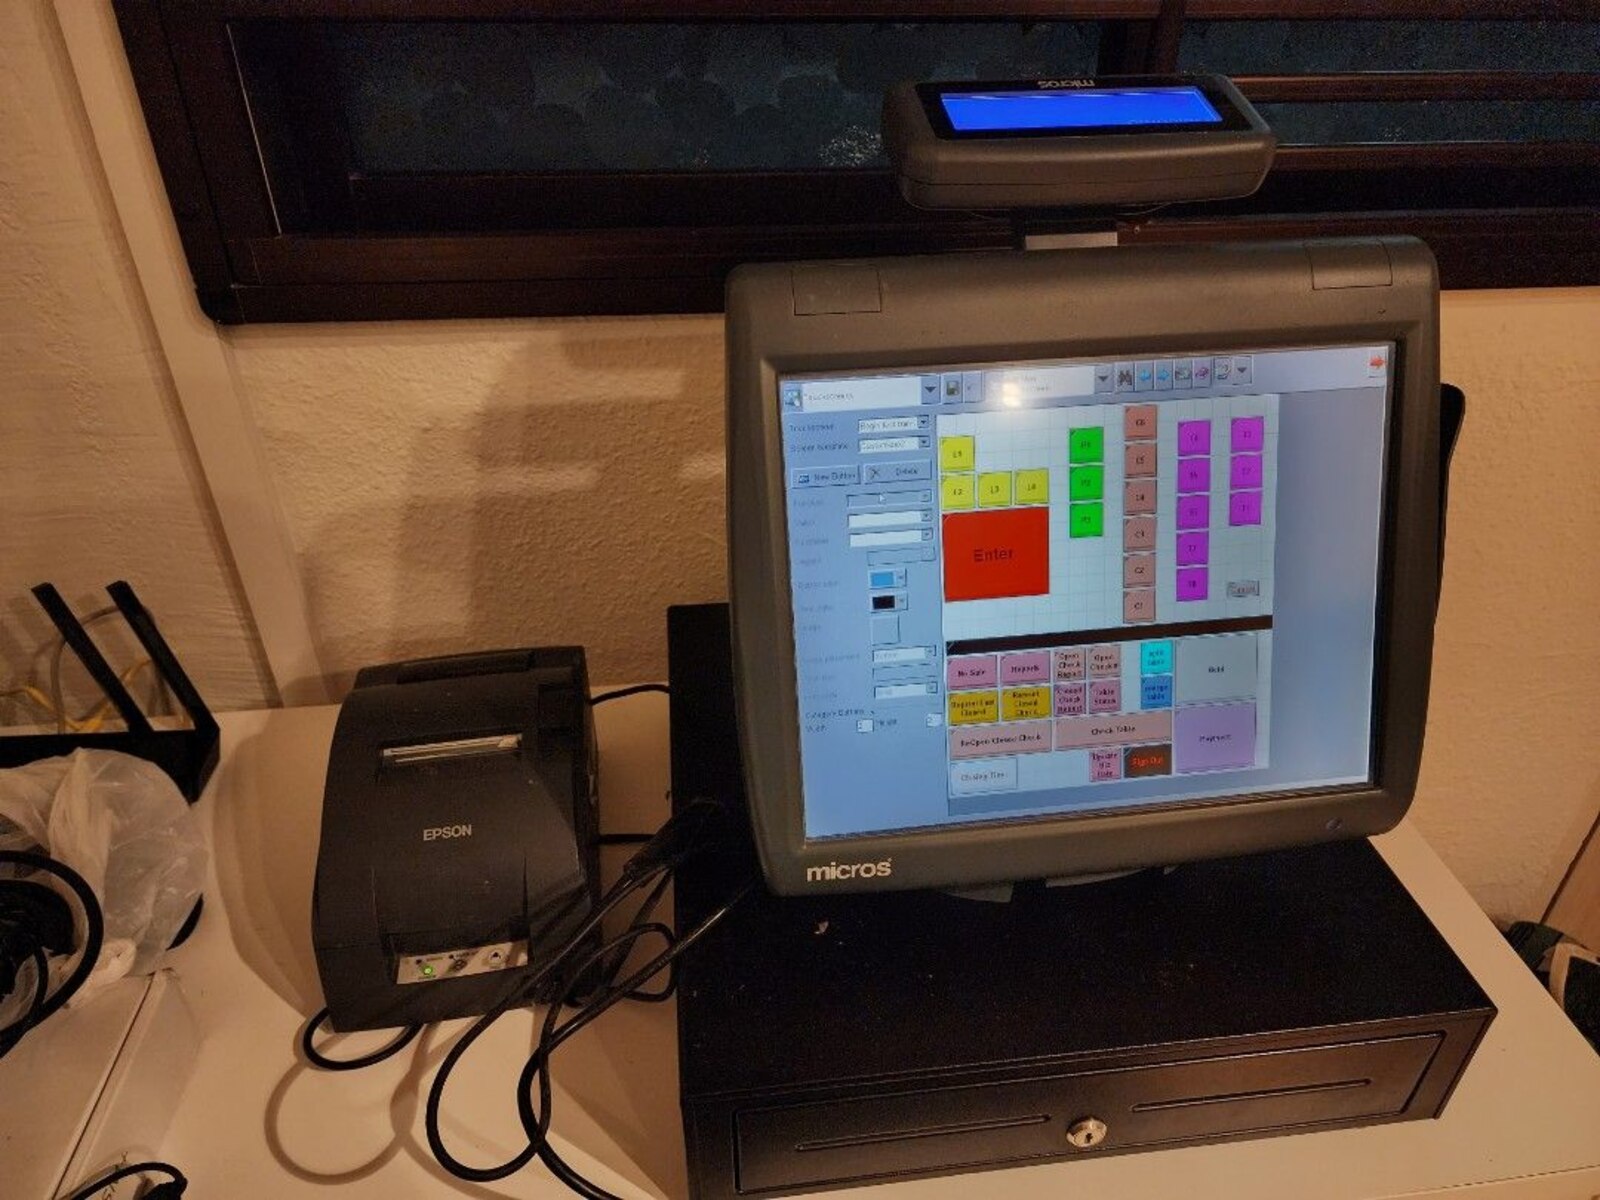
The Micros Workstation 5 is a versatile point-of-sale (POS) system that is commonly used in the hospitality industry, including restaurants, hotels, and cafes. Over time, like any other electronic device, it may accumulate unnecessary files, settings, and errors that can impact its functionality.
A factory reset will erase all data, applications, and configurations from the Micros Workstation 5 and return it to its default settings. It is essential to back up any important data before proceeding with the reset to avoid permanent loss.
In this guide, we will take you through each step of the process to ensure a successful factory reset. Please note that this guide is specific to the Micros Workstation 5 and may not be applicable to other models or devices. Let’s get started!
Step 1: Backup your data
Before initiating a factory reset on your Micros Workstation 5, it is crucial to back up any important data to prevent permanent loss. The reset process will erase all files and settings on the device, so taking the time to save your data ensures you can restore it later.
There are several methods to back up your data on the Micros Workstation 5:
- External storage device: Connect a USB flash drive or an external hard drive to the Micros Workstation 5 and manually copy and paste your important files to the device. Make sure to create a new folder to organize the data for easy retrieval in the future.
- Cloud storage: Take advantage of cloud storage services such as Google Drive, Dropbox, or Microsoft OneDrive. Upload your files to the cloud, ensuring they are safely stored and accessible from any device with an internet connection.
- Network backup: If your Micros Workstation 5 is connected to a local network, you may have access to network storage devices or servers. Consult your network administrator or IT department for guidance on backing up your data to the network.
Identify the method that best suits your needs and ensure that all your critical files, including documents, photos, and any specific application data, are backed up. Take your time to verify that the backup process is successful and that you can access your files after the reset.
Remember, a factory reset will remove all data from the Micros Workstation 5, so it’s better to be safe than sorry. Take a moment to double-check your backup to avoid losing any important information. Once your data is securely backed up, you can proceed to the next step of the factory reset process.
Step 2: Power off the Micros Workstation 5
Before initiating the factory reset process, it is essential to power off your Micros Workstation 5 completely. This ensures a safe and clean reset without any potential issues or interruptions.
To power off your Micros Workstation 5, follow these steps:
- Locate the power button on the device. It is usually located on the front or side panel.
- Press and hold the power button for a few seconds until you see the device’s screen turning off or a power indicator light indicating that it is shutting down.
- Wait for a few seconds to ensure that the Micros Workstation 5 is completely powered off. You can verify this by checking that the screen is blank and there are no LED lights or indicator lights active.
It is crucial to allow the device enough time to power off fully. This ensures that any running processes or applications are properly closed, preventing potential data corruption during the factory reset process.
Make sure to double-check that the Micros Workstation 5 is turned off before proceeding to the next step. This ensures a smooth and successful factory reset without any unexpected issues.
Once you have confirmed that the Micros Workstation 5 is powered off, you can move on to the next step, which involves accessing the Advanced Boot Options menu to initiate the factory reset process.
Step 3: Access the Advanced Boot Options menu
In order to initiate the factory reset process on your Micros Workstation 5, you need to access the Advanced Boot Options menu. This menu provides you with various troubleshooting and recovery options, including the option to perform a factory reset.
To access the Advanced Boot Options menu on the Micros Workstation 5, follow these steps:
- Ensure that the Micros Workstation 5 is powered off completely. If it is still powered on, refer back to Step 2 to power it off.
- Press the power button to turn on the Micros Workstation 5.
- As soon as you see the Micros logo or any indication that the device is booting up, press and hold the F8 key on your keyboard.
- Continue holding down the F8 key until you see the Advanced Boot Options menu appear on the screen.
The Advanced Boot Options menu provides several options for troubleshooting and recovery. Look for the option that says “Repair Your Computer” or “Reset Your PC.” The exact wording may differ depending on the Micros Workstation 5 model or firmware version.
Use the arrow keys on your keyboard to navigate the menu and select the appropriate option for starting the factory reset process. Once you have selected the reset option, proceed to the next step to confirm and initiate the reset.
Accessing the Advanced Boot Options menu is a crucial step in the factory reset process. It allows you to access the necessary tools and features to restore your Micros Workstation 5 to its default settings. With this step complete, you can move on to the next step, where you will confirm the factory reset and wait for the process to complete.
Step 4: Choose the “Factory Reset” option
Once you have successfully accessed the Advanced Boot Options menu on your Micros Workstation 5, it’s time to choose the “Factory Reset” option. This will initiate the process of resetting your device to its original factory settings.
Follow these steps to select the “Factory Reset” option:
- Using the arrow keys on your keyboard, navigate to the “Repair Your Computer” or “Reset Your PC” option in the Advanced Boot Options menu.
- Once you have highlighted the appropriate option, press the Enter key on your keyboard.
- A new window or dialog box will appear, presenting you with various recovery options.
- Look for the option that says “Factory Reset,” “Reset to Factory Defaults,” or something similar. Use the arrow keys to navigate to this option.
- Once the “Factory Reset” option is selected, follow any on-screen prompts or instructions to confirm your choice.
It’s important to note that the names and exact steps may vary depending on the Micros Workstation 5 model and firmware version. However, the general process remains the same.
Take your time to read and understand the instructions on the screen before confirming the factory reset. Make sure you have backed up all necessary data, as this process will erase all files and settings on your Micros Workstation 5.
Selecting the “Factory Reset” option is a critical step in the process, as it signals your device to restore its factory defaults. Once you have confirmed the reset, it’s time to proceed to the next step and wait for the reset process to complete.
Step 5: Confirm the reset and wait for the process to complete
After choosing the “Factory Reset” option on your Micros Workstation 5, it’s time to confirm the reset and wait for the process to complete. This step is crucial as it initiates the restoration of your device to its original factory settings.
Follow these steps to confirm the reset and wait for the process to complete:
- Once you have selected the “Factory Reset” option, you will be prompted to confirm your choice. Read and understand the information provided on the screen.
- Ensure that you have backed up all important data, as the factory reset process will erase all files and settings on your Micros Workstation 5.
- If you are certain about proceeding with the reset, review and follow any additional on-screen instructions to confirm your choice.
- Once you have confirmed the reset, the restoration process will begin. Your Micros Workstation 5 will automatically perform the necessary steps to revert to its original factory settings.
- During the reset process, your device may restart multiple times. This is normal and part of the restoration procedure. Allow the Micros Workstation 5 to complete the process without interruption.
- The time required to complete the factory reset process may vary depending on the speed and specifications of your Micros Workstation 5. Be patient and avoid interrupting the reset process.
While the reset is in progress, it’s best to refrain from using or interacting with the device. This ensures a smooth and uninterrupted restoration process.
Once the factory reset process is completed, your Micros Workstation 5 will be restored to its original factory settings. You can then proceed to the next step, which involves setting up your device again.
Step 6: Set up the Micros Workstation 5 again
Once the factory reset process on your Micros Workstation 5 is complete, it’s time to set up the device again. This step involves configuring the necessary settings and reinstalling any required applications to ensure your device is ready for use.
Follow these steps to set up your Micros Workstation 5 after the factory reset:
- Once the reset process is finished, your device will restart. Follow the on-screen instructions to proceed with the initial setup.
- Choose your preferred language, region, and other relevant settings.
- If prompted, provide any requested information, such as network credentials or user account details.
- Once the initial setup is complete, you can start reinstalling any required applications or software on your Micros Workstation 5.
- If you had backed up your data before the reset, this is the time to restore it. Connect your external storage device or access your cloud storage to retrieve your saved files.
- Install any necessary updates for your operating system and applications. This ensures your Micros Workstation 5 is up-to-date with the latest security patches and features.
- Configure any personalized settings or preferences as needed, such as screen resolution, power settings, or accessibility options.
- Test the functionality of your Micros Workstation 5 and ensure that all essential features are working correctly.
Take your time during the setup process to ensure that all settings and applications are configured accurately. This will help optimize the performance and usability of your Micros Workstation 5.
By following these steps, you can successfully set up your Micros Workstation 5 again after a factory reset. Enjoy the fresh start and improved performance of your device!
Conclusion
Performing a factory reset on your Micros Workstation 5 can be a powerful solution to resolve software issues, improve performance, or start fresh with a clean slate. However, it is essential to follow the proper steps and precautions to ensure a successful reset process.
In this comprehensive guide, we have walked you through the step-by-step process of factory resetting your Micros Workstation 5. From backing up your data to accessing the Advanced Boot Options menu, choosing the factory reset option, and setting up your device again, each step is vital for a smooth and error-free reset.
Remember to back up all important data before initiating the factory reset process to prevent permanent loss. Take the time to confirm your choice and be patient during the reset process, allowing your Micros Workstation 5 to complete the restoration to its factory defaults.
Once the reset is complete, follow the setup steps outlined in this guide to configure your device and reinstall any necessary applications or software. Don’t forget to restore your backed-up data if you had taken the precaution to save it before the reset.
Performing a factory reset on your Micros Workstation 5 can help rejuvenate your device and resolve any lingering issues. It provides a fresh start by returning the device to its original factory settings.
By following the steps outlined in this guide, you can confidently and effectively perform a factory reset on your Micros Workstation 5. Enjoy the improved performance and stability of your device as you continue to utilize it for your business operations.
Thank you for choosing this guide, and we hope it has been helpful in assisting you with the factory reset process on your Micros Workstation 5.