Introduction
The Samsung Galaxy A20 is a popular Android smartphone that offers a range of features and capabilities. However, there may be times when you encounter software issues or want to start fresh with a clean slate. In such cases, performing a factory reset can be a useful solution. A factory reset will erase all data and settings on your device, reverting it back to its original factory state.
Before proceeding with a factory reset, it is important to understand that this process will erase all data on your Samsung Galaxy A20. Therefore, it is crucial to back up any important files, photos, and documents before initiating the reset. Once you have made the necessary preparations, there are multiple methods you can use to perform a factory reset on your Samsung Galaxy A20.
In this guide, we will explore different options to factory reset your Samsung Galaxy A20. We will walk you through step-by-step instructions for each method, ensuring that you can easily and effectively reset your device. Whether you prefer using the settings menu, hardware keys, Google Find My Device, or Samsung Find My Mobile, we have got you covered. Just follow the instructions that best suit your needs and get your Samsung Galaxy A20 back to its factory settings.
Before you begin
Performing a factory reset on your Samsung Galaxy A20 is a significant step that should be approached with caution. Before you embark on the reset process, there are a few essential things to consider. Follow these guidelines to ensure a smooth and successful factory reset:
- Backup your data: Before initiating the reset, make sure to back up all your important data, such as contacts, photos, videos, and documents. This will prevent any loss of crucial information during the reset process.
- Remove your SIM card and microSD card: If your Samsung Galaxy A20 has a SIM card and microSD card inserted, it is recommended to remove them before performing a factory reset. This will prevent any accidental erasure or damage to your SIM card and microSD card.
- Charge your device: Ensure that your Samsung Galaxy A20 has enough battery power to complete the factory reset process. It is advisable to charge your device to at least 50% or connect it to a power source during the reset to avoid any disruptions.
- Make note of your Google and Samsung credentials: After the factory reset, you will need to sign in using your Google and Samsung accounts to access your device. It is essential to have your login credentials readily available to facilitate the setup process.
- Disable Factory Reset Protection (FRP): If you have enabled FRP on your device, you will need to disable it before performing the factory reset. This can be done by going to the “Settings” menu, navigating to “Security,” and disabling FRP under the “Find My Device” or “Find My Mobile” settings.
By considering these preparatory steps, you can ensure a smooth and hassle-free factory reset process for your Samsung Galaxy A20. Once you have completed these precautions, you are ready to proceed to the next section, where we will explore the different options for factory resetting your device.
Option 1: Factory reset from the settings menu
One of the simplest ways to perform a factory reset on your Samsung Galaxy A20 is through the device’s settings menu. Follow these steps to reset your device using this method:
- Open the “Settings” app on your Samsung Galaxy A20. You can find the app in your app drawer or by swiping down on the notification panel and tapping the gear icon.
- Scroll down and tap on “General management.”
- Select “Reset” from the options.
- Tap on “Factory data reset.”
- Scroll down and tap on “Reset.” Depending on your device’s software version, you may need to enter your PIN, password, or pattern.
- To confirm the factory reset, tap on “Delete all.”
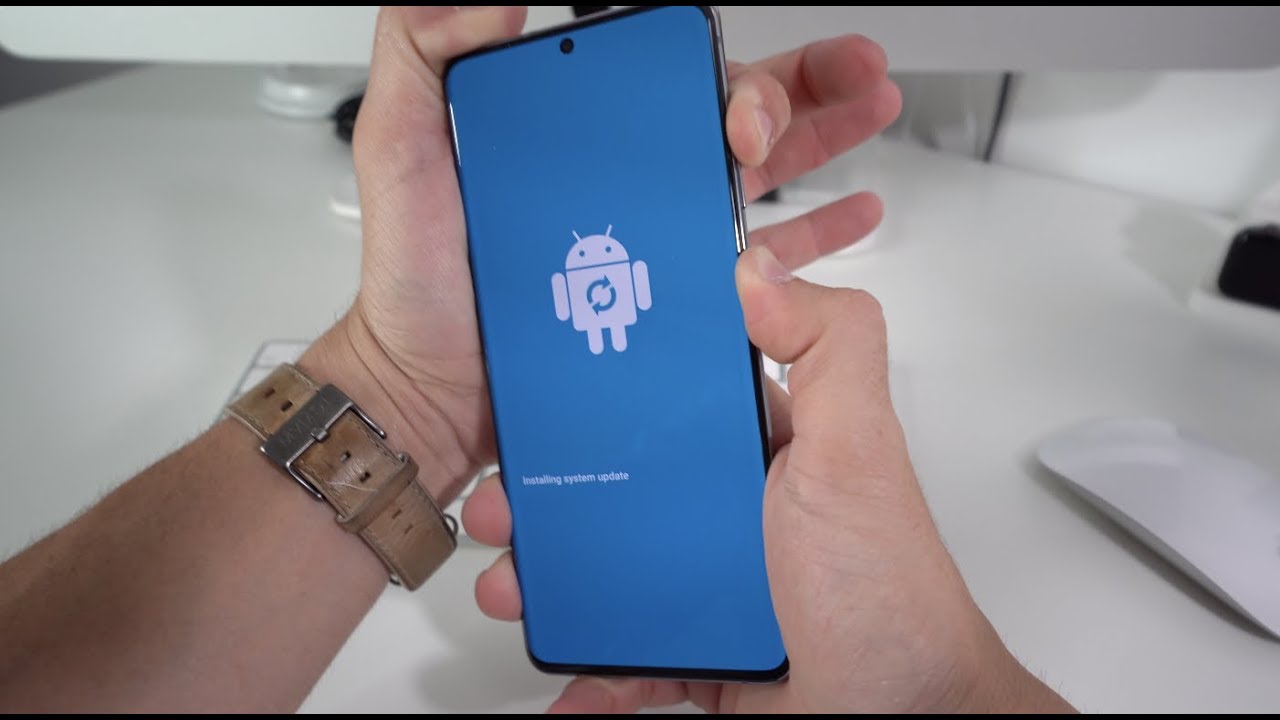
- Your Samsung Galaxy A20 will now begin the reset process. This may take a few minutes to complete.
- Once the reset is finished, your device will restart and display the initial setup screen.
It is important to note that performing a factory reset through the settings menu will erase all data, including apps, settings, and personal files, from your device’s internal storage. However, it will not affect any data stored on your external microSD card. Therefore, if you want to erase the contents of your microSD card as well, ensure that you remove it before initiating the factory reset.
Option 1 provides a convenient way to reset your Samsung Galaxy A20 without the need for any additional tools or services. However, if you are unable to access the settings menu on your device, or if you have forgotten your lock screen credentials, do not worry. We will explore alternative methods to perform a factory reset in the following sections.
Option 2: Factory reset using hardware keys
If you are unable to access the settings menu on your Samsung Galaxy A20 or if your device is experiencing software issues that prevent normal operation, you can perform a factory reset using the hardware keys. Follow these steps to reset your device using this method:
- Power off your Samsung Galaxy A20 by pressing and holding the power button until the power menu appears, then select “Power off” from the options.
- Once the device is powered off, press and hold the volume up button and the power button simultaneously.
- Continue holding both buttons until the Samsung logo appears on the screen.
- Release the buttons when the Samsung logo appears, and you see the “Recovery mode” menu.
- Use the volume down button to navigate to the “Wipe data/factory reset” option, and press the power button to confirm your selection.
- Next, use the volume down button to highlight the “Yes” option, and press the power button to initiate the factory reset.
- Wait for the reset process to complete. This may take a few minutes.
- Once the reset is finished, the “Reboot system now” option should be highlighted. Press the power button to restart your device.
Performing a factory reset using the hardware keys is useful when you are unable to access the settings menu or if your device is unresponsive. However, it is important to note that this method will erase all data on your Samsung Galaxy A20, including apps, settings, and personal files. Similar to the previous method, the factory reset using hardware keys will not affect data stored on your external microSD card.
If your Samsung Galaxy A20 is still experiencing issues even after performing a factory reset using the hardware keys, there are a couple more options to consider. Let’s explore these options in the following sections.
Option 3: Factory reset using Google Find My Device
If you have enabled Google Find My Device on your Samsung Galaxy A20, you can use this service to remotely perform a factory reset on your device. This method can be helpful if your device is lost or stolen, or if you are unable to access your device physically. Here’s how you can factory reset your Samsung Galaxy A20 using Google Find My Device:
- On a computer or another mobile device, open a web browser and visit the Google Find My Device website (https://www.google.com/android/find).
- Sign in with the Google account linked to your Samsung Galaxy A20.
- Once you are signed in, you will see your device listed. Select your Samsung Galaxy A20 from the device list.
- In the left sidebar, click on “Erase device.”
- A confirmation pop-up will appear. Click on “Erase device” to proceed with the factory reset.
- Google Find My Device will now send a command to your Samsung Galaxy A20 to perform a factory reset. This may take a few minutes.
- Once the reset is complete, your device will be wiped and reset to its factory settings.
Using Google Find My Device to perform a factory reset is an effective solution if you are unable to physically access your Samsung Galaxy A20. However, it is important to note that this method will delete all data on your device, including apps, settings, and personal files. Additionally, performing a factory reset using Google Find My Device requires an active internet connection on your device.
Now that you know how to perform a factory reset using Google Find My Device, let’s explore another option to reset your Samsung Galaxy A20 in the next section.
Option 4: Factory reset using Samsung Find My Mobile
If you have a Samsung account and have enabled Samsung Find My Mobile on your Samsung Galaxy A20, you can use this service to remotely perform a factory reset on your device. This method is particularly helpful if your device is lost or stolen, or if you are unable to physically access your device. Here’s how you can factory reset your Samsung Galaxy A20 using Samsung Find My Mobile:
- On a computer or another mobile device, open a web browser and visit the Samsung Find My Mobile website (https://findmymobile.samsung.com/).
- Sign in with your Samsung account credentials that are associated with your Samsung Galaxy A20.
- Once you are signed in, select your Samsung Galaxy A20 from the list of devices.
- On the right side of the screen, click on “Factory data reset.”
- A confirmation pop-up will appear. Read the information carefully and click on “Reset” to proceed with the factory reset.
- Enter your Samsung account password to confirm the factory reset.
- Samsung Find My Mobile will now send a command to your Samsung Galaxy A20 to perform a factory reset. This may take a few minutes.
- Once the reset is complete, your device will be wiped and reset to its factory settings.
Performing a factory reset using Samsung Find My Mobile is a convenient option for remotely resetting your Samsung Galaxy A20. It is especially beneficial if you are unable to physically access your device. It is important to note that this method will erase all data on your device, including apps, settings, and personal files. Additionally, performing a factory reset using Samsung Find My Mobile requires an active internet connection on your device and a registered Samsung account.
Now that you are familiar with the different options for factory resetting your Samsung Galaxy A20, you can choose the method that best suits your situation. After completing the factory reset, it’s time to set up your device and restore any necessary data and settings.
After the factory reset
After performing a factory reset on your Samsung Galaxy A20, your device will be restored to its original settings and all data will be erased. Here are a few important steps to take after the factory reset:
- Set up your device: When you power on your Samsung Galaxy A20 after the factory reset, you will be greeted with the initial setup screen. Follow the on-screen instructions to set up your device, including selecting your language, connecting to a Wi-Fi network, and signing in with your Google and Samsung accounts.
- Restore your data: If you have made a backup of your data prior to the factory reset, you can now restore your important files, photos, contacts, and other data to your device. This can be done through various methods, such as Google Drive, Samsung cloud, or third-party backup solutions.
- Reinstall apps: Since the factory reset erases all apps from your device, you will need to reinstall any apps you want to use. Visit the Google Play Store or Samsung Galaxy Store to download and install your favorite apps.
- Configure settings: Take the time to go through the settings on your Samsung Galaxy A20 and customize them according to your preferences. This includes settings related to display, sound, notifications, security, and more.
- Secure your device: After the factory reset, it is important to ensure the security of your Samsung Galaxy A20. Set up a strong lock screen password, enable biometric authentication methods (such as fingerprint or face recognition), and consider enabling security features like Find My Device or Find My Mobile.
- Update your device: Check for software updates on your Samsung Galaxy A20 and install any available updates. These updates often include bug fixes, security enhancements, and new features that can improve the overall performance and functionality of your device.
By following these steps after the factory reset, you can successfully restore your Samsung Galaxy A20 to a functional and personalized state. Remember to regularly back up your data to prevent future data loss and to keep your device running smoothly.
Conclusion
Performing a factory reset on your Samsung Galaxy A20 can be a helpful solution in various situations, whether you want to start fresh with a clean device, troubleshoot software issues, or prepare your device for resale. In this guide, we explored different methods to perform a factory reset on your Samsung Galaxy A20.
We began by discussing the factory reset option available in the settings menu, which offers a straightforward and accessible method for resetting your device. Next, we explored the option of using hardware keys to perform a factory reset, which can be helpful when you are unable to access the settings menu or experiencing software issues.
We then delved into the capabilities offered by Google Find My Device and Samsung Find My Mobile, enabling you to perform a factory reset remotely if your device is lost or stolen or if you are unable to physically access it. These methods provide convenience and security for resetting your Samsung Galaxy A20.
After the factory reset, we discussed the necessary steps to take, including setting up your device, restoring your data, reinstalling apps, configuring settings, securing your device, and updating the software. These post-reset actions ensure that your Samsung Galaxy A20 is fully functional and customized to your preferences.
Remember, before performing a factory reset, it is crucial to back up your important data to prevent data loss. Additionally, it is recommended to remove your SIM card and microSD card if present.
By following the instructions provided in this guide, you can confidently perform a factory reset on your Samsung Galaxy A20 and restore it to a clean state. If you encounter any issues during the process, consult the official documentation or seek assistance from Samsung’s support channels.
Thank you for choosing the Samsung Galaxy A20, and we hope this guide has been helpful in resetting your device!