Introduction
The Chromecast Audio is a versatile device that allows you to stream music wirelessly to your speakers. However, there may come a time when you need to perform a factory reset on your Chromecast Audio. This can be useful if you’re experiencing connection issues, want to give the device to someone else, or simply want to start fresh.
A factory reset will erase all settings and data on your Chromecast Audio and return it to its original factory state. This process will disconnect the Chromecast Audio from your network and remove any linked accounts or configurations. After performing the factory reset, you will need to set up your Chromecast Audio again as if it were brand new.
In this guide, we will walk you through the steps to perform a factory reset on your Chromecast Audio. There are two methods you can use: one through the Chromecast app on your mobile device or computer, and the other by utilizing the physical reset button on the device itself. Whether you prefer a software-based reset or want to go with a hardware option, we’ve got you covered. Let’s get started!
Step 1: Connect the Chromecast Audio
Before you proceed with the factory reset, make sure your Chromecast Audio is properly connected to a power source and the speaker or audio system you want to use. Here are the steps to connect the Chromecast Audio:
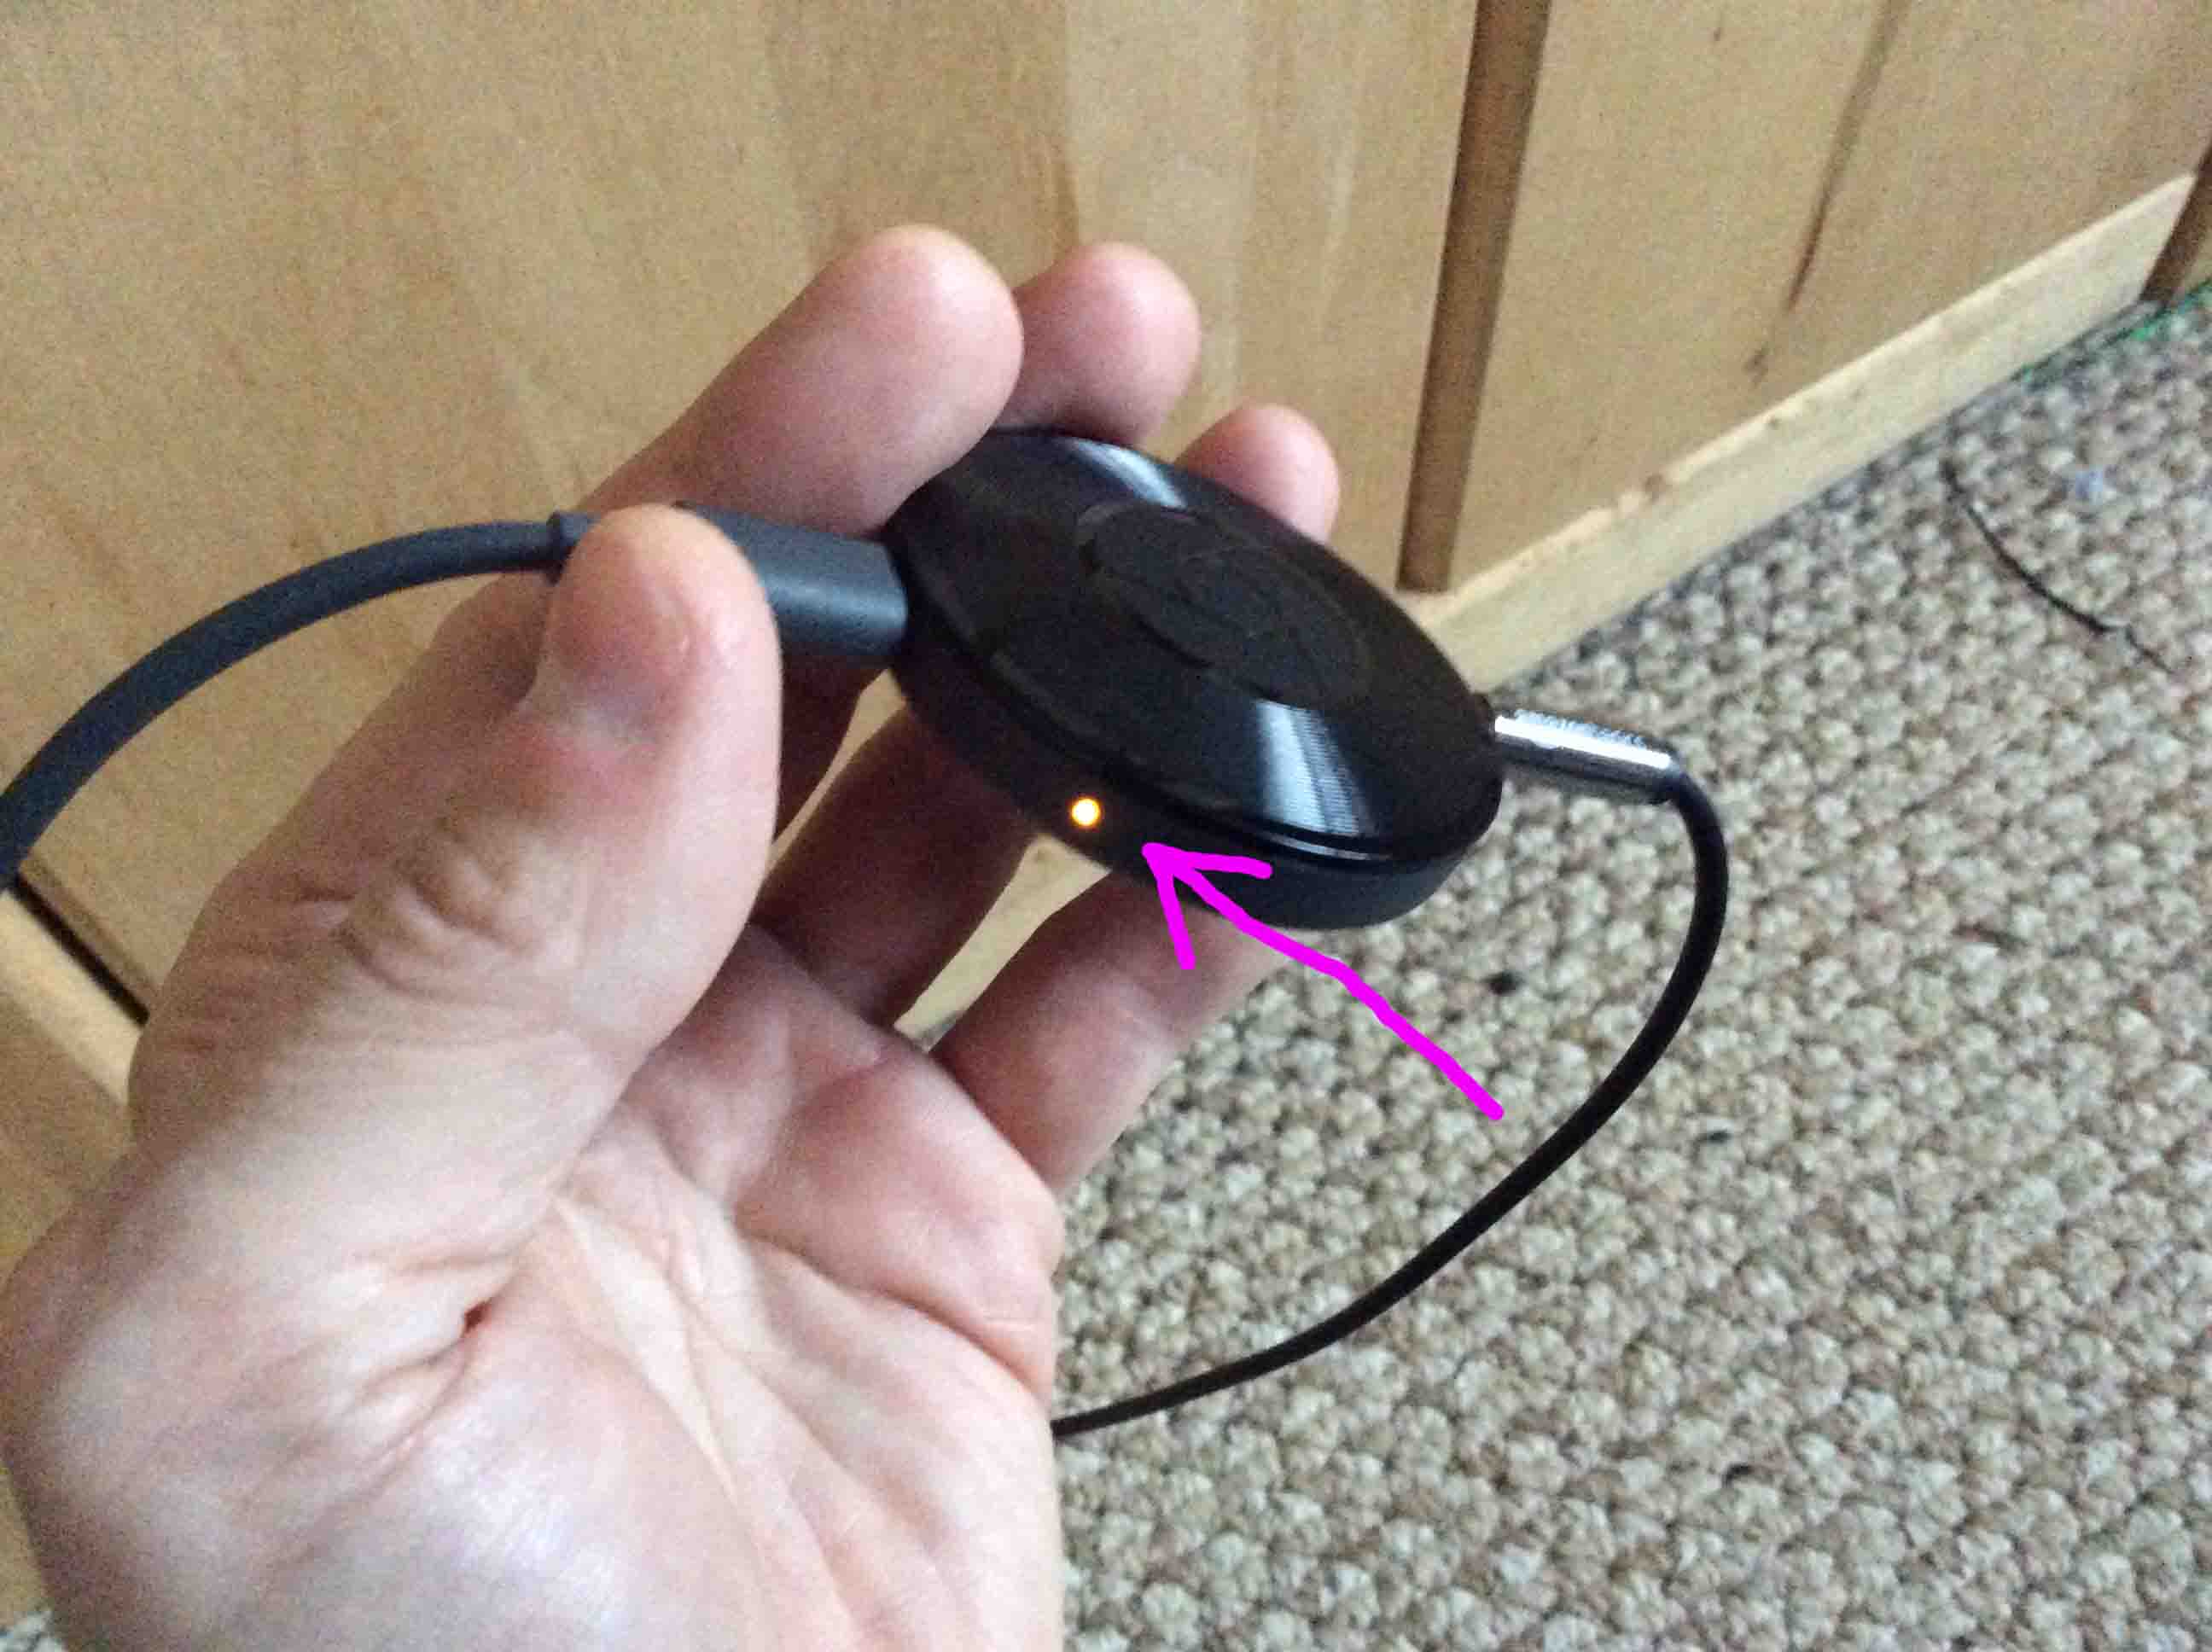
- Locate the Micro-USB port on the Chromecast Audio.
- Connect one end of the provided USB cable to the Micro-USB port of the Chromecast Audio.
- Connect the other end of the USB cable to a power source, such as a wall adapter or a USB port on your TV.
- Plug one end of the 3.5mm audio cable into the 3.5mm audio jack of the Chromecast Audio.
- Plug the other end of the audio cable into the appropriate audio input on your speaker or audio system.
- Ensure that your speaker or audio system is powered on and set to the correct input source.
Once you’ve connected the Chromecast Audio, make sure that both the device and your mobile device or computer are connected to the same Wi-Fi network. This is crucial for the setup and subsequent factory reset process.
Now that you have successfully connected your Chromecast Audio, you’re ready to proceed with the factory reset process. Let’s move on to the next step!
Step 2: Factory Reset Using Chromecast App
If you prefer a software-based approach, you can perform a factory reset on your Chromecast Audio using the Chromecast app on your mobile device or computer. Here’s how:
- Ensure that your mobile device or computer is connected to the same Wi-Fi network as your Chromecast Audio.
- Open the Chromecast app on your mobile device or computer. If you don’t have the app installed, you can download it from the Google Play Store or the App Store.
- Select your Chromecast Audio device from the list of available devices.
- Tap on the device settings icon, usually represented by a gear or three dots.
- Scroll down and select “Factory Reset” or a similar option.
- Confirm your decision to perform the factory reset.
The Chromecast app will now initiate the factory reset process. It may take a few minutes for the reset to complete. Once the process is finished, your Chromecast Audio will be restored to its factory settings.
Keep in mind that all previously configured settings, linked accounts, and connected devices will be erased. You will need to set up your Chromecast Audio again as if it were brand new.
Now that you know how to perform a factory reset using the Chromecast app, let’s move on to the next step, which involves using the physical reset button on the device.
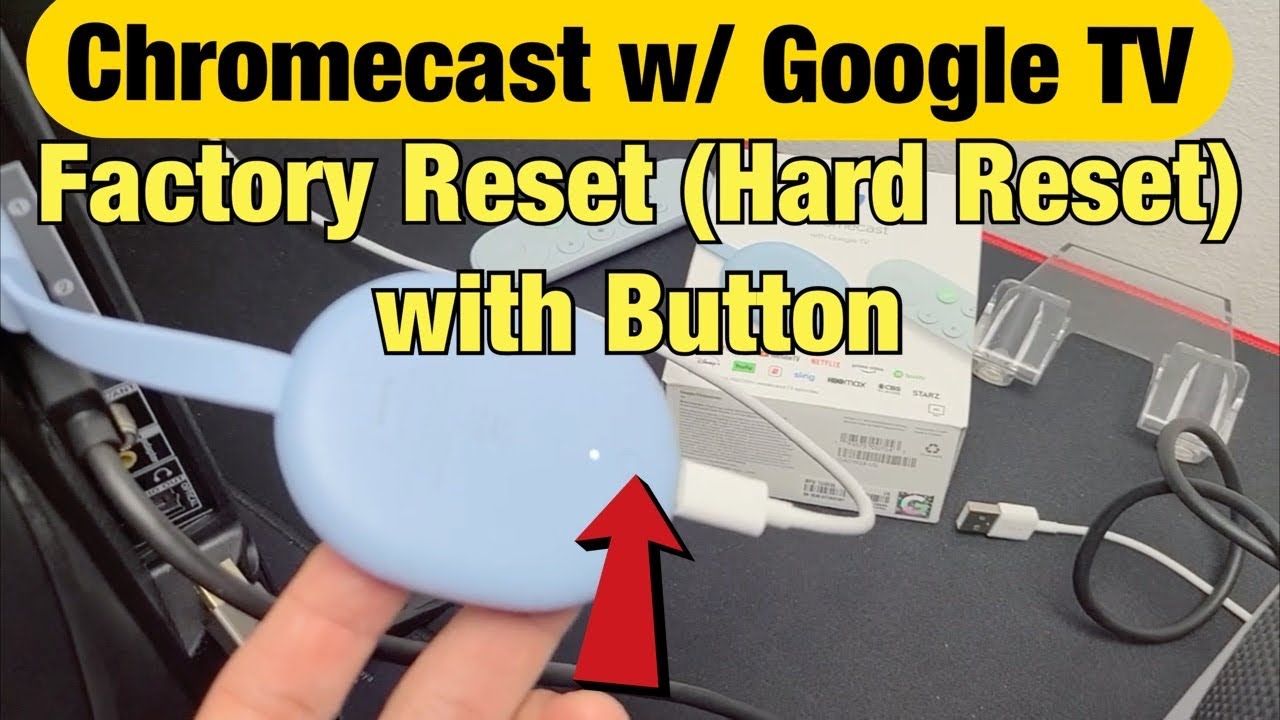
Step 3: Factory Reset Using the Physical Button
If you prefer a hardware-based method, you can perform a factory reset on your Chromecast Audio using the physical reset button on the device. Follow these steps:
- Locate the physical reset button on your Chromecast Audio. It is usually located near the power port or on the side of the device.
- Ensure that your Chromecast Audio is connected to a power source.
- Press and hold the reset button for approximately 25 seconds. You may need to use a pen or paperclip to reach the button.
- Release the reset button after 25 seconds. The LED indicator on the Chromecast Audio will begin blinking in different colors.
The blinking LED lights indicate that the factory reset process has started. This process may take a few minutes. Once the reset is complete, the LED indicator will turn white, indicating that your Chromecast Audio has been successfully reset to its factory settings.
Remember that performing a factory reset using the physical button will erase all settings, linked accounts, and configurations. You will need to set up your Chromecast Audio again from scratch.
Now, let’s move on to the next step to complete the factory reset process.
Step 4: Confirm the Factory Reset
After performing the factory reset using either the Chromecast app or the physical reset button, you need to confirm that the reset was successful. Here’s what you need to do:
- Wait for your Chromecast Audio to finish the reset process. The LED indicator will turn white or stop blinking when the reset is complete.
- Once the reset is complete, disconnect the power source from your Chromecast Audio.
- Wait for a few seconds and then reconnect the power source to your Chromecast Audio.
- After reconnecting the power, your Chromecast Audio will boot up and go through the setup process.
- During the setup process, follow the on-screen instructions displayed on the Chromecast app or your computer to complete the initialization of your Chromecast Audio.
By following these steps, you can ensure that your Chromecast Audio is successfully reset and ready to be set up again.
Now that you have confirmed the factory reset, let’s move on to the final step of reconnecting your Chromecast Audio to your network.
Step 5: Reconnect the Chromecast Audio
After performing the factory reset, you will need to reconnect your Chromecast Audio to your Wi-Fi network. Follow these steps:
- Ensure that your Chromecast Audio is powered on and connected to a speaker or audio system.
- Open the Chromecast app on your mobile device or computer.
- Tap on the device settings icon for your Chromecast Audio.
- Select the option to set up a new device or “Add new Chromecast”.
- Follow the on-screen instructions to connect your Chromecast Audio to your Wi-Fi network.
- Once connected, you can customize the device name and make any necessary adjustments to the settings.
After completing the setup process, your Chromecast Audio will be reconnected to your Wi-Fi network, and you can start streaming music wirelessly to your speakers once again.
It’s important to note that if you have multiple Chromecast devices in your home, make sure to select the correct device during the setup process.
With your Chromecast Audio reconnected and ready to use, you can now enjoy your favorite tunes without any interruptions or issues.
Now that you have successfully reconnected your Chromecast Audio, you have completed the entire factory reset process. You can now start enjoying the benefits of a fresh start with your device.
Conclusion
Performing a factory reset on your Chromecast Audio can be a helpful solution for resolving connectivity issues, preparing the device for a new owner, or simply starting fresh. Throughout this guide, we have outlined the steps to effectively perform a factory reset using both the Chromecast app and the physical reset button on the device.
By following these steps, you can erase all settings and data on your Chromecast Audio, returning it to its original factory state. Remember that performing a factory reset will disconnect the device from your network and remove any linked accounts or configurations.
After the factory reset, you will need to set up your Chromecast Audio again as if it were brand new. Take the time to reconnect your device to your Wi-Fi network, customize the settings, and start streaming your favorite music wirelessly to your speakers.
Whether you choose to use the Chromecast app or the physical reset button, both methods are effective in restoring your Chromecast Audio to its factory settings. Choose the method that is most convenient for you based on your preferences and device availability.
We hope that this guide has been helpful in guiding you through the factory reset process for your Chromecast Audio. If you have any further questions or concerns, consult the official Chromecast support documentation or reach out to their customer support team for assistance.
Enjoy your refreshed Chromecast Audio experience and continue to enjoy the convenience of streaming music wirelessly to your speakers!