Introduction
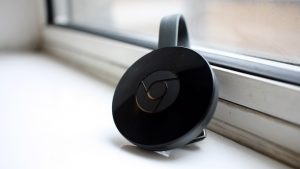
Welcome to the world of Chromecast, an incredibly versatile and user-friendly streaming device that allows you to enjoy your favorite content directly on your TV. Whether it’s streaming movies and TV shows, playing music, or mirroring your computer or smartphone screen, Chromecast offers an all-in-one solution for your entertainment needs.
With its sleek design and easy plug-and-play setup, Chromecast has become a popular choice for users looking to enhance their multimedia experience. In this guide, we will walk you through the process of setting up and using your Chromecast, as well as troubleshooting common issues that you may encounter.
Connecting your Chromecast to your TV is a breeze. All you need is an available HDMI port on your TV and a power source for the Chromecast. Once you have all the necessary hardware, you’ll be ready to enjoy a wide range of streaming options.
Setting up the Chromecast is a simple and straightforward process. By following a few easy steps, you’ll be able to configure your Chromecast and connect it to your Wi-Fi network. Once the setup is complete, you can start casting your favorite content from your mobile device or computer to your TV with just a few taps or clicks.
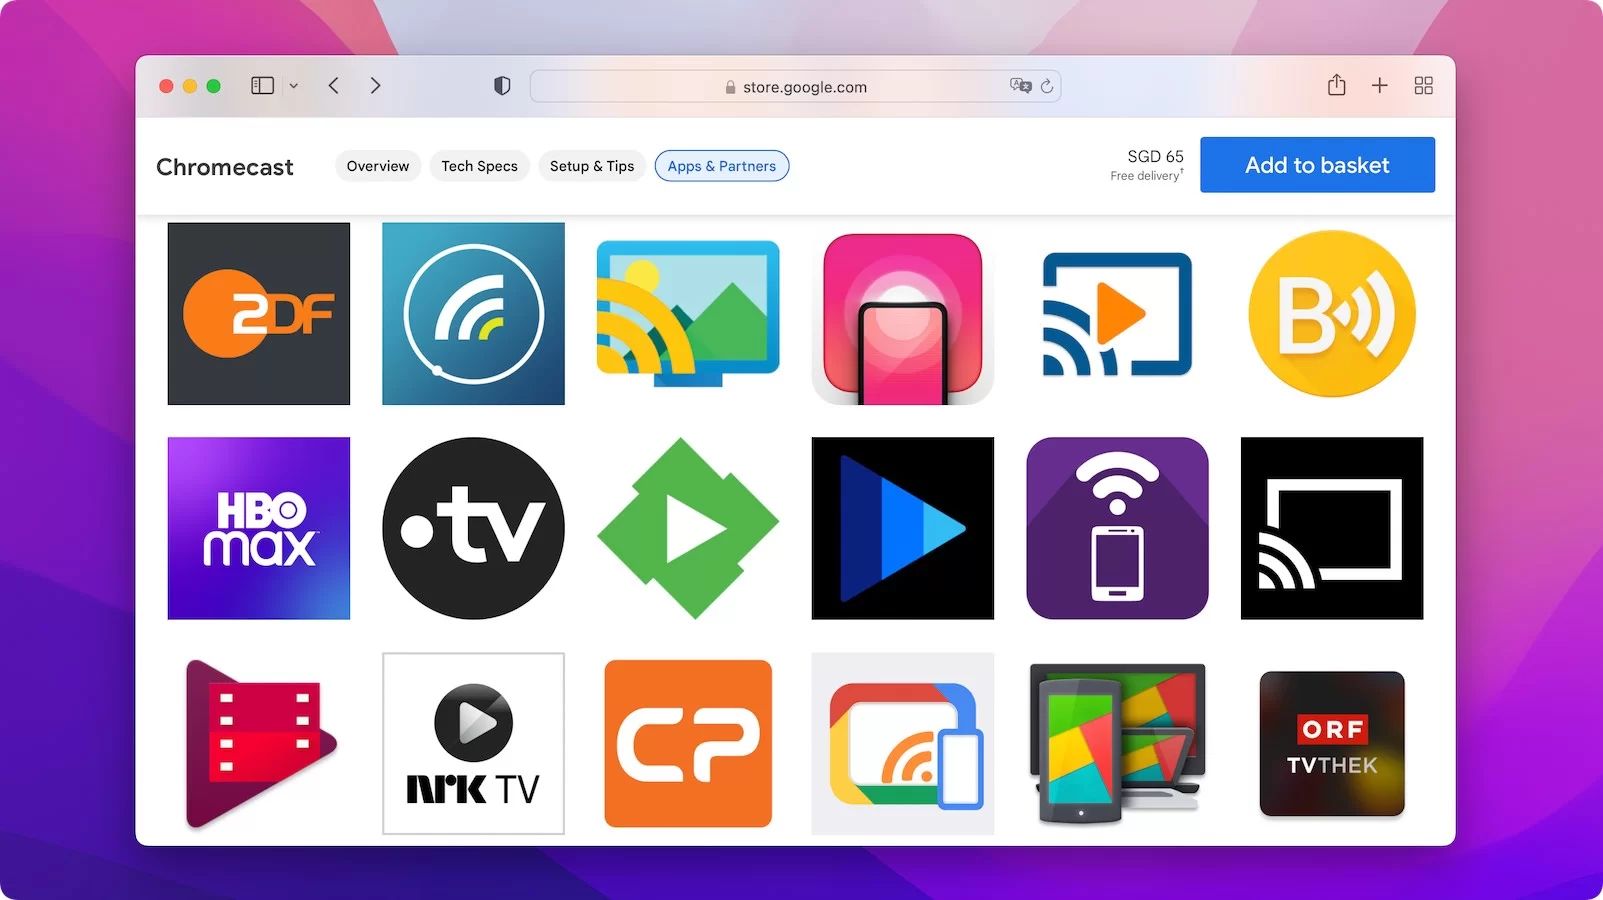
When it comes to casting from a mobile device, the Chromecast offers compatibility with a variety of apps, including Netflix, YouTube, Spotify, and many more. You’ll have the freedom to watch your favorite shows, listen to music, and even play games on the big screen, all controlled from your mobile device.
If you prefer to cast from your computer, Chromecast offers seamless integration with popular web browsers such as Google Chrome. Whether you’re browsing the internet or streaming videos, you can easily cast your entire screen or specific tabs to your TV for a more immersive experience.
While Chromecast is designed to provide a hassle-free streaming experience, you may encounter some common issues along the way. Don’t worry, though; we’ve got you covered. We’ll guide you through troubleshooting steps to help you get back on track and fully enjoy your Chromecast.
It’s also important to keep your Chromecast up-to-date with the latest firmware updates. We’ll show you how to check for updates and install them to ensure you have access to the latest features and improvements.
In addition, we’ll cover how to connect your Chromecast to a Wi-Fi network. This is essential to ensure smooth streaming and uninterrupted connectivity.
If you ever encounter persistent issues or want to start fresh, we’ll explain how to reset your Chromecast to its factory settings, allowing you to start over with a clean slate.
Now that you have a comprehensive overview of what to expect, let’s dive into the step-by-step process of connecting, setting up, and troubleshooting your Chromecast. Get ready to transform your TV into a powerful entertainment hub!
Connecting your Chromecast
Before you can start streaming your favorite content with Chromecast, you need to connect it to your TV and ensure it has a power source. Here’s how you can easily set up your Chromecast:
1. Find an available HDMI port on your TV: Locate an HDMI port on your television that isn’t currently in use. Remember the number or label of the HDMI port for future reference.
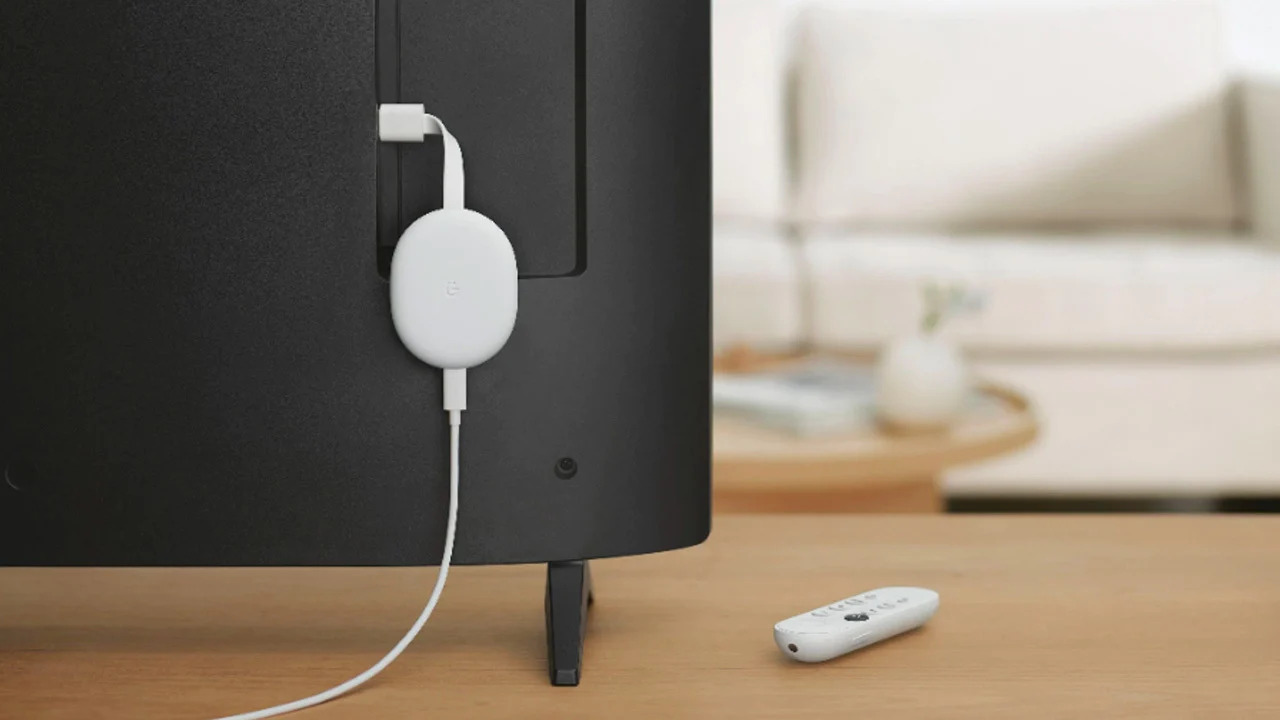
2. Plug in your Chromecast: Connect one end of the Chromecast’s USB power cable to the device and the other end to a power source. You can use either a wall outlet or an available USB port on your TV for power.
3. Connect your Chromecast to the HDMI port: Insert the Chromecast into the HDMI port you identified earlier. Make sure it is securely connected.
4. Switch to the correct HDMI input: Use your TV remote to switch to the HDMI input that corresponds to the port where you plugged in the Chromecast. This may require selecting the input source or pressing the “Input” or “Source” button on your remote.
5. Select the correct language: After switching to the correct HDMI input, you will see the Chromecast setup screen on your TV. Select your preferred language from the options provided.
Now that your Chromecast is physically connected to your TV, you can proceed to the next section to set it up and connect it to your Wi-Fi network.
Please note that you may need an HDMI extender if your Chromecast does not fit directly into the HDMI port due to limited space or obstructions. The extender will help you position the Chromecast for proper signal reception.
Now that you have successfully connected your Chromecast to your TV, it’s time to move on to the next stage: setting up the Chromecast and connecting it to your Wi-Fi network. This will enable you to start casting your favorite content from your mobile device or computer to your TV.
Setting up the Chromecast
Now that your Chromecast is connected to your TV, it’s time to set it up and connect it to your Wi-Fi network. Follow these steps to get your Chromecast up and running:
1. Download and install the Google Home app: The Google Home app is available for both Android and iOS devices. Go to the App Store or Google Play Store and search for “Google Home.” Download and install the app on your smartphone or tablet.
2. Open the Google Home app: Once the app is installed, open it and sign in with your Google account. Make sure your mobile device is connected to the same Wi-Fi network that you want your Chromecast to connect to.
3. Add a new device: In the Google Home app, tap the “+” icon at the top left corner of the screen to add a new device. Select “Set up device” and then “New devices” from the options that appear.
4. Set up your Chromecast: The app will search for available devices. When your Chromecast appears on the list, tap on it to begin the setup process.
5. Confirm the code: On your TV screen, a code will be displayed. Check if the code matches the one shown in the app. If they match, tap “Yes” to confirm.
6. Choose your Wi-Fi network: The Google Home app will prompt you to select the Wi-Fi network you want to connect your Chromecast to. Choose the network and enter the password when prompted.
7. Complete the setup: The app will now connect your Chromecast to the selected Wi-Fi network. Once the connection is established, you will see a confirmation message on both your mobile device and TV.
Congratulations! Your Chromecast is now set up and ready to use. You can start casting content from your mobile device or computer to your TV by simply selecting the Chromecast icon within compatible apps or browsers.
Keep in mind that you may need to update your Chromecast firmware during the setup process. If an update is available, the app will prompt you to install it. This ensures you have access to the latest features and improvements.
Next, we’ll explore how to cast from your mobile device and computer, allowing you to unlock the full potential of your Chromecast and enjoy a wide range of streaming options.
Casting from a mobile device
One of the key features of Chromecast is the ability to easily cast content from your mobile device to your TV screen. With a wide range of supported apps, you can stream your favorite movies, TV shows, music, and even games directly to your TV. Here’s how to cast from your mobile device:
1. Ensure your Chromecast and mobile device are connected to the same Wi-Fi network: Both your Chromecast and mobile device need to be connected to the same Wi-Fi network for casting to work seamlessly.
2. Open a supported app: Launch a Chromecast-compatible app on your mobile device. Popular apps like Netflix, YouTube, Spotify, and Hulu offer built-in casting functionality.
3. Look for the cast icon: Once you’re in the app, look for the cast icon, which looks like a small TV or Wi-Fi symbol. It’s usually located in the top right corner of the screen or within the playback controls.
4. Tap the cast icon: When you find the cast icon, tap on it. A list of available devices will appear, including your Chromecast. Select your Chromecast from the list.
5. Choose what to cast: After selecting your Chromecast, choose the content you want to cast. For example, if you’re using YouTube, select a video to cast to your TV.
6. Control playback: Once the content is playing on your TV, you can use your mobile device as a remote control. You can play, pause, adjust the volume, or even browse for additional content without interrupting the playback on the TV.
7. Disconnect or cast something else: To stop casting or switch to another app, simply tap the cast icon again and select “Stop casting” or choose a different device or content to cast.
It’s worth noting that some apps support casting in different ways. For example, YouTube allows you to cast the video while continuing to use your mobile device for other tasks, while others may mirror the entire screen of your mobile device on your TV.
In addition to streaming content from supported apps, you can also cast web pages, photos, and videos stored on your mobile device using the Google Chrome browser or other casting-enabled apps. This offers even more flexibility in what you can display on your TV.
Now that you know how to cast from your mobile device to your TV using Chromecast, let’s move on to exploring how to cast from a computer.
Casting from a computer
Casting from a computer to your TV using Chromecast gives you the flexibility to enjoy your favorite content on a larger screen. Whether you want to stream videos, browse the web, or give presentations, Chromecast makes it easy. Here’s how to cast from a computer:
1. Ensure your computer and Chromecast are connected to the same Wi-Fi network: Both your computer and Chromecast need to be connected to the same Wi-Fi network for casting to work smoothly.
2. Install the Google Chrome browser (if not already installed): Chromecast is designed to work seamlessly with the Google Chrome browser. If you don’t already have it, download and install Google Chrome from the official website.
3. Open Google Chrome: Launch the Google Chrome browser on your computer. It’s recommended to keep your browser up-to-date for the best casting experience.
4. Install the Google Cast extension: In Google Chrome, go to the Chrome Web Store and search for “Google Cast.” Add the official Google Cast extension to your browser.
5. Click on the Google Cast extension: Once the extension is installed, you’ll see the cast icon, which looks like a rectangle with curved lines, in the top right corner of the browser window.
6. Select your Chromecast device: Click on the cast icon and select your Chromecast device from the list of available devices. The browser tab or entire desktop will be mirrored on your TV.
7. Cast a tab or entire desktop: After selecting your Chromecast device, choose whether you want to cast the current browser tab or your entire desktop. You can switch between options depending on what you want to display on your TV.
8. Enjoy your content on the big screen: With casting enabled, anything that appears on your browser tab or desktop will be displayed on your TV. Play videos, browse websites, or give presentations with the convenience of a larger display.
To stop casting, click on the cast icon again and select “Stop casting” from the drop-down menu. You can also customize casting settings, such as video quality and sound output, by clicking on the cast icon and selecting “Options”.
Remember that not all websites are cast-enabled, so some content may not be able to be casted directly from the browser. In such cases, you can try using the “Cast desktop” option to display the entire desktop on your TV.
Casting from a computer expands the possibilities of what you can share on your TV screen. Whether you’re streaming videos, browsing the web, or giving a presentation, Chromecast offers a convenient and intuitive way to enhance your viewing experience.
In the next section, we will address common troubleshooting issues that you may encounter while using Chromecast.
Troubleshooting common issues
While Chromecast is known for its seamless streaming experience, you might encounter some common issues along the way. Don’t worry, though, as most issues can be resolved with a few troubleshooting steps. Here are some common problems you might face and how to address them:
1. Connectivity issues: If you’re having trouble connecting your Chromecast to your Wi-Fi network, make sure your router is functioning properly and within range. Ensure that your Chromecast and mobile device or computer are on the same network. You can also try restarting your router and Chromecast to resolve connectivity problems.
2. Video playback issues: If you experience buffering or stuttering during video playback, check your internet connection speed. A slow internet connection can result in poor video quality. You can try moving your router closer to your Chromecast, closing other bandwidth-intensive applications, or upgrading your internet plan for smoother streaming.
3. Audio issues: If you’re experiencing audio lag or no sound at all, make sure your TV’s volume is not muted and that it’s set to the correct input source. Additionally, check the audio settings on the casting app or browser you’re using to ensure they are correctly configured. Restarting both your Chromecast and casting device can also help resolve audio-related issues.
4. Casting errors: If you encounter casting errors or your casting stops unexpectedly, try rebooting your Chromecast by disconnecting and reconnecting the power. If the problem persists, check for any available firmware updates for your Chromecast and install them. It’s also a good idea to update the casting app or browser you’re using to the latest version.
5. Slow response time: If you notice a delay in responding to commands or navigating through menus, ensure that your casting device has a strong Wi-Fi signal. Clearing the cache and data of the casting app or browser may also help improve performance. If multiple devices are connected to your Wi-Fi network, consider disconnecting unnecessary devices to free up bandwidth for your Chromecast.
6. Incompatibility issues: Some apps or websites may not be compatible with Chromecast or have limited casting functionality. If you encounter compatibility issues, try using alternative apps or browsers that offer better support for casting. You can also check for any updates or patches for the specific app or website you’re trying to cast from.
7. Chromecast not appearing in casting options: If your Chromecast is not showing up in the list of available devices to cast to, ensure that both your casting device and Chromecast are connected to the same Wi-Fi network. Restarting your casting device, Chromecast, and casting app or browser can help refresh the connection and resolve any visibility issues.
If you have tried the troubleshooting steps above and continue to experience issues, you can visit the official Google Chromecast support website for more in-depth troubleshooting guides and solutions. They provide comprehensive resources to help you resolve specific problems that may arise.
By diagnosing and addressing common issues promptly, you can ensure a smooth and uninterrupted streaming experience with your Chromecast.
Now that we’ve covered troubleshooting techniques, let’s move on to updating the firmware of your Chromecast to ensure you have access to the latest features and improvements.
Updating the firmware
Keeping your Chromecast’s firmware up-to-date is essential for ensuring optimal performance and accessing the latest features and improvements. Firmware updates are periodically released by Google, and installing them is a straightforward process. Follow these steps to update the firmware of your Chromecast:
1. Connect your Chromecast to your TV: Make sure your Chromecast is properly connected to your TV and powered on. Ensure that both your Chromecast and the device you’re using to control it are connected to the same Wi-Fi network.
2. Open the Google Home app: Launch the Google Home app on your mobile device or tablet. Make sure you’re signed in with the same Google account used to set up your Chromecast.
3. Locate your Chromecast: On the main screen of the Google Home app, you’ll see a list of available devices. Look for your Chromecast device and tap on it to access its settings.
4. Check for updates: Within the device settings, locate and tap on the “Settings” icon (usually represented by three vertical dots). From the menu that appears, select “Check for Updates” or “Device firmware” to see if there are any updates available for your Chromecast.
5. Install the updates: If a new firmware update is available, the Google Home app will prompt you to install it. Follow the on-screen instructions to initiate and complete the update process. It may take a few minutes for the update to download and install.
6. Verify the firmware version: Once the update is installed, go back to the device settings in the Google Home app and verify that the firmware version has been updated. This ensures that your Chromecast is running the latest firmware.
It’s important to note that during the firmware update process, your Chromecast may reboot automatically. Make sure not to interrupt the update process by unplugging the Chromecast or closing the Google Home app prematurely.
If you encounter any issues while updating the firmware, ensure that your Chromecast is connected to a stable internet connection. You can try restarting your Chromecast, as well as your Wi-Fi router, and attempt the update process again.
By regularly checking for and installing firmware updates, you can ensure that your Chromecast remains up-to-date, secure, and equipped with the latest features and improvements.
Now that we’ve covered how to update the firmware of your Chromecast, let’s move on to connecting your Chromecast to a Wi-Fi network.
Connecting to a Wi-Fi network
In order to stream content from your mobile device or computer to your Chromecast, you need to ensure that your Chromecast is connected to a Wi-Fi network. Here’s a step-by-step guide on how to connect your Chromecast to a Wi-Fi network:
1. Turn on your TV and Chromecast: Make sure your TV is turned on and that your Chromecast is properly connected to your TV and powered on.
2. Open the Google Home app: Launch the Google Home app on your mobile device or tablet. Make sure you’re signed in with the same Google account used to set up your Chromecast.
3. Locate your Chromecast: On the main screen of the Google Home app, you’ll see a list of available devices. Look for your Chromecast device and tap on it to access its settings.
4. Open Wi-Fi settings: Within the device settings, locate and tap on the “Settings” icon (usually represented by three vertical dots). From the menu that appears, select “Wi-Fi” to access the Wi-Fi settings for your Chromecast.
5. Select a Wi-Fi network: You’ll now see a list of available Wi-Fi networks. Tap on the network you want your Chromecast to connect to. If the network is secured, enter the Wi-Fi password when prompted.
6. Wait for the connection: Once you’ve selected the Wi-Fi network and entered the password (if required), wait for your Chromecast to establish a connection to the network. This process may take a few moments.
7. Confirm the connection: After successfully connecting to the Wi-Fi network, you’ll see a confirmation message on both your mobile device and TV screen. The Google Home app will display the name of the Wi-Fi network your Chromecast is connected to.
It’s important to note that your Wi-Fi network needs to be reliable and have a stable connection for the best streaming experience. If you encounter connectivity issues during the setup process, ensure that your Wi-Fi router is functioning properly and within range of your Chromecast.
You can also try restarting your Chromecast, as well as your Wi-Fi router, to troubleshoot any connection problems. Additionally, keeping your Chromecast and casting device in close proximity to the Wi-Fi router can help improve signal strength.
Now that your Chromecast is successfully connected to a Wi-Fi network, you can start streaming your favorite content from your mobile device or computer to your TV with ease.
In the next section, we’ll explore how to reset your Chromecast to its factory settings if you encounter persistent issues or want to start fresh.
Resetting the Chromecast to factory settings
If you’re experiencing persistent issues with your Chromecast or want to start fresh, resetting it to its factory settings can help resolve many problems. Resetting your Chromecast erases all customized settings and returns it to its original state. Here’s how you can reset your Chromecast:
1. Locate the reset button: On your Chromecast device, you’ll find a small reset button. It is usually located on the side or at the back of the device, near the power port.
2. Press and hold the reset button: Using a paperclip or a similar tool, press and hold the reset button for about 15-20 seconds. You’ll notice the LED indicator on the Chromecast start flashing orange.
3. Release the reset button: After holding the reset button for the designated time, release it. The Chromecast will now restart and begin the reset process. This may take a few minutes.
4. Reconfigure your Chromecast: Once the reset process is complete, you’ll need to set up your Chromecast again, just like you did when you first got it. Follow the initial set up steps, including connecting your Chromecast to your Wi-Fi network through the Google Home app.
It’s important to note that resetting your Chromecast will remove all personalized settings, including your Wi-Fi network information, device name, and any saved preferences. You’ll need to re-enter these details during the setup process.
Resetting to factory settings should be one of the last troubleshooting steps you take if you’re experiencing persistent issues. Before resetting, try other troubleshooting techniques such as restarting your Chromecast, checking for firmware updates, or contacting Google support for assistance if the problem persists.
By resetting your Chromecast to factory settings, you can start fresh and potentially resolve any underlying issues that may have been causing disruptions in performance or functionality.
Now that you understand how to reset your Chromecast, you have a valuable troubleshooting tool at your disposal if you ever encounter persistent issues or need to start over.
That wraps up our guide on connecting, setting up, troubleshooting, and managing your Chromecast. Armed with this knowledge, you’re ready to make the most of your streaming experience and enjoy a world of entertainment on the big screen.
Conclusion
Congratulations! You’ve reached the end of our comprehensive guide on how to get your Chromecast up and running, troubleshoot common issues, and make the most of its casting capabilities. By following the steps outlined in this guide, you now have the knowledge and tools to enjoy seamless streaming on your TV.
We started by connecting your Chromecast to your TV, ensuring a solid physical connection. Then, we walked you through the process of setting up your Chromecast and connecting it to your Wi-Fi network using the Google Home app. With your Chromecast up and running, you learned how to cast content from both your mobile device and computer, opening up a world of entertainment possibilities.
We also covered troubleshooting common issues you may encounter while using your Chromecast, from connectivity problems to video playback issues. By applying the troubleshooting techniques provided, you can quickly overcome obstacles and continue enjoying uninterrupted streaming.
You learned the importance of keeping your Chromecast’s firmware updated, and we guided you through the process of checking for updates and installing them using the Google Home app.
In addition to firmware updates, you also learned how to connect your Chromecast to a Wi-Fi network and the steps to follow if you need to reset your Chromecast to its factory settings.
With this knowledge and understanding, you are now equipped to embark on an immersive streaming journey with your Chromecast. From streaming your favorite movies and TV shows to mirroring your computer screen or giving presentations, Chromecast offers a versatile and user-friendly streaming experience.
If you encounter any further issues or have additional questions, don’t hesitate to visit the official Google Chromecast support website or consult the extensive resources available there. They provide detailed troubleshooting guides and information to assist you further.
Now, it’s time to sit back, relax, and enjoy the wonders of streaming on your TV with Chromecast. Happy casting!