Introduction
Welcome to our guide on how to set up your Chromecast to your Wi-Fi network! Chromecast is a media streaming device that allows you to cast your favorite movies, TV shows, music, and more from your mobile device or computer to your TV. Whether you’re a tech-savvy individual or a beginner, this step-by-step guide will help you get started with Chromecast in no time.
Streaming content has revolutionized the way we consume media, and Chromecast makes it even easier by providing a seamless connection between your devices and your TV. With just a few simple steps, you’ll be able to stream your favorite shows and movies directly to your big screen, enhancing your viewing experience.
In this guide, we will walk you through the process of setting up your Chromecast, from unboxing to connecting it to your Wi-Fi network, and everything in between. We’ll also provide troubleshooting tips for common issues that you may encounter along the way.
So, whether you’re looking to binge-watch your favorite series, stream music, or enjoy a movie night with your loved ones, Chromecast is the perfect companion. Let’s dive in and get your Chromecast ready to take your entertainment to the next level!
Step 1: Unboxing Chromecast
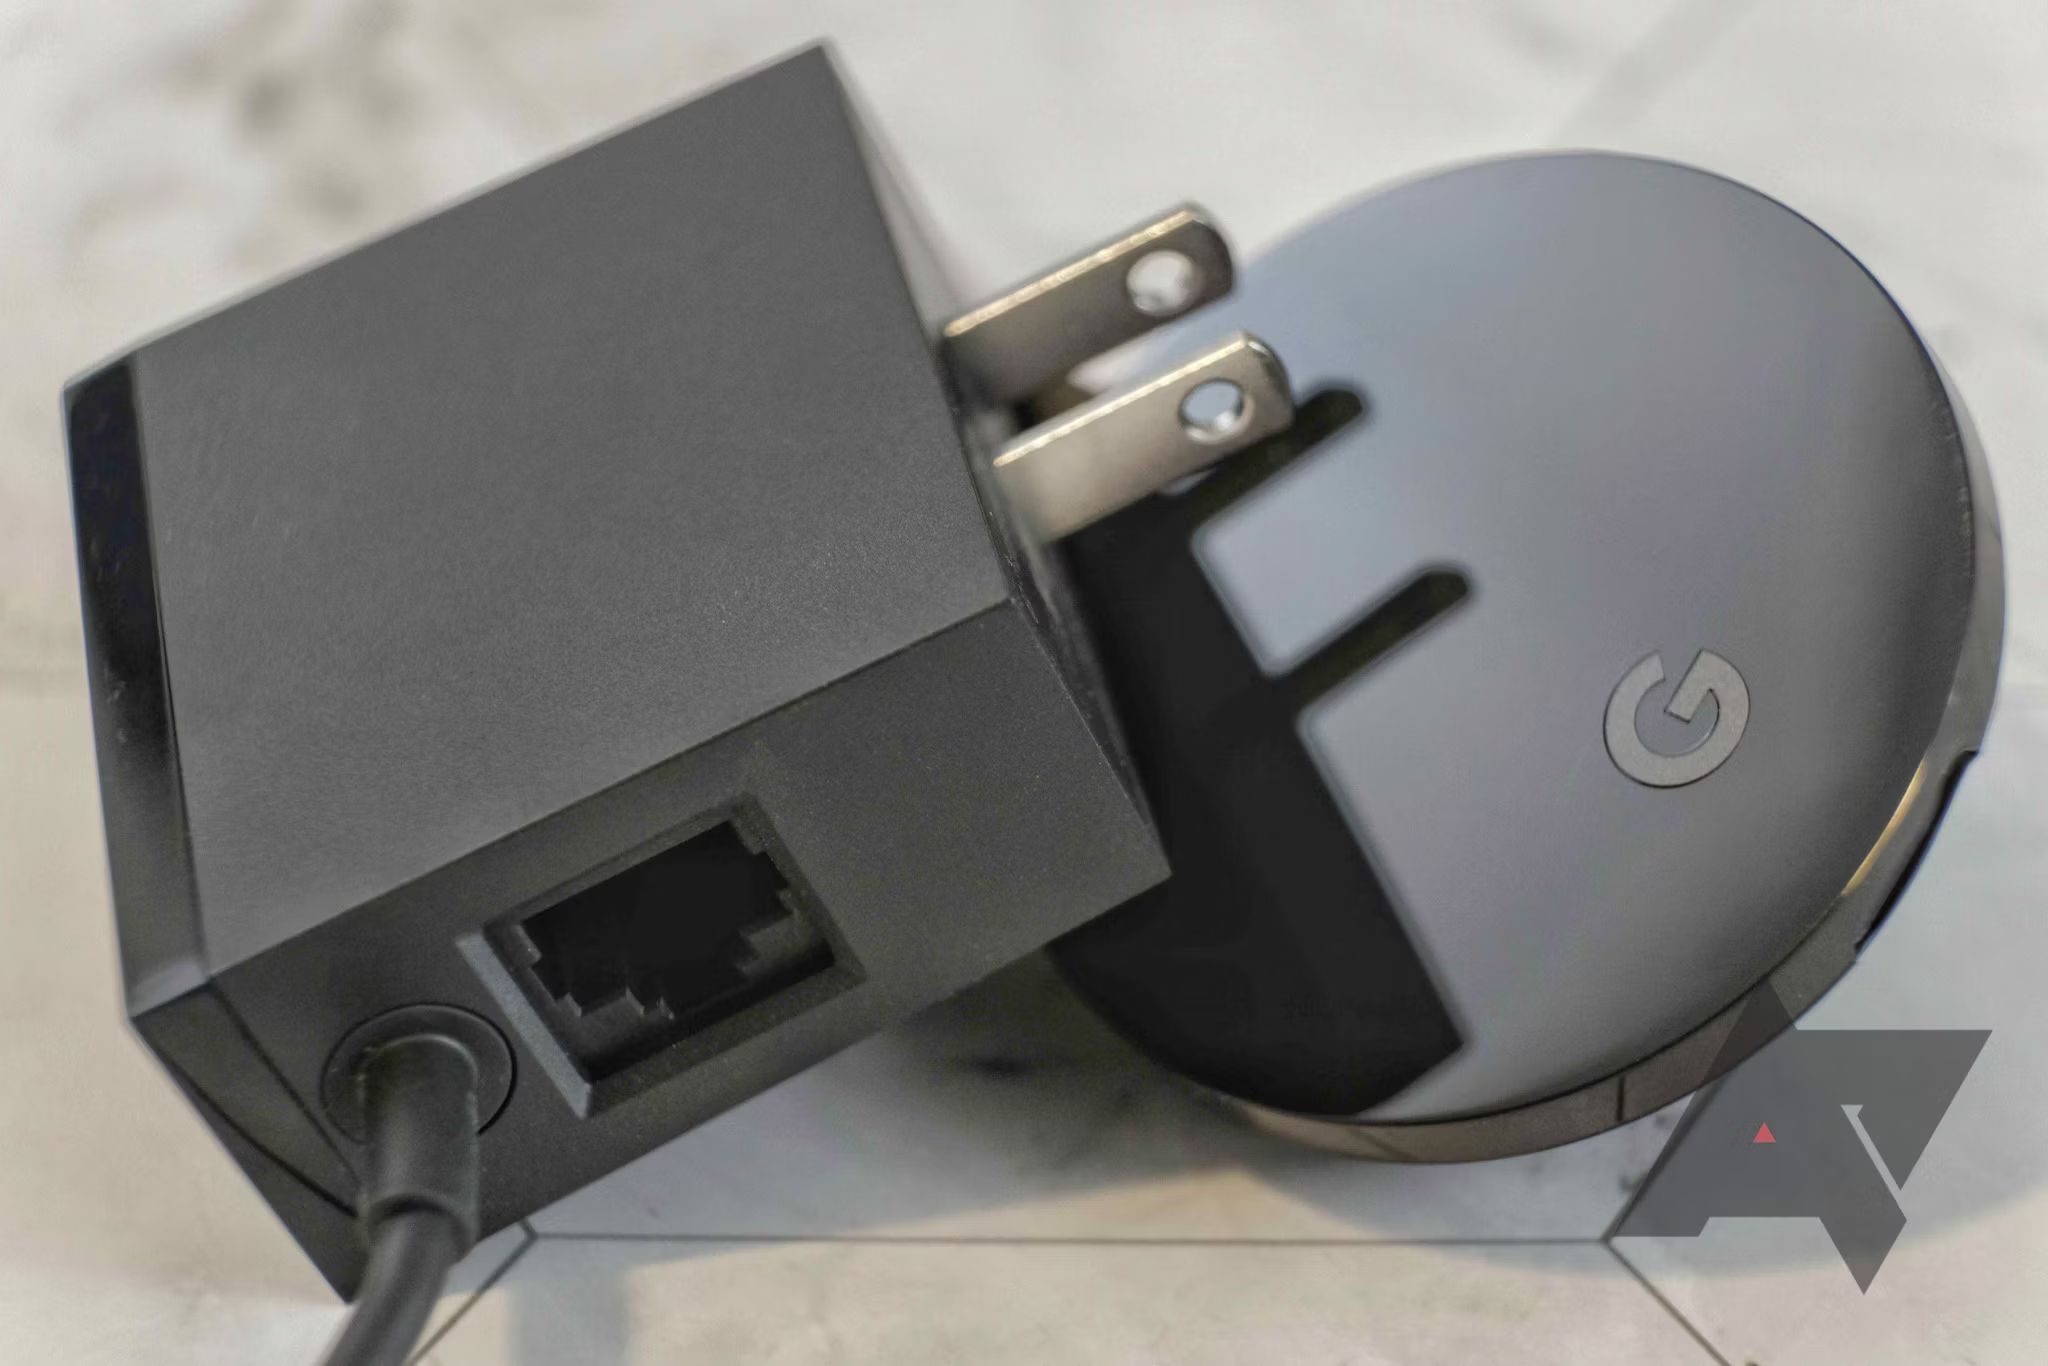
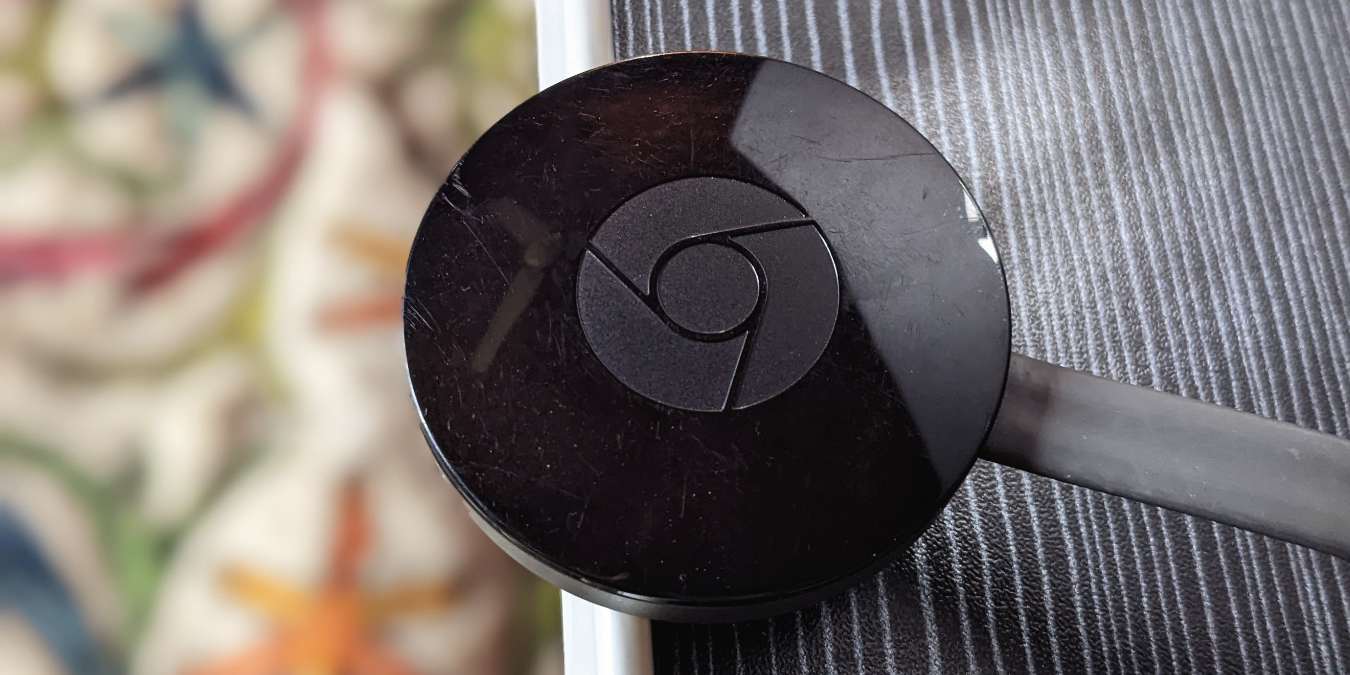
The first step in setting up your Chromecast is to unbox the device. When you open the box, you should find the Chromecast dongle, a USB power cable, and a power adapter. Take a moment to familiarize yourself with the components.
Next, find an available HDMI port on your TV and connect the Chromecast dongle to it. If you have limited space between HDMI ports, you can use the HDMI extender included in the box to give you more flexibility in positioning the Chromecast.
Once the Chromecast is connected to your TV, connect the USB power cable to the Chromecast dongle and plug the other end into a power outlet. The Chromecast can be powered using the USB port on your TV, but for optimal performance, it is recommended to use the power adapter.
After connecting the power, your TV should recognize the Chromecast and display the setup screen. If the setup screen does not appear, make sure your TV is set to the correct HDMI input channel.
Now that you have successfully unboxed your Chromecast and connected it to your TV, you are ready to move on to the next step: downloading and installing the Google Home app.
Step 2: Connecting Chromecast to your TV
Once you have unboxed your Chromecast and connected it to your TV, the next step is to connect it to your home Wi-Fi network. To do this, you will need to download and install the Google Home app on your mobile device or computer.
Start by opening the app store on your mobile device or visit the Google Home website on your computer. Search for “Google Home” and download the app onto your device. Once the app is installed, open it and sign in with your Google account or create a new account if you don’t have one.
Make sure your mobile device or computer is connected to the same Wi-Fi network that you want to connect your Chromecast to. This is important because the app needs to communicate with your Chromecast during the setup process.
Once you are signed in to the Google Home app, tap on the “+” icon in the top left corner of the screen. This will initiate the setup process for adding a new device.
The app will search for nearby devices. When your Chromecast is detected, tap on it to begin the setup process. The app will provide you with a unique code on your TV screen that you need to verify on your mobile device or computer.
After verifying the code, you will be prompted to choose a name for your Chromecast that will help you identify it among other devices on your network. You can also choose to enable Guest Mode, which allows guests to cast to your Chromecast without being on your Wi-Fi network.
Once you have completed these steps, your Chromecast will be connected to your Wi-Fi network. Now you can move on to customizing your Chromecast settings to make the most out of your streaming experience.
Step 3: Downloading and installing the Google Home app
In order to set up and configure your Chromecast, you will need to download and install the Google Home app on your mobile device or computer. The Google Home app is available for both Android and iOS devices, and can also be accessed through a web browser on your computer.
Start by opening the app store on your mobile device or visit the Google Home website on your computer. Search for “Google Home” and download the app onto your device. Once the app is installed, open it and sign in with your Google account or create a new account if you don’t have one.
Make sure your mobile device or computer is connected to the same Wi-Fi network that you want to connect your Chromecast to. This is important because the app needs to communicate with your Chromecast during the setup process.
Once you are signed in to the Google Home app, tap on the “+” icon in the top left corner of the screen. This will initiate the setup process for adding a new device.
The app will search for nearby devices. When your Chromecast is detected, tap on it to begin the setup process. The app will provide you with a unique code or a QR code on your TV screen that you need to verify on your mobile device or computer.
To verify the code, simply follow the prompts on the app. Make sure to carefully enter the code or scan the QR code to ensure a successful setup.
After verifying the code, you will be prompted to choose a name for your Chromecast. This name will be used to identify your device within the Google Home app and other casting applications. You can choose a name that is easy to remember or use a descriptive name that represents the location of your Chromecast.
Once you have completed these steps, you have successfully downloaded the Google Home app and connected it to your Chromecast. Next, we will move on to the process of connecting your Chromecast to your Wi-Fi network.
Step 4: Connecting Chromecast to your Wi-Fi network
Now that you have downloaded the Google Home app and your Chromecast is detected, it’s time to connect your Chromecast to your Wi-Fi network.
Start by tapping on the “Set up” button that appears on the Google Home app after your Chromecast is detected. The app will guide you through the setup process.
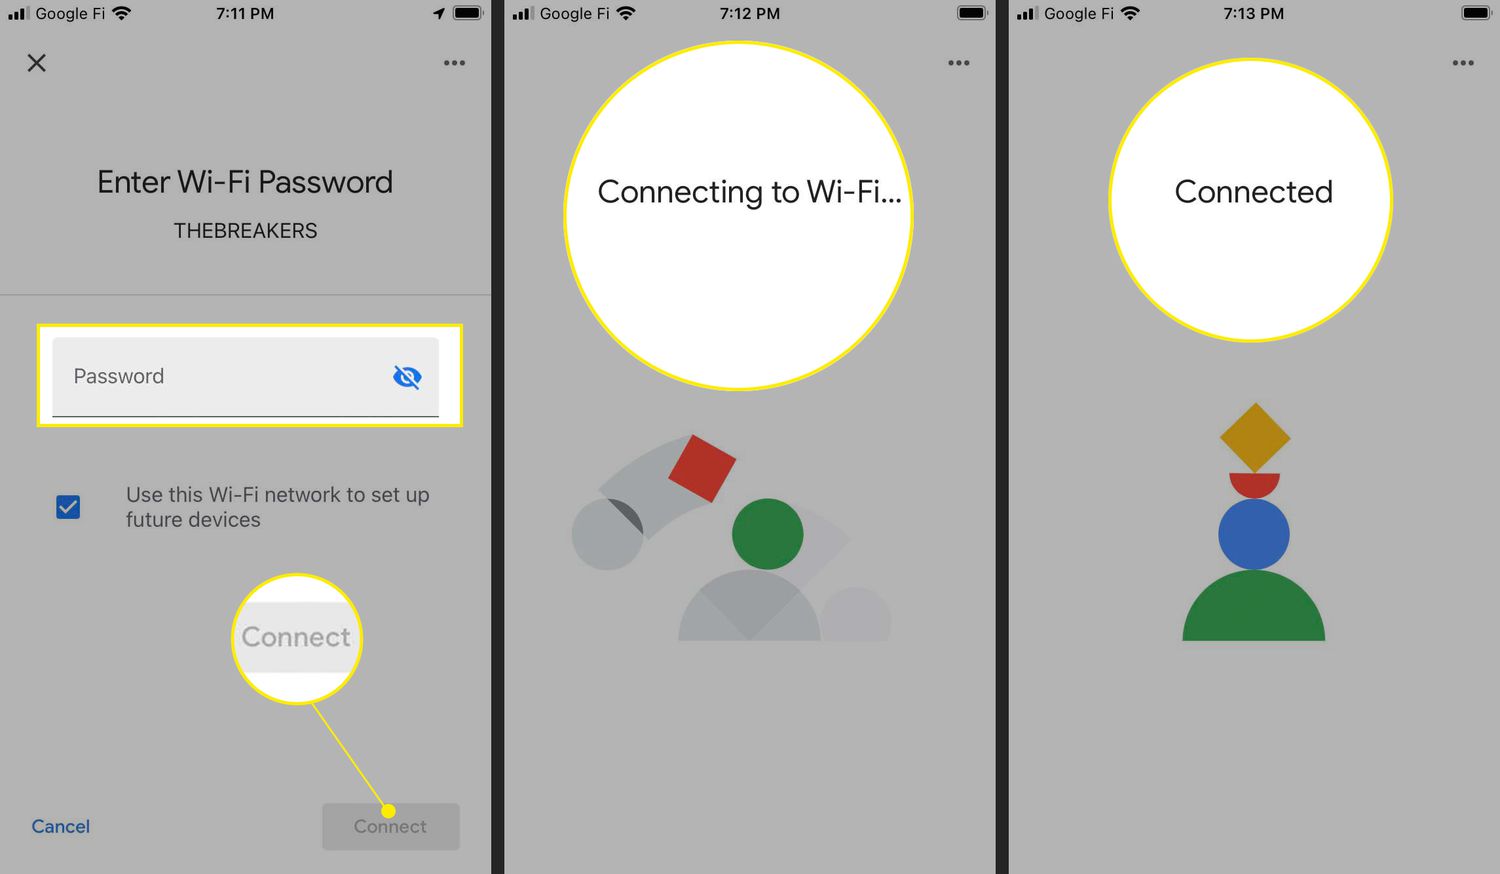
Next, you will be asked to choose the Wi-Fi network that you want to connect your Chromecast to. Make sure to select the correct network from the list of available networks.
Enter the password for your Wi-Fi network when prompted. Double-check the password to ensure accuracy, as any mistakes can prevent your Chromecast from connecting to the network.
Once you have entered the correct password, the Google Home app will attempt to connect your Chromecast to your Wi-Fi network. This may take a few moments, so be patient and do not interrupt the process.
If the connection is successful, you will see a confirmation message on the app and your Chromecast will be connected to your Wi-Fi network. If there are any issues, the app will provide troubleshooting steps to help you resolve the problem.
Once your Chromecast is connected to your Wi-Fi network, you can proceed to the next step of customizing your Chromecast settings to enhance your streaming experience.
It’s worth noting that if you change your Wi-Fi network or move your Chromecast to a different location, you will need to reconnect it to the new Wi-Fi network. You can do this by accessing the Chromecast settings in the Google Home app and repeating the connection process.
Now that you have successfully connected your Chromecast to your Wi-Fi network, you are ready to make it your own by customizing the settings according to your preferences. Let’s move on to the next step to learn how to do this.
Step 5: Customizing Chromecast settings
Now that you have successfully connected your Chromecast to your Wi-Fi network, it’s time to customize the settings to enhance your streaming experience. The Google Home app provides various options for customization, allowing you to personalize your Chromecast according to your preferences.
To access the Chromecast settings, open the Google Home app on your mobile device. Tap on the device name of your Chromecast to view its settings and options.
One of the first settings you may want to adjust is the backdrop. The backdrop is the screen that appears when your Chromecast is on standby. You can choose from a variety of beautiful and engaging images, or even use your own photos, to make the backdrop more visually appealing.
Another important setting is the Guest Mode. Enabling Guest Mode allows your guests to cast content to your Chromecast without being connected to your Wi-Fi network. This can be useful when you have friends or family visiting and they want to share their own content on the big screen.
You can also customize the ambient mode, which displays useful information such as weather updates, time, and personal photos while your Chromecast is idle. Adjusting the clock format, selecting which photos to display, and customizing the ambient mode settings can further personalize your Chromecast experience.
Additionally, the Google Home app allows you to manage the audio and video settings of your Chromecast. You can adjust the volume, enable or disable captions, and choose the desired video quality for streaming.
Furthermore, the Google Home app provides a range of casting options. You can link streaming services such as Netflix, Hulu, Spotify, and more to your Chromecast, making it easier to access your favorite content directly from the app.
Remember to explore the settings and options available in the Google Home app to discover additional features and customization options that suit your needs and preferences.
With the ability to customize your Chromecast settings, you can create a personalized and tailored streaming experience that’s perfect for you. Now that you have customized your Chromecast settings, it’s time to start casting content to your TV!
Step 6: Casting content to your TV with Chromecast
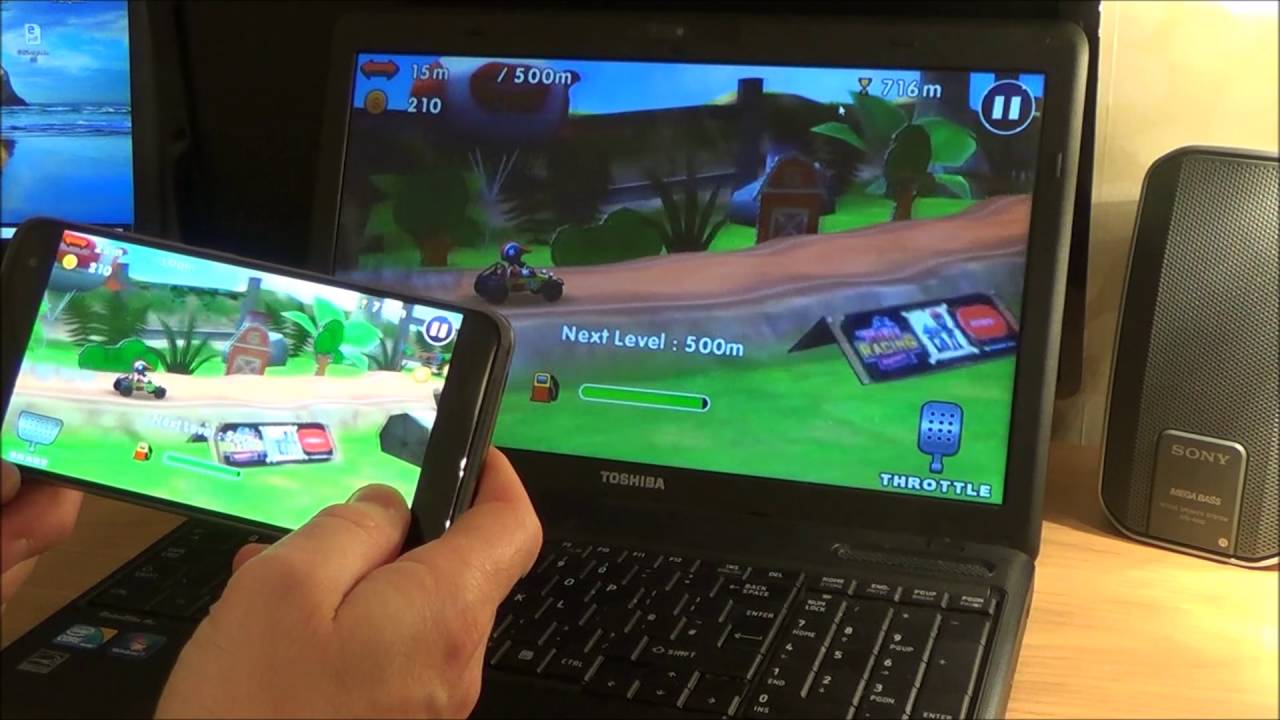
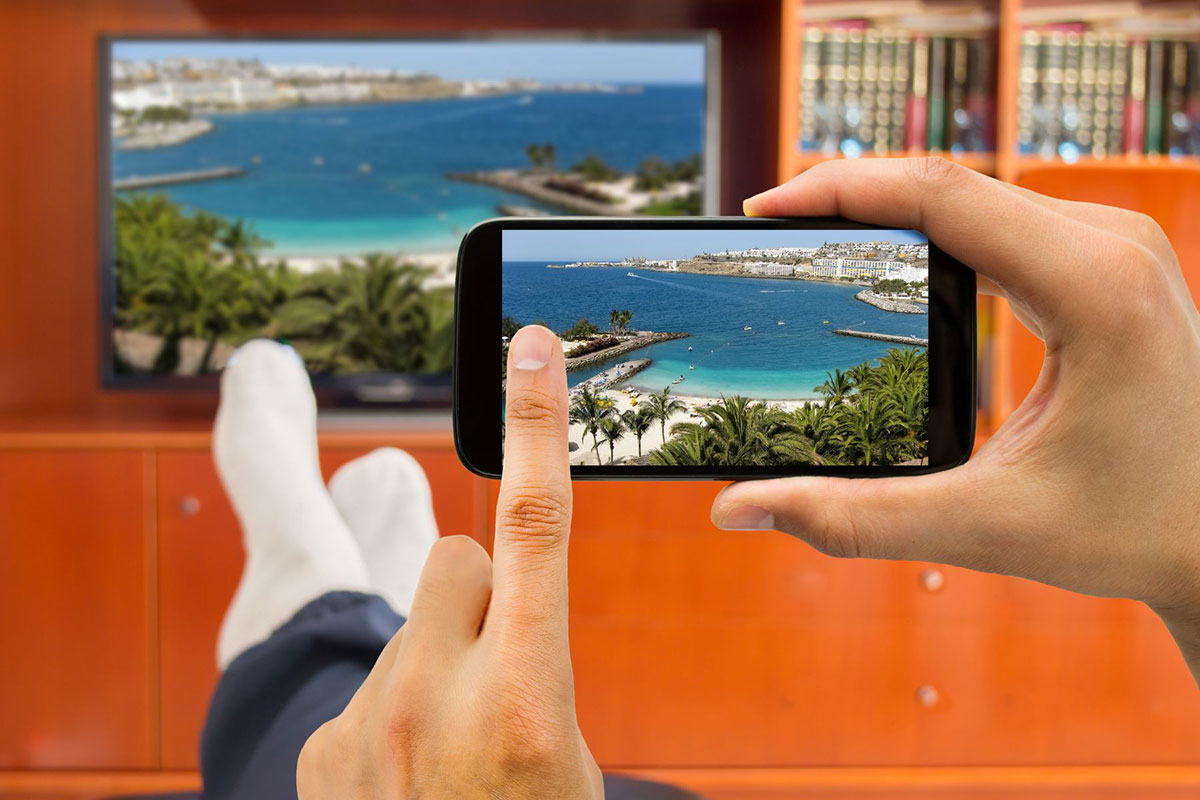
Now that your Chromecast is set up and customized, it’s time to start casting your favorite content to your TV. With Chromecast, you can stream movies, TV shows, music, photos, and even games from your mobile device or computer to your big screen.
To cast content to your TV, start by ensuring that your mobile device or computer is connected to the same Wi-Fi network as your Chromecast. This is crucial for establishing a connection between your device and the Chromecast.
Next, open the app that you want to cast from, such as YouTube, Netflix, Spotify, or any other supported app. Look for the cast icon, which typically appears as a square with three curved lines at the bottom, or as an icon with the name of the app followed by the word “cast”.
Once you find the cast icon, tap on it to initiate the casting process. A list of available devices will appear, and your Chromecast should be displayed. Tap on your Chromecast to select it as the device you want to cast to.
After selecting your Chromecast, the content will start playing on your TV screen. You can control playback, adjust the volume, and even cast content from multiple devices simultaneously if supported by the app.
During casting, your device acts as the remote control for controlling playback. You can pause, play, and skip content directly from your mobile device or computer. You can also use the physical buttons on your TV remote to control playback if needed.
It’s worth noting that while content is playing on your TV, you can continue using your mobile device or computer for other tasks without interrupting the casting. This allows you to browse the web, chat with friends, or even play games while enjoying the content on the big screen.
Once you have finished casting, you can stop playback by tapping on the cast icon and selecting “Stop casting”. Alternatively, you can simply turn off your TV or close the casting app on your device.
With Chromecast, you have the flexibility to cast content from a wide range of apps, making it easier than ever to enjoy your favorite movies, TV shows, music, and more on your TV screen.
Congratulations! You have successfully completed the process of setting up your Chromecast and casting content to your TV. Enjoy your enhanced streaming experience!
Troubleshooting common issues
While setting up and using Chromecast is generally a smooth and straightforward process, you may encounter some common issues along the way. Don’t worry, as most problems can be easily resolved with a few simple troubleshooting steps. Here are some common issues you may encounter and how to troubleshoot them:
No Wi-Fi network detected: If your Chromecast is not detecting your Wi-Fi network during setup, make sure that your mobile device or computer is connected to the correct Wi-Fi network. Also, double-check that your Wi-Fi router is functioning properly and within range.
Weak Wi-Fi signal: If your Chromecast is experiencing a weak Wi-Fi signal, try moving it closer to your Wi-Fi router. Alternatively, ensure there are no physical obstructions that may be blocking the Wi-Fi signal. You can also consider using a Wi-Fi extender to improve the signal strength.
Chromecast not showing up in Google Home app: If your Chromecast does not appear in the Google Home app, make sure that both your mobile device or computer and your Chromecast are connected to the same Wi-Fi network. Additionally, ensure that you have the latest version of the Google Home app installed on your device.
Streaming quality issues: If you are experiencing buffering or poor streaming quality, try restarting your Chromecast, as well as your modem and router, to refresh the connection. You can also try reducing the number of devices connected to the Wi-Fi network while streaming to improve bandwidth.
Audio or video out of sync: If the audio and video are not synchronized while casting, try restarting the app you are casting from. You can also try adjusting the audio delay settings, if available, on your TV or in the casting app to correct the sync issue.
Chromecast not turning on: If your Chromecast is not turning on, ensure that the USB power cable is securely connected to the Chromecast and the power adapter or USB port. If using the USB port on your TV, check if it is providing enough power. Trying an alternative power source or cable may also resolve the issue.
If you continue to experience difficulties or encounter other issues not mentioned here, you can visit the official Chromecast support website or contact their customer support for further assistance.
By following these troubleshooting steps, you can quickly resolve common issues and get back to enjoying your Chromecast and the seamless streaming experience it provides.
Conclusion
Setting up and using Chromecast to stream content to your TV is a convenient and enjoyable experience. By following the step-by-step guide in this article, you can easily unbox your Chromecast, connect it to your Wi-Fi network, and customize the settings to suit your preferences. Once your Chromecast is set up, you can cast your favorite movies, TV shows, music, and more from your mobile device or computer to your big screen with just a few taps.
During the setup process, you may encounter common issues such as Wi-Fi connectivity problems, streaming quality issues, or audio/video synchronization problems. However, these issues can generally be resolved through simple troubleshooting steps, ensuring a smooth and seamless streaming experience.
Remember to keep your Chromecast and Google Home app up to date to take advantage of the latest features and improvements. Additionally, explore the various casting options and customization settings available to enhance your streaming experience even further.
With Chromecast, you have the freedom to enjoy a wide range of content on your TV, transforming it into a hub of entertainment. Whether you want to binge-watch your favorite series, listen to music, or share photos with your loved ones, Chromecast provides a convenient and reliable way to do so.
So, unbox your Chromecast, connect it to your Wi-Fi network, and start casting your favorite content to your TV. Enhance your viewing experience and make the most out of your streaming with Chromecast!