Introduction
Your Asus Tuf Gaming Laptop has been running a bit sluggish lately, or maybe you just want to start fresh with a clean slate. Whatever the reason, performing a factory reset on your laptop can help restore its performance and resolve any software issues it may be experiencing. A factory reset will erase all the data on your laptop and revert it back to its original settings, just like when you first bought it.
Before you proceed with the factory reset, it’s important to understand that this process will delete all your personal files, installed programs, and settings. Therefore, it’s crucial to back up any important data you want to keep before initiating the reset.
In this guide, we will take you through the step-by-step process of performing a factory reset on your Asus Tuf Gaming Laptop. By following these instructions, you can restore your laptop to its original state and start anew.
It’s worth mentioning that the precise steps may vary slightly depending on the exact model of your Asus Tuf Gaming Laptop. However, the overall process remains fairly consistent across all models. Please consult your laptop’s user manual for any model-specific instructions or consult Asus support if you encounter any issues during the factory reset.
So without further ado, let’s delve into the steps required to perform a factory reset on your Asus Tuf Gaming Laptop.
Step 1: Back Up Your Important Data
Before initiating a factory reset on your Asus Tuf Gaming Laptop, it’s essential to back up any important data you have stored on it. This includes files, documents, photos, and any other information that you don’t want to lose.
There are several ways to back up your data, depending on your personal preference and the amount of data you need to save. Here are a few methods you can use:
- External Hard Drive or USB Storage: Connect an external hard drive or USB storage device to your laptop and manually copy and paste your important files onto the device. Ensure that you have enough storage capacity on the external device to accommodate all the files you want to back up.
- Cloud Storage Services: Utilize cloud storage services like Google Drive, Dropbox, or OneDrive to save your files. These services provide a convenient and secure way to store your data online, allowing you to access it from anywhere with an internet connection. Upload your files to the cloud storage platform of your choice and ensure that they are synced properly.
- Network Transfer: If you have multiple devices connected on the same network, you can transfer your files wirelessly between devices. This can be done using features like File Sharing on Windows or AirDrop on macOS. This method is ideal for transferring large files or a substantial amount of data.
Take your time to determine the best method for backing up your data based on your specific needs. Remember to double-check that all your important files are successfully backed up before proceeding with the factory reset. Once you’ve safely backed up your data, you’ll be ready to move on to the next step of resetting your Asus Tuf Gaming Laptop.
Step 2: Restart Your Laptop and Access the BIOS Menu
After ensuring that your data is safely backed up, it’s time to restart your Asus Tuf Gaming Laptop and access the BIOS menu. The BIOS (Basic Input/Output System) menu is a built-in software that allows you to make changes to your computer’s hardware settings.
To access the BIOS menu, follow these steps:
- First, close all applications and save any ongoing work. Restart your laptop by clicking on the “Start” menu, selecting the power icon, and choosing the “Restart” option.
- As the laptop begins to restart, be ready to press a specific key to enter the BIOS setup. The key to access the BIOS can vary depending on your laptop’s manufacturer and model. For most Asus Tuf Gaming Laptops, the common keys are F2 or Delete. However, it’s recommended to consult your laptop’s user manual or look for on-screen prompts during bootup to identify the exact key.
- Press the identified key repeatedly until the BIOS menu appears on your screen. It may take a few tries to get the timing right, so don’t be discouraged if you miss it on your first attempt.
Once you successfully access the BIOS menu, you’re ready to proceed to the next step. The BIOS menu provides essential settings for your laptop’s hardware, and it’s where you can make changes to enable the factory reset. In the next step, we’ll guide you through choosing the reset option and confirming the factory reset process.
Step 3: Choose the Reset Option
Now that you’re in the BIOS menu, it’s time to choose the reset option that will initiate the factory reset process on your Asus Tuf Gaming Laptop. Follow these steps:
- Using the arrow keys on your laptop’s keyboard, navigate through the different options in the BIOS menu. Look for a section that is labeled “Reset” or “Restore.”
- Select the “Reset” or “Restore” option using the designated key or by pressing Enter. This will bring up a submenu with different reset options.
- Within the reset options submenu, you may find different variations or labels for the factory reset option, such as “Factory Reset,” “Reset to Default,” or “Restore Factory Settings.” Use the arrow keys to highlight the appropriate option.
- Once you’ve selected the correct option, press Enter to confirm your choice.
- At this point, a confirmation message may appear, asking if you are sure you want to proceed with the factory reset. Carefully read the message and follow the prompts to confirm your selection. It’s important to note that proceeding with the factory reset will permanently delete all data on your laptop, so ensure you have backed up everything you need.
Once you confirm the reset option, the factory reset process will begin. Depending on the model and specifications of your Asus Tuf Gaming Laptop, the process may take some time. Be patient and do not interrupt the process while it’s running.
Now that you’ve chosen the reset option, the next step will cover the process of confirming the factory reset. Let’s move on to the next step and proceed with caution.
Step 4: Confirm the Factory Reset
After selecting the factory reset option in the BIOS menu, it’s important to confirm your decision to proceed with the reset. This step ensures that you are fully aware of the consequences and have taken all necessary precautions. Follow these instructions to confirm the factory reset:
- Once you have selected the factory reset option in the BIOS menu, a confirmation prompt will typically appear on your screen. This prompt will inform you that the factory reset will erase all data on your laptop and restore it to its original settings.
- Read the confirmation message carefully to ensure you understand the implications of proceeding with the factory reset. Take note that all your personal files, installed programs, and settings will be permanently deleted.
- Use the arrow keys on your laptop’s keyboard to navigate the confirmation prompt. Typically, you will be given the option to confirm or cancel the factory reset. Highlight the “Confirm” option.
- Once the “Confirm” option is highlighted, press Enter on your keyboard to proceed with the factory reset. This action will initiate the process of wiping your laptop’s hard drive and restoring it to its original state.
- After confirming the factory reset, please be aware that it cannot be undone. Make sure you have backed up all necessary data and files before proceeding.
Upon confirmation, the factory reset process will commence and may take some time to complete. Avoid interrupting the process or shutting down your laptop while the reset is in progress.
With the factory reset confirmed, all your data and settings will be erased to restore your Asus Tuf Gaming Laptop to its initial configuration. In the next step, we will guide you through patiently waiting for the reset process to finish.
Step 5: Wait for the Reset Process to Complete
Once you have confirmed the factory reset on your Asus Tuf Gaming Laptop, the reset process will begin. During this step, it’s crucial to exercise patience and allow the reset process to complete without interruption.
The duration of the reset process can vary depending on the model and specifications of your laptop. It may take anywhere from several minutes to an hour or more. It’s essential to avoid turning off your laptop or initiating any other actions that may interrupt the reset process while it is ongoing.
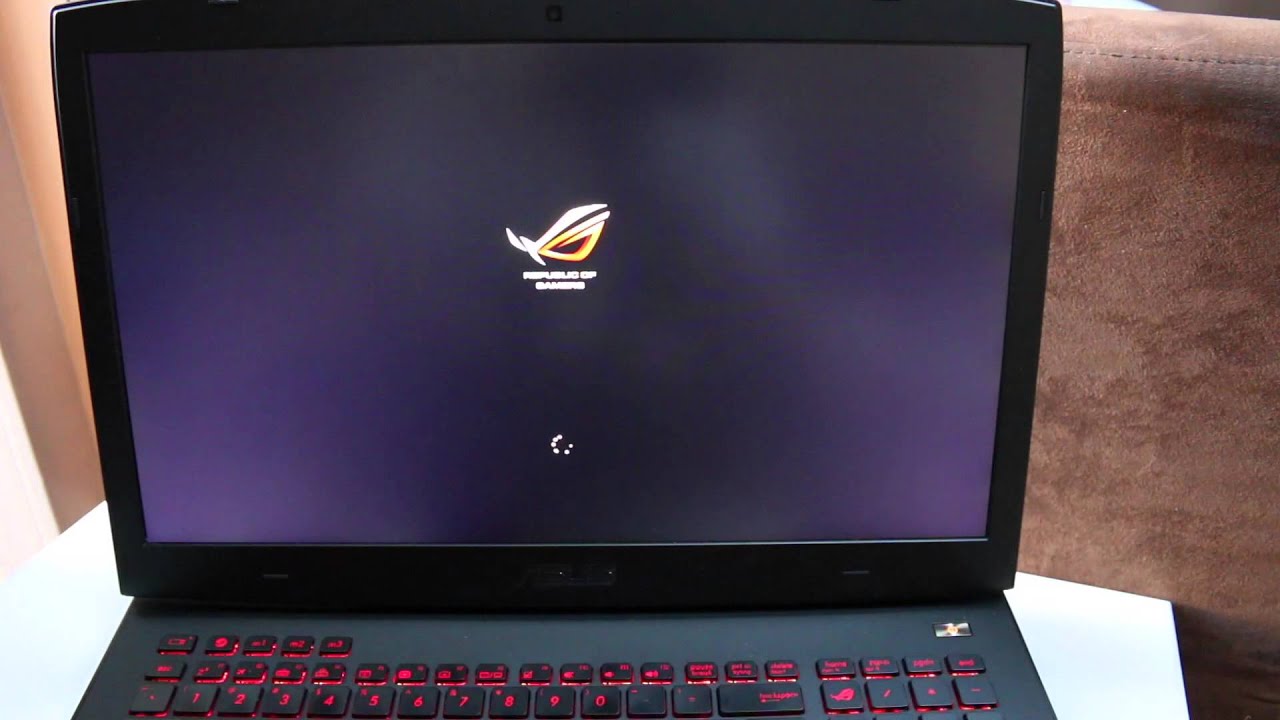
While the reset process is in progress, the screen may go blank or display various progress indicators. This is completely normal, so there’s no need to worry. Just let the process continue until it completes.
It’s important to note that your laptop may restart multiple times during the reset process. This is part of the normal operation as it configures the system and reinstalls the necessary software and drivers.
During this waiting period, take the opportunity to relax or attend to other tasks. Ensure that your laptop remains connected to a power source to prevent any issues that may arise from a low battery level.
Once the reset process is complete, your Asus Tuf Gaming Laptop will reboot and be restored to its original factory settings. At this point, you are ready to move on to the final step and start setting up your laptop once again.
Now that you’ve patiently waited for the reset process to finish, it’s time to proceed with setting up your Asus Tuf Gaming Laptop again. We’ll guide you through the final step in the next section.
Step 6: Set Up Your Asus Tuf Gaming Laptop Again
After completing the factory reset process on your Asus Tuf Gaming Laptop, it’s time to set it up again from scratch. Follow these steps to get your laptop up and running:
- Once the reset process is complete, your laptop will automatically restart. It may take a little longer than usual for the initial startup since it needs to configure the system and install the necessary drivers.
- Follow the on-screen prompts to select your preferred language, region, and keyboard layout. Make sure to choose the appropriate settings that match your location and preferences.
- Next, you will be prompted to connect to a Wi-Fi network. Select your network from the list and enter the necessary credentials to establish a connection. If you don’t have a wireless network available, you can choose to skip this step and connect later.
- Once connected to the internet, your laptop will start downloading and installing any available updates. This is important for ensuring that your laptop is running the latest software and security patches. Allow the updates to install completely.
- After the updates are installed, you will be prompted to sign in with your Microsoft account or create a new account. You can also choose to use a local account if you prefer not to link it to an online account.
- Follow the on-screen prompts to complete the account setup and personalize your laptop’s settings. These settings include privacy preferences, theme selection, and setting up a PIN or password for security.
- Once you have completed the setup process, you will be greeted with the desktop screen of your newly reset Asus Tuf Gaming Laptop. You can begin installing your preferred applications, transferring back your backed-up files, and customizing your laptop to your liking.
Take your time to set up your laptop according to your needs and preferences. Install the necessary software, update drivers, and restore your backed-up data and files.
Congratulations! You have successfully performed a factory reset on your Asus Tuf Gaming Laptop and set it up afresh. Enjoy the fresh start and optimized performance that comes with it.
Remember to regularly back up your important data and keep your laptop updated to maintain a smooth and secure computing experience.
Conclusion
Performing a factory reset on your Asus Tuf Gaming Laptop can be a helpful solution for restoring its performance and resolving software issues. By following the step-by-step guide outlined in this article, you have learned how to back up your important data, access the BIOS menu, select the reset option, confirm the factory reset, patiently wait for the reset process to complete, and set up your laptop again.
It’s important to note that a factory reset will erase all your files, programs, and settings, so it’s crucial to back up your data before initiating the reset. Use external storage, cloud storage services, or network transfer to save your files securely.
Accessing the BIOS menu allows you to choose the reset option and confirm the factory reset. Take your time to navigate the BIOS menu and follow the prompts to initiate the reset.
During the reset process, be patient and avoid interrupting your laptop or turning it off. It may take some time for the reset to complete, including multiple restarts. Allow the process to finish without any interruption.
Once the reset is done, you will need to set up your Asus Tuf Gaming Laptop again. Follow the on-screen instructions to choose your language, connect to a Wi-Fi network, install updates, sign in or create an account, and personalize your settings accordingly.
With a fresh start, optimized performance, and a clean slate, your Asus Tuf Gaming Laptop is ready for you to install your preferred applications, restore your files, and customize it according to your needs and preferences.
Remember to regularly back up your important data and keep your laptop updated to ensure its optimal performance and security.
We hope this guide has been informative and helpful in guiding you through the process of factory resetting your Asus Tuf Gaming Laptop. Enjoy your refreshed and optimized laptop experience!


