Introduction
Wireless charging has revolutionized the way we power our devices. Gone are the days of fumbling with tangled cables and searching for an available outlet. With the advancements in technology, iPhones now support wireless charging, offering a convenient and hassle-free charging solution. If you’re tired of dealing with cords and want to embrace the world of wireless charging, you’re in luck. In this guide, we’ll walk you through the step-by-step process of enabling wireless charging on your iPhone.
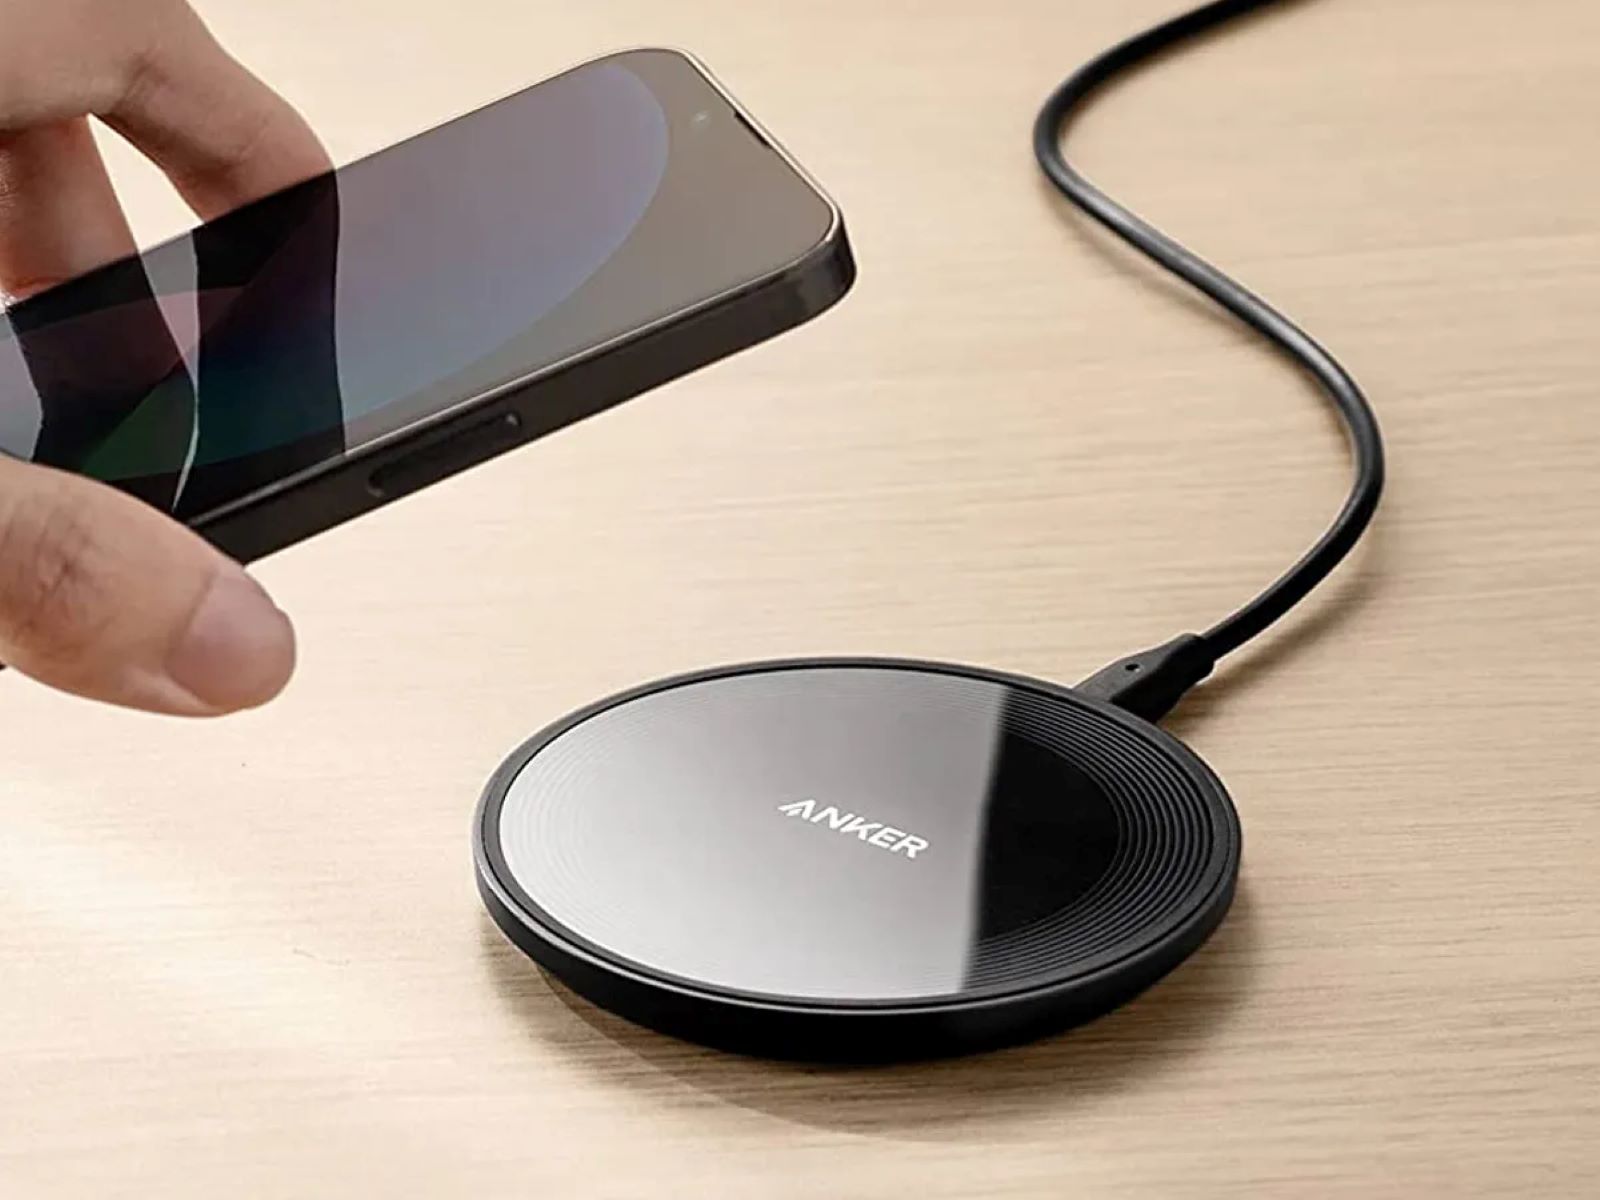
Wireless charging works by using electromagnetic fields to transfer energy between a charging pad or stand and your iPhone. To take advantage of this feature, you’ll need to ensure that your iPhone is compatible with wireless charging and obtain the necessary accessories. With wireless charging, you can conveniently power up your iPhone by simply placing it on a charging pad or stand, eliminating the need for physical connections.
In this comprehensive guide, we’ll cover everything you need to know about enabling wireless charging on your iPhone. From checking compatibility to setting up the charging pad or stand, we’ll provide you with all the information you need to get started. We’ll also address common troubleshooting issues that may arise during the wireless charging process.
So, if you’re ready to ditch the cables and embrace the future of charging, let’s dive into the step-by-step guide on how to enable wireless charging on your iPhone. By the end of this guide, you’ll have a clear understanding of how wireless charging works and be well-equipped to enjoy the convenience it offers.
Step 1: Check if your iPhone is Compatible with Wireless Charging
Not all iPhones are equipped with wireless charging capabilities, so it’s essential to check if your device is compatible before diving into the world of wireless charging. Currently, iPhones starting from the iPhone 8 and iPhone 8 Plus, including the iPhone X, iPhone XR, iPhone XS, iPhone XS Max, iPhone 11, iPhone 11 Pro, iPhone 11 Pro Max, iPhone SE (2nd generation), iPhone 12, iPhone 12 mini, iPhone 12 Pro, and iPhone 12 Pro Max support wireless charging.
To determine if your iPhone is compatible, you can look for the “Qi” symbol on your device or refer to your iPhone’s specifications in the user manual or on the Apple website. If your iPhone is one of the listed models, congratulations! You’re ready to embrace the world of wireless charging. If not, you may need to consider upgrading to a compatible iPhone model or exploring alternative charging options.
It’s worth mentioning that some iPhone models that do support wireless charging may have certain restrictions. For example, the iPhone 8 and iPhone 8 Plus have a glass back, which enables wireless charging but may require a compatible charging pad or stand to facilitate the charging process effectively. Additionally, some iPhone cases may interfere with wireless charging capabilities, so it’s advisable to remove any thick or metallic cases before attempting to charge wirelessly.
Once you’ve confirmed that your iPhone is compatible with wireless charging, you’re ready to move on to the next step: selecting a wireless charging accessory. In the following section, we’ll explore the different types of wireless charging accessories available and help you choose the one that suits your needs.
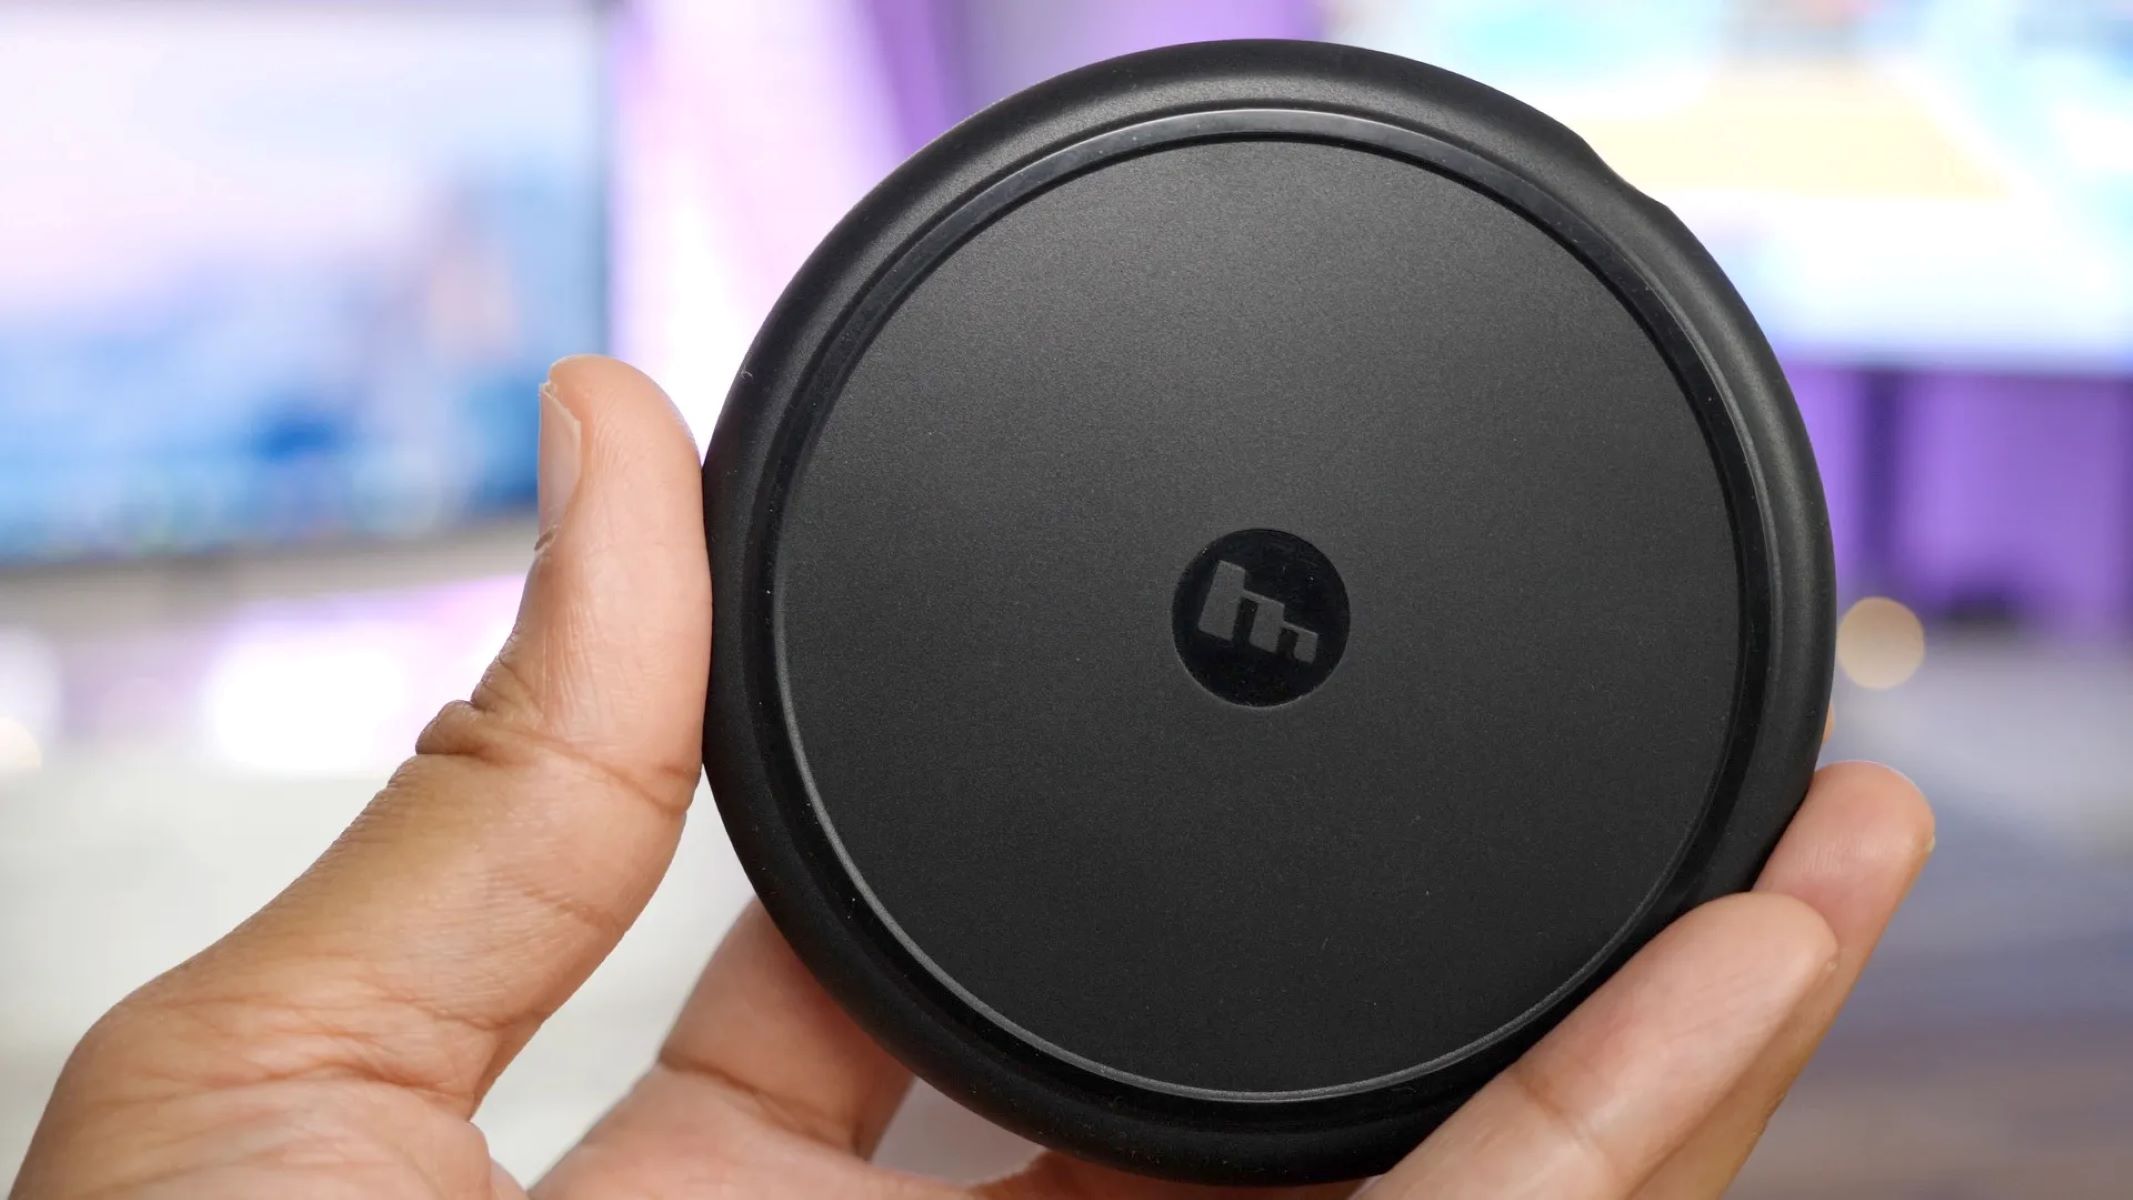
Step 2: Choose a Wireless Charging Accessory
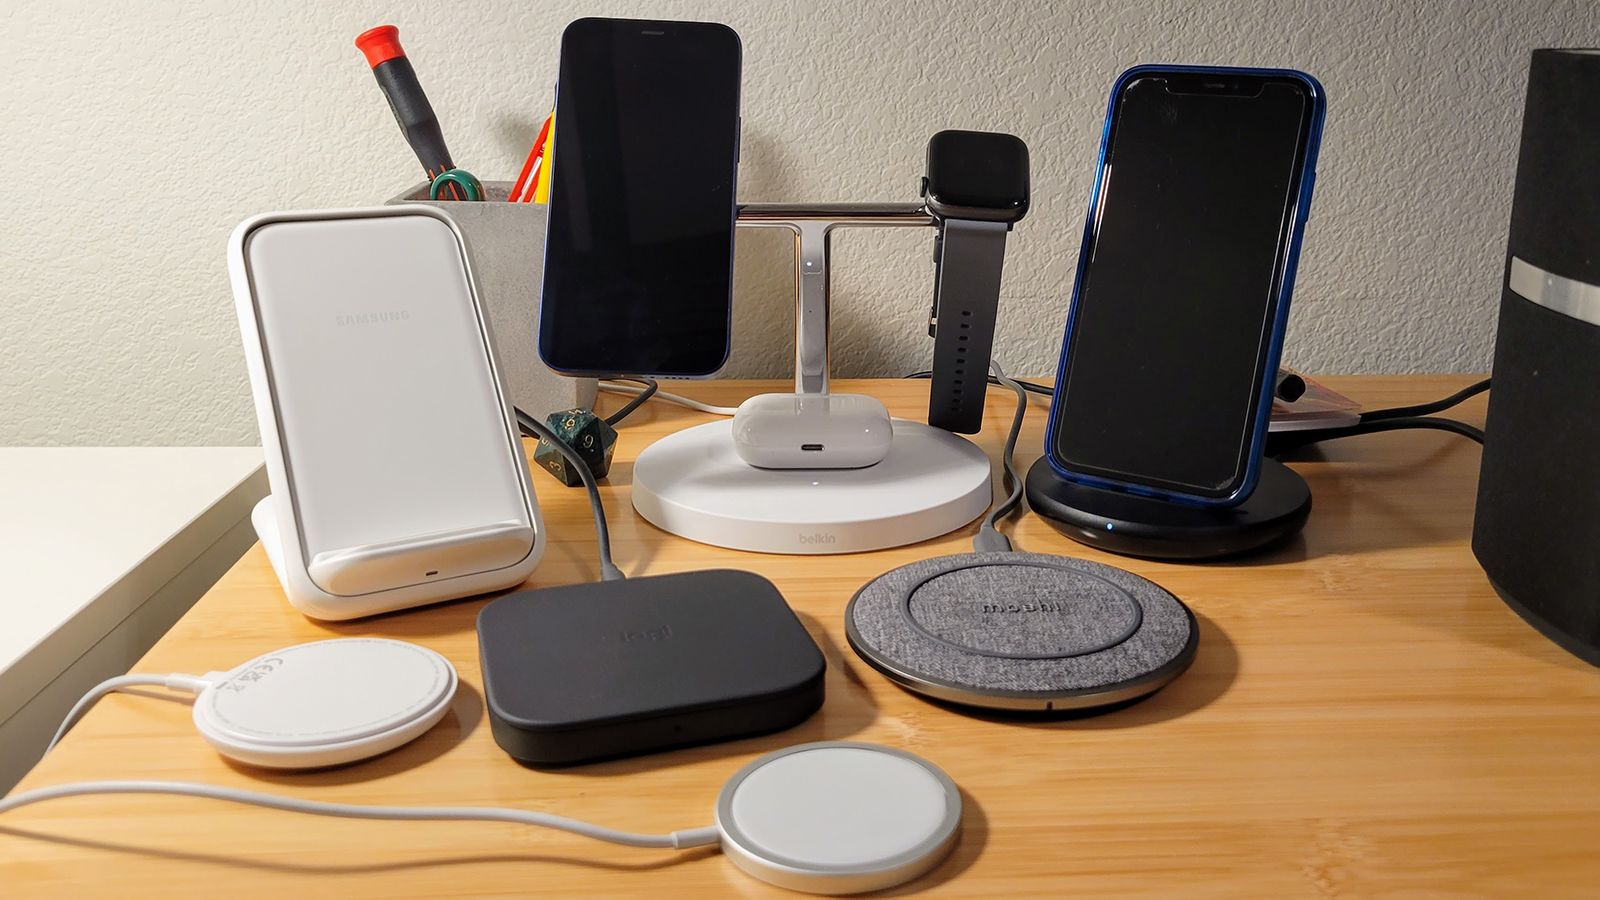
Now that you know your iPhone is compatible with wireless charging, it’s time to choose the right wireless charging accessory. There are a variety of options available in the market, ranging from wireless charging pads to stands and even multi-device chargers. Consider the following factors to ensure you select the best accessory for your needs:
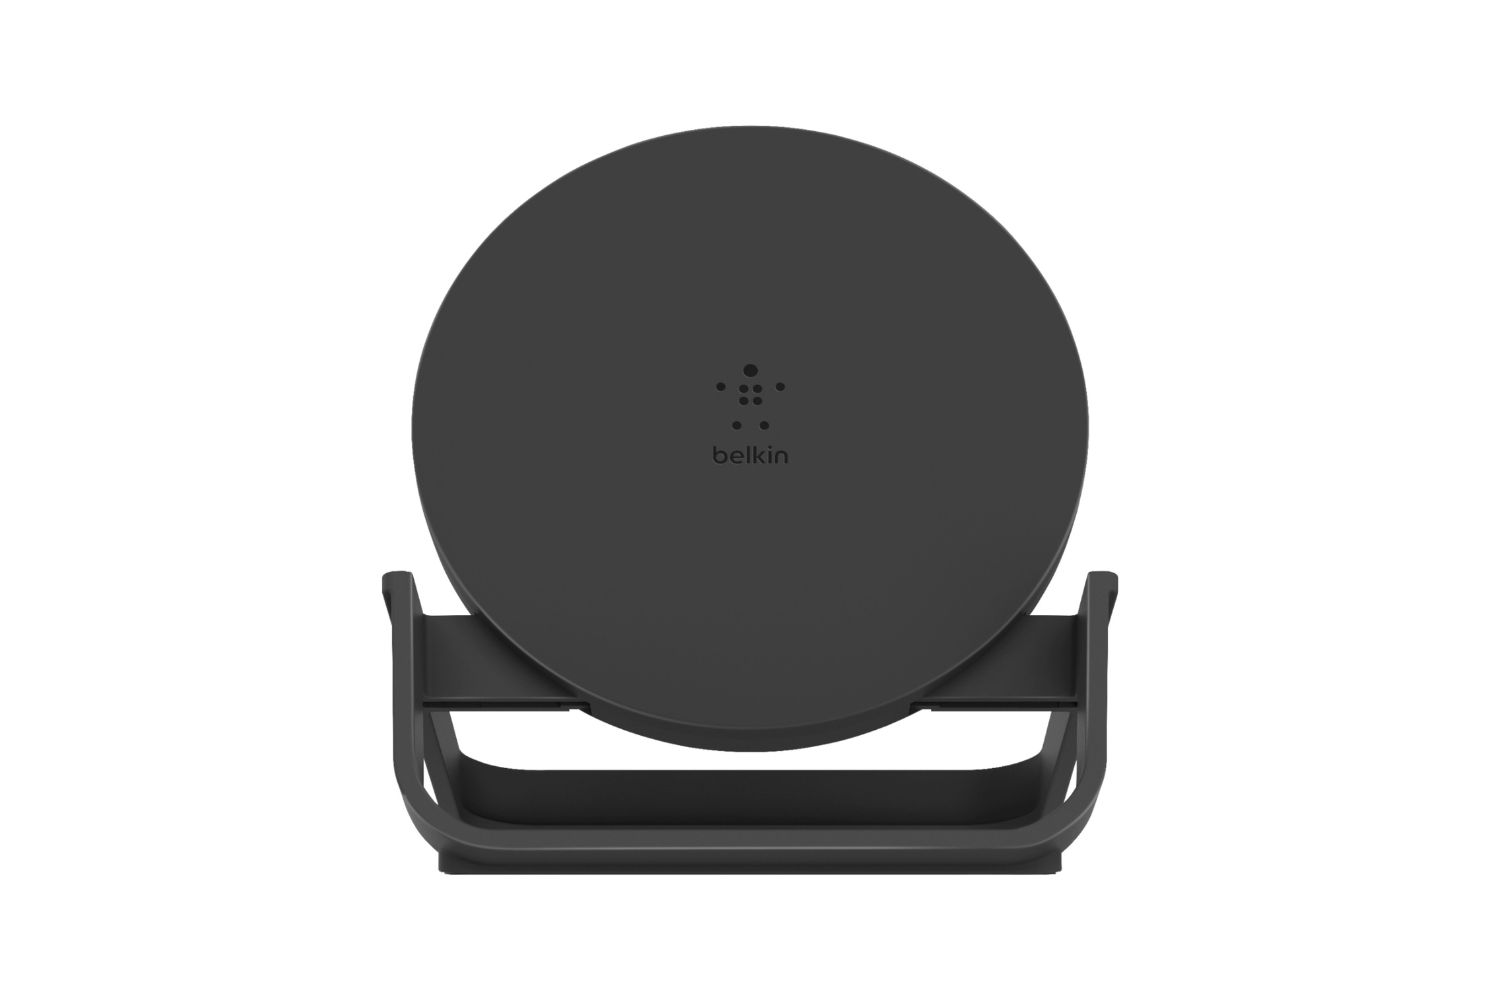
- Charging Pad or Stand: Decide whether you prefer a charging pad or a stand. A charging pad lays flat and allows you to place your iPhone horizontally or vertically, while a stand props up your device at an angle, making it convenient for viewing notifications and using Face ID during charging.
- Charging Speed: Check the charging speed supported by the wireless charging accessory. Some chargers offer standard charging, while others provide fast charging capabilities, which can significantly reduce the charging time of your iPhone.
- Compatibility: Ensure that the wireless charging accessory you choose is compatible with your iPhone model and meets the requirements of your iOS version. Compatibility information is usually provided by the manufacturer or on the packaging of the accessory.
- Design and Aesthetics: Consider factors such as the design, size, and color of the wireless charging accessory. You’ll want an accessory that complements your personal style and fits seamlessly into your home or office environment.
- Brand and Quality: Research different brands and read reviews to ensure you select a reliable and high-quality wireless charging accessory. Opting for well-known and reputable brands can provide peace of mind and ensure a better overall charging experience.
Once you have a clear idea of your preferences and requirements, start exploring different options online or visit electronics stores to physically examine the wireless charging accessories. Don’t hesitate to ask for recommendations from friends, family, or online communities to gather insights and make an informed decision.
Remember, choosing a wireless charging accessory that suits your needs and preferences will enhance your experience and ensure seamless and efficient charging for your iPhone. Once you’ve found the perfect accessory, move on to the next step: setting up the wireless charging pad or stand.
Step 3: Set up the Wireless Charging Pad or Stand
With your wireless charging accessory in hand, it’s time to set up the charging pad or stand. Follow these steps to ensure a successful setup:
- Read the Manual: Start by reading the instructions provided by the manufacturer. Each wireless charging accessory may have unique setup instructions and requirements.
- Connect the Power Adapter: Plug in the power adapter into a wall outlet or a power source that is compatible with the charging pad or stand. Make sure the power cable is securely connected to both the adapter and the charging accessory.
- Position the Charging Pad or Stand: Place the charging pad or stand on a flat and stable surface. Ensure that there’s enough space for your iPhone to fit comfortably without any obstacles.
- Connect the Charging Cable: Depending on the charging accessory, you may need to connect a charging cable from the charging pad or stand to an available port on your iPhone. Always use the cable provided by the manufacturer or a certified third-party cable to avoid any compatibility issues.
- Secure the Cable: Carefully tuck the charging cable into any cable management features or secure it in a way that prevents it from moving or getting tangled. This helps keep your setup organized and minimizes the risk of accidentally disconnecting the cable while charging.
- Ensure Proper Alignment: For charging pads, make sure that your iPhone is correctly aligned with the charging coils on the pad. If you’re using a charging stand, position your iPhone in the recommended charging position indicated by the manufacturer.
By following these setup instructions, you’ll ensure that your wireless charging pad or stand is properly configured for charging your iPhone. With the setup complete, you’re now ready to move on to the next step: connecting the wireless charging pad or stand to power.
Step 4: Connect the Wireless Charging Pad or Stand to Power
Now that you have set up your wireless charging pad or stand, it’s time to connect it to a power source. Follow these steps to ensure a proper connection:
- Locate a Power Outlet: Find a nearby power outlet or power strip that you can use to connect the charging pad or stand.
- Plug in the Power Adapter: Take the power adapter that came with your wireless charging accessory and insert it into the designated port on the pad or stand. Ensure that the adapter is securely connected.
- Connect the Power Cord: Take the power cord that extends from the charging pad or stand and plug it into the power outlet or power strip. Make sure that the connection is tight and secure.
- Verify the Power Source: Check that the power source is providing electricity by verifying that the indicator light on the charging pad or stand is illuminated. This indicates that the wireless charging pad or stand is receiving power.
During this step, it is crucial to follow the manufacturer’s instructions regarding power connections and usage. Different wireless charging accessories may have specific requirements and recommendations. Consider these general tips to ensure a safe and efficient power connection:
- Avoid overloading the power outlet: Do not plug in too many devices into a single power outlet or power strip. This can lead to electrical hazards and potentially cause damage to your devices.
- Use a surge protector: To protect your charging pad or stand (and your iPhone) from power surges, consider using a surge protector. This will help prevent any unforeseen electrical surges from damaging your devices.
- Keep the power cord away from obstructions: Ensure that the power cord is not twisted, bent, or crushed by other objects. This will prevent any damage to the cord and maintain a secure power connection.
- Regularly check the power connection: Periodically inspect the power connection to ensure there are no loose or damaged parts. A faulty power connection can lead to unstable charging or pose a risk of electrical hazards.
Once you have successfully connected the wireless charging pad or stand to a power source, you’re ready to move on to the next step: placing your iPhone on the wireless charging pad or stand to initiate the charging process.
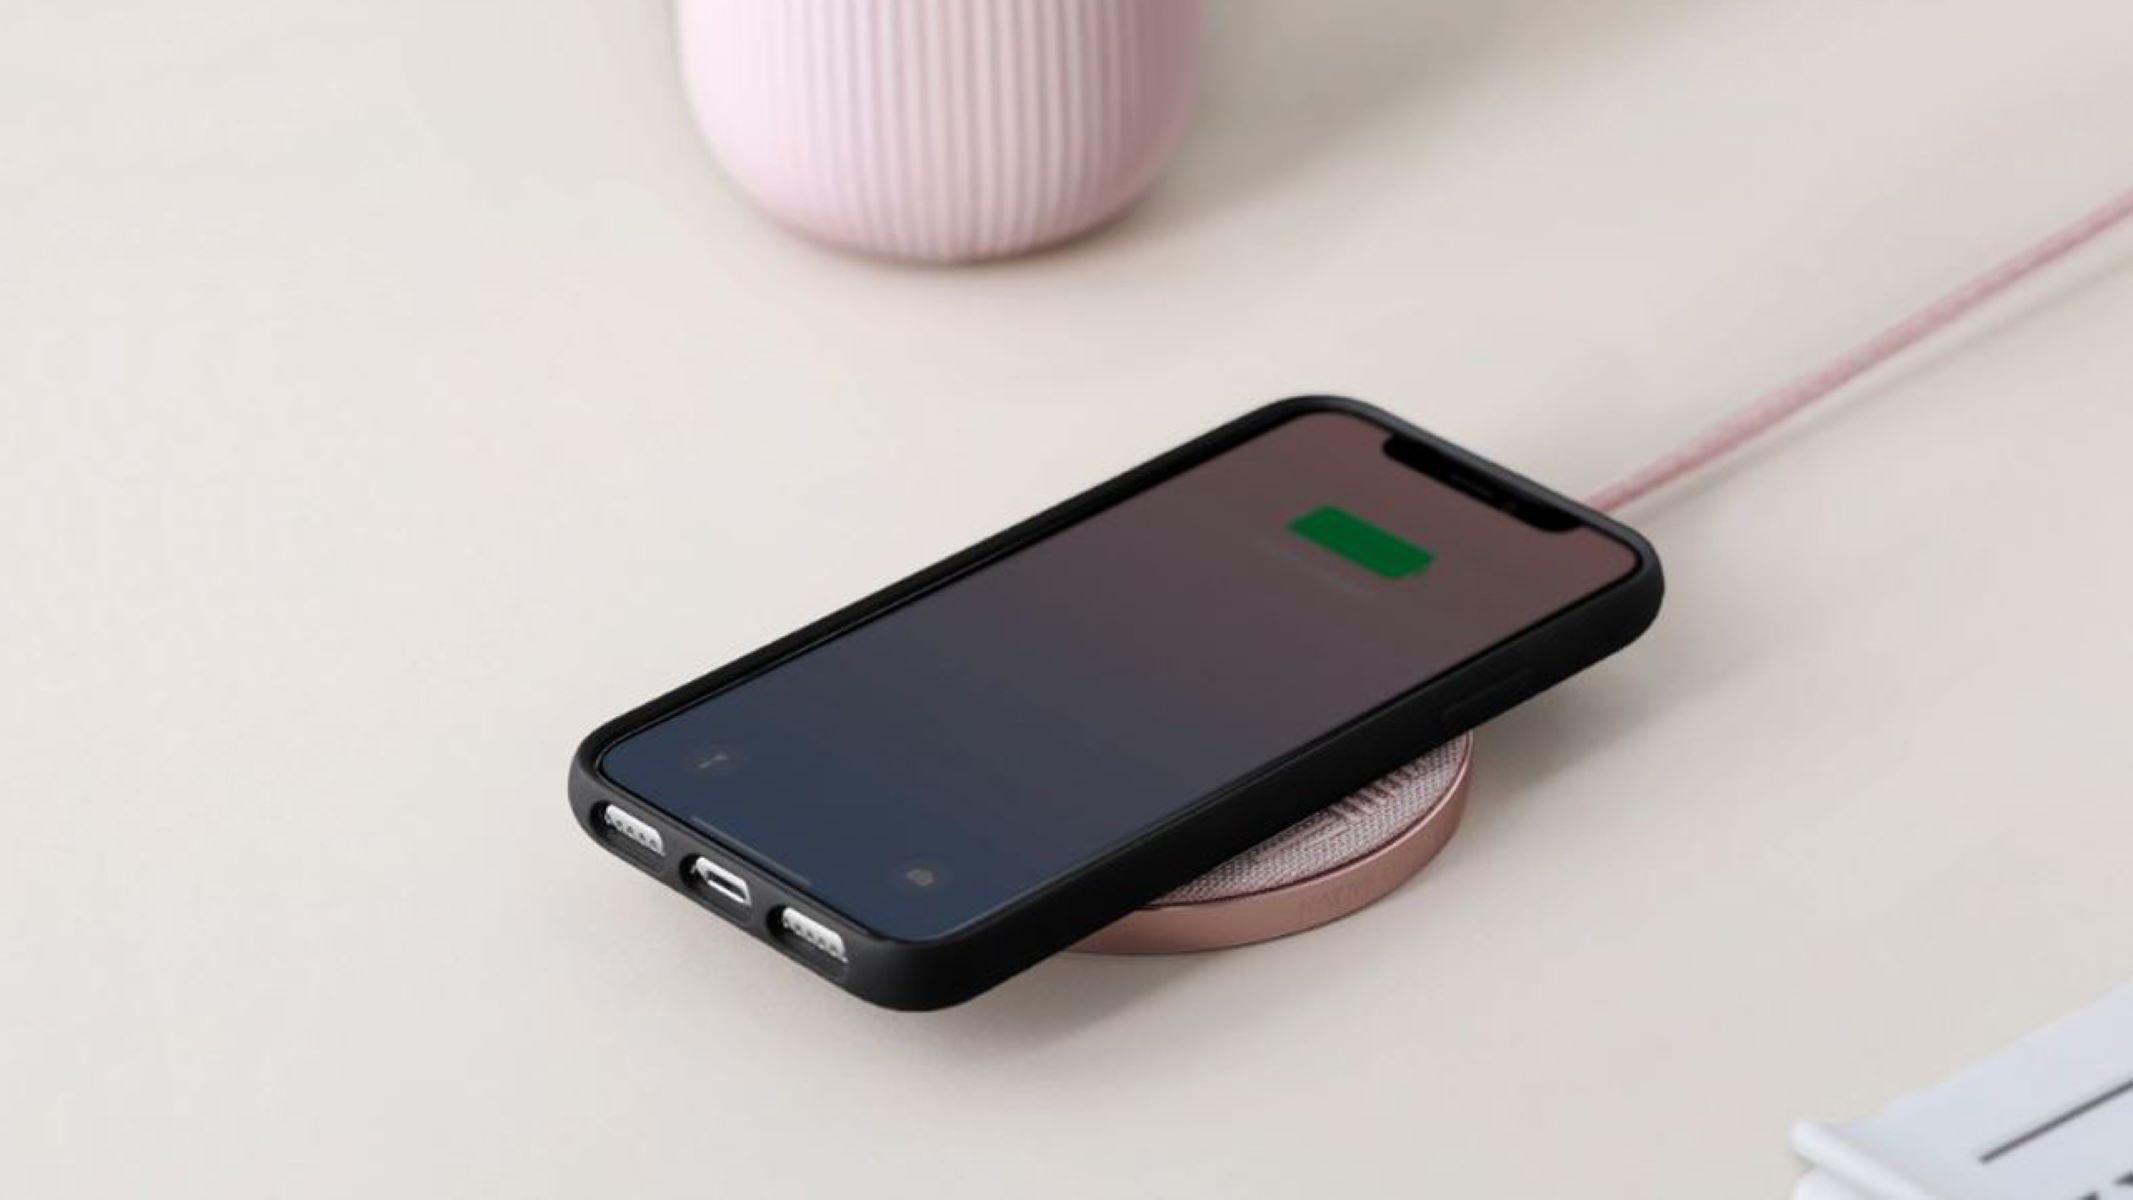
Step 5: Place your iPhone on the Wireless Charging Pad or Stand
Now that you have set up and connected the wireless charging pad or stand to power, it’s time to place your iPhone on the charging surface to initiate the wireless charging process. Follow these steps to ensure proper placement:
- Remove the iPhone Case (if necessary): If you have a thick or metallic case on your iPhone, consider removing it before placing your device on the charging pad or stand. Some cases can interfere with wireless charging and prevent proper charging alignment.
- Position the iPhone: Align your iPhone with the charging area of the pad or stand. If you’re using a charging pad, place your iPhone in the middle of the pad, ensuring that it is properly aligned with the charging coils. For a charging stand, simply position your iPhone in the recommended orientation as indicated by the manufacturer.
- Ensure Proper Alignment: Make sure your iPhone’s charging port aligns with the wireless charging pad or stand’s charging coil. A proper alignment is essential for effective charging. You may hear or feel a slight magnetic pull as the iPhone connects with the charging surface.
- Adjust the Position if Necessary: If your iPhone doesn’t seem to be charging, or if you notice intermittent charging, try adjusting the position slightly to improve the alignment. It may take a few tries to find the optimal placement.
Once your iPhone is properly placed on the wireless charging pad or stand, the charging process should begin automatically. Depending on the charging accessory and your iPhone model, you may see a charging indicator on your iPhone’s screen or an LED light on the charging pad or stand to indicate that charging is in progress.
It’s important to note that wireless charging may be slightly slower compared to charging with a traditional cable, especially if you opt for standard charging. However, the convenience and ease of use make it a worthwhile trade-off.
During the charging process, avoid moving or disturbing your iPhone to maintain a stable connection and prevent interruptions. You can continue to use your iPhone normally while it is charging, such as checking notifications, making calls, or using apps, as long as it remains in contact with the wireless charging pad or stand.
Now that your iPhone is successfully placed on the wireless charging pad or stand, you can move on to the next step: checking if your iPhone is wirelessly charging and ensuring everything is working as expected.
Step 6: Check if your iPhone is Charging Wirelessly
After placing your iPhone on the wireless charging pad or stand, it’s essential to verify if your device is successfully charging wirelessly. Here are some steps to check if your iPhone is charging:
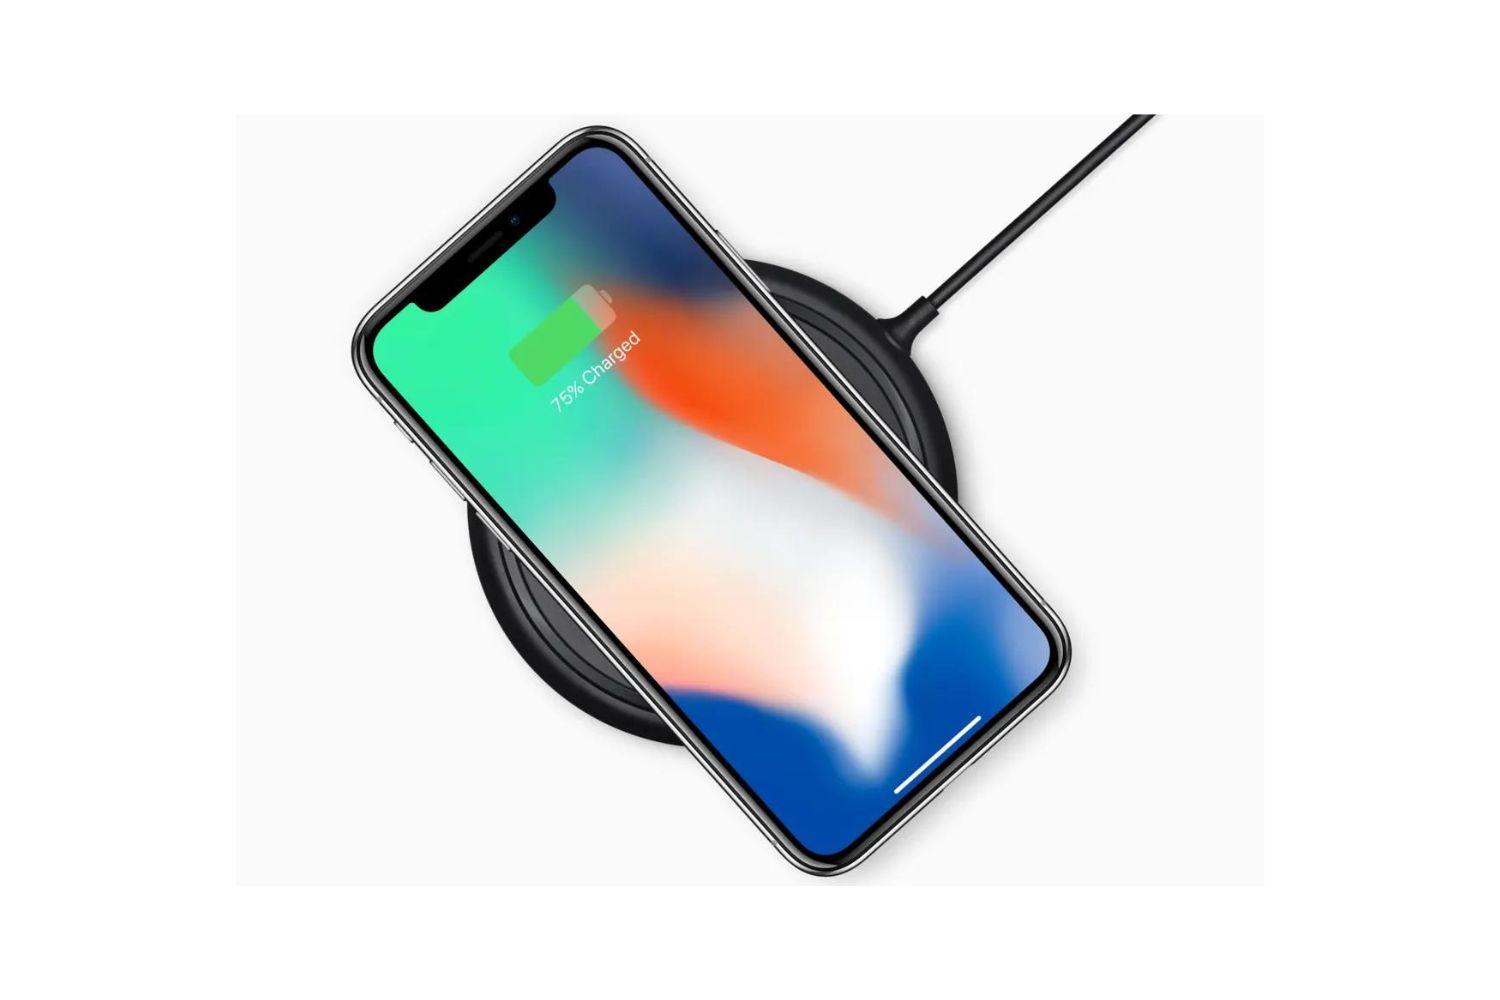
- Look for the Charging Indicator: If your wireless charging pad or stand has an LED indicator, check if it lights up when your iPhone is placed on it. This indicates that the charging process has started. Some charging pads may also have an indicator on your iPhone’s lock screen that shows the charging status.
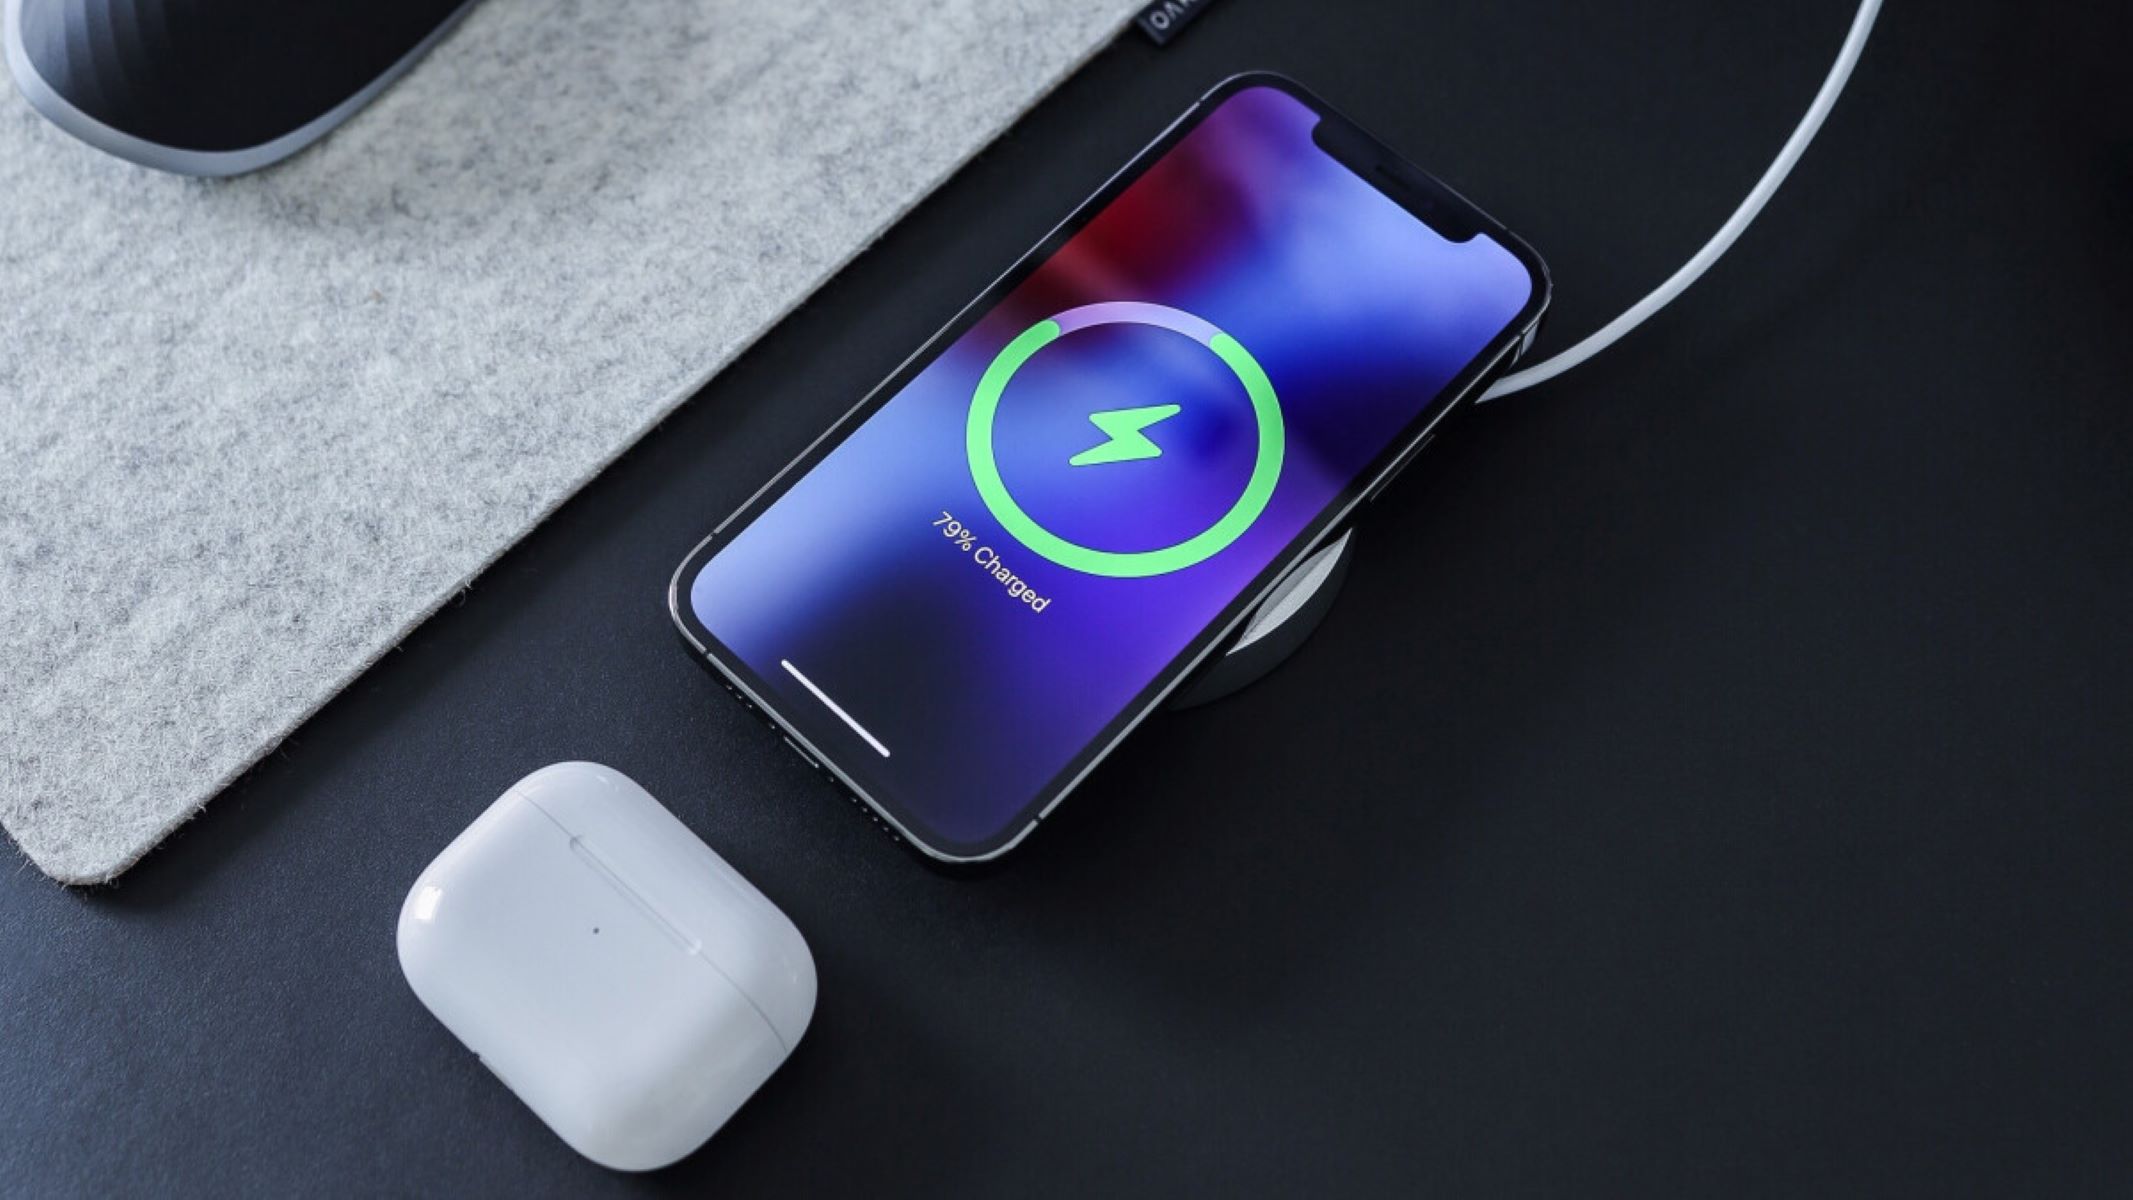
- Check the Charging Animation: When your iPhone begins charging wirelessly, you may see a battery icon animation on the lock screen or the home screen. This animation indicates that your iPhone is receiving power and is in the process of charging.
- Inspect the Battery Percentage: If your iPhone is connected to a wireless charging pad or stand and successfully charging, you should see an increase in the battery percentage over time. This indicates that your device is wirelessly charging and the battery is getting replenished.
Keep in mind that the charging speed may vary depending on several factors, including the wireless charging accessory and its capabilities, the power output, and the current battery level of your iPhone. It’s normal for the charging process to be slightly slower compared to traditional wired charging methods.
If you notice that your iPhone isn’t charging wirelessly or the charging is intermittent, consider the following troubleshooting steps:
- Double-check the Placement: Ensure that your iPhone is properly aligned and positioned on the charging pad or stand. Make sure the device’s charging coil is correctly aligned with the wireless charging pad’s coil.
- Remove Obstacles: Remove any objects or obstacles between your iPhone and the wireless charging pad or stand. Objects such as credit cards or metal items can interfere with wireless charging and disrupt the charging process.
- Clean the Charging Surface: If the charging pad or your iPhone’s charging coil is dirty or obstructed by dust or debris, it can affect the charging efficiency. Clean both surfaces gently using a soft, lint-free cloth to remove any debris or dirt that may be interfering with the charging process.
- Troubleshoot Connection Issues: If your iPhone still isn’t charging wirelessly, try disconnecting and reconnecting the charging pad or stand to the power source. Restart your iPhone and ensure that it has the latest software updates installed. You can also try using a different power adapter or charging cable, if applicable.
By following these steps and troubleshooting any potential issues, you can ensure that your iPhone is charging wirelessly and enjoy the convenience of a cable-free charging experience.
Finally, in the next step, we’ll address some common wireless charging issues and provide additional troubleshooting tips to resolve them.
Step 7: Troubleshooting Common Wireless Charging Issues
While wireless charging is a convenient and efficient way to power your iPhone, you may encounter some common issues. Here are some troubleshooting tips to help you resolve these problems:
- Ensure Proper Alignment: If your iPhone is not charging wirelessly, double-check that it is properly aligned and positioned on the charging pad or stand. Adjust the placement and angle as needed to ensure a good connection between the iPhone’s charging coil and the wireless charging accessory.
- Remove Obstacles: Take off any thick or metallic case that may interfere with wireless charging. Additionally, remove any metal objects, credit cards, or magnetic mounts near the charging area, as these can disrupt the charging process.
- Clean Charging Surfaces: Dust, debris, or dirt on the charging pad or your iPhone’s charging coil can hinder wireless charging. Gently wipe both surfaces with a soft, lint-free cloth to ensure a clean connection between the two.
- Restart iPhone and Charging Accessory: Restarting your iPhone and the wireless charging accessory can help resolve minor issues. Power off your iPhone, unplug the charging pad or stand from the power source, wait for a few seconds, and then reconnect and power on everything.
- Use Genuine and Certified Accessories: Ensure that you’re using genuine Apple or certified third-party accessories that are specifically designed for wireless charging. Poor-quality or incompatible accessories can result in inconsistent or unreliable charging performance.
- Update iOS: Make sure your iPhone is running the latest version of iOS. Apple often releases software updates that address wireless charging-related issues and improve compatibility with accessories.
- Try a Different Power Source: If you’re experiencing charging issues, try connecting the wireless charging pad or stand to a different power outlet or USB port. A faulty power source can cause charging problems.
- Seek Professional Help: If you’ve tried the above troubleshooting steps and your iPhone still doesn’t charge wirelessly, reach out to Apple Support or the manufacturer of your wireless charging accessory for further assistance.
By following these troubleshooting tips, you can overcome common wireless charging issues and ensure a smooth and reliable charging experience for your iPhone. Remember, wireless charging is a relatively new technology, and occasional issues may arise, but with proper troubleshooting, you can enjoy the convenience it offers.
With the troubleshooting tips covered, you have all the necessary knowledge to enable and troubleshoot wireless charging on your iPhone. Embrace the wireless charging revolution and enjoy the convenience of cable-free power for your device.
Conclusion
Wireless charging has undoubtedly transformed the way we recharge our iPhones, offering convenience, ease of use, and a tangle-free experience. By following the step-by-step guide in this article, you can enable wireless charging on your compatible iPhone with confidence.
We began by checking the compatibility of your iPhone with wireless charging, ensuring that it is one of the supported models. Next, we explored the various wireless charging accessory options available and provided tips for selecting the right one for your needs. We then covered the setup process, including connecting the wireless charging pad or stand to power and placing your iPhone on it correctly.
Checking if your iPhone is charging wirelessly and troubleshooting common issues were also crucial steps covered in this guide. By following the troubleshooting tips and addressing common issues, you can overcome any obstacles that may arise during the wireless charging process.
With wireless charging enabled on your iPhone, you can experience the convenience of effortless charging simply by placing your device on the charging pad or stand. No more fumbling with cables or searching for available power outlets while on the go.
Remember to use genuine and certified accessories, keep your charging surfaces clean, and stay up to date with iOS software updates to ensure the best wireless charging experience. Should you encounter any difficulties, don’t hesitate to seek assistance from Apple Support or the manufacturer of your wireless charging accessory.
Now that you’re equipped with the knowledge and understanding of how to enable and troubleshoot wireless charging on your iPhone, it’s time to enjoy the benefits of cable-free charging. Embrace the convenience and simplicity of wireless charging, and say goodbye to the hassle of tangled cords forever.