Introduction
Welcome to this guide on how to eliminate vibrations in your 3D printer. If you’re experiencing shaky prints or unwanted vibrations during the printing process, this article is here to help you troubleshoot and address this issue. Vibrations in a 3D printer can negatively impact the quality and precision of your prints, leading to imperfections and failed prints. By understanding the causes behind these vibrations and implementing the right techniques, you can achieve smoother and more accurate prints.
One of the key factors that contribute to vibrations in a 3D printer is its mechanical structure. The printer’s frame, as well as the components within it, can generate and transmit vibrations during the printing process. These vibrations can be caused by various factors, such as unbalanced weight distribution, loose screws or belts, and even inadequately calibrated stepper motors. Addressing these issues can significantly reduce vibrations and improve the overall stability of your printer.
In this guide, we will explore various methods to eliminate vibrations in your 3D printer. We will start by understanding the causes of vibrations and how they impact print quality. Then, we will discuss the importance of choosing a stable base for your printer and how it can minimize vibrations. We’ll delve into tightening all the screws and belts to ensure a secure and rigid frame. Balancing the weight distribution and calibrating the stepper motors will also be covered to further enhance stability. Additionally, we’ll explore updating the firmware and investing in anti-vibration accessories as potential solutions.
Finally, we’ll examine the impact of print speed on vibrations and discuss how reducing it can lead to better print outcomes. By following these techniques, you’ll be on your way to achieving smoother and more precise 3D prints.
Understanding the Causes of Vibrations
Vibrations in a 3D printer can be caused by several factors, and understanding these causes is essential in effectively eliminating them. When a printer is in operation, movements and vibrations are generated by both its mechanical components and the printing process itself.
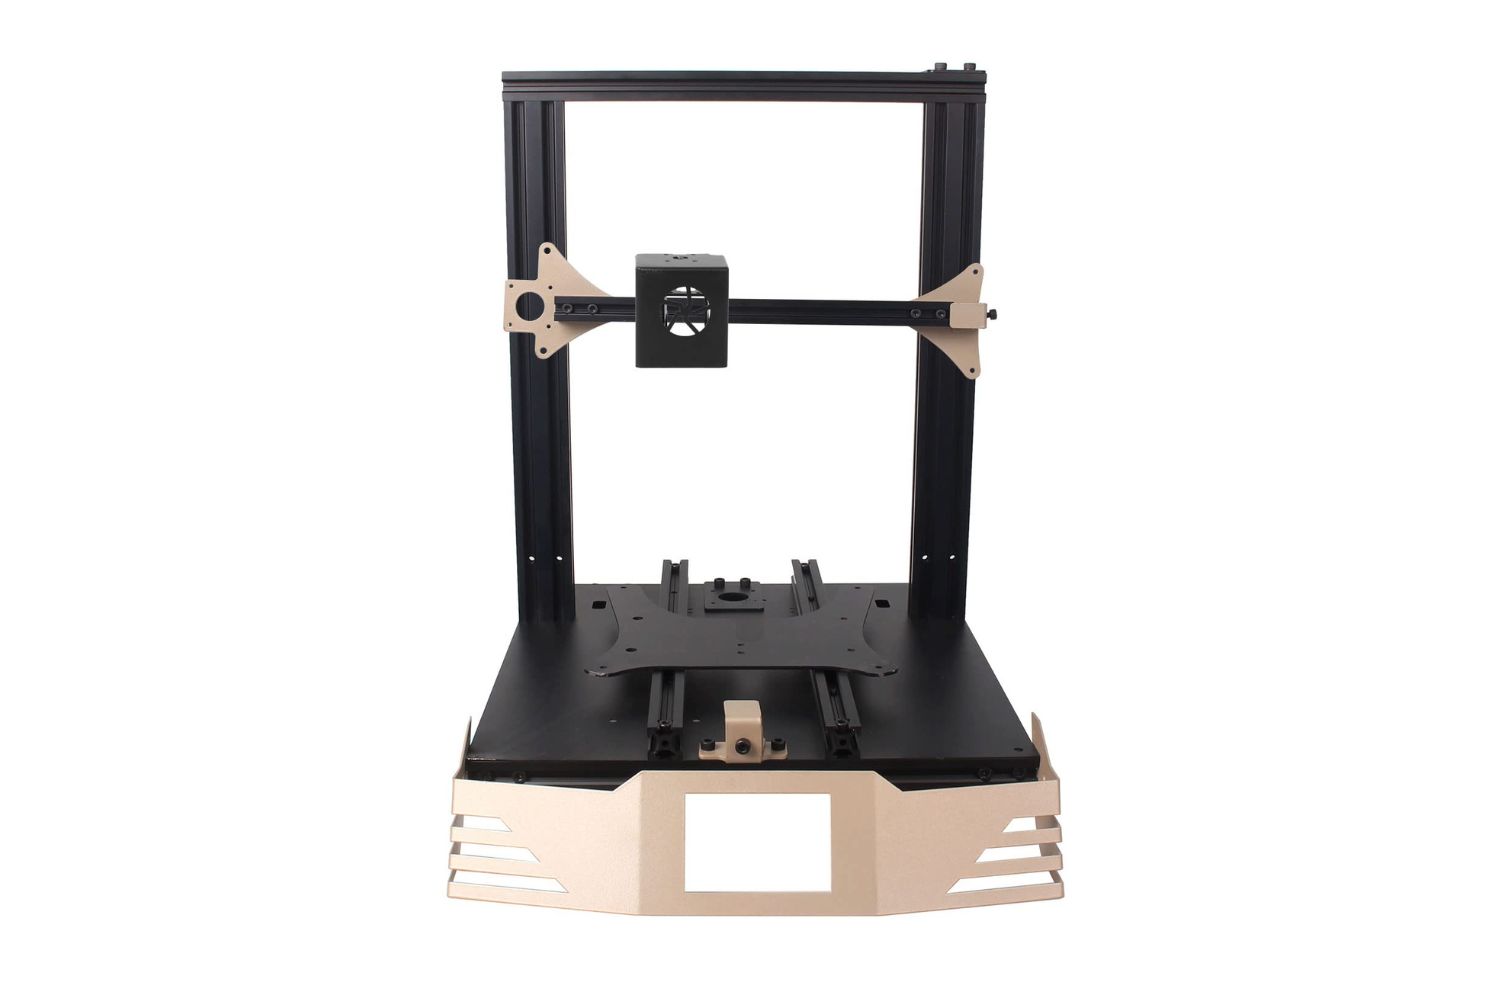
One of the primary sources of vibrations is the printer’s frame or chassis. If the frame is not sturdy and rigid, it can easily vibrate and transfer those vibrations to the printed object. This is particularly true for printers with frames made of lightweight materials such as acrylic or thin metal. Upgrading to a more robust frame, made of materials like aluminum or steel, can significantly reduce vibrations.
Another factor contributing to vibrations is the improper alignment and tension of the screws and belts within the printer. Loose screws can cause the printer’s components to shift and vibrate during operation. Similarly, loose belts can introduce unwanted movements and shakes. Regularly checking and tightening all the screws and belts is crucial in minimizing vibrations and ensuring a stable print environment.
Uneven weight distribution is another common cause of vibrations. If the printer’s weight is not evenly distributed, it can lead to imbalanced movements and vibrations. This imbalance can be caused by various factors, such as an unevenly mounted extruder or an improperly placed filament spool. By repositioning heavy components and ensuring a symmetrical weight distribution, you can mitigate vibrations and achieve smoother prints.
Additionally, the stepper motors, which control the movement of the printer’s axes, can also contribute to vibrations if not properly calibrated. Inadequate calibration can result in jerky movements and unsteady printing. Calibrating the stepper motors ensures proper alignment and smooth motion, ultimately reducing vibrations and improving print quality.
It’s important to note that the type and orientation of the printed object can also impact vibrations. Objects with large overhangs, intricate details, or tall structures may induce vibrations due to rapid changes in direction or increased movement. Adjusting the print settings, such as reducing the print speed or adding support structures, can help alleviate these vibrations and improve print quality.
By understanding these various causes of vibrations, you’ll be better equipped to identify and address the specific issues in your 3D printer. In the following sections, we will delve deeper into each solution to help you eliminate vibrations and achieve optimal print results.
Choosing a Stable Base for Your 3D Printer
The foundation of your 3D printer plays a crucial role in minimizing vibrations and ensuring stable prints. A weak or unstable base can exacerbate vibrations and lead to poor print quality. Therefore, it is essential to carefully consider and optimize the base of your printer.
When selecting a base for your 3D printer, prioritize stability above all else. A sturdy and rigid surface is critical to minimizing vibrations. Avoid using flimsy tables or uneven surfaces that can wobble during the printing process. Instead, opt for a solid workbench or a dedicated printer stand that can provide a stable foundation for your printer.
Another aspect to consider is the size of the base. Ensure that it is large enough to accommodate your printer comfortably without any overhang. This will prevent any unnecessary movement or instability during printing. If your printer comes with adjustable feet, make sure to level them properly to maintain a balanced position and reduce vibrations.
In addition to selecting an appropriate base, you can further enhance stability by investing in anti-vibration materials. Anti-vibration pads or mats can be placed under the printer to absorb and dampen vibrations. These materials help to isolate the printer from external disturbances, such as footsteps or nearby machinery, ultimately leading to smoother prints.
Finally, consider the location of your printer. Avoid placing it near sources of vibrations, such as heavy machinery or speakers. Vibrations can easily transfer from these sources to your printer, causing unwanted shakes and compromises in print quality. Find a quiet and vibration-free area in your workspace to ensure the best possible printing conditions.
In summary, choosing a stable base for your 3D printer is essential in minimizing vibrations and ensuring optimal print results. Prioritize a sturdy and rigid surface, avoiding flimsy tables or uneven surfaces. Opt for a dedicated printer stand or a solid workbench that can provide stability. Utilize anti-vibration materials to further dampen vibrations, and ensure the location of your printer is away from sources of vibrations. By giving careful consideration to the base of your printer, you will lay the foundation for successful and vibration-free 3D printing.
Tightening All the Screws and Belts
A common cause of vibrations in a 3D printer is loose screws and belts. Over time, vibrations and constant movement can cause these components to become loose, leading to unwanted shakes and instability during printing. Therefore, regularly checking and tightening all the screws and belts is essential to maintain a stable and reliable printer.
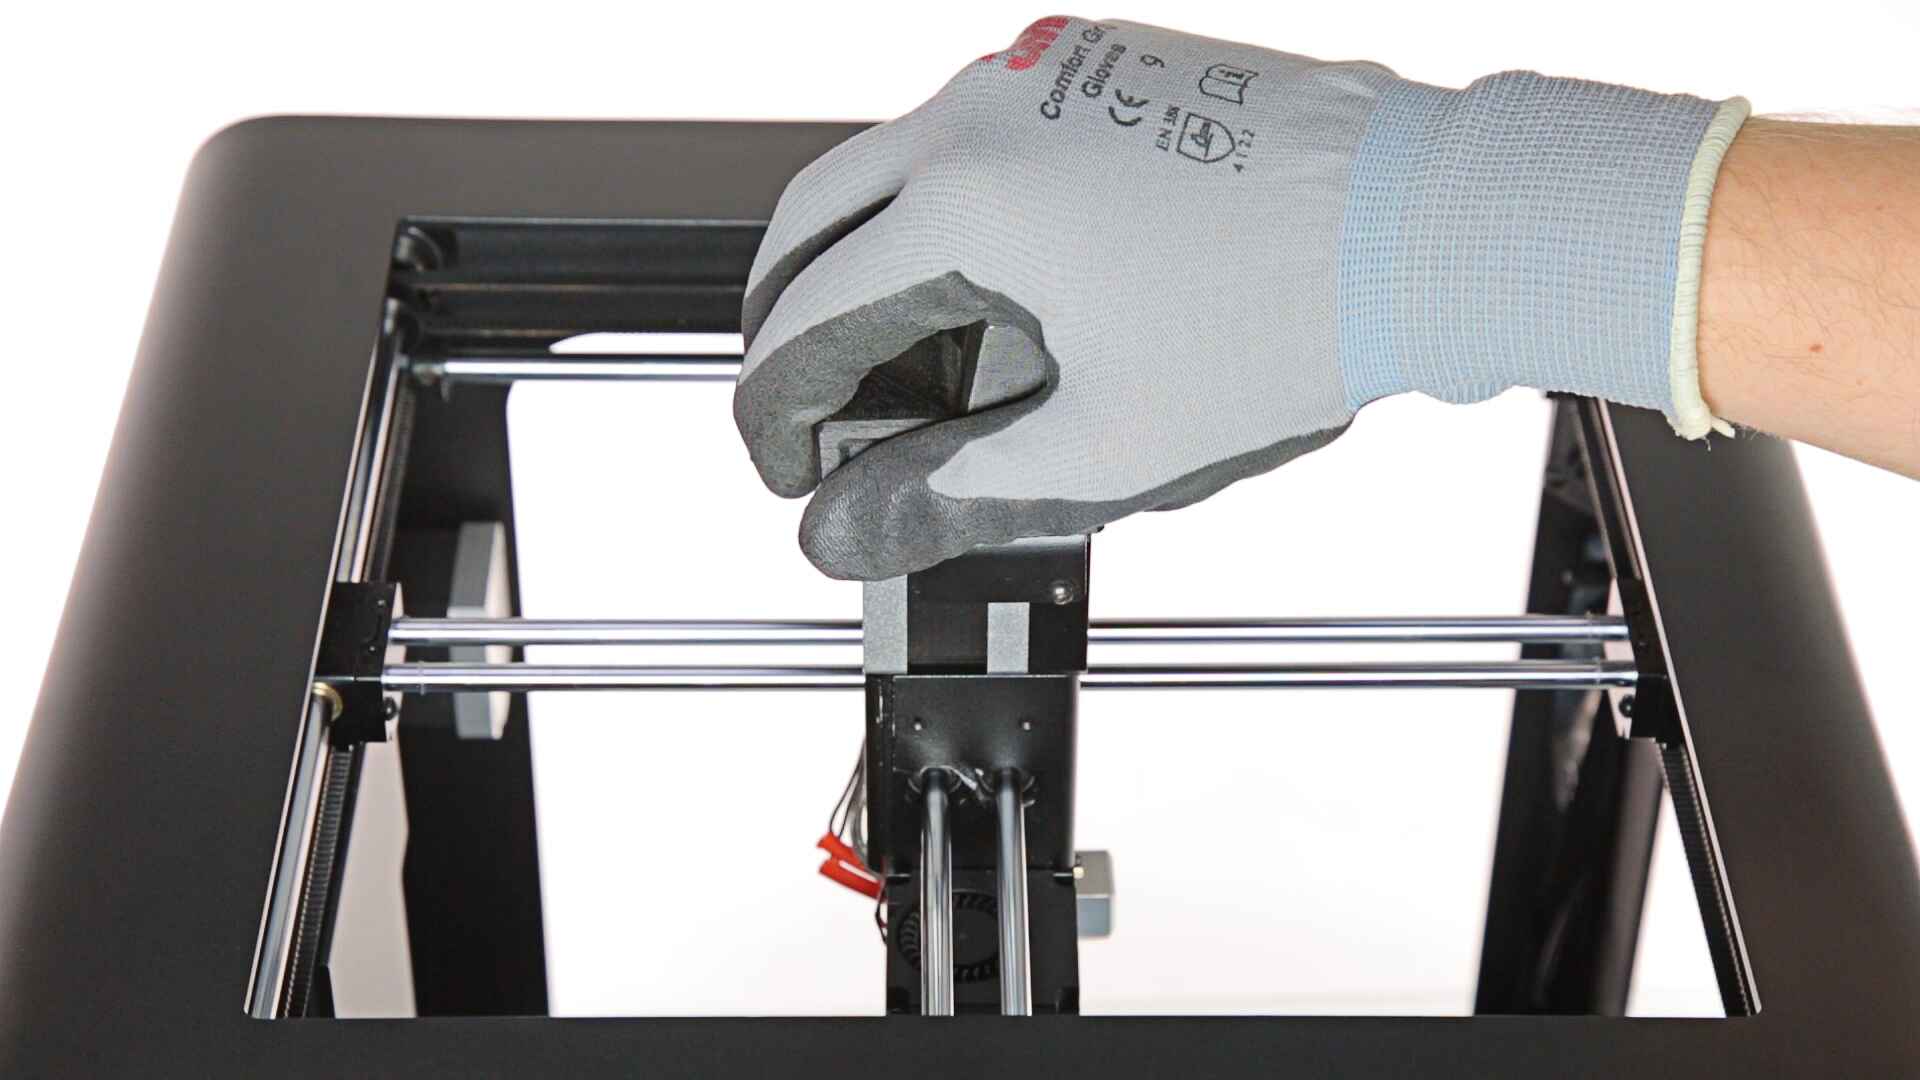
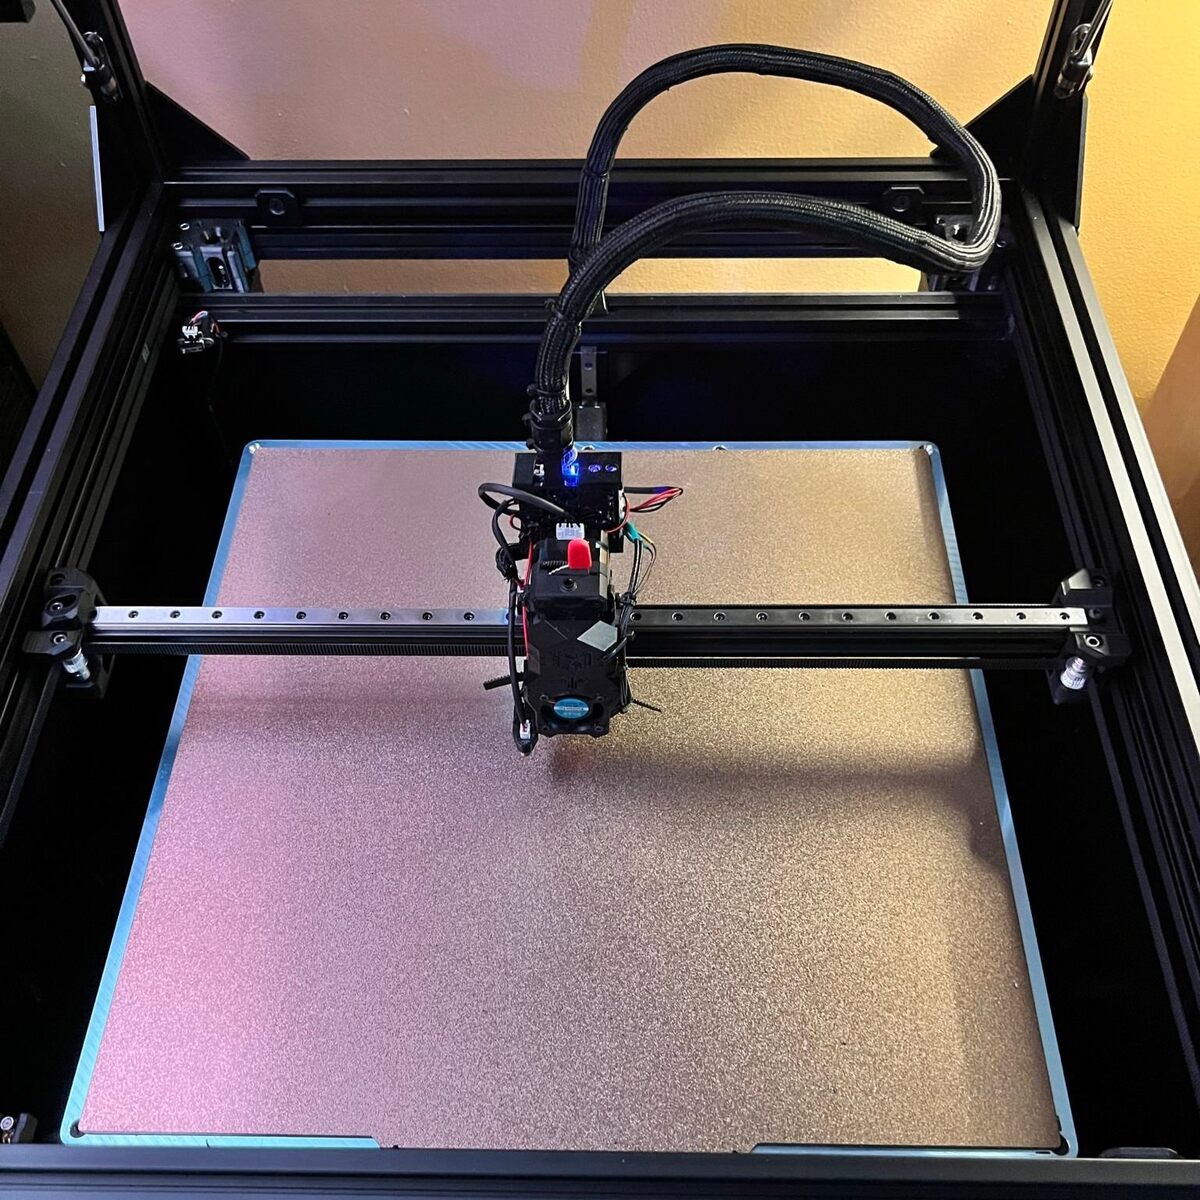
Start by inspecting the screws throughout your printer’s frame and components. Check the frame’s connections, including the corners, joints, and any other areas where screws are used. Make sure they are securely tightened to provide a rigid structure. Pay extra attention to the screws holding the stepper motors, hotend mount, and extruder. These areas often experience significant motion during printing and may be prone to loosening.
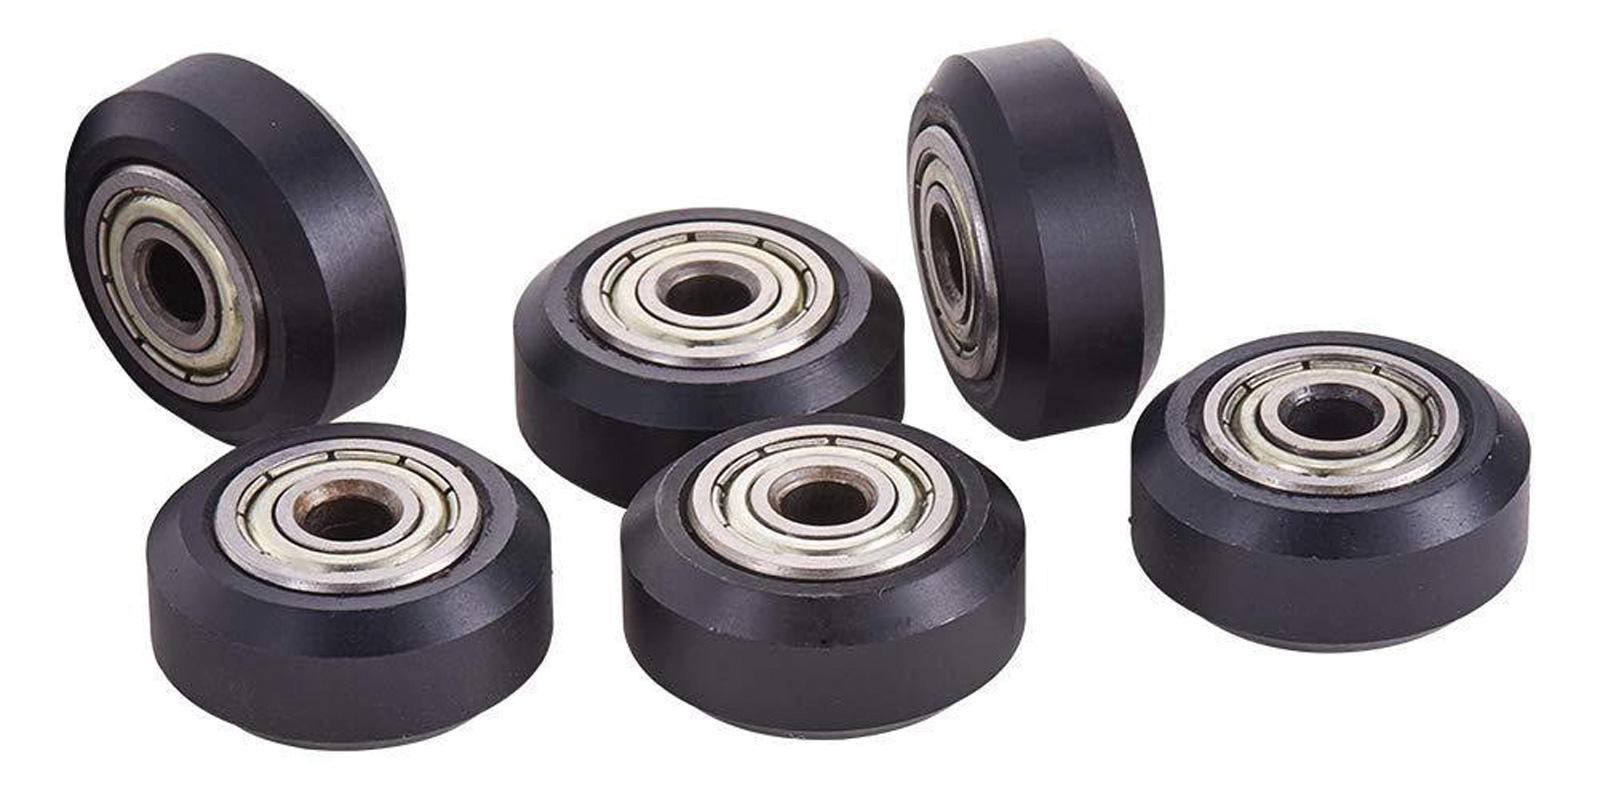
Next, examine the belts in your printer. Belts play a critical role in the printer’s movement and can easily become loose or stretched over time. With the printer powered off, gently press on each belt to check its tension. A properly tensioned belt should offer some resistance but should not feel overly tight. If a belt feels loose, adjust the tension using the tensioning screws provided in your printer’s design. Make sure to tighten the screws evenly on both sides to maintain an even tension.
In addition to checking the tension, inspect the belts for any signs of wear or damage. Over time, belts can become frayed or develop small tears, compromising their performance. If you notice any such issues, it’s advisable to replace the affected belts with new ones to ensure optimal functioning.
Apart from the main frame and belts, don’t forget to check other components that may have screws, such as the filament spool holder, LCD panel, and build plate. These components should also be securely fastened to prevent unnecessary vibrations during printing.
Regularly tightening screws and belts should be part of your printer maintenance routine. It’s recommended to perform this check every few weeks or after any major transportation or relocation of the printer. By doing so, you can minimize vibrations, reduce the risk of component damage, and ensure consistent print quality.
Remember, a stable and secure 3D printer yields better prints. Take the time to inspect and tighten all the screws and belts regularly. Doing so will help eliminate vibrations and create a reliable printing environment, leading to smoother and more precise prints.
Balancing the Weight Distribution
The weight distribution of your 3D printer is a crucial factor in minimizing vibrations and ensuring stable prints. An uneven weight distribution can lead to imbalanced movements and compromised print quality. Therefore, it’s important to properly balance the weight throughout your printer to achieve optimal results.
Begin by evaluating the positioning of heavy components, such as the filament spool, power supply, and extruder. These components can exert significant weight on certain areas of the printer, potentially causing imbalances and vibrations. Consider redistributing the weight to achieve a more even distribution.
If your printer has a movable extruder, ensure that it is properly aligned and balanced. An extruder that is incorrectly positioned or not secured correctly can introduce unnecessary vibrations during printing. Check the mounting brackets and screws to ensure they are tightened properly and adjust the positioning of the extruder if necessary.
Moreover, the filament spool can also affect weight distribution. If the spool is placed too far from the printer’s center of gravity, it can create uneven movements and vibrations. Consider mounting the spool holder closer to the center or using a filament guide to reduce any unnecessary strain on the printer’s structure.
Additionally, pay attention to the build plate and its weight distribution. If the plate is subjected to excessive weight or if it is not properly aligned, it can contribute to vibrations and print instability. Ensure that the build plate is securely attached and leveled, and reduce any unnecessary weight, such as excess adhesive or build surface material.
By maintaining a balanced weight distribution, you can reduce vibrations and minimize the strain on the printer’s components. This will result in smoother and more accurate prints. Regularly inspect and adjust the weight distribution, especially when making any modifications or adding new components to your printer.
Remember that a balanced printer not only improves print quality but also contributes to the longevity of your machine. Take the time to evaluate and adjust the weight distribution of your 3D printer to create a stable and reliable printing environment.
Calibrating the Stepper Motors
Proper calibration of the stepper motors in your 3D printer is crucial for smooth and accurate movements, as well as minimizing vibrations. Stepper motors control the precise positioning of the printer’s axes, and any misalignment or incorrect calibration can result in jerky movements and compromised print quality. Therefore, it is important to calibrate the stepper motors to ensure optimal performance.
Start by focusing on the X, Y, and Z axes of your printer. Each axis has a corresponding stepper motor that controls its movement. Begin by verifying that the motors are securely mounted and aligned with the respective axis. Loose stepper motors can introduce unwanted vibrations and inconsistent movements.
Next, proceed with calibrating the steps per unit (or steps/mm) for each axis. This calibration determines the number of steps the motor needs to move the axis by a specific distance. Setting the correct steps per unit ensures precise movement and accurate positioning. You can use calibration cubes, rulers, or other calibration objects to verify the accuracy of movement for each axis.
Most 3D printer firmware provides options for adjusting the steps per unit. Consult your printer’s instruction manual or online resources specific to your printer model to find the appropriate settings and steps per unit values for calibration. Adjusting the steps per unit involves modifying the firmware configuration, either directly in the firmware code or through a configuration interface.
During the calibration process, it is important to make small incremental adjustments and test the movement accuracy after each change. This allows you to fine-tune the calibration until you achieve accurate positioning and smooth movements.
In addition to calibrating the steps per unit, you should also pay attention to other relevant settings in the firmware, such as acceleration and jerk settings. These settings control the speed at which the printer accelerates and decelerates during movement. Adjusting these settings can help reduce vibrations and improve overall print quality.
Regularly check and recalibrate the stepper motors as part of your printer maintenance routine. Changes to the printer, such as adding a new extruder or upgrading components, may require recalibration to maintain optimal performance. Calibration is an ongoing process, and fine-tuning may be necessary over time.
By calibrating the stepper motors, you ensure precise and smooth movements, minimizing vibrations and enhancing the overall print quality of your 3D printer.
Updating the Firmware
Updating the firmware of your 3D printer is an important step in optimizing its performance and minimizing vibrations. The firmware is the software that controls the operation of the printer, including movement, temperature regulation, and various other functions. Regularly updating the firmware ensures that you have access to the latest features, bug fixes, and improvements.
Before updating the firmware, it is essential to back up your existing firmware settings and configuration. This allows you to revert to the previous version if any issues arise during or after the update. Consult your printer manufacturer’s documentation or online resources for instructions on how to perform a firmware backup and restore.
Once the backup is complete, check the manufacturer’s website or online forums for any available firmware updates specific to your printer model. Firmware updates often address known issues, improve stability, and introduce new features. Download the latest firmware version and carefully follow the update instructions provided by the manufacturer.
Updating the firmware may require connecting your printer to a computer or using an SD card. Follow the specific instructions for your printer model to ensure a successful firmware update. It’s important to note that during the firmware update process, the printer may be temporarily out of commission, so plan accordingly.
In addition to updating the firmware, consider updating related firmware components, such as the LCD screen firmware or the firmware for any specific add-ons or accessories. These updates can enhance compatibility, usability, and overall performance.
After the firmware update is complete, take the time to review and reconfigure your printer settings, including parameters related to print quality, temperature control, and motor settings. These settings are typically stored in the firmware’s configuration files and may need adjustment to suit your specific requirements.
Regularly checking for and applying firmware updates is essential to ensure that your printer is running on the latest, most stable version. Newer firmware versions may offer improved motion algorithms, better acceleration control, and other features that can help reduce vibrations and enhance print quality.
By keeping your firmware up to date, you can take advantage of the latest enhancements and bug fixes to minimize vibrations and optimize the performance of your 3D printer. Remember to always backup your firmware before performing any updates and follow the manufacturer’s guidelines for a safe and successful update process.
Investing in Anti-Vibration Accessories
To further reduce vibrations in your 3D printer and improve print quality, investing in anti-vibration accessories can be highly beneficial. These accessories are specifically designed to dampen vibrations and isolate the printer from external disturbances, resulting in smoother and more accurate prints.
One popular anti-vibration accessory is the anti-vibration pad or mat. These pads are made of materials that absorb vibrations and help to minimize their transmission to the printer. Placing an anti-vibration pad or mat underneath your printer can significantly reduce vibrations caused by the printer’s movements and nearby environmental factors.
Another useful accessory is the anti-vibration mount. These mounts are designed to isolate specific components of the printer from vibrations. For example, an anti-vibration mount for the stepper motors can help reduce vibrations transferred to the printer’s frame by absorbing and dampening any motor-induced vibrations. Similarly, anti-vibration mounts for the hotend, extruder, or even the filament spool holder can have a positive impact on print quality by minimizing vibrations during printing.
Furthermore, consider adding a reinforced frame brace or frame stiffener to your printer. These accessories provide additional stability and rigidity to the printer’s frame, helping to reduce vibrations and improve overall print quality. Reinforced frame braces are especially effective for printers with larger build volumes, where vibrations can be more pronounced due to the increased mass and movements involved.
When selecting anti-vibration accessories, ensure they are compatible with your printer model and do not interfere with its functionality. Check for recommendations and reviews from other users to find accessories that are known to be effective in reducing vibrations for your specific printer.
While investing in anti-vibration accessories can be beneficial, it’s important to remember that they are not solutions to fundamental mechanical or calibration issues. They are intended to complement other preventive measures and enhance the stability of your printer.
By investing in anti-vibration accessories, you can significantly reduce vibrations and achieve smoother, more precise prints. These accessories work in conjunction with other strategies discussed earlier, such as proper base selection, tightening screws and belts, and calibrating stepper motors, to create a stable and harmonious printing environment.
Reducing Print Speed
One effective technique to minimize vibrations and improve print quality in a 3D printer is to reduce the print speed. Print speed refers to the speed at which the printer’s extruder moves during the printing process. While faster print speeds may seem appealing for quicker results, they can also introduce vibrations and adversely affect print quality.
High print speeds can cause the printer’s extruder and other components to vibrate more, leading to inaccurate movements and decreased print precision. This is particularly evident during quick changes in direction or when printing intricate details. By reducing the print speed, you can significantly reduce vibrations and achieve smoother and more accurate prints.
When adjusting the print speed, it’s important to strike a balance between speed and quality. Lowering the print speed too much may result in excessively long print times and potentially affect productivity. It’s recommended to find the optimal speed that reduces vibrations while still maintaining an acceptable level of efficiency.
Many slicing software programs provide options to adjust the print speed. Look for settings such as “print speed” or “perimeter speed” to modify the overall speed of the print. Some slicing software also allows for different print speeds for different sections of the model, such as outer perimeters or infill areas. Experimenting with different speeds and observing the impact on print quality can help determine the optimal settings for your specific printer and filament.
It’s important to note that reducing the print speed may not be necessary for all prints. Simple models with minimal details may not require a significant decrease in speed. On the other hand, complex or intricate designs may benefit from a more noticeable reduction in speed to minimize vibrations and improve overall print quality.
By reducing the print speed, you can minimize vibrations and achieve smoother, more accurate prints. Finding the right balance between speed and quality is crucial. Experiment with different speeds, observe the impact on your prints, and adjust as necessary to optimize your 3D printing results.
Conclusion
Vibrations can have a detrimental impact on the print quality and accuracy of your 3D printer. However, with the right techniques and strategies, you can minimize vibrations and achieve smoother, more precise prints. Through this guide, we have explored various methods to eliminate vibrations in your 3D printer.
We started by understanding the causes of vibrations, including issues with the printer’s mechanical structure, loose screws and belts, imbalanced weight distribution, and improperly calibrated stepper motors. By addressing these causes, we can significantly reduce vibrations and improve the overall stability of the printer.
We then discussed the importance of choosing a stable base for your printer and tightening all the screws and belts to ensure a secure and rigid frame. Balancing the weight distribution and properly calibrating the stepper motors were highlighted as crucial steps to further enhance stability during printing.
Updating the firmware of your printer can also help improve its performance, motion control, and stability. By ensuring you have the latest firmware version, you can take advantage of bug fixes, enhancements, and optimized algorithms that minimize vibrations.
Investing in anti-vibration accessories, such as pads, mounts, and reinforced frame braces, can provide additional measures to dampen vibrations and isolate the printer from external disturbances. These accessories work in tandem with other strategies to create a stable and vibration-free printing environment.
Lastly, we discussed the importance of reducing print speed to minimize vibrations. By finding the optimal balance between speed and quality, you can achieve smoother and more accurate prints.
Implementing these techniques requires attention to detail and periodic maintenance to ensure ongoing stability and performance. Regularly checking and adjusting these factors will help eliminate vibrations and yield improved print outcomes.
By incorporating these strategies, you can create a stable and reliable 3D printing environment, resulting in higher-quality prints with greater precision. Remember, the key is to understand the causes of vibrations and apply the appropriate techniques to address them. With proper attention to these factors, you can enjoy the full potential of your 3D printer and produce exceptional prints time and time again.