Introduction
Welcome to the world of 3D printing! If you’re a proud owner of a 3D printer, you may have realized the importance of creating an enclosure to optimize its performance. An enclosure offers numerous advantages, such as maintaining a stable temperature, preventing drafts, reducing noise levels, and even improving print quality.
In this article, we will guide you through the process of building an enclosure for your 3D printer. Whether you have a small desktop printer or a large industrial model, the steps outlined here can be easily adapted to suit your specific needs.
Before we begin, it’s important to note that building an enclosure requires some basic DIY skills and a few tools. However, with a little time and effort, you’ll be well on your way to creating a functional and effective enclosure that will enhance your 3D printing experience.
Throughout this guide, we’ll cover everything from measuring your 3D printer and determining the dimensions of the enclosure to gathering the necessary materials, building the frame, attaching the panels, adding ventilation and filtration, installing lighting, and even adding a door. So, without further ado, let’s dive in!
Materials Needed
Before you start building your 3D printer enclosure, it’s important to gather all the necessary materials. Having everything on hand will make the construction process smooth and efficient. Here’s a list of the materials you’ll need:
1. Plywood or Acrylic Sheets
You’ll need sturdy, rigid material to construct the walls of the enclosure. Plywood and acrylic sheets are popular choices due to their durability and availability. The thickness of the material will depend on the size of your printer and your desired level of insulation.
2. Aluminum Extrusions or PVC Pipes
To build the frame of the enclosure, you’ll need aluminum extrusions or PVC pipes. These will provide the structure and stability for the walls and panels. Aluminum extrusions are often preferred for their strength and flexibility, while PVC pipes offer an affordable alternative.
3. Corner Brackets and Connectors
To join the aluminum extrusions or PVC pipes together, you’ll need corner brackets or connectors. These fittings will ensure that the frame is securely connected and stable.
4. Clear Plastic Panels
For the sides and front of the enclosure, transparent or translucent plastic panels are commonly used. These allow you to monitor your prints without opening the enclosure and provide protection from dust and debris.
5. Ventilation Fans and Filters
To maintain optimal temperature and airflow inside the enclosure, you’ll need ventilation fans and filters. Fans will help dissipate excess heat, while filters will prevent dust and particles from entering the enclosure and affecting your prints.
6. LED Strip Lights
Proper lighting is essential for monitoring your prints and working within the enclosure. LED strip lights are energy-efficient and provide bright, even illumination.
7. Hinges and Handles
If you want to add a door to your enclosure, you’ll need hinges and handles. These will ensure that the door is properly attached and easy to open and close.
8. Power Strip and Extension Cords
Don’t forget to include a power strip and extension cords to provide electricity to your printer and any additional equipment you may need inside the enclosure.
9. Tools
Lastly, gather essential tools such as a drill, saw, screwdriver, measuring tape, and level to assist in the construction process. Having the right tools on hand will make the assembly much smoother.
With these materials at your disposal, you’re ready to start building your 3D printer enclosure.
Step 1: Measure Your 3D Printer
Before you can begin building your 3D printer enclosure, it’s crucial to accurately measure your printer’s dimensions. This step will ensure that the enclosure is appropriately sized and designed to accommodate your specific printer.
To measure your 3D printer, follow these steps:
1. Turn off and unplug your 3D printer.
Safety should always be a top priority when working with electronic devices. Make sure to power off your printer and disconnect it from the power source before proceeding with any measurements.
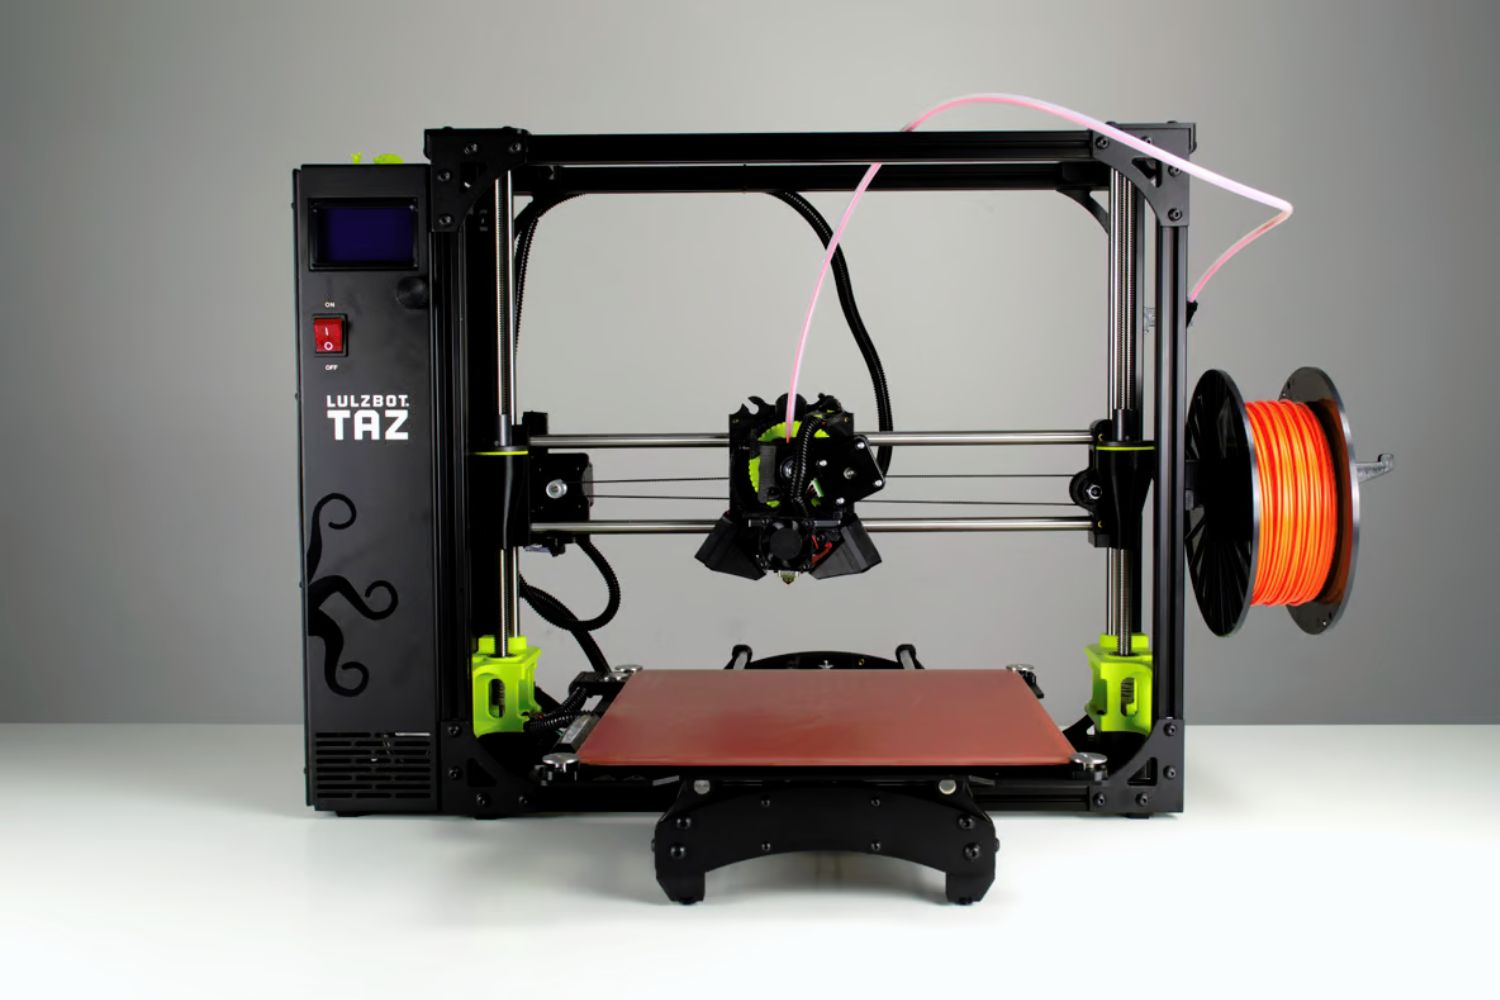
2. Identify the printer’s outer dimensions.
Using a measuring tape, measure the width, depth, and height of your printer. Write down these measurements as they will serve as a baseline for determining the dimensions of your enclosure.
3. Consider additional space.
When building an enclosure, it’s important to leave some extra space around the printer. This additional space will allow for proper airflow and make it easier to access and operate the printer. As a general guideline, add at least 2-3 inches to each side of the printer’s dimensions to ensure ample room.
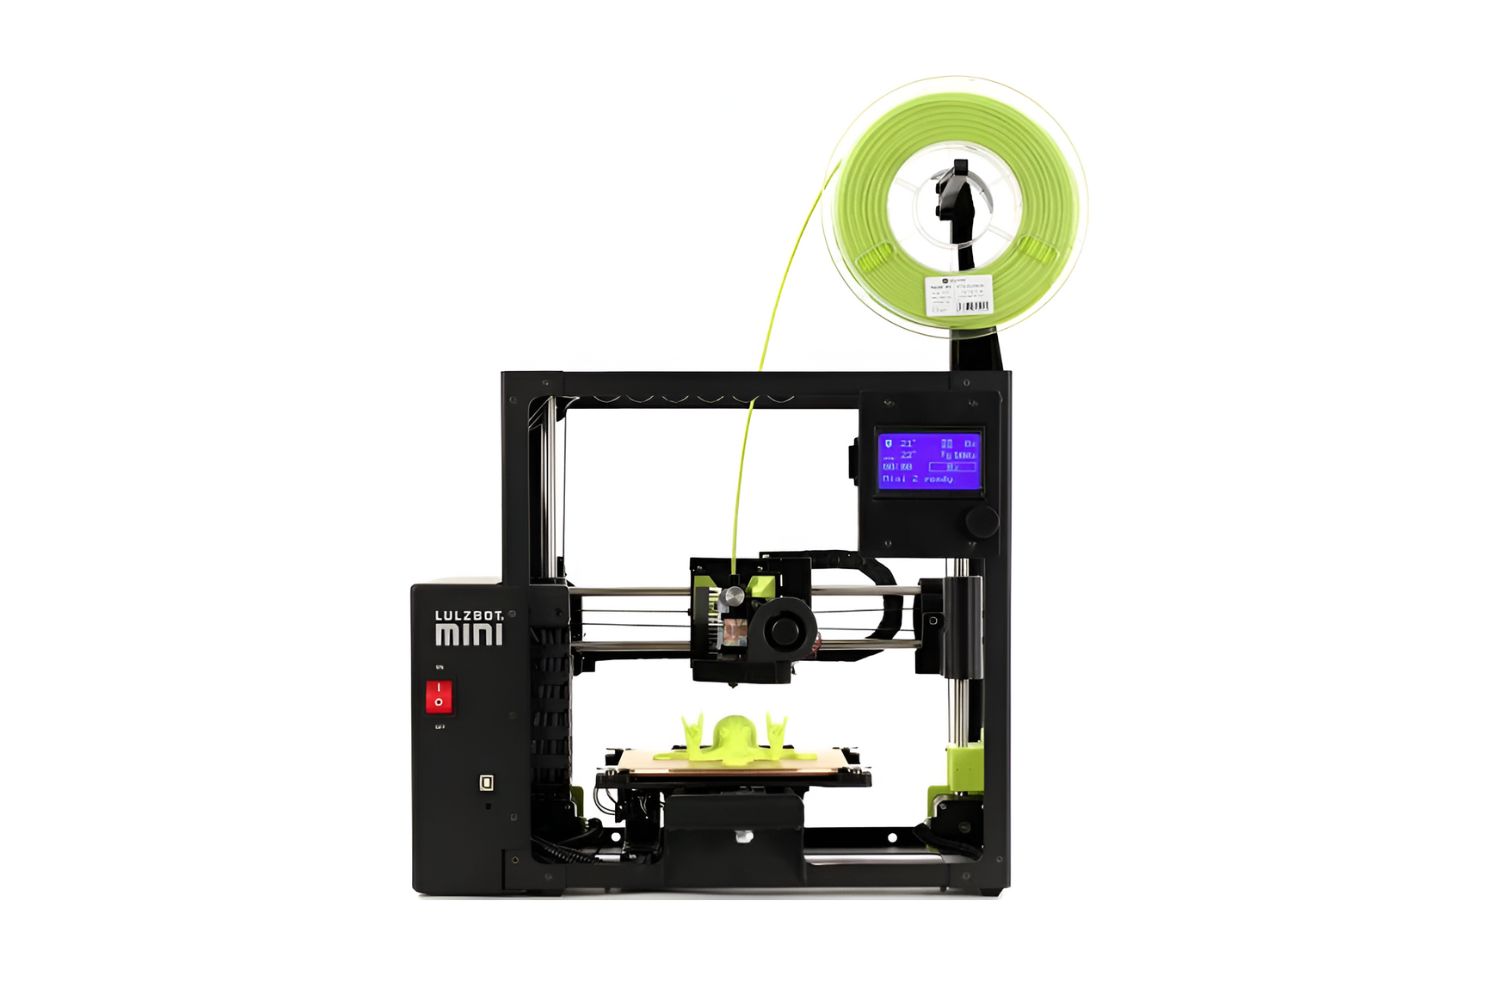
4. Measure the height of the printer with the spool holder attached (if applicable).
If your 3D printer has a spool holder, be sure to include its height in your measurements. This will ensure that the enclosure is tall enough to accommodate both the printer and the spool holder without any restrictions.
5. Note the location of access points.
Take note of the location of important access points on your printer, such as the filament loading area, USB ports, or SD card slots. These access points should be easily accessible once the printer is enclosed, so consider their placement when designing the enclosure.
By accurately measuring your 3D printer, you’ll have the necessary information to proceed with the next steps of building your enclosure. These measurements will guide you in determining the appropriate dimensions and ensure a perfect fit for your printer.
Step 2: Determine the Dimensions of the Enclosure
Once you have measured your 3D printer, it’s time to determine the dimensions of the enclosure. The enclosure should provide enough space for the printer to fit comfortably while allowing for proper ventilation and accessibility.
Consider the following factors when determining the dimensions:
1. Printer’s outer dimensions and additional space.
Start by considering the width, depth, and height of your printer. Take into account the additional space you decided to add in Step 1 to ensure that the enclosure is wide and deep enough to accommodate the printer and any extra accessories.
2. Height of the printer with the spool holder attached (if applicable).
If your printer has a spool holder, remember to factor in its height as well. The enclosure should be tall enough to accommodate both the printer and the spool holder without any height restrictions.
3. Access points of the printer.
Take into consideration the location of important access points such as the filament loading area, USB ports, or SD card slots. Ensure that the enclosure design allows easy access to these points for maintenance and operation purposes.
4. Ventilation and filtration requirements.
Think about the ventilation and filtration system you plan to incorporate into the enclosure. The dimensions should allow enough space for fans and filters to ensure proper airflow and filtration of air inside the enclosure.
With these factors in mind, you can sketch and plan the dimensions of your enclosure. Create a design that provides a comfortable fit for your printer while allowing room for proper ventilation and access. Remember, the dimensions will vary depending on the size of your printer and any additional features it may have.
Take your time and be thorough during this step to ensure that the enclosure dimensions are accurately determined. Having the right dimensions will set the foundation for a successful and effective enclosure for your 3D printer.
Step 3: Gather the Necessary Materials
With the dimensions of your 3D printer enclosure determined, it’s time to gather all the materials you’ll need to bring your design to life. Having all the necessary materials at hand will streamline the construction process and ensure a successful outcome.
Here are the materials you will need:
1. Plywood or Acrylic Sheets:
Choose sturdy and rigid material, such as plywood or acrylic sheets, to construct the walls of the enclosure. The thickness of the material can vary depending on your design and preferences.
2. Aluminum Extrusions or PVC Pipes:
You’ll need either aluminum extrusions or PVC pipes to create the frame of the enclosure. Aluminum extrusions offer strength and flexibility, while PVC pipes are a more affordable option.
3. Corner Brackets and Connectors:
Invest in corner brackets or connectors to securely join the aluminum extrusions or PVC pipes together. These fittings will ensure stability and structural integrity.
4. Clear Plastic Panels:
Transparent or translucent plastic panels will serve as the sides and front of your enclosure. These panels allow you to monitor your prints while providing protection from dust and debris.
5. Ventilation Fans and Filters:
To maintain optimal temperature and airflow inside the enclosure, gather ventilation fans and filters. These will help dissipate heat and prevent dust from entering the enclosure.
6. LED Strip Lights:
For proper illumination, consider using LED strip lights to light up the interior of the enclosure. These energy-efficient lights will facilitate monitoring your prints and working within the space.
7. Hinges and Handles:
If you plan to add a door to your enclosure, you’ll need hinges and handles for easy access. Choose sturdy and reliable hardware to ensure smooth operation.
8. Power Strip and Extension Cords:
Remember to include a power strip and extension cords to supply electricity to your printer and any additional equipment within the enclosure.
9. Tools:
Lastly, gather essential tools such as a drill, saw, screwdriver, measuring tape, and level. These tools will assist in the construction process and ensure accurate assembly.
Make a checklist and ensure that you have all the materials before proceeding to the next step. Having everything ready will save you time and allow for a seamless construction process.
Step 4: Build the Frame
Once you have gathered all the necessary materials, it’s time to start building the frame of your 3D printer enclosure. The frame will provide structural support and serve as the foundation for the rest of the enclosure components.
Follow these steps to build the frame:
1. Cut the aluminum extrusions or PVC pipes:
Using a saw or pipe cutter, cut the aluminum extrusions or PVC pipes to the appropriate lengths. Refer to your enclosure design and the dimensions you determined earlier to ensure accurate cuts.
2. Attach the corner brackets or connectors:
Using screws or bolts, attach the corner brackets or connectors to join the aluminum extrusions or PVC pipes together. Ensure that the joints are secure and stable.
3. Check the frame for stability:
Once the frame is assembled, check for stability and make any necessary adjustments. Use a level to ensure that the frame is straight and level.
4. Secure the frame to the base:
If your enclosure will have a base, secure the frame to it using screws or other appropriate fasteners. This will add further stability to the structure.
Building the frame is a crucial step that will determine the stability and durability of your 3D printer enclosure. Take your time to ensure accurate measurements and secure connections. Once the frame is built, you can move on to the next step of attaching the panels.
Step 5: Attach the Panels
With the frame of your 3D printer enclosure built, it’s time to attach the panels that will form the walls and front of the enclosure. These panels will provide protection, insulation, and visibility to monitor your prints.
Follow these steps to attach the panels:
1. Measure and cut the plywood or acrylic sheets:
Using a saw or appropriate cutting tool, measure and cut the plywood or acrylic sheets to fit the dimensions of the frame. Ensure that the panels are the correct size and shape to cover the sides and front of the enclosure.
2. Position the panels on the frame:
Place the cut panels onto the frame, aligning them with the edges. Make sure they fit snugly and cover the frame completely.
3. Secure the panels to the frame:
Using screws or brackets, attach the panels to the frame. Place the fasteners along the edges and the corners to ensure a secure connection. Be careful not to overtighten, as it may damage the panels or distort their alignment.
4. Attach the clear plastic panels:
If your design includes transparent or translucent plastic panels, measure and cut them to fit the designated areas. Attach these panels to the frame using screws or clips, ensuring they provide an unobstructed view of the printer.
Repeat these steps for each panel until the enclosure is fully enclosed. Take care to align everything properly and ensure a tight fit. A well-secured panel will provide the necessary protection and insulation for your 3D printer.
With the panels attached, your enclosure will start to take shape. The next steps will involve adding ventilation and filtration, installing lighting, and other finishing touches to complete your 3D printer enclosure.
Step 6: Add Ventilation and Filtration
Proper ventilation and filtration are essential for maintaining a controlled and healthy environment inside your 3D printer enclosure. Without adequate airflow and filtration, excessive heat and fumes from the printing process can accumulate, potentially leading to poor print quality or even health hazards. In this step, we will guide you through the process of adding ventilation and filtration to your enclosure.
Follow these steps to add ventilation and filtration:
1. Determine the ventilation requirements:
Consider the size of your enclosure, the heat generated by your printer, and the level of airflow needed. The goal is to have a steady flow of fresh air into the enclosure to dissipate heat and remove fumes.
2. Install ventilation fans:
Position one or more ventilation fans strategically on one side or the back of the enclosure. These fans will draw fresh air into the enclosure and expel hot air. Ensure that the fans are correctly wired and properly secured to prevent vibration or movement during operation.
3. Add filters:
To prevent dust and particles from entering the enclosure, add filters to the intake of the ventilation fans. These filters will trap contaminants and ensure that only clean air enters the enclosure.
4. Create an exhaust system:
In addition to the intake fans, create an exhaust system to expel hot air from the enclosure. This can be done by placing passive vents or additional fans on the opposite side or the top of the enclosure to facilitate air circulation.
5. Test the ventilation system:
Once you have installed the ventilation fans and filters, test the system to ensure it is functioning properly. Switch on the fans and check that there is an adequate flow of air and that the temperature inside the enclosure remains within a suitable range for your printer.
By incorporating proper ventilation and filtration, you can maintain a stable, controlled environment for your 3D printer enclosure. This will not only improve print quality but also ensure the safety and longevity of your printer.
Step 7: Install Lighting
Proper lighting inside your 3D printer enclosure is crucial for monitoring your prints, making adjustments, and ensuring a safe working environment. In this step, we will guide you through the process of installing lighting in your enclosure.
Follow these steps to install lighting:
1. Choose the lighting type:
Consider using LED strip lights as they are energy-efficient, provide bright illumination, and are easy to install. Alternatively, you can opt for other types of lighting that suit your preferences and the size of your enclosure.
2. Determine the placement:
Decide where you want to position the lights to ensure even and effective illumination. Ideally, the lights should be placed strategically to cover the entire printing area without causing shadows or interfering with your prints.
3. Install the lights:
Using adhesive backing or mounting brackets, install the lights in the desired locations. Ensure that the wiring is properly secured and out of the way of moving parts or potential hazards.
4. Connect the lights to a power source:
Connect the lights to a power source, such as a power strip or an electrical outlet within your enclosure. Make sure the wiring is safely routed and protected, and avoid any potential hazards.
5. Test the lighting:
Switch on the lights and ensure they are functioning properly. Check that the illumination is sufficient to monitor your prints without causing glare or shadows.
Installing lighting in your 3D printer enclosure will enhance visibility and enable you to monitor your prints with ease. It’s important to have a well-lit environment to make necessary adjustments and spot any issues that may arise during the printing process.
Step 8: Add a Door
Adding a door to your 3D printer enclosure offers several benefits, including improved temperature control, reduced noise levels, and enhanced protection for your prints. In this step, we will guide you through the process of adding a door to your enclosure.
Follow these steps to add a door:
1. Determine the door design:
Consider the size, shape, and material of the door that will best suit your enclosure and printer. Common options include hinged doors, sliding doors, or even removable panels.
2. Measure and cut the door material:
Using the appropriate tools, measure and cut the door material to fit the opening of your enclosure. Ensure that the dimensions are accurate and precise for a proper fit.
3. Install hinges and handles:
If you have chosen a hinged door, attach the hinges to the frame of the enclosure and the door itself. Make sure the hinges are properly aligned and secured. Install handles on the door for easy opening and closing.
4. Test the door:
After attaching the door, test it to make sure it opens and closes smoothly. Check that it provides a snug fit and maintains a proper seal when closed.
5. Consider sealing gaps:
If necessary, use weatherstripping or similar materials to seal any gaps between the door and the enclosure. This will improve temperature control and minimize air leakage.
Adding a door to your 3D printer enclosure provides an extra layer of protection and control. It helps regulate temperature, reduce noise, and prevent dust and other contaminants from entering the enclosure. With a properly fitted and functional door, you can enhance the overall printing experience and improve the quality of your prints.
Step 9: Test the Enclosure
Once you have completed the construction of your 3D printer enclosure, it’s important to thoroughly test it to ensure that it is functioning as intended. Testing the enclosure will allow you to identify any potential issues, make necessary adjustments, and confirm that it meets your expectations. In this step, we will guide you through the testing process.
Follow these steps to test the enclosure:
1. Power on your 3D printer:
Switch on your 3D printer and let it warm up to its normal operating temperature. This will allow you to observe and monitor the performance of the enclosure under normal printing conditions.
2. Evaluate temperature and airflow:
Monitor the temperature inside the enclosure and assess whether it remains within an acceptable range. Use a thermometer or thermal sensor to measure the temperature at various locations within the enclosure. Additionally, check the airflow to ensure that there is proper ventilation and that heated air is being effectively expelled.
3. Assess noise levels:
Pay attention to the noise produced by your 3D printer. The enclosure should help reduce noise levels, so listen for any noticeable decrease in noise compared to when the printer was operating without the enclosure. If the noise remains excessive, consider adding sound-dampening materials or adjusting the ventilation system to further reduce noise levels.
4. Inspect print quality:
Print a few test models or projects to assess the print quality within the enclosure. Check for any improvements or changes compared to prints done without the enclosure. Evaluate factors such as print consistency, accuracy, and overall quality. If the print quality is affected negatively, you may need to reassess the enclosure’s ventilation and temperature control.
5. Check for any issues or concerns:
During the testing process, pay attention to any issues or concerns that arise, such as excessive heat, inadequate ventilation, or difficulties accessing the printer controls. Make a note of these observations to help you identify any necessary modifications or improvements to the enclosure.
Testing the enclosure allows you to ensure that it effectively maintains the desired temperature, provides proper ventilation, reduces noise levels, and protects your prints. By identifying and addressing any potential issues, you can optimize the performance of your 3D printer and achieve the best possible results.
Conclusion
Congratulations! You have successfully completed the construction of your 3D printer enclosure. By following the steps outlined in this guide, you have created a dedicated space that will protect your printer, improve print quality, and enhance your overall 3D printing experience.
Throughout the process, you measured your 3D printer, determined the dimensions of the enclosure, gathered the necessary materials, built the frame, attached the panels, added ventilation and filtration, installed lighting, added a door, and tested the enclosure to ensure its functionality.
With your enclosure in place, you can now enjoy benefits such as temperature stability, reduced noise levels, improved print quality, and a controlled environment for your 3D printing projects. Additionally, the enclosure offers protection against dust and contaminants, ensuring the longevity of your printer.
Remember, the design and specifications of your enclosure may vary depending on your specific printer model and personal preferences. Feel free to customize and adapt the steps provided to best suit your needs.
Now that you have a fully functional and optimized enclosure for your 3D printer, you are ready to unleash your creativity and bring your innovative ideas to life. Happy printing!