Introduction
Welcome to the world of Instagram, where photos come to life with a touch of creativity. With its array of filters, editing tools, and effects, Instagram provides a platform for users to enhance their photos and make them truly captivating. Whether you’re a newbie or a seasoned Instagrammer, this guide will walk you through the steps of editing your photos on Instagram to showcase your artistic vision and make your images stand out.
Editing photos on Instagram allows you to add your personal touch, transforming ordinary snapshots into stunning visual masterpieces. The editing features are intuitive and accessible, making it easy for anyone to give their photos that extra edge. In this article, we’ll explore the various editing options available on Instagram, from choosing the right photo to applying filters, adjusting brightness and contrast, enhancing colors, cropping and straightening, and so much more.
With the ever-growing popularity of Instagram, it’s important to not only capture exciting moments but also polish them to perfection. By learning the art of editing, you can create captivating photos that will not only grab the attention of your followers but also attract a wider audience. Whether you’re looking to enhance the colors of a sunset, create a vintage vibe, or simply make your photo more eye-catching, Instagram’s editing features have got you covered.
So, let’s dive into the fascinating world of photo editing on Instagram. Discover the tools and techniques that will elevate your photography skills and allow you to unleash your creativity. Get ready to transform your photos into stunning visuals that will leave your followers in awe.
Choosing the Right Photo
When it comes to editing a photo on Instagram, starting with the right image is crucial. The photo you choose will lay the foundation for the editing process, so it’s important to select one that has good composition, interesting subject matter, and potential for enhancement. Here are some tips to help you choose the right photo:
1. Composition: Look for photos that have a well-balanced composition. Consider the rule of thirds, where you imagine a grid overlay on your photo and place important elements along the intersecting lines. This creates a visually pleasing and dynamic composition.
2. Lighting: Pay attention to the lighting in your photo. Photos taken in natural light or with soft, diffused lighting tend to be more appealing. Avoid photos that are overly dark or have harsh shadows, as they may not be as easily improved during the editing process.
3. Focus and Clarity: Ensure that your photo is in focus and has good clarity. Blurry or pixelated images won’t yield the best editing results. Look for photos with sharp details and clear subjects.
4. Interesting Subject Matter: Select photos that have an intriguing or unique subject matter. Whether it’s a breathtaking landscape, a striking portrait, or an interesting object, photos with compelling content are more likely to grab attention and make an impact after editing.
5. Emotion and Storytelling: Consider the emotions and stories that your photo conveys. Look for images that evoke a specific mood or tell a captivating story. Photos that elicit an emotional response are often more engaging and can be enhanced further through editing.
By carefully choosing the right photo to edit on Instagram, you’ll set yourself up for success in the editing process. Remember, a great photo is like a blank canvas ready to be transformed into a work of art.
Applying Filters
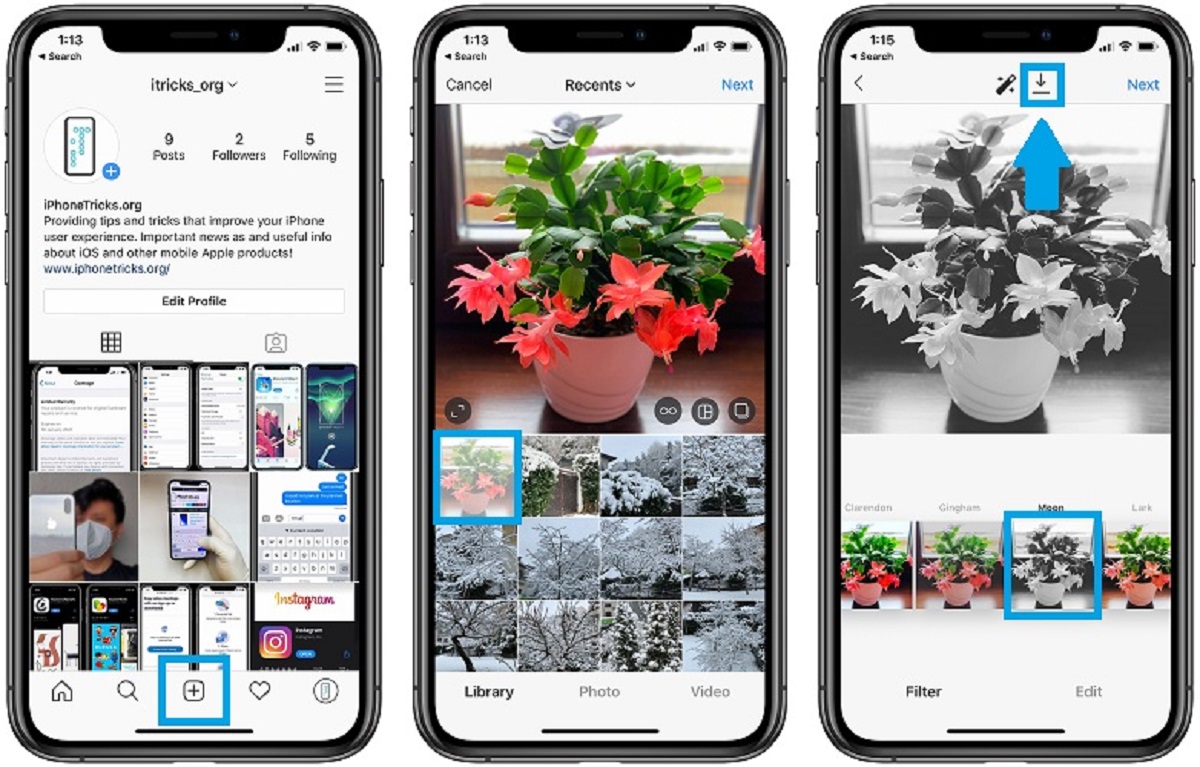
One of the most popular features of Instagram is its wide range of filters. Filters are preset adjustments that can instantly transform the look and feel of your photo, giving it a unique style and enhancing its overall appeal. Here’s how to apply filters to your photos on Instagram:
1. Choosing a Filter: Open the Instagram app and select the photo you want to edit. Tap on the “Edit” option and then swipe left across the filter options at the bottom of the screen. You’ll see various filters with different styles, colors, and intensities. Take your time to browse through the options and choose a filter that complements the mood and subject of your photo.
2. Adjusting Filter Strength: Once you’ve selected a filter, you can adjust its strength by tapping on the filter icon again. A slider will appear, allowing you to increase or decrease the intensity of the filter effect. This is useful if you want a more subtle effect or if you want to make the filter more pronounced.
3. Saving the Edited Photo: After applying a filter and adjusting its strength, you can save the edited photo by tapping on the “Save” button. This will overwrite the original photo with the edited version. If you want to keep the original photo, make sure to make a copy before applying any filters.
4. Experimenting with Different Filters: Don’t be afraid to try out different filters to see how they affect your photo. Each filter has its own unique characteristics and can drastically alter the look and mood of your image. By experimenting with different filters, you can find the one that best enhances your photo and showcases your creative vision.
5. Consistency: If you’re aiming to create a cohesive aesthetic on your Instagram feed, consider using the same filter or a set of filters that provide a consistent look and feel to your photos. This can help create a visually appealing and harmonious feed that looks well-curated.
Applying filters is a simple yet powerful way to enhance your photos on Instagram. They can instantly add depth, color, and mood to your images, transforming them into visually captivating masterpieces. So go ahead, explore the world of filters, and let your creativity shine through!
Adjusting Brightness and Contrast
One of the key aspects of photo editing is adjusting the brightness and contrast of your image. These adjustments can greatly enhance the overall look and feel of your photo, making it more visually appealing and balanced. Here’s how to adjust the brightness and contrast on Instagram:
1. Using the Brightness Tool: Once you’ve selected a photo to edit, tap on the “Edit” option and then tap on the sun-shaped icon. This is the brightness tool and it allows you to adjust the overall brightness of your photo. Swipe left or right to decrease or increase the brightness level. Keep in mind that subtle adjustments often yield the best results.
2. Enhancing Contrast: To adjust the contrast of your photo, tap on the “Edit” option and then tap on the icon that looks like a turned road sign. This is the contrast tool. Similar to the brightness tool, swipe left or right to decrease or increase the contrast level. Increasing the contrast can make your photo appear more vibrant and add depth to the colors and details.
3. Balancing Exposure: When adjusting the brightness and contrast, it’s important to find the right balance. Overexposed photos can appear too bright and lack detail, while underexposed photos can be too dark and lose important elements. Aim for a balanced exposure that preserves details in the highlight and shadow areas.
4. Using Shadows and Highlights: Instagram provides additional tools to fine-tune the shadows and highlights of your photo. To access these tools, tap on the “Edit” option and then tap on the icon that looks like a sun above a mountain. Adjust the sliders to bring out details in the shadows and highlight areas. This can help create a more dynamic and balanced image.
5. Saving and Comparing: After making adjustments to the brightness and contrast, tap on the “Save” button to save your edited photo. It’s always a good idea to compare the edited version with the original photo to ensure that the changes you’ve made are enhancing the image. Don’t be afraid to go back and make further adjustments if needed.
By mastering the art of adjusting brightness and contrast, you can effectively enhance the overall look and mood of your photos on Instagram. Whether you want to create a bright and airy image or a moody and dramatic shot, these adjustments can help you achieve the desired effect. So, have fun experimenting with different brightness and contrast levels and let your photos shine!
Enhancing Colors
Bringing out vibrant colors in your photos can make them visually stunning and captivating. Whether you want to intensify the hues of a stunning sunset or make the colors of a flower pop, Instagram offers various tools to help you enhance and adjust the colors in your images. Here’s how to enhance colors on Instagram:
1. Saturation: To adjust the overall color saturation of your photo, tap on the “Edit” option and then tap on the icon that looks like a droplet. Swipe left or right to decrease or increase the saturation level. Increasing the saturation can make the colors appear more vibrant and vivid, while decreasing it can create a more muted and faded look.
2. Selective Color Adjustments: If you want to fine-tune the colors of specific areas in your photo, tap on the “Edit” option and then tap on the icon that looks like three sliders. This will bring up the individual color adjustment tools. You can swipe left or right on each slider to adjust the hue, saturation, and luminance of specific colors in your image. This allows you to selectively enhance or tone down certain colors, giving you more control over the overall look of your photo.
3. White Balance: Instagram also provides a tool to adjust the white balance of your photo. Tapping on the “Edit” option and then on the icon that looks like a sun and a cloud will bring up the white balance adjustment tool. Swipe left or right to cool down or warm up the colors in your image. Adjusting the white balance can help ensure that the colors in your photo appear accurate and true to life.
4. Using Color Filters: In addition to adjusting color settings, Instagram offers color filters that can instantly transform the look and tone of your photo. To access the filters, tap on the “Edit” option and then swipe left across the filter options at the bottom of the screen. Each filter adds a unique color effect, so experiment with different filters to find the one that best enhances the colors in your photo.
5. Avoid Over-Editing: While enhancing colors can make your photos more eye-catching, it’s important to strike a balance and avoid over-editing. Too much saturation or extreme color adjustments can make your images look unrealistic or overly processed. Aim for a natural and balanced look that enhances the colors without sacrificing the authenticity of the scene.
By mastering the art of enhancing colors, you can make your photos on Instagram truly stand out. From creating vibrant landscapes to capturing the subtle nuances of a portrait, these color adjustments allow you to add depth and visual interest to your images. So, explore the possibilities and let your creativity shine through the enhanced colors of your photos!
Adding Effects and Textures
Adding effects and textures to your photos on Instagram can take your editing skills to the next level, allowing you to create unique and visually stunning images. Whether you want to give your photo a vintage look or add artistic elements, Instagram offers a range of tools and options to help you achieve the desired effect. Here’s how to add effects and textures on Instagram:
1. Using Instagram’s Built-in Effects: Instagram provides a variety of built-in effects that can easily be applied to your photos. To access these effects, tap on the “Edit” option and then swipe right across the filter options at the bottom of the screen. These effects can add a touch of nostalgia, a dreamy haze, or a dramatic flair to your images. Experiment with different effects to find the one that best complements your photo.
2. Utilizing Third-Party Editing Apps: In addition to Instagram’s built-in effects, there are also numerous third-party editing apps available that offer a wide range of effects and textures. These apps give you even more control over the editing process and allow you to apply unique filters, overlays, and textures to your photos. Some popular third-party apps include VSCO, Snapseed, and Adobe Lightroom.
3. Applying Textures and Overlays: To add textures and overlays to your photos, you can use various editing apps or even create your own textures. Textures can add depth and visual interest to your images, giving them a more tactile and artistic feel. Experiment with different textures, such as film grain, dust, or scratches, to achieve the desired effect. Overlays, on the other hand, allow you to add graphic elements, patterns, or text to your photos, further enhancing their visual impact.
4. Enhancing the Mood: Effects and textures can play a crucial role in conveying the mood and atmosphere of your photo. For example, adding a warm and vintage filter can create a nostalgic and cozy feeling, while a cool and desaturated effect can evoke a sense of tranquility or melancholy. Consider the emotions and story you want to convey through your photo and choose effects and textures that enhance that mood.
5. Maintaining Balance: When adding effects and textures, it’s important to strike a balance. Avoid applying too many effects or using excessive textures that overwhelm the original photo and distract from its subject. The goal is to enhance your photo without overpowering it. Subtle adjustments and thoughtful effects can have a more significant impact.
By adding effects and textures to your photos on Instagram, you can unleash your creativity and transform your images into unique visual expressions. Whether you’re aiming for a vintage-inspired look, an ethereal atmosphere, or a bold artistic statement, the possibilities are endless. So, embrace the world of effects and textures, and let your photos tell their own visually captivating stories.
Cropping and Straightening
Cropping and straightening are essential editing techniques that can significantly enhance the composition and overall impact of your photos on Instagram. These tools allow you to remove unwanted elements, adjust the framing, and ensure that your image is properly aligned. Here’s how to crop and straighten your photos on Instagram:
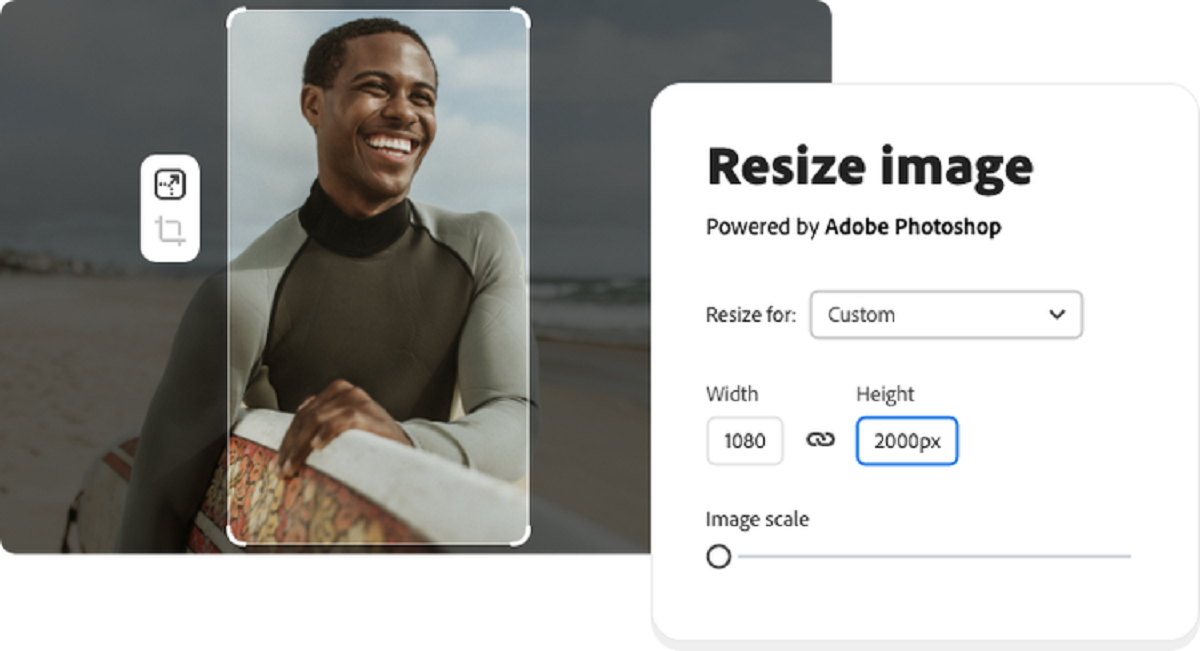
1. Cropping: To crop your photo, tap on the “Edit” option and then tap on the icon that looks like a square grid. This will bring up the cropping tool. Adjust the corners and edges of the grid to select the portion of the photo you want to keep. Drag the grid’s edges inward or outward to crop the photo accordingly. You can also experiment with different aspect ratios, such as square, 4:3, or 16:9, to change the overall composition.
2. Composition and Framing: When cropping your photo, pay attention to the composition and framing. Consider the rule of thirds and place important elements along the intersecting lines or at the points of interest. Cropping can help you eliminate distracting elements, emphasize the main subject, or create a more balanced composition.
3. Straightening: If your photo appears tilted or crooked, you can easily straighten it on Instagram. To do this, tap on the “Edit” option and then tap on the icon that looks like a level. A grid overlay will appear. Use your finger to rotate the photo until it appears straight. The app will automatically adjust the angle for you, ensuring that your photo is aligned properly.
4. Aspect Ratio for Instagram: Keep in mind that Instagram displays photos predominantly in a square format. When cropping your photo, consider how it will appear on the platform. If you’re editing a photo specifically for Instagram, try to compose it in a way that works well within the square frame.
5. Experimenting and Comparing: As you crop and straighten your photo, don’t be afraid to experiment with different compositions and framings. Sometimes a slight adjustment can completely transform the visual impact of your image. It’s also a good idea to compare the edited version with the original photo to ensure that the cropping and straightening have improved the overall composition and alignment.
Cropping and straightening are powerful tools that can significantly enhance your photos on Instagram. They allow you to refine the composition, eliminate distractions, and ensure that your image appears properly aligned. So, take the time to crop and straighten your photos, and watch as their visual impact and professional quality increase.
Rotating and Flipping
Rotating and flipping your photos on Instagram can give them a fresh perspective and add a touch of creativity. These editing techniques allow you to change the orientation of your image, creating unique compositions and exploring different visual effects. Here’s how to rotate and flip your photos on Instagram:
1. Rotating: To rotate your photo, tap on the “Edit” option and then tap on the icon that looks like a curved arrow. This will bring up the rotation tool. Use your finger to rotate the photo in the desired direction. You can rotate it clockwise or counterclockwise, experimenting with different angles until you’re satisfied with the result. Rotating can be particularly useful for adjusting the horizon line, straightening vertical objects, or creating interesting diagonal compositions.
2. Flipping: Flipping your photo horizontally or vertically can give it a different perspective. To flip your photo, tap on the “Edit” option and then tap on the icon that looks like two arrows pointing in opposite directions. This will bring up the flip tool. Tap on the arrow that represents the desired flip direction. Flipping can create mirrored effects, add a sense of movement to your image, or simply provide a fresh and unique look.
3. Creative Applications: Rotating and flipping your photos can open up a world of creative possibilities. For example, you can experiment with diagonal compositions by rotating your photo at a specific angle. Flipping can create intriguing symmetrical or abstract designs. Both techniques can bring a fresh and unexpected perspective to your images, making them more visually engaging and captivating.
4. Composition and Alignment: When you rotate or flip your photo, consider its composition and alignment. Pay attention to the placement of important elements, the overall balance of the image, and how the rotation or flip enhances or changes the visual impact. Experiment with different angles and orientations to find the one that best suits your creative vision.
5. Comparing and Experimenting: As with any editing technique, it’s essential to compare the rotated or flipped version of your photo with the original. Ensure that the rotation or flip enhances the composition, alignment, and overall visual appeal. Don’t be afraid to experiment and try different angles or flip orientations to see how they transform your image.
Rotating and flipping your photos on Instagram can add a whole new dimension of creativity to your editing process. These techniques allow you to explore unique compositions, create stunning visual effects, and breathe new life into your images. So, have fun rotating and flipping your photos, and let your creativity soar!
Removing Unwanted Objects
Have you ever taken a great photo, only to realize that there’s an unwanted object or distracting element in the frame? Luckily, Instagram provides tools that allow you to remove these unwanted objects and clean up your photos. Here’s how to remove unwanted objects on Instagram:
1. Using the Healing Brush: Open the Instagram app and select the photo you want to edit. Tap on the “Edit” option and then tap on the icon that looks like a band-aid. This is the Healing Brush tool. Use your finger to swipe over the unwanted object or area you want to remove. The app will automatically analyze the surrounding area and intelligently fill in the space with matching textures and patterns.
2. Adjusting Brush Size and Opacity: When using the Healing Brush, you can adjust the brush size and opacity for more precise editing. Tap on the brush settings icon and use the sliders to increase or decrease the brush size and opacity. This allows you to fine-tune the brush for more accurate removal of unwanted objects. Smaller brush sizes and lower opacities are useful for delicate areas, while larger brush sizes and higher opacities are helpful for larger areas.
3. Cloning Tool: In addition to the Healing Brush, Instagram also provides a Cloning tool for removing unwanted objects. Tap on the “Edit” option and then tap on the icon that looks like two overlapping squares. This will bring up the Cloning tool. With this tool, you can select a source area by tapping on a clean part of the photo and then brush over the unwanted object. The app will duplicate the source area and blend it seamlessly with the rest of the image.
4. Patience and Attention to Detail: Removing unwanted objects requires patience and attention to detail. Take your time to ensure that the removed area blends seamlessly with the rest of the photo. Zoom in and carefully examine the edited area to make any necessary adjustments. Sometimes, it might take a few attempts to achieve the desired result, but with practice, you can master the art of object removal.
5. Keeping it Natural: While removing unwanted objects can be convenient, be mindful of maintaining a natural and authentic look. Excessive editing or careless removal can make the edited area appear unnatural or create obvious inconsistencies in the photo. Take care to blend the edited area seamlessly with the surrounding elements, ensuring a natural and seamless result.
By utilizing the Healing Brush and Cloning tool, you can easily remove unwanted objects and clean up your photos on Instagram. Whether it’s a distracting person in the background, a stray mark, or a misplaced object, these tools give you the power to enhance the visual impact of your images by removing unwanted distractions. So, get ready to edit with precision and create visually stunning photos that truly capture your vision!
Adding a Vignette
Adding a vignette to your photos on Instagram can help draw the viewer’s attention to the main subject and create a more focused and atmospheric effect. A vignette is a darkened border that gradually fades into the image, emphasizing the center and adding a touch of drama. Here’s how to add a vignette on Instagram:
1. Using Instagram’s Vignette Tool: Open the Instagram app and select the photo you want to edit. Tap on the “Edit” option and then tap on the icon that looks like a circular frame. This is the vignette tool. Drag the circle inward or outward to adjust the size of the vignette effect. You can also swipe left or right to increase or decrease the intensity of the vignette.
2. Balancing the Vignette: When adding a vignette, it’s important to strike a balance. Avoid making the vignette too dark or intense, as it can overpower the image and look unnatural. Aim for a subtle vignette that enhances the overall atmosphere and guides the viewer’s attention without being overly noticeable.
3. Centering the Vignette: By default, Instagram’s vignette tool automatically centers the effect on the main subject of your photo. However, you have the option to manually adjust the position of the vignette. Simply tap and hold on the circle, and then use your finger to drag it to the desired position. This allows you to align the vignette with the focal point of your image.
4. Experimenting with Shape and Style: While the default vignette shape is circular, Instagram offers additional shapes, such as oval and linear. To access these options, tap on the “Edit” option and then tap on the icon with three dots. Choose the vignette shape that best suits your photo. Additionally, you can explore different vignette styles, such as classic or vintage, to further enhance the mood and ambiance of your image.
5. Saving and Previewing: After adding a vignette, tap on the “Save” button to apply the effect to your photo. It’s always a good idea to preview the edited version and compare it with the original photo to ensure that the vignette enhances the overall composition and draws attention to the intended focal point.
Adding a vignette is a simple yet powerful technique to create a more focused and captivating visual experience on Instagram. Whether you want to add a touch of elegance, create a moody atmosphere, or highlight a specific subject, the vignette tool can help you achieve the desired effect. So, embrace the power of the vignette and let it elevate your photos to new heights of artistic expression.
Sharpening and Smoothing
Sharpening and smoothing are editing techniques that can significantly enhance the details and overall quality of your photos on Instagram. Whether you want to bring out the fine textures in a portrait or create a soft and dreamy effect in a landscape, Instagram offers tools to help you sharpen or smooth your images. Here’s how to sharpen and smooth your photos on Instagram:
1. Sharpening: To sharpen your photo, tap on the “Edit” option in your Instagram app and then tap on the icon that looks like a triangle. This is the sharpening tool. Swipe left or right to adjust the sharpening level. Increasing the sharpening level enhances the details and edges in your photo, making them appear crisper and clearer. However, be cautious not to over-sharpen, as it can create a harsh and unnatural look.
2. Smoothing: To smooth your photo, tap on the “Edit” option and then tap on the icon that looks like a sun behind a triangle. This is the smoothing tool. Adjust the slider to increase or decrease the smoothing effect. Increasing the smoothing level softens the details and reduces the appearance of imperfections, creating a more polished and refined look.
3. Applying Sharpening and Smoothing Selectively: Sometimes you may want to apply sharpening or smoothing only to specific areas of your photo. In such cases, tap on the “Edit” option and then tap on the icon that looks like three sliders. This brings up the individual adjustment tools. You can then use the sharpening or smoothing tool on selected areas by brushing over those areas using your finger. This allows you to have more control over which areas are sharpened or smoothed, creating a more targeted and nuanced result.
4. Finding the Right Balance: When sharpening or smoothing your photos, it’s crucial to find the right balance. Apply these adjustments subtly, as extreme sharpening or excessive smoothing can degrade the overall quality and make your image look artificial. Subtle adjustments often yield the best results, maintaining the natural appearance of the photo while enhancing its details or softening its textures.
5. Previewing and Comparing: After applying sharpening or smoothing, tap on the “Save” button to see the edited version of your photo. It’s always a good idea to preview the edited photo and compare it with the original to ensure that the adjustments have improved the details or textures without compromising the overall integrity of the image.
Sharpening and smoothing are powerful techniques that can enhance the visual impact and quality of your photos on Instagram. By using these tools selectively and finding the right balance, you can bring out the fine details, enhance the textures, and create visually stunning images that captivate your followers. So, embrace the power of sharpening and smoothing, and watch as your photos come to life with enhanced clarity and elegance.
Managing Shadows and Highlights
Managing shadows and highlights is an essential aspect of photo editing as it allows you to balance the exposure and enhance the overall tonal range of your images on Instagram. By taking control of the shadows and highlights, you can bring out details in the darker and brighter areas, ensuring a well-balanced and visually appealing photo. Here’s how to manage shadows and highlights on Instagram:
1. Opening Shadows and Recovering Highlights: To manage shadows and highlights, tap on the “Edit” option in your Instagram app. Then, tap on the icon that looks like a sun and a mountain. You’ll find sliders for adjusting shadows and highlights. Move the sliders to the right to open up shadows, revealing details in the darker areas of the image. Move the sliders to the left to recover blown-out highlights, bringing back details in the brighter parts without losing too much information.
2. Enhancing Contrast: Managing shadows and highlights can also help you enhance the contrast of your photo. By increasing the shadows and reducing the highlights, you can add depth and dimension to your image, making it visually more dynamic and captivating. Experiment with different levels of contrast to achieve the desired effect while maintaining a natural appearance.
3. Balancing Exposure: Achieving a well-balanced exposure is crucial in managing shadows and highlights. You want to avoid photos that are overly dark or too bright, as they can diminish important details and affect the overall visual impact. Aim for a balanced exposure that maintains detail in both the shadows and highlights and showcases the full tonal range of your image.
4. Gradual Adjustments: When managing shadows and highlights, it’s best to make gradual adjustments and avoid extreme changes. Slight tweaks in the sliders can produce significant improvements without sacrificing the natural look of your photo. Aim for a seamless transition between the shadows, midtones, and highlights to ensure that the adjustments blend harmoniously with the rest of the image.
5. Previewing and Comparing: After managing shadows and highlights, tap on the “Save” button to see the edited version of your photo. It’s important to preview the image and compare it with the original to ensure that the adjustments have improved the overall exposure and tonal range of your photo. This can help you fine-tune the adjustments further if needed.
Mastering the management of shadows and highlights can elevate the quality and visual impact of your photos on Instagram. By bringing out details in the darker areas and recovering highlights, you’ll create well-balanced and visually pleasing images. So, embrace the power to manage the shadows and highlights, and watch as your photos come to life with enhanced depth, contrast, and tonal range.
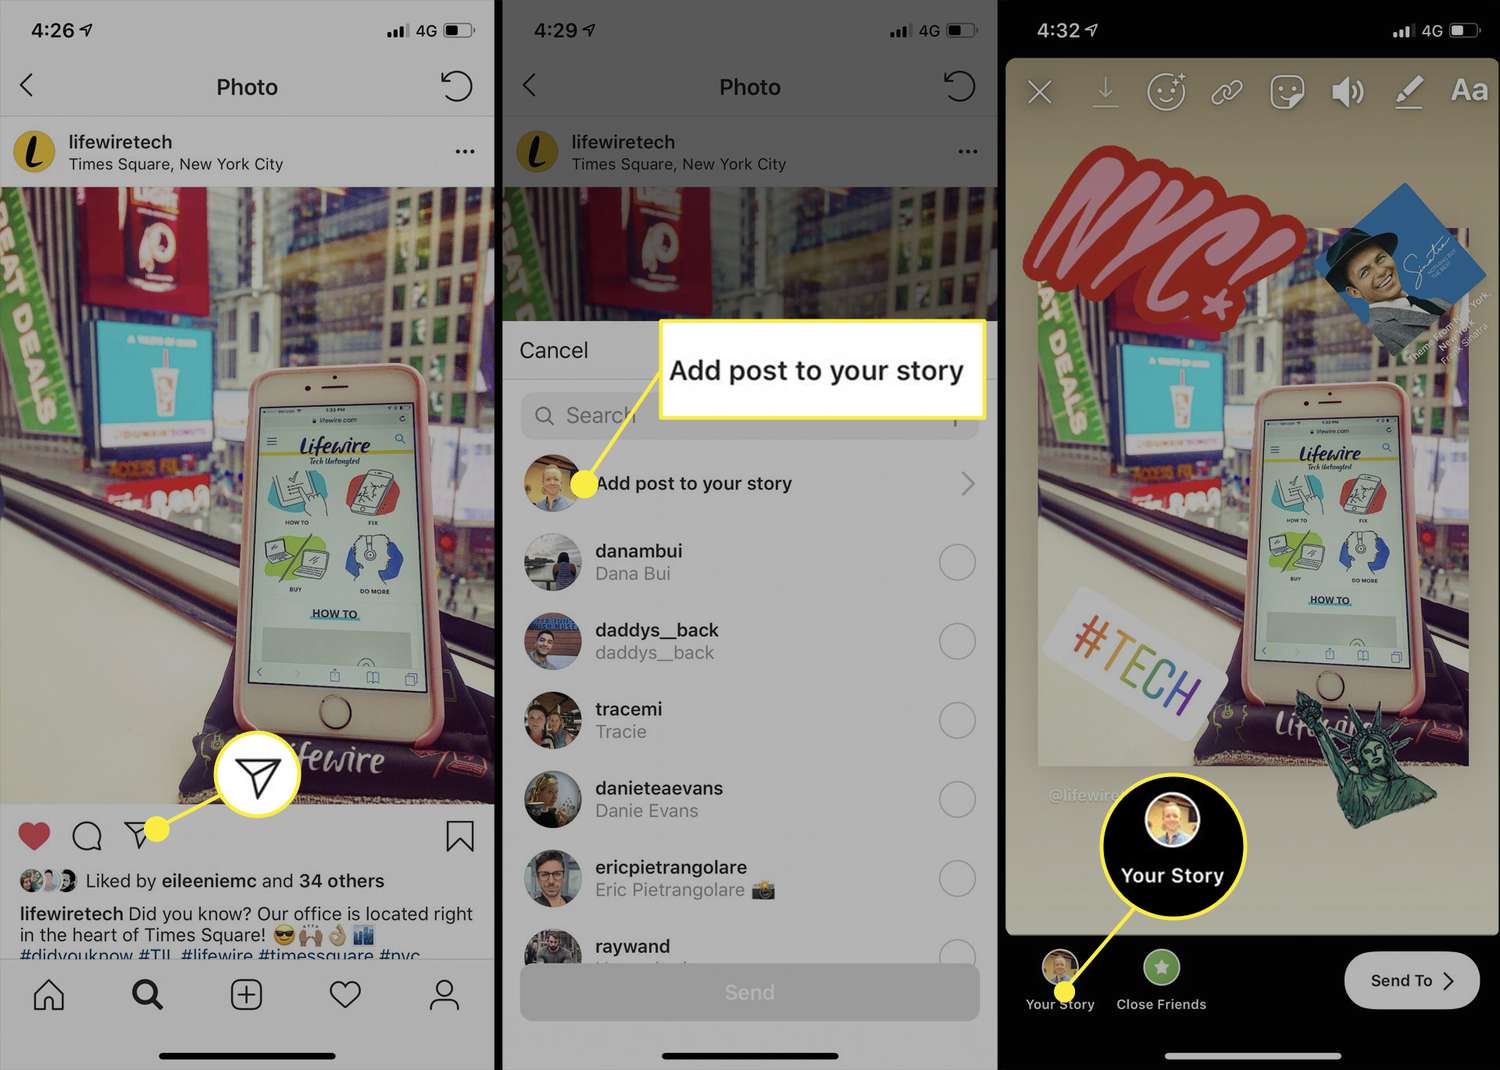
Saving and Sharing Your Edited Photo
Once you have finished editing your photo on Instagram, it’s important to save it and share it with your audience. Instagram provides various options to help you save and share your edited images seamlessly. Here’s how to save and share your edited photo:
1. Saving your Edited Photo: After applying all the desired edits to your photo, tap on the “Save” button located at the top-right corner of the screen. This will save the edited version of your photo to your device’s camera roll or gallery. Keep in mind that saving the edited photo will replace the original image, so it’s a good practice to make a copy of the original before editing.
2. Captioning and Tagging: To provide context or share a story with your edited photo, add a caption. Tap on the “Add a caption” field below your edited photo and type in your desired caption. You can also use hashtags to increase the visibility of your photo and reach a wider audience. Additionally, you can tag people, locations, or relevant Instagram accounts in your photo by tapping on the “Tag People” or “Add Location” options.
3. Choosing Sharing Options: Instagram offers various sharing options to choose from. By default, your edited photo will be shared on your Instagram profile, visible to your followers. If you want to expand your reach, you can toggle on the “Share to” option and connect your Instagram account to other social media platforms like Facebook or Twitter. This will allow you to simultaneously share your edited photo on multiple social platforms.
4. Privacy Settings: If you prefer a more private approach, you can adjust the privacy settings of your account. Tap on the three horizontal lines at the top-right corner of the Instagram app, go to “Settings,” then “Privacy,” and choose the desired privacy settings for your account. This allows you to control who can see your edited photos and interact with them.
5. Engaging with Your Audience: After sharing your edited photo, engage with your audience by responding to comments and interacting with their content as well. Building a community around your photos can enhance your Instagram experience and create meaningful connections with your followers.
Saving and sharing your edited photo is the final step in the Instagram editing process. By saving your edited photo, you preserve your creative efforts and ensure that the enhanced version is easily accessible to you. Sharing your photo with a caption, relevant tags, and appropriate hashtags allows you to showcase your artistic vision and reach a wider audience. So, save, share, and enjoy the process of sharing your beautifully edited photos with the world!
Conclusion
Editing your photos on Instagram is a powerful way to unleash your creativity, enhance the visual appeal of your images, and captivate your audience. From choosing the right photo to applying filters, adjusting brightness and contrast, enhancing colors, and utilizing various editing tools, you have the ability to transform ordinary photos into extraordinary works of art.
Throughout this guide, we’ve explored the different techniques and tools available on Instagram to improve your photo editing skills. By mastering these techniques, you can create visually stunning photos that truly stand out on your Instagram feed. Whether you want to add effects and textures, remove unwanted objects, or manage shadows and highlights, each step of the editing process offers its own unique benefits and contributes to the overall quality of your photos.
Remember to balance your edits, making subtle adjustments that enhance the natural look of your photos without going overboard. Take the time to preview and compare your edited photos to ensure that the adjustments you’ve made align with your creative vision. In addition, engaging with your audience and building a community around your photos adds an extra layer of enjoyment to your Instagram experience.
So, embrace the power of photo editing on Instagram, experiment with different techniques, and let your creativity shine through. Whether you’re an aspiring photographer or simply love capturing moments, the editing tools and features on Instagram allow you to refine your photos and express your unique style. Enjoy the process, showcase your artistic vision, and create captivating visuals that leave a lasting impression.