Introduction
Special characters are essential for adding personality and uniqueness to your written content. Whether you’re composing an email, writing an article, or designing a website, knowing how to access and use special characters on your keyboard can greatly enhance your work.
But finding and utilizing these special characters can sometimes be a challenge. That’s where this guide comes in. In this article, we will explore various methods for typing special characters on both Windows and Mac keyboards.
From accented letters to symbols and emoticons, we’ll cover different techniques that will make it easier for you to incorporate these characters into your documents and communications.
So, whether you’re a writer who wants to add that extra flair to your blog post, a student who needs to include specific mathematical symbols in your assignment, or a designer who wants to use unique symbols in your graphic design project, this guide will provide you with the knowledge and tools to do just that.
Keep in mind that some methods may work better on certain operating systems or applications, so feel free to explore different options and use the method that suits your needs best.
So let’s dive in and learn how to unleash the power of special characters on your keyboard!
Finding special characters on your keyboard
Before we delve into the various methods of accessing special characters, let’s first familiarize ourselves with where they are located on our keyboards.
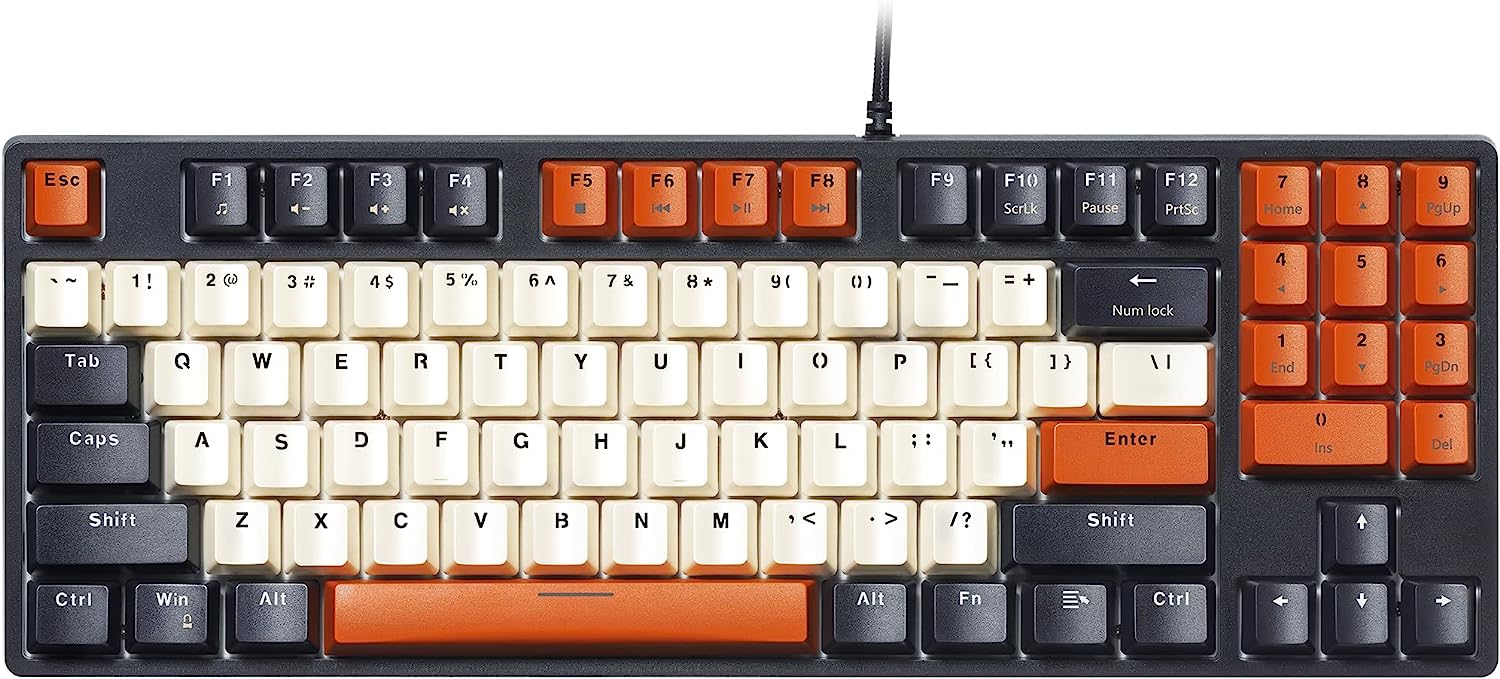
The most common special characters can typically be found on the upper row of your keyboard, just above the number keys. These include the exclamation mark, question mark, dollar sign, and ampersand, among others.
In addition to these commonly used characters, there is a wide range of special characters that are not readily available on the main keyboard layout. These include accented letters, currency symbols, trademark symbols, and more. To access these characters, we need to utilize different techniques.
One method is to use the “Alt” key on a Windows keyboard or the “Option” key on a Mac keyboard in combination with a numeric code to produce the desired character. Another method is to use keyboard shortcuts specific to the operating system or application you are using.
It is worth noting that the location of special characters may vary depending on your keyboard layout and language settings. If you are unsure about the specific location of certain characters, you can refer to the keyboard layout documentation for your particular device.
With the basic understanding of where special characters are located on your keyboard, let’s now explore different methods to access them on both Windows and Mac operating systems.
Remember to keep practicing these methods until you become comfortable with using special characters. The more you utilize them, the more efficient and fluent you will become in adding that extra touch to your written content.
Using alt codes on Windows
One way to type special characters on Windows is by using alt codes. Alt codes are a combination of numbers that you can enter using the numeric keypad on your keyboard to produce specific characters.
Here’s how you can use alt codes to type special characters:
- Make sure your Num Lock key is turned on. This will activate the numeric keypad on your keyboard.
- Find the alt code for the character you want to type. Alt codes consist of the “Alt” key followed by a four-digit number. These numbers are specific to each character.
- Hold down the “Alt” key and enter the alt code on the numeric keypad. Be sure to use the numeric keypad on the right side of your keyboard, as the numbers on the top row won’t work.
- Release the “Alt” key, and the special character will appear.
For example, to type the copyright symbol (©), you would press and hold the “Alt” key, then enter the alt code 0169 using the numeric keypad, and finally release the “Alt” key. The copyright symbol will then be displayed.
It’s important to note that alt codes only work with the numeric keypad, so if your keyboard doesn’t have a separate numeric keypad, you may need to use an alternate method to access special characters.
Alt codes provide a convenient way to type special characters quickly, especially if you frequently use certain symbols in your work. However, keep in mind that alt codes may not work in all applications or on all operating systems. If you find that alt codes aren’t functioning as expected, you may need to explore other methods for typing special characters.
Now that you know how to use alt codes on Windows, let’s move on to exploring keyboard shortcuts on Mac.
Using keyboard shortcuts on Mac
If you’re using a Mac, you can utilize keyboard shortcuts to easily type special characters without the need for alt codes. Keyboard shortcuts are key combinations that produce specific characters or perform certain actions.
Here’s how you can use keyboard shortcuts to type special characters on a Mac:
- Place your cursor where you want the special character to appear.
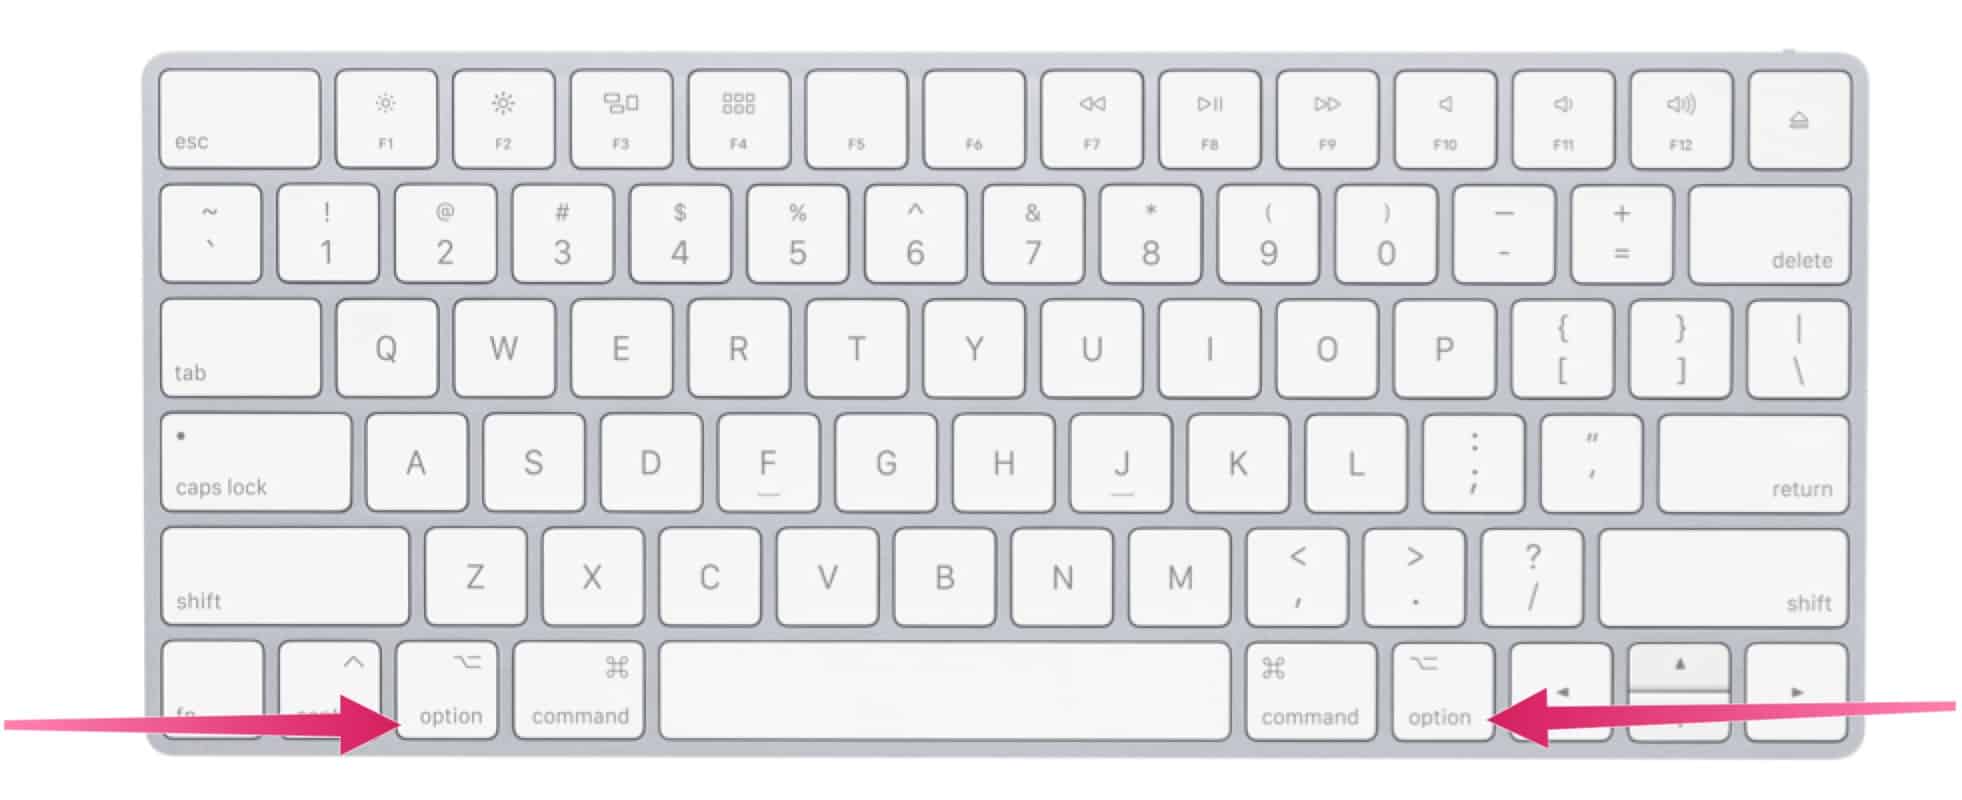
- Press and hold the “Option” key on your keyboard.
- While holding the “Option” key, press the specific alphabet key or symbol key that corresponds to your desired special character.
- Release both the “Option” key and the alphabet or symbol key, and the special character will be inserted into your document.
For example, to type the degree symbol (°), you would press and hold the “Option” key, then press the “Shift” key and the number zero key at the same time. The degree symbol will then appear where your cursor is located.
On a Mac, keyboard shortcuts can vary depending on the application you’re using. Some applications, like Pages or Microsoft Word, may have their own specific keyboard shortcuts for special characters. It’s recommended to check the documentation or settings of the application you’re working with to find the appropriate shortcuts.
In addition to using keyboard shortcuts, Mac also provides a special Character Viewer tool that allows you to browse through and select different special characters. Let’s explore how to access and use the Character Viewer in the next section.
Using the character viewer on Mac
If you’re using a Mac, another helpful tool for accessing special characters is the Character Viewer. The Character Viewer provides a visual interface that allows you to browse through a wide range of special characters and symbols.
Here’s how you can use the Character Viewer on your Mac:
- Place your cursor where you want the special character to appear.
- Go to the menu bar at the top of your screen and click on the “Edit” option.
- In the dropdown menu, select “Emoji & Symbols” or “Special Characters”. This will open the Character Viewer window.
- In the Character Viewer window, you can browse through or search for specific characters using the search bar at the top.
- Once you find the desired character, simply click on it to insert it into your document at the cursor position.
The Character Viewer provides a convenient way to explore and use special characters, symbols, and even emojis. It organizes characters into categories for easy navigation, making it simple to find the specific character you need.
In addition to using the Character Viewer, some applications on Mac also have their own special character menus or palettes. These menus provide quick access to commonly used special characters within the application itself.
Now that you know how to use the Character Viewer and special character menus on Mac, let’s explore using ASCII codes to type special characters.
Using ASCII codes
ASCII (American Standard Code for Information Interchange) codes are a widely used standard for representing characters as numeric codes. While they are not as commonly used as alt codes or keyboard shortcuts, ASCII codes can be a useful method for typing special characters, especially if you don’t have access to those other methods.
To use ASCII codes to type special characters, follow these steps:
- Place your cursor where you want the special character to appear.
- Find the ASCII code for the character you want to type. You can find ASCII code charts online that list all the available codes.
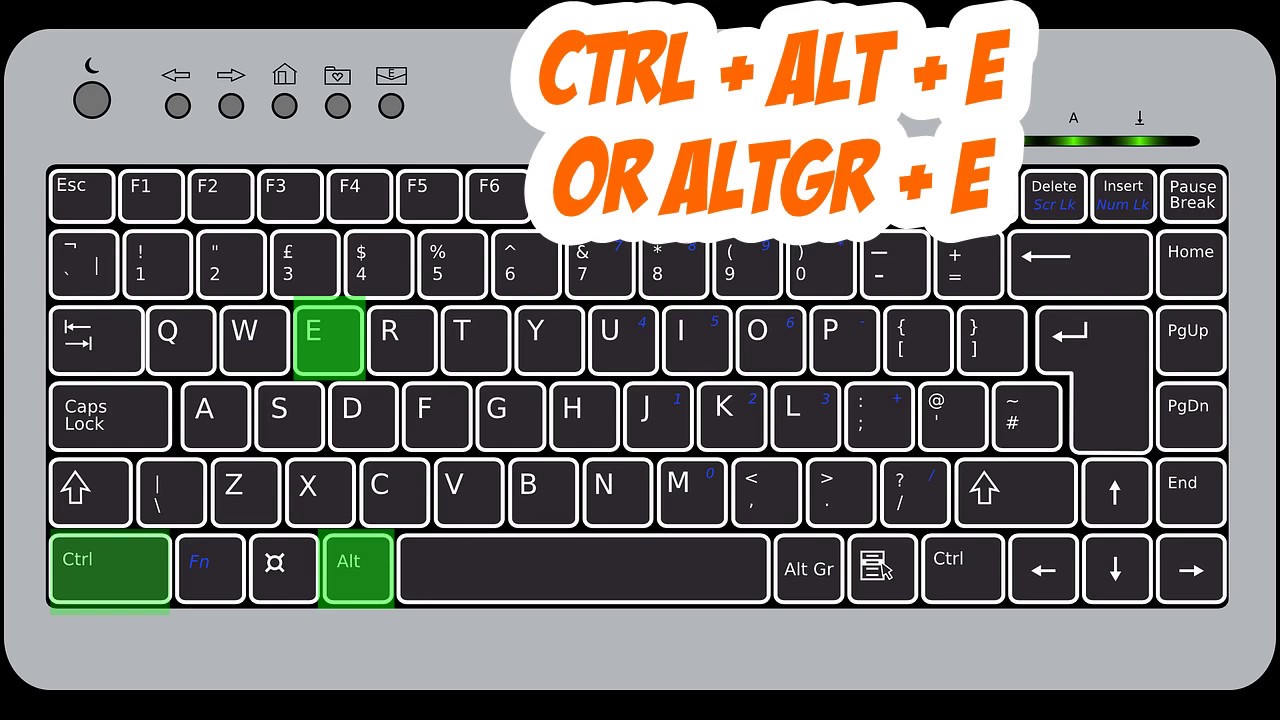
- Press and hold the “Alt” key on your keyboard.
- While holding the “Alt” key, enter the ASCII code using the numeric keypad on your keyboard.
- Release the “Alt” key, and the special character will appear at the cursor position.
For example, to type the ASCII code for the euro symbol (€), you would press and hold the “Alt” key, then enter the ASCII code 0128 using the numeric keypad, and finally release the “Alt” key. The euro symbol will then be displayed.
It’s important to note that ASCII codes may not be supported in all applications or on all operating systems. Additionally, not all characters can be represented by ASCII codes, especially more complex symbols or international characters.
For these reasons, alt codes, keyboard shortcuts, and the Character Viewer are often preferred methods for typing special characters. However, knowing the basics of ASCII codes can be helpful in scenarios where these other methods are not available or not working as expected.
Now that you’ve learned about using ASCII codes, let’s explore another method for accessing special characters on Windows: the character map.
Using the character map on Windows
If you’re using a Windows computer, the Character Map is a built-in tool that allows you to browse and insert special characters in your documents. It provides a visual representation of all the characters available in the selected font, making it easy to find and use specific symbols.
To use the Character Map on Windows, follow these steps:
- Open the Start menu and search for “Character Map”. Click on the application when it appears in the search results.
- In the Character Map window, select the desired font from the dropdown menu. You can choose the font that you are currently using in your document to see the characters available in that font.
- Browse through the characters in the grid or use the search bar to find the specific character you need.
- Click on the desired character, and it will be inserted at the cursor position in the Character to Copy field.
- Optionally, you can customize the characters displayed in the grid by adjusting the settings in the Character Map window.
- Once you have inserted the desired character, click on the “Copy” button, and then paste it into your document by right-clicking and selecting “Paste” or using the shortcut Ctrl+V.
The Character Map on Windows is a helpful tool for accessing special characters, especially if you need to use characters from different fonts or symbols that are not commonly available on your keyboard.
It’s worth noting that the options and layout of the Character Map may vary slightly depending on the version of Windows you are using. However, the basic functionality remains the same.
Now that you know how to use the Character Map, let’s explore another useful method for accessing special characters on your computer: adding a special characters toolbar to your taskbar.
Adding a special characters toolbar to your taskbar
To make the process of accessing special characters even more convenient, you can add a special characters toolbar to your taskbar on Windows. This allows you to quickly and easily access a collection of commonly used special characters without having to search for them every time.
Here’s how to add a special characters toolbar to your taskbar on Windows:
- Right-click on an empty area of your taskbar.
- In the context menu that appears, hover over “Toolbars” and then select “Touch Keyboard”. This will add a Touch Keyboard icon to your taskbar.
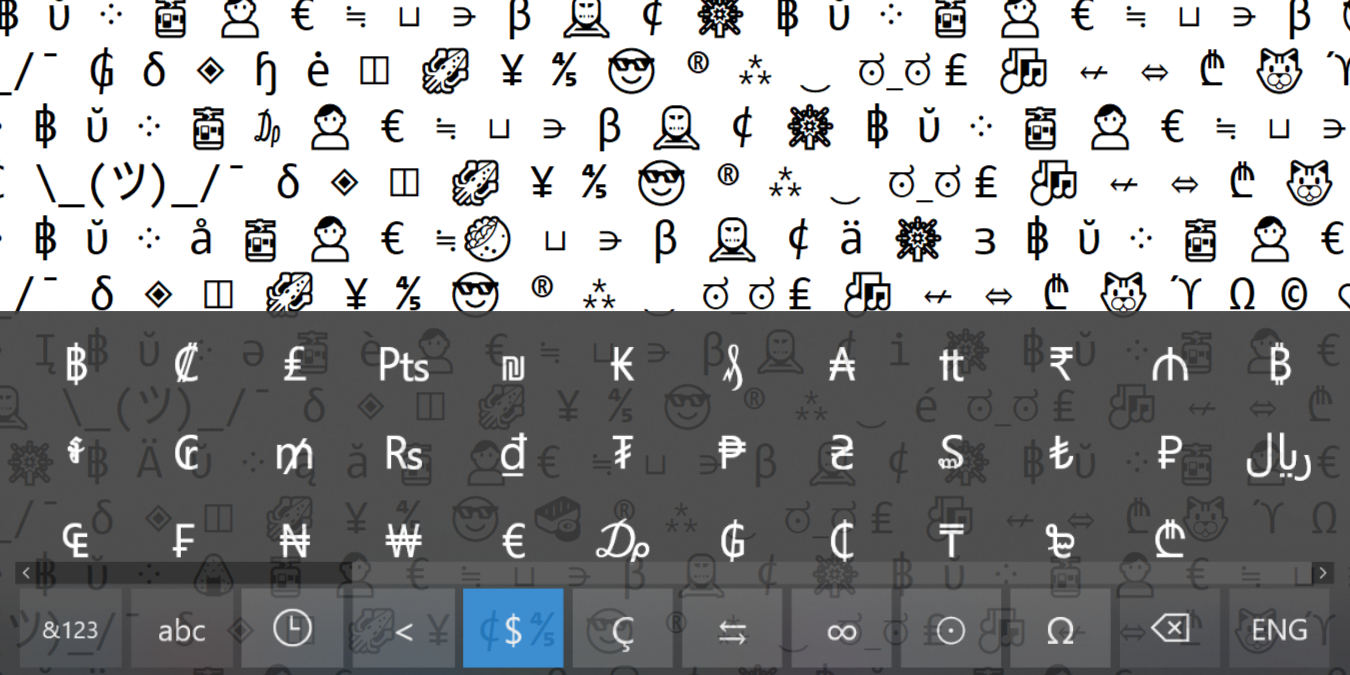
- Click on the Touch Keyboard icon on your taskbar to open the Touch Keyboard.
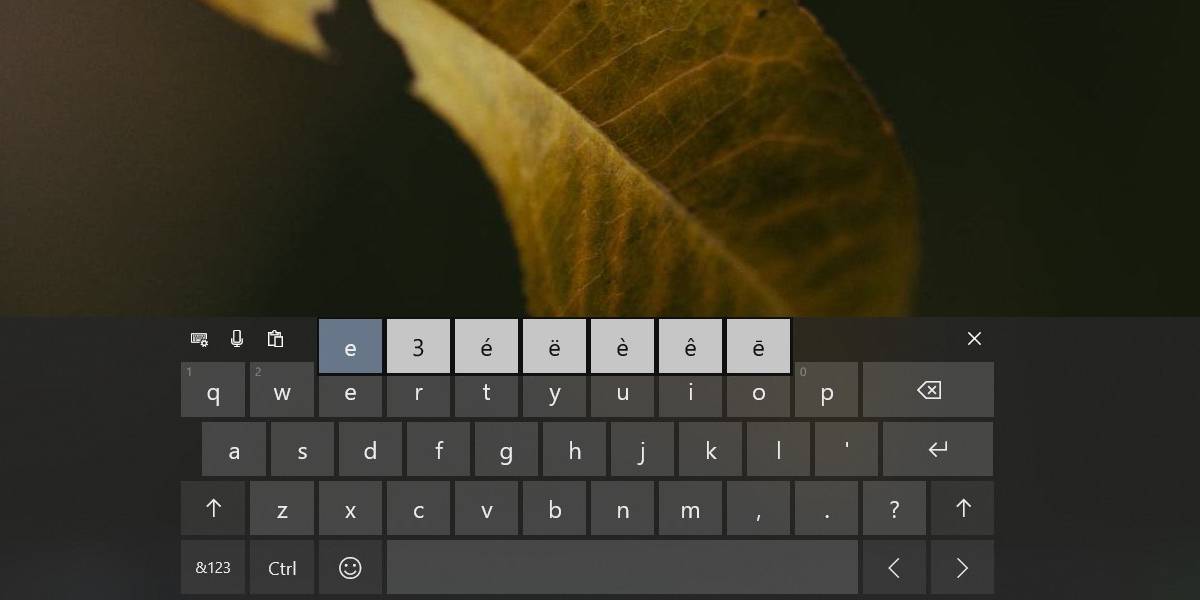
- In the Touch Keyboard window, click on the “&123” button to switch to the symbols view.
- Click on the “&” button to open a menu of additional special characters. From here, you can select and insert the desired character into your document by clicking on it.
The Touch Keyboard toolbar provides a quick and easy way to access a variety of special characters right from your taskbar. You can customize the toolbar by adding or removing characters or symbols based on your preferences and needs.
It’s important to note that the availability of the Touch Keyboard toolbar may depend on the version of Windows you are using. If you don’t see the “Touch Keyboard” option in the toolbar menu, you may need to enable it in the settings of your operating system.
By adding a special characters toolbar to your taskbar, you can significantly streamline your workflow and save time in inserting special characters in your documents and communications.
Now that you’ve learned about adding a special characters toolbar, you have a variety of methods to access and use special characters on your keyboard. Let’s wrap up and summarize what we’ve covered in this guide.
Conclusion
Knowing how to access and use special characters on your keyboard can greatly enhance your written content by adding style, clarity, and uniqueness. In this guide, we explored various methods for typing special characters on both Windows and Mac operating systems.
We began by familiarizing ourselves with the location of special characters on our keyboards, highlighting the upper row as the home for commonly used symbols. We then delved into the use of alt codes on Windows, allowing for the input of specific characters using numeric codes.
For Mac users, we explored the utilization of keyboard shortcuts, which proved to be a simple and efficient way to type special characters. Additionally, we discovered the Character Viewer tool, providing a visual interface to browse and insert an extensive range of special characters and symbols.
We also touched upon ASCII codes, presenting them as an alternative method for typing special characters, especially in situations where other methods may not be available.
Moreover, we delved into the functionality of the Character Map on Windows, enabling users to search, select, and insert special characters from different fonts.
Lastly, we explored the option of adding a special characters toolbar to the taskbar on Windows, providing quick access to commonly used special characters, further streamlining the typing process.
By employing these methods and tools, you can now confidently insert special characters into your documents, emails, web content, and more, adding a touch of personalization and creativity to your written work.
Remember, practice makes perfect. The more you utilize these methods, the more proficient you will become in incorporating special characters seamlessly into your writing. Experiment with different techniques and explore the possibilities to fully unlock the potential of special characters on your keyboard.
So go ahead, let your words shine with the inclusion of special characters, and elevate your communication to the next level!