Introduction
Welcome to the guide on how to connect and display your HP Pavilion Gaming Laptop to a TV! Whether you want to enjoy your favorite movies, play video games on a bigger screen, or give a presentation, connecting your laptop to a TV can provide a more immersive and visually appealing experience.
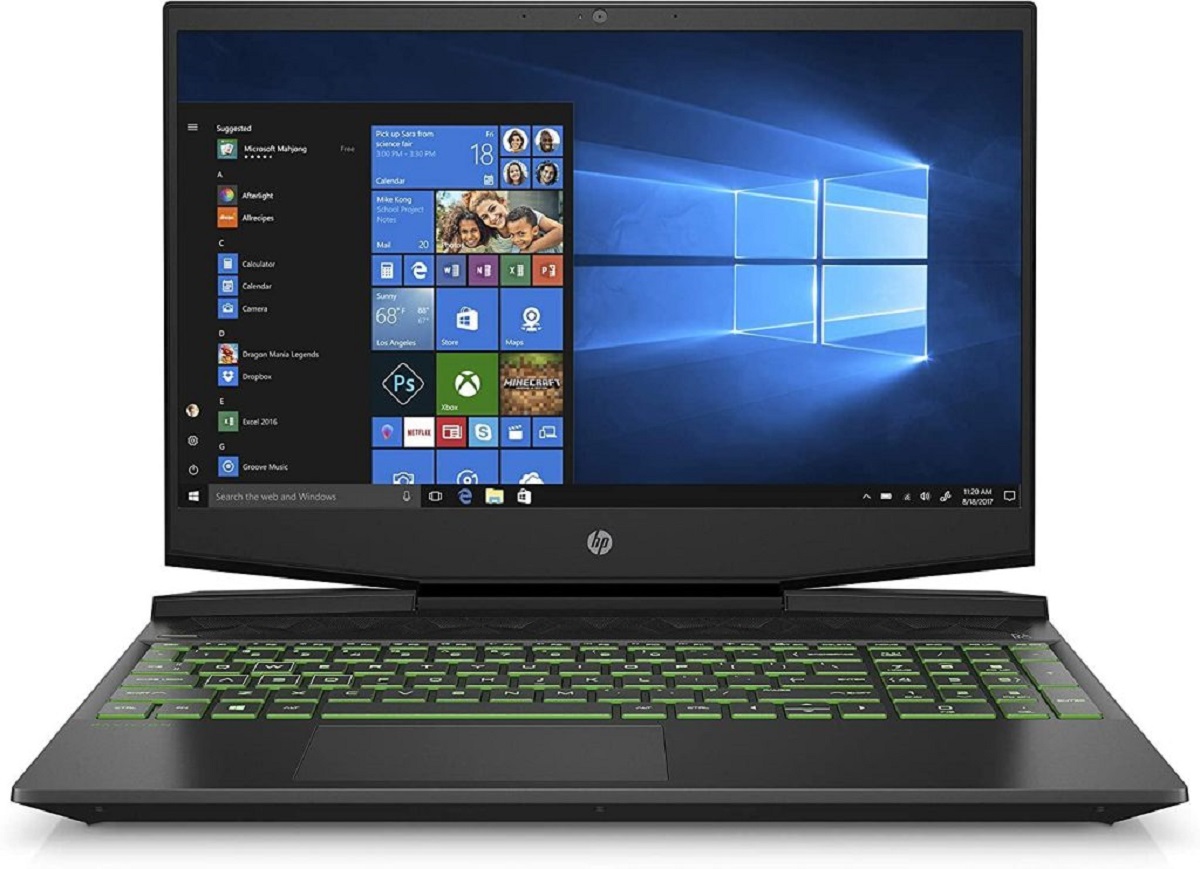
The HP Pavilion Gaming Laptop offers powerful performance and high-quality graphics, making it ideal for multimedia tasks. By connecting it to a TV, you can take full advantage of its capabilities and enjoy content on a larger display.
This guide will walk you through the process of connecting your HP Pavilion Gaming Laptop to a TV using an HDMI cable. You’ll also learn how to adjust the display settings on both your laptop and the TV to ensure optimal picture quality. Additionally, we’ll provide troubleshooting tips to help you overcome any potential issues that may arise during the connection process.
So, grab your HDMI cable, get ready to connect your HP Pavilion Gaming Laptop to a TV, and let’s dive into the step-by-step instructions that will enable you to enjoy your laptop content on a bigger screen!
Connecting the Laptop to the TV Using an HDMI Cable
The first step to display your HP Pavilion Gaming Laptop on a TV is to connect the two devices using an HDMI cable. The HDMI (High Definition Multimedia Interface) cable allows for both high-quality video and audio transmission, making it the ideal choice for connecting your laptop to a TV.
To begin, ensure both your laptop and TV are turned off. Locate the HDMI port on your laptop and the corresponding HDMI port on your TV. Typically, these ports are labeled “HDMI” and are easily identifiable. Insert one end of the HDMI cable into the HDMI port on your laptop and the other end into the HDMI port on your TV.
Once the connection is established, power on both the laptop and the TV. Your laptop’s display will now be mirrored on the TV screen. If you encounter any issues with the display, refer to the troubleshooting tips section for possible solutions.
It’s important to note that some laptops may require you to activate the HDMI output manually. To do this, use the “Function” (Fn) key, typically located in the bottom left corner of the keyboard, along with one of the “F” keys at the top of the keyboard. Look for a key with an icon resembling a screen or a TV. Pressing the Fn key and the corresponding “F” key simultaneously should activate the HDMI output on your laptop.
With the HDMI cable connected and the HDMI output activated, you have successfully established the physical connection between your HP Pavilion Gaming Laptop and the TV. In the next section, we’ll explore how to adjust the display settings on your laptop to optimize the viewing experience.
Adjusting the Display Settings on the Laptop
Once you have connected your HP Pavilion Gaming Laptop to the TV using an HDMI cable, it’s time to adjust the display settings on your laptop to ensure the best possible viewing experience on the TV screen.
To begin, right-click on an empty area of your laptop’s desktop and select “Display Settings” from the context menu. This will open the Display Settings window.
In the Display Settings window, you’ll see two display icons labeled as “1” and “2”. The icon labeled “1” represents your laptop’s display, while the icon labeled “2” represents the connected TV. Click on the display icon labeled “2” to select it.
Once the TV display icon is selected, you can make various adjustments to ensure optimal picture quality. Firstly, you can choose the screen resolution by clicking the drop-down menu under “Resolution” and selecting the desired resolution. It is recommended to select a resolution that is compatible with your TV’s capabilities for the best results.
Additionally, you can adjust the orientation of the TV display by choosing the appropriate option from the “Orientation” drop-down menu. This is useful if you want to rotate the TV screen to match its physical orientation.
Moreover, you can arrange the position of the TV display relative to your laptop’s display by clicking and dragging the display icons labeled “1” and “2” in the Display Settings window. This allows you to position the TV display to the left, right, above, or below your laptop’s display based on your preference.
Once you have made the necessary adjustments, click the “Apply” button to save the changes. Your laptop’s display will now be adjusted to optimize the viewing experience on the TV screen.
It’s important to mention that some laptops may have additional display settings, such as color calibration and screen scaling, which can further enhance the image quality on the TV. You can explore these settings by clicking on the “Advanced display settings” link in the Display Settings window.
With the display settings on your HP Pavilion Gaming Laptop adjusted, you’re now ready to configure the display settings on the TV itself. This will be covered in the next section.
Configuring the Display Settings on the TV
After adjusting the display settings on your HP Pavilion Gaming Laptop, it’s time to configure the display settings on your TV to ensure the best possible visual output. While the specific steps may vary depending on your TV model, the general process remains the same.
Start by grabbing your TV remote and look for the “Menu” button. Press it to access the TV’s settings menu. From there, navigate to the “Display” or “Picture” settings, which are usually located under the “Settings” or “Setup” section.
In the display settings menu, you’ll find various options to adjust the picture quality to your liking. These options may include brightness, contrast, color temperature, sharpness, and picture mode. Experiment with these settings to find the combination that provides the best visuals on your TV screen.
It’s worth noting that some TVs offer specific picture modes optimized for different types of content, such as movies, gaming, or sports. Feel free to explore these modes and select the one that suits your viewing preferences.
Additionally, you may find an option called “Overscan” or “Screen Fit” in the display settings. Enabling this option ensures that the entire laptop screen is visible on the TV display without any cropping or zooming.
Once you have made the necessary adjustments, take a moment to save and apply the settings. This may require selecting an option like “Save” or “Apply” within the settings menu.
Keep in mind that different TV models and manufacturers may have slight variations in their display settings menus. If you encounter any difficulties, refer to your TV’s user manual or visit the manufacturer’s website for further assistance.
With the display settings on both your HP Pavilion Gaming Laptop and the TV properly configured, you are now ready to enjoy your laptop content on the big screen. However, if you experience any issues during the connection or configuration process, refer to the troubleshooting tips provided in the next section.
Troubleshooting Tips
Sometimes, despite following the steps correctly, you may encounter issues when connecting your HP Pavilion Gaming Laptop to the TV. Here are some troubleshooting tips to help you overcome common problems and ensure a successful connection:
- No display on the TV: Double-check that the HDMI cable is securely connected to both your laptop and the TV. Try using a different HDMI cable or a different HDMI port on your TV. Make sure the TV is set to the correct input source for the HDMI connection.
- No sound on the TV: Ensure that the audio output is set to HDMI in your laptop’s sound settings. On some TVs, you may need to manually switch the audio input to HDMI. Check the TV’s settings or consult the user manual for instructions.
- Poor picture quality: Adjust the display settings on both your laptop and the TV to optimize the picture quality. Ensure that the resolution settings on your laptop match the capabilities of your TV. Experiment with different picture modes and settings on the TV to find the best visual output.
- Screen cutoff or overscan: If part of the laptop screen is cropped or cutoff on the TV display, look for an option like “Overscan” or “Screen Fit” in the TV’s display settings. Enabling this option should resolve the issue.
- Flickering or unstable display: Try using a different HDMI cable, as the current cable may be faulty. Ensure that the HDMI ports on both your laptop and the TV are clean and free from any debris. If the problem persists, check if there are any software updates available for your laptop’s graphics drivers.
If you’re still experiencing issues after trying these troubleshooting tips, it is advisable to consult the user manual of your laptop and TV, or reach out to the respective manufacturer’s customer support for further assistance.
By following these troubleshooting tips, you can overcome common problems and enjoy seamless connectivity between your HP Pavilion Gaming Laptop and the TV, enhancing your multimedia experience.
Conclusion
Congratulations! You have successfully learned how to connect and display your HP Pavilion Gaming Laptop on a TV. By following the step-by-step instructions, you can enjoy your favorite movies, videos, games, and presentations on a larger screen, enhancing your viewing experience.
Remember, it all starts with connecting your laptop to the TV using an HDMI cable. Once the physical connection is established, adjusting the display settings on both the laptop and the TV is crucial to achieve optimal picture quality. Additionally, troubleshooting tips can help you overcome common issues that may arise during the connection process.
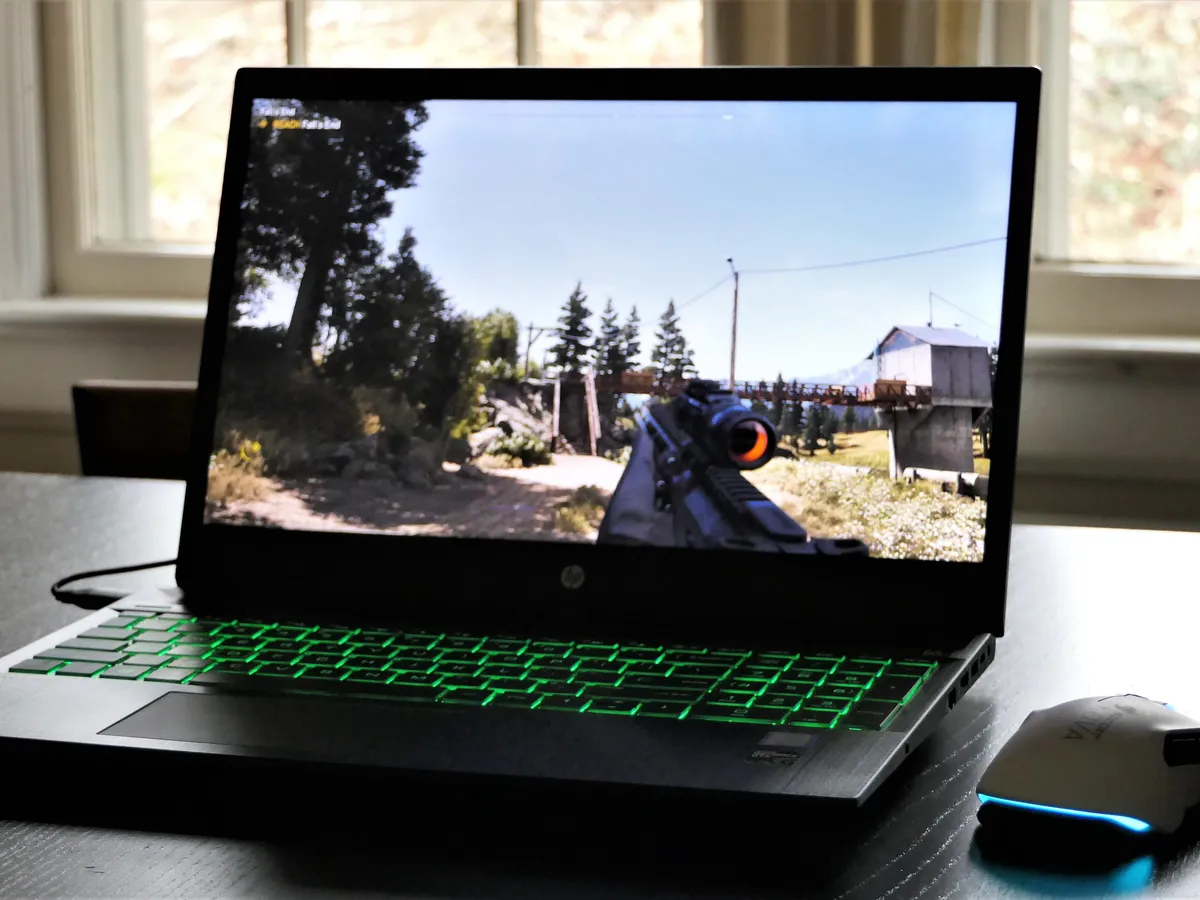
Whether you’re a movie enthusiast, a gamer, or someone who needs to deliver presentations, connecting your HP Pavilion Gaming Laptop to a TV opens up a whole new world of possibilities. The powerful performance and stunning graphics of your laptop, combined with the immersive experience of a larger screen, will take your entertainment and productivity to a whole new level.
We hope this guide has been helpful in assisting you with connecting your laptop to a TV. Enjoy exploring the capabilities of your HP Pavilion Gaming Laptop on the big screen and make the most out of your multimedia experience!