Introduction
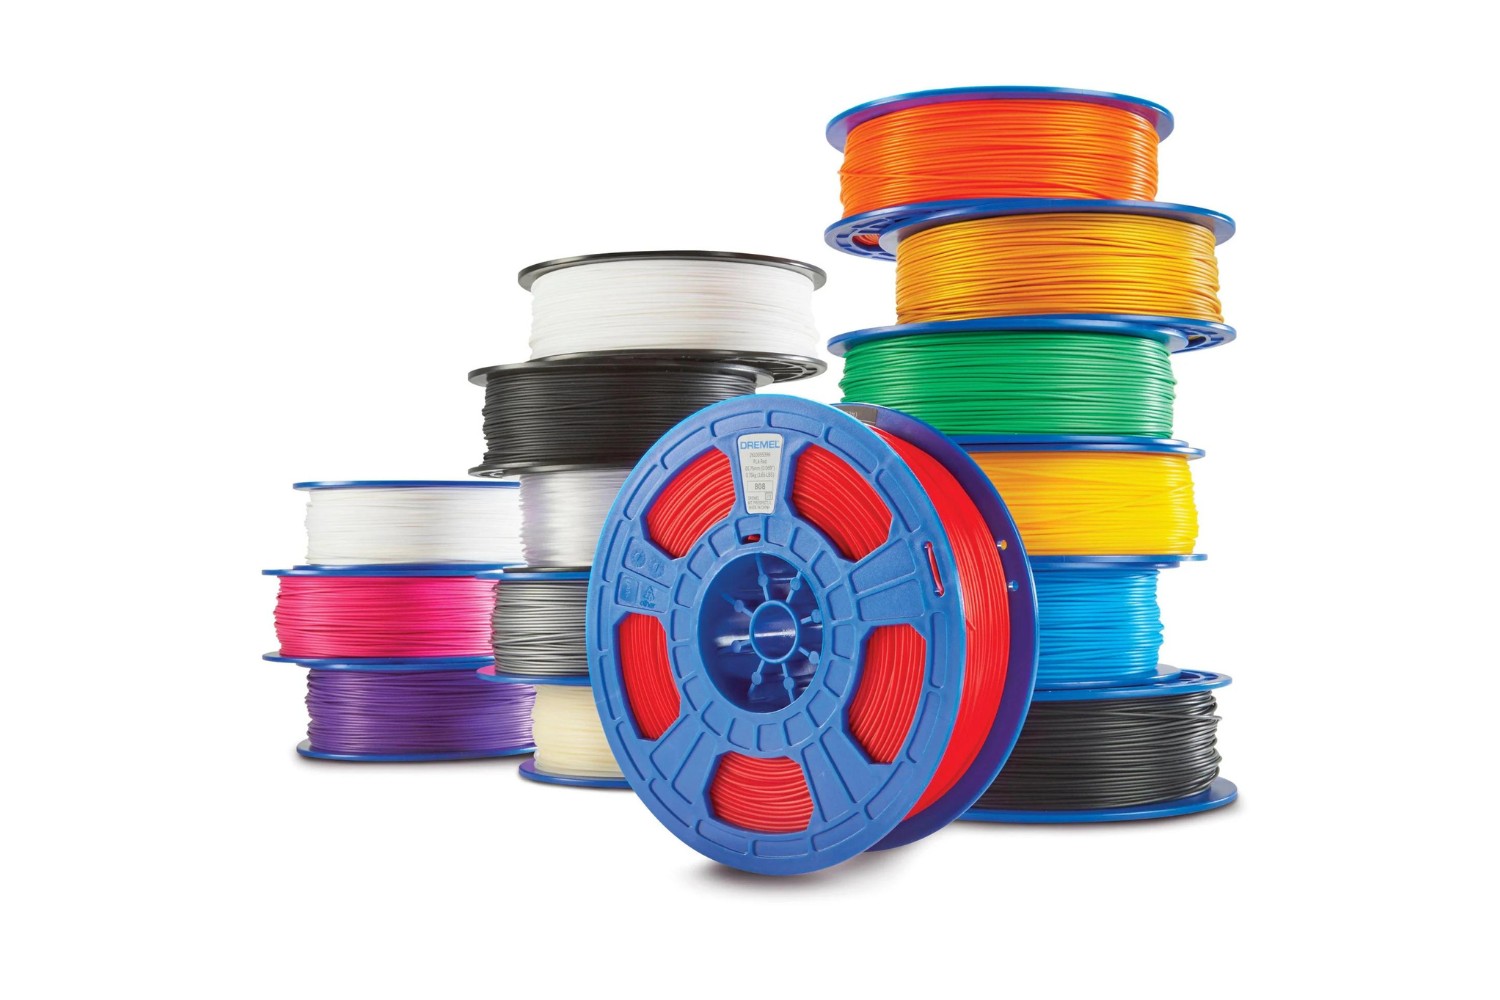
When it comes to 3D printing, achieving high-quality and precise prints is essential. One key aspect that determines the final outcome is the line width. The line width refers to the thickness of the extruded filament that forms each layer of the printed object. Finding the perfect line width can greatly impact the strength, accuracy, and overall aesthetic of your 3D prints.
Understanding how to display the perfect line on a 3D printer requires some knowledge of various factors that influence the line width. These factors include software settings, extrusion flow rate, temperature and filament combination, and even nozzle size. By making adjustments in these areas, you can fine-tune your 3D printer to produce the desired line width for your specific project.
In this article, we will guide you through the steps to achieve optimal line width on a 3D printer. Whether you’re a beginner or an experienced maker, these tips and techniques will help you take your 3D prints to the next level.
Before diving into the specifics of adjusting line width, it’s crucial to note that the process may vary depending on the 3D printer and software you’re using. However, the underlying principles and adjustments can be universally applied to improve your prints’ quality.
So, let’s explore the various methods and techniques to control and display the perfect line width on your 3D prints. By implementing these strategies, you’ll be able to achieve precise and visually appealing prints that meet your exact specifications.
Understanding Line Width
The line width in 3D printing refers to the thickness of the extruded filament as it is laid down to create each layer of the printed object. It plays a crucial role in determining the overall strength, accuracy, and surface finish of your 3D prints.
The line width is typically defined by the slicer software, which generates the G-code instructions to control the 3D printer. It is important to note that the line width should not be confused with the layer height, which is the vertical distance between each printed layer.
When it comes to line width, there are a few key factors to consider. First, a narrower line width can result in more precise prints with finer details. However, it may also increase print time as more lines are required to fill the same area. On the other hand, a wider line width can improve print speed but may sacrifice some level of detail.
Another important aspect is the relationship between line width and nozzle diameter. In general, the line width should be slightly larger than the nozzle diameter to ensure proper adhesion and bonding between printed layers. This is because the extruded filament needs some space to spread out and adhere to the layer below.
Moreover, the line width can affect the overall strength and structural integrity of the printed object. A wider line width can provide better interlayer adhesion, making the object more robust. However, a very wide line width may result in over-extrusion, leading to bulging or uneven surfaces.
Understanding the impact of line width is crucial for achieving the desired print quality. By optimizing the line width, you can enhance the level of detail, improve strength, and achieve smoother surface finishes in your 3D prints.
In the following sections, we will explore various methods and adjustments that can be made to control and display the perfect line width on your 3D prints. These techniques will help you achieve the desired balance between speed, accuracy, and aesthetic appeal, allowing you to unleash the full potential of your 3D printer.
Adjusting Line Width in 3D Printing Software
One of the key steps to achieving the perfect line width on a 3D printer is adjusting the settings in your slicing software. The slicing software allows you to convert your 3D model into a series of instructions that the printer can understand and execute. Here are some important adjustments you can make in your software to control the line width:
Layer height: The layer height determines the vertical distance between each printed layer. It is important to note that the layer height should not be greater than the line width, as this can result in weak adhesion between layers. Ideally, the layer height should be equal to or slightly smaller than the line width to ensure proper bonding.
Extrusion multiplier: The extrusion multiplier adjusts the amount of filament that is extruded during the printing process. Increasing the extrusion multiplier will result in wider lines, while decreasing it will produce narrower lines. Experimenting with different extrusion multiplier values can help you fine-tune the line width to your desired specifications.
Print speed and flow rate: Adjusting the print speed and flow rate can also affect the line width. Increasing the print speed can result in thinner lines, while slowing it down can create wider lines. Similarly, adjusting the flow rate can impact the amount of filament being extruded, thus affecting the line width. Experimenting with these settings can help you achieve the optimal line width for your prints.
Perimeters and infill settings: Many slicing software offer options to adjust the line width specifically for perimeters (outer walls) and infill. Fine-tuning these settings can be helpful if you want different line widths for different parts of your print. For example, you may want thicker perimeters for added strength and thinner infill for faster printing or finer details.
It is important to carefully calibrate and test these settings to achieve the desired line width. Start with small adjustments and evaluate the results before making further changes. Additionally, keep in mind that the specific menu or parameter names may vary depending on the slicing software you are using.
By taking advantage of the customization options in your 3D printing software, you can have precise control over the line width and ensure that your prints are produced with the desired level of accuracy and detail.
Calibrating Extrusion Flow Rate
Accurate calibration of the extrusion flow rate is crucial for achieving the perfect line width on your 3D prints. The extrusion flow rate determines the amount of filament that is extruded by the printer, directly impacting the line width. Here’s how you can calibrate the extrusion flow rate:
Step 1: Print a calibration cube or single-layer test object: Start by printing a calibration cube or a single-layer test object with a flat surface. This will serve as a benchmark for evaluating the line width and making adjustments. Choose a model that has a uniform, flat area where you can easily measure the line width.
Step 2: Measure the actual line width: Use a pair of calipers or a precise measuring tool to measure the actual line width of the printed object. Measure multiple points on the print surface and take the average to get an accurate measurement.
Step 3: Calculate the extrusion multiplier: Divide the target line width by the measured line width to calculate the extrusion multiplier. For example, if the target line width is 0.4mm and the measured line width is 0.38mm, the extrusion multiplier would be 0.4 / 0.38 = 1.05.
Step 4: Adjust the extrusion multiplier: Go to your 3D printing software and adjust the extrusion multiplier according to the calculated value. Increase the multiplier if the measured line width is smaller than the target, and decrease it if the measured line width is larger. Make small adjustments and retest until you achieve the desired line width.
Step 5: Validate the calibration: Print another calibration object or a test print to validate the calibration. Measure the line width again to ensure that it corresponds to the target value. If necessary, make further adjustments to fine-tune the extrusion flow rate.
Calibrating the extrusion flow rate is an iterative process that requires patience and experimentation. Depending on your printer, filament type, and other settings, the optimal extrusion multiplier may vary. Regularly calibrating your printer’s extrusion flow rate will help you maintain consistent and accurate line widths for your 3D prints.
Tweaking Temperature and Filament Combination
The temperature at which your filament is extruded can significantly impact the line width and overall print quality. Different filaments have their own temperature requirements, so it’s essential to find the optimal temperature for your specific filament type. Here are some steps to help you tweak the temperature and filament combination:
Refer to manufacturer guidelines: Start by checking the manufacturer’s guidelines or specifications for the recommended temperature range for your filament. This will give you a good starting point for finding the ideal temperature.
Temperature tower test: To determine the ideal temperature for your filament, you can perform a temperature tower test. This involves printing a single object with multiple sections, each printed at a different temperature. This will help you identify the temperature range that produces the best line width and print quality for your specific filament.
Observe the effects on line width: After printing the temperature tower test, carefully inspect the different sections and compare the line width at each temperature. Look for the section with the most precise and consistent line width. This temperature will serve as a baseline for future prints.
Experiment with temperature variations: Once you have identified the optimal temperature range, you can experiment with slight temperature variations to fine-tune the line width. Increase the temperature by a few degrees to see if it affects the line width, and decrease it to observe any changes. Keep testing and adjusting until you achieve the desired line width.
Consider filament characteristics: Different filaments have unique properties that can affect the line width. For example, flexible filaments may require slightly wider line widths to ensure proper adhesion and flexibility, while more rigid filaments may benefit from narrower line widths for finer details. Take into account the specific characteristics of your filament when tweaking the line width.
It’s important to note that temperature adjustments may also impact other aspects of the print, such as adhesion, layer bonding, and surface finish. Strike a balance between achieving the desired line width and maintaining overall print quality.
By carefully tweaking the temperature and filament combination, you can influence the line width and achieve more precise and visually appealing 3D prints. Remember to document the settings and temperature ranges that work best for your filaments to ensure consistent results in future prints.
Using Different Nozzle Sizes
The nozzle size of your 3D printer plays a crucial role in determining the line width of your prints. The nozzle diameter directly affects the amount of filament that can be extruded, thus impacting the line width. By using different nozzle sizes, you can have more control over the line width and achieve different levels of detail. Here’s how you can leverage different nozzle sizes for your prints:
Understanding nozzle diameter: The nozzle diameter refers to the size of the opening at the tip of the nozzle through which the filament is extruded. Nozzles come in various sizes, with common diameters including 0.4mm, 0.6mm, and 0.8mm. A smaller nozzle diameter will result in narrower line widths, while a larger nozzle diameter will produce wider lines.
Matching nozzle size to project requirements: Consider the specific requirements of your 3D printing project when choosing a nozzle size. For intricate, detailed prints, a smaller nozzle size may be preferable to achieve finer details. On the other hand, for prints that require more strength or faster print times, a larger nozzle size can be advantageous.
Adjusting line width with nozzle size: When switching to a different nozzle size, it’s important to consider the impact on the line width. In general, a nozzle with a smaller diameter will require adjustments to the settings in your slicing software. Increase the extrusion multiplier or adjust the flow rate to compensate for the reduced filament flow, and fine-tune other settings as needed to achieve the desired line width.
Benefits and limitations of different nozzle sizes: Using a smaller nozzle size allows for greater precision and finer details, making it ideal for intricate models or objects with small features. However, a smaller nozzle can also lead to longer print times due to the increased number of lines required to fill a specific area. On the other hand, a larger nozzle size enables faster prints and can be advantageous for projects that prioritize strength over intricate details.
Experimenting with different nozzle sizes will give you the flexibility to adapt to the specific requirements of your 3D printing projects. It allows you to achieve the desired level of detail, precision, and strength for your prints, while also considering factors like print time and overall print quality.
Remember to take into account the compatibility of the nozzle size with your 3D printer and ensure that the necessary adjustments are made in your slicing software. With the right combination of nozzle size and settings, you can achieve the perfect line width and optimize the overall performance of your 3D prints.
Conclusion
Achieving the perfect line width on a 3D printer is essential for producing high-quality, precise, and visually appealing prints. Through this article, we have explored various methods and techniques to control and display the ideal line width on your 3D prints.
We began by understanding the significance of line width in 3D printing and how it impacts the overall strength, accuracy, and surface finish of printed objects. We then delved into the adjustments that can be made in 3D printing software, such as fine-tuning layer height, extrusion multiplier, print speed, and flow rate.
Furthermore, we discussed the importance of calibrating the extrusion flow rate and the steps involved in achieving optimal results. By measuring and adjusting the flow rate, you can ensure that the right amount of filament is extruded, resulting in precise line widths for your prints.
In addition, we explored the significance of temperature and filament combination in determining the line width. Adjusting the temperature and finding the optimal range for each filament type helps to achieve consistent and accurate line widths, resulting in high-quality prints with the desired level of detail.
Finally, we discussed the versatility of using different nozzle sizes. By selecting the appropriate nozzle size for your project, you can control the line width and achieve different levels of detail and strength in your prints.
It’s important to remember that finding the perfect line width may require some trial and error, as it depends on various factors such as printer specifications, filament types, and personal preferences. Regular calibration, experimentation, and documenting your settings are key to achieving consistent and satisfactory results.
By implementing the techniques and adjustments discussed in this article, you can have greater control over the line width on your 3D prints, resulting in enhanced precision, strength, and visual appeal. Whether you’re a beginner or an experienced maker, optimization of line width will enable you to unleash the full potential of your 3D printer and take your prints to the next level of quality and craftsmanship.