Introduction
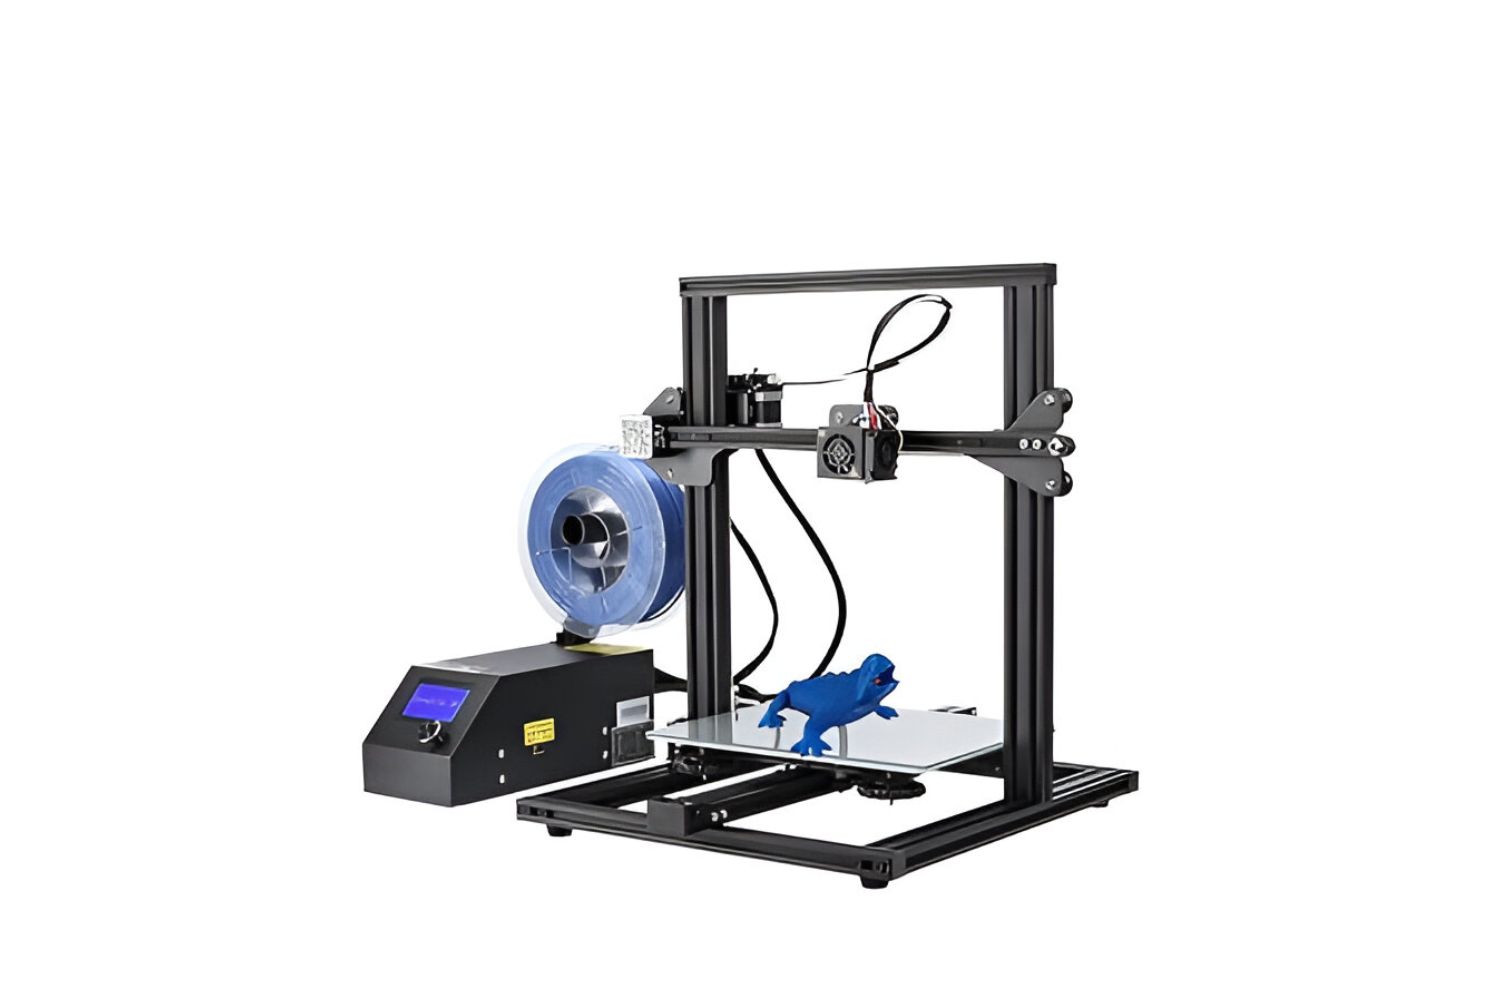
Welcome to this troubleshooting guide for the CR-10 3D printer. If you’re experiencing issues with your printer over extruding filament, even when it’s not printing, you’ve come to the right place. Over extrusion can lead to poor print quality, jammed nozzles, and wasted filament. Understanding the root cause of this problem is crucial in order to fix it.
Over extrusion occurs when the printer pushes out more filament than necessary, resulting in excess material being deposited onto the print bed or previous layers. This can be frustrating, especially if you’re not sure why it’s happening.
In this guide, we will explore the possible causes of over extrusion on the CR-10 and provide troubleshooting steps to help you resolve the issue. Whether you’re a beginner or an experienced user, these tips will assist you in getting your printer back to producing high-quality prints.
It’s important to note that over extrusion can be caused by various factors, including incorrect slicer settings, mechanical issues, or even problems with the filament itself. By following the steps outlined in this guide, you’ll be able to identify the root cause of the problem and take appropriate measures to fix it.
So, without further ado, let’s dive into the world of CR-10 troubleshooting and learn how to tackle over extrusion issues. By the end of this guide, you’ll have a good understanding of the potential causes and solutions, allowing you to continue printing with confidence.
Understanding Over Extrusion
Before we delve into troubleshooting methods, it’s essential to understand the concept of over extrusion. Extrusion refers to the process of pushing filament through the hotend of a 3D printer to create a solid object. Under normal circumstances, the printer should extrude the exact amount of filament needed for the print. However, when over extrusion occurs, an excessive amount of filament is deposited, leading to a range of printing issues.
Over extrusion can manifest itself in various ways. One common sign is the excessive buildup of material, resulting in blobbing, rough surfaces, and distorted dimensions in the printed object. In severe cases, the excess material can even cause the nozzle to scrape across the print, damaging both the nozzle and the object.
Several factors can contribute to over extrusion. One primary cause is incorrect calibration of the extruder steps/mm, which determines the amount of filament pushed through the printer. If this value is set too high, the printer will extrude more filament than necessary.
In addition to calibration issues, slicer settings can also play a role in over extrusion. The flow rate, or extrusion multiplier, determines how much filament the printer will use. If this value is set too high, it can lead to extruding too much material. Similarly, incorrect temperature settings or a partially clogged nozzle can cause filament to be forced out excessively.
Understanding the causes and effects of over extrusion is crucial for resolving the issue. By pinpointing the root cause, you can implement the appropriate troubleshooting steps to rectify the problem. In the next section, we’ll explore these troubleshooting methods in detail, helping you tackle over extrusion head-on.
Possible Causes of Over Extrusion
When troubleshooting over extrusion on your CR-10 3D printer, it’s important to consider the various factors that could contribute to this issue. Below are some potential causes to be aware of:
1. Incorrect Extruder Calibration: If the steps/mm value for your extruder is not calibrated correctly, it can result in overextrusion. The printer may be pushing out more filament than necessary, leading to excessive material being deposited.
2. Slicer Settings: The flow rate or extrusion multiplier in your slicer software determines how much filament is used. If this value is set too high, it can cause over extrusion. Additionally, incorrect temperature settings or inappropriate printing speeds can contribute to this issue.
3. Partial Clogs or Jams: Partial clogs or jams in the nozzle can disrupt the extrusion process, causing the printer to over extrude. These clogs can result from filament debris or insufficient cleaning/maintenance of the hotend.
4. Printing Temperature: If the printing temperature is too high, the filament can become too liquid and result in over extrusion. It’s important to find the optimal temperature for your filament type to ensure proper extrusion.
5. Slipping Extruder Gear: A slipping extruder gear can prevent the filament from feeding smoothly into the hotend. As a result, the extruder may push out excess filament, leading to over extrusion.
6. Overly High Print Speed: Printing at excessively high speeds can cause the extruder to struggle in maintaining accurate filament feeding. This can result in over extrusion as the extruder tries to compensate for the fast movement.
7. Hotend Assembly Issues: Mechanical issues in the hotend assembly, such as loose fittings or misaligned components, can disrupt the smooth flow of filament and contribute to over extrusion.
By understanding these potential causes, you can systematically troubleshoot and address the specific issue affecting your CR-10 printer. In the next section, we will provide step-by-step troubleshooting methods to help you resolve the problem of over extrusion and achieve optimal print quality.
Troubleshooting Over Extrusion on CR-10
When faced with the problem of over extrusion on your CR-10 3D printer, don’t panic. There are several troubleshooting steps you can take to identify and resolve the issue. Follow the steps below to tackle over extrusion and improve your printing results:
1. Check Filament Diameter: Ensure that the filament diameter is properly set in your slicer software. If it’s set incorrectly, the printer may extrude too much or too little filament, leading to over or under extrusion.
2. Calibrate the Extruder Steps/mm: This step involves adjusting the number of steps/mm the extruder motor takes to push the filament. Using the appropriate calibration procedure for your printer, make sure the extruder is pushing out the correct amount of filament for accurate extrusion.
3. Adjust the Flow Rate in the Slicer Settings: By adjusting the flow rate or extrusion multiplier in your slicer software, you can fine-tune the amount of filament being extruded. Reduce the flow rate slightly to see if it helps alleviate the over extrusion issue.
4. Check for Partial Clogs or Jams: Inspect the nozzle and hotend for any signs of filament debris or partial clogs. Clean the nozzle thoroughly or perform a cold-pull technique to remove any trapped filament and ensure proper flow.
5. Adjust Printing Temperature: Experiment with different printing temperatures to find the optimal setting for your filament. High temperatures can cause filament to be too liquid, contributing to over extrusion, while low temperatures can lead to under extrusion.
6. Check for Slipping Extruder Gear: Ensure that the extruder gear is securely gripping the filament and not slipping. Tighten the tension adjustment on the extruder to prevent any slipping that can cause over extrusion.
7. Reduce Print Speed: If you’re experiencing over extrusion at higher print speeds, try reducing the print speed. Slower speeds allow the extruder more time to accurately extrude the filament, reducing the likelihood of over extrusion.
8. Check the Hotend Assembly: Examine the hotend assembly for any mechanical issues like loose fittings or misalignment. Make sure all components are properly tightened and aligned to ensure smooth and accurate filament flow.
By following these troubleshooting steps, you’ll be able to identify and address the specific cause of over extrusion on your CR-10 3D printer. Remember to make one adjustment at a time and test your prints after each change to assess the impact. With patience and persistence, you’ll be able to achieve optimal print quality without the issue of over extrusion.
Check Filament Diameter
One of the first steps to troubleshooting over extrusion on your CR-10 3D printer involves checking the filament diameter. The filament diameter setting in your slicer software should match the actual diameter of the filament you are using. This setting affects the amount of filament the printer extrudes, so an incorrect diameter can lead to over or under extrusion.
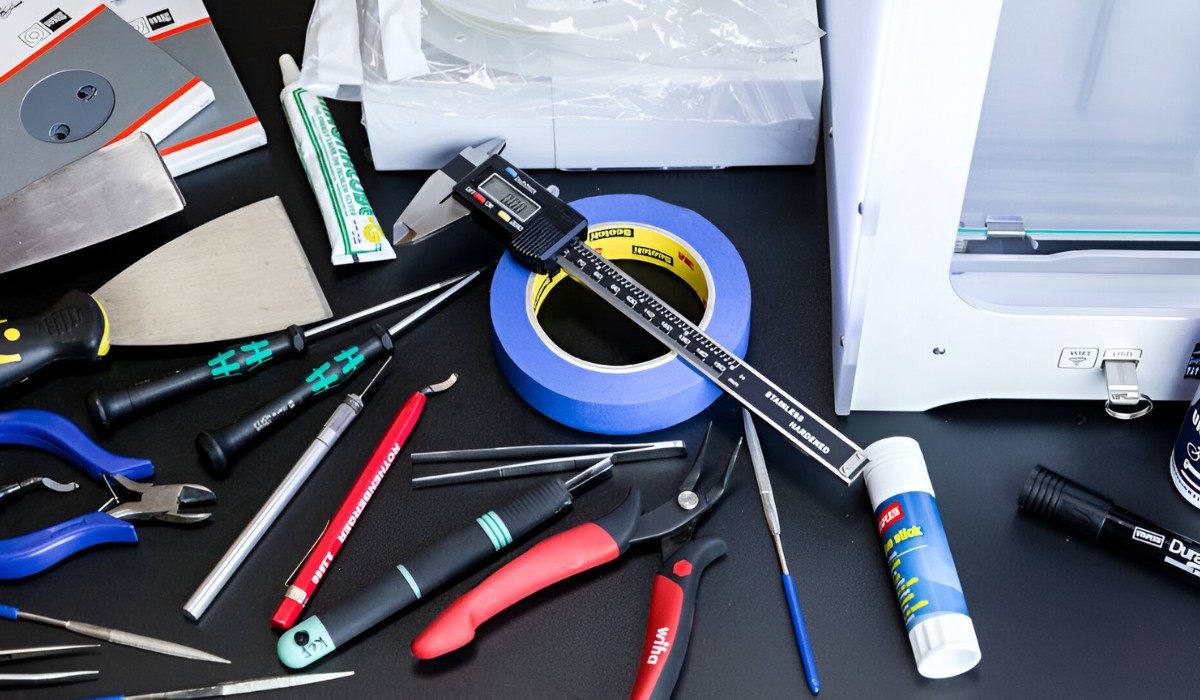
To check the filament diameter, measure it using a pair of digital calipers. Take multiple measurements at different points along the filament to ensure accuracy. Once you have the average diameter, compare it to the manufacturer’s specifications or the diameter setting in your slicer software.
If the measured diameter differs from the setting in your slicer, adjust the filament diameter accordingly. For example, if the actual filament diameter is smaller than the setting, decrease the diameter in the slicer. If the actual diameter is larger, increase the setting to compensate.
Ensuring the correct filament diameter is essential for accurate extrusion. If the filament diameter setting is incorrect, the printer will not extrude the appropriate amount of filament, leading to over extrusion or under extrusion. By matching the filament diameter setting with the actual filament diameter, you can optimize extrusion and improve the quality of your prints.
It’s important to note that different filament types may have different diameter tolerances. For example, PLA filament typically has a tolerance of ±0.03mm, while ABS filament has a tolerance of ±0.05mm. Therefore, make sure to consider the specific tolerances for your filament when checking the diameter.
Regularly check the filament diameter as it can vary between manufacturers and even within different spools from the same manufacturer. By maintaining accurate filament diameter settings, you can minimize the risk of over extrusion and achieve consistent and reliable 3D prints.
Calibrate the Extruder Steps/mm
Calibrating the extruder steps/mm is an important step in troubleshooting over extrusion on your CR-10 3D printer. The steps/mm value determines how much filament the extruder pushes through the printer when instructed to extrude a specific length. Incorrect calibration can lead to over extrusion or under extrusion, affecting the quality and accuracy of your prints.
To calibrate the extruder steps/mm, you will need to measure the output of filament and compare it to the expected amount. Here’s a step-by-step guide:
- Make sure your printer is preheated and filament is loaded.
- Mark a point on the filament about 120mm above the entrance to the extruder.
- Send a command to extrude exactly 100mm of filament. For example, using the G-code command “G1 E100 F100” in the printer’s control software.
- Measure the distance between the mark you made and the entrance to the extruder. If the extruder didn’t extrude exactly 100mm, you will need to adjust the steps/mm value.
- Calculate the new steps/mm value using the formula:
new_steps/mm = (current_steps/mm * expected_distance) / actual_distance. - Update the new steps/mm value in your printer’s firmware or software.
After calibrating the extruder steps/mm, perform a test print to check for any changes in extrusion. Adjust the value further, if necessary, until you achieve accurate and consistent extrusion.
Calibrating the extruder steps/mm is a critical step in ensuring optimal extrusion. It ensures that the printer accurately pushes out the correct amount of filament, reducing the risk of over extrusion. Regularly check and recalibrate the steps/mm value, especially if you make any modifications to your printer or change the extruder motor.
By calibrating the extruder steps/mm, you can achieve precise control over filament extrusion and improve the overall print quality of your CR-10 3D printer.
Adjust the Flow Rate in the Slicer Settings
When troubleshooting over extrusion on your CR-10 3D printer, adjusting the flow rate or extrusion multiplier in your slicer settings can be a useful tool. The flow rate determines the amount of filament that is extruded during each layer. If the flow rate is set too high, it can lead to over extrusion and negatively impact print quality. By adjusting this setting, you can fine-tune the extrusion and alleviate over extrusion issues.
Here’s a step-by-step guide on adjusting the flow rate in your slicer settings:
- Locate the flow rate or extrusion multiplier setting in your slicer software. It may be expressed as a percentage value.
- Reduce the flow rate by a small increment, such as 5%.
- Slice a test model or use an existing model to print. Use this model to evaluate the effects of the adjusted flow rate.
- Examine the printed model for any signs of over extrusion, such as excessive material deposition or poor surface quality.
- If over extrusion still persists, continue reducing the flow rate in small increments and retest until you achieve the desired extrusion results.
- Note that reducing the flow rate too much can result in under extrusion. Find the balance where you achieve proper extrusion without sacrificing print quality.
Adjusting the flow rate is a useful method for fine-tuning the extrusion process and minimizing over extrusion. It allows you to control the amount of filament being extruded, ensuring more accurate and consistent prints.
Keep in mind that the optimal flow rate may vary depending on the filament type, temperature settings, print speed, and other factors. It’s essential to experiment with different flow rate values to find the optimal setting for your specific printing conditions.
By adjusting the flow rate in your slicer settings, you can effectively address over extrusion issues and achieve improved print quality on your CR-10 3D printer.
Check for Partial Clogs or Jams
A common cause of over extrusion on the CR-10 3D printer is partial clogs or jams in the nozzle. These blockages can disrupt the smooth flow of filament, causing the printer to push out excess material. Checking for, and addressing, any partial clogs or jams is an essential step in troubleshooting over extrusion.
Here’s a step-by-step guide on how to check for partial clogs or jams:
- Heat up the hotend of your CR-10 printer to the recommended temperature for the filament you are using.
- Remove the filament from the extruder and examine it for any signs of deformities, such as bulging or unusual shapes.
- If you notice any deformities, trim off the affected portion of filament to remove any possible blockages.
- Next, clear the nozzle by using a needle or unclogging tool to gently unclog any obstructions. Be careful not to damage the nozzle while doing this.
- Perform a cold-pull or atomic pull to clean out the nozzle more thoroughly. This involves cooling down the hotend to a lower temperature, then applying force to pull out any remaining filament and debris.
- After cleaning, visually inspect the nozzle to ensure that it is clear and free of any clogs or obstructions.
Regularly cleaning and maintaining the nozzle is crucial in preventing partial clogs or jams that can lead to over extrusion. Filament residue, debris, or dust particles can accumulate over time and obstruct the smooth flow of filament.
In addition to regular cleaning and maintenance, it’s important to ensure that you are using high-quality and properly stored filament. Low-quality or moisture-damaged filament is more prone to causing clogs. Store your filament in a dry and airtight container to maintain its quality and prevent moisture absorption.
By checking for and addressing partial clogs or jams, you can maintain a clear and unobstructed nozzle, allowing for consistent and accurate filament extrusion. This step is crucial in troubleshooting over extrusion and ensuring optimal print quality on your CR-10 3D printer.
Adjust Printing Temperature
Another factor that can contribute to over extrusion on your CR-10 3D printer is the printing temperature. The temperature at which you print directly affects the viscosity and flow characteristics of the filament. Adjusting the printing temperature can help address over extrusion issues and improve print quality.
Here’s a step-by-step guide on how to adjust the printing temperature:
- Identify the optimal printing temperature range for the filament you are using. This information can usually be found on the filament spool or in the manufacturer’s documentation.
- Start by printing a calibration cube or a test model using the recommended temperature setting. Take note of any signs of over extrusion, such as excessive material buildup or stringing.
- If over extrusion is observed, decrease the printing temperature by 5-10 degrees Celsius and print another test model.
- Continue decreasing the temperature in small increments until you achieve a balance where the extrusion is smooth and there is no over extrusion.
It’s important to note that adjusting the printing temperature should be done gradually and in small increments. Drastic changes in temperature can affect print quality in other ways, such as under extrusion or poor layer adhesion. Finding the optimal temperature requires experimentation and observation of the printed results.
Factors like the type and brand of filament, environmental conditions, and print speed can also influence the ideal printing temperature. Therefore, it’s essential to consider these variables and make adjustments accordingly.
By finding the right balance of printing temperature, you can optimize the flow characteristics of the filament and reduce the risk of over extrusion. This adjustment will help in achieving accurate and high-quality prints on your CR-10 3D printer.
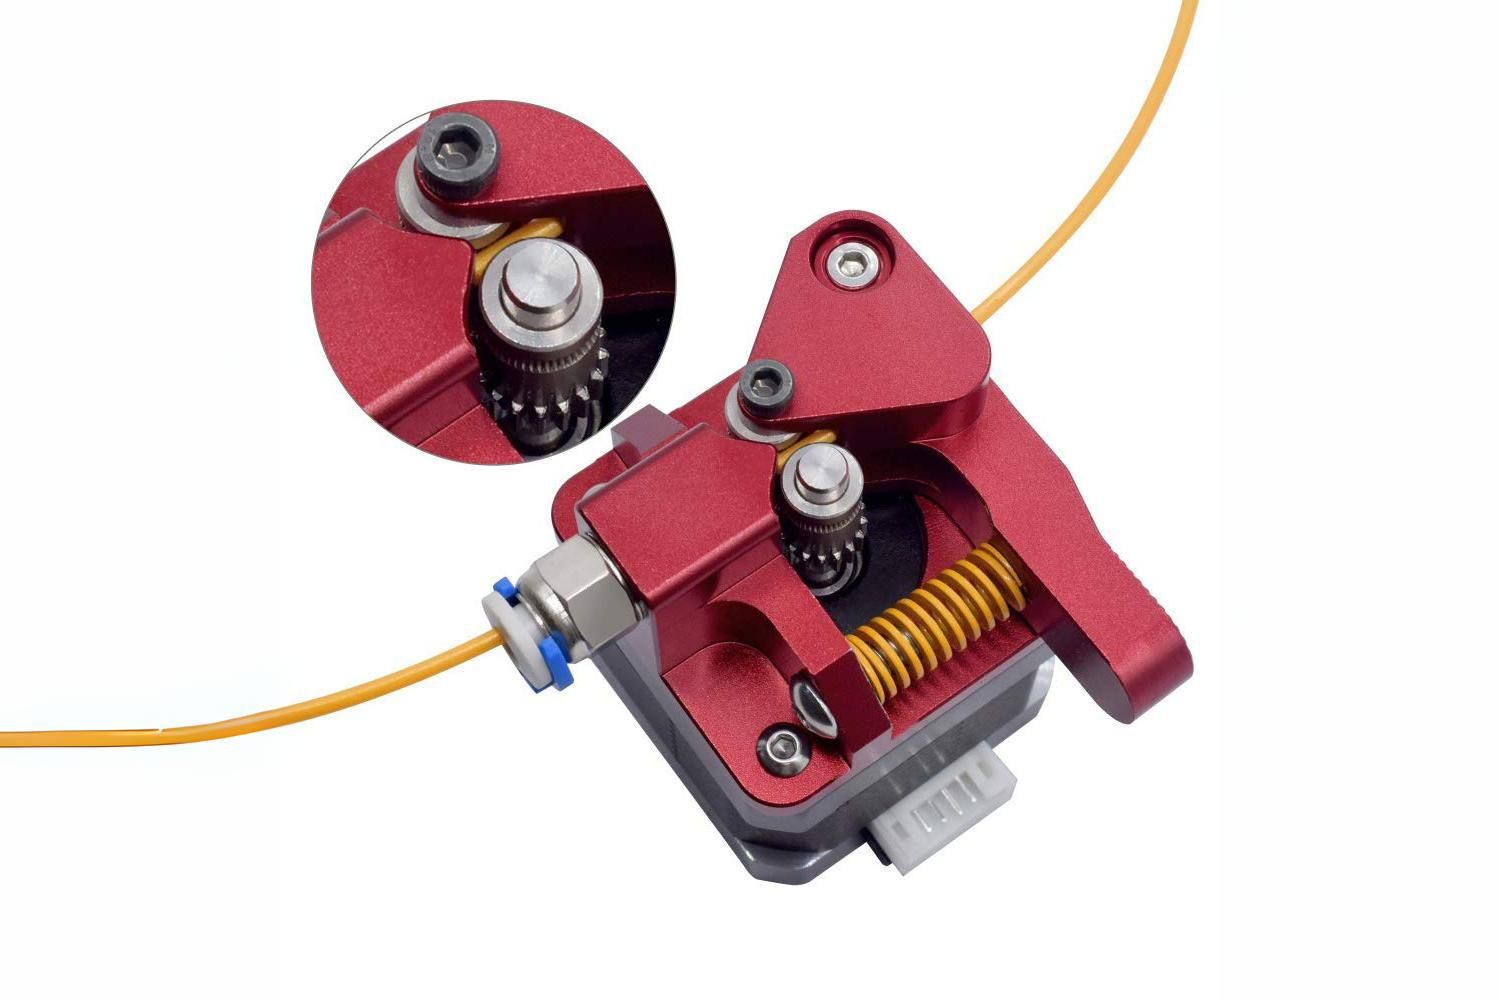
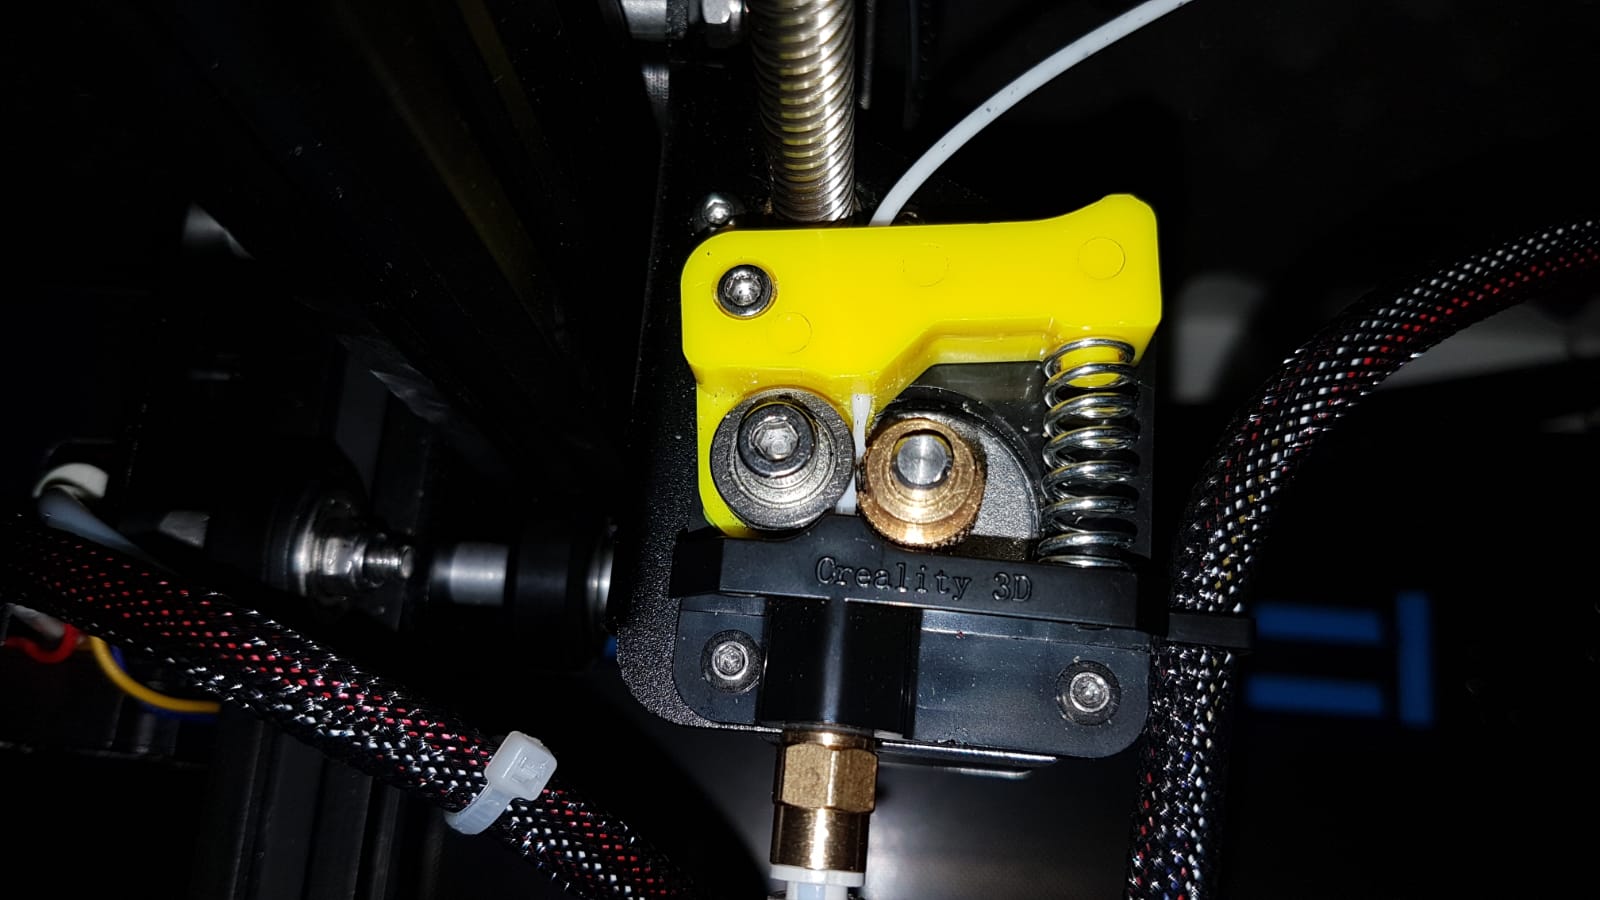
Check for Slipping Extruder Gear
One possible cause of over extrusion on your CR-10 3D printer is a slipping extruder gear. The extruder gear is responsible for gripping and pushing the filament into the hotend. If the gear is slipping, it can result in inconsistent extrusion, leading to over extrusion and poor print quality.
To check for a slipping extruder gear and address the issue, follow these steps:
- Take a close look at the extruder assembly and locate the extruder gear. This gear is usually positioned directly above the hotend.
- Ensure that the gear is firmly gripping the filament and rotating smoothly as the extruder motor operates.
- If the gear is slipping or not providing enough grip, check the tension adjustment on the extruder.
- Gradually increase the tension by turning the adjustment screw or lever to ensure a firmer grip on the filament.
- Observe the extruder gear as the filament is fed through. Ensure that it remains engaged with the filament and doesn’t slip or skip.
- Test print a model to verify that the extruder gear is gripping the filament properly and no longer slipping.
It’s also important to note that excessive tension on the extruder gear can lead to other issues, such as filament grinding or even filament breakage. Therefore, it’s crucial to find the right balance of tension to ensure proper grip without putting excessive strain on the filament.
Additionally, inspect the extruder gear for any signs of wear or damage. If the gear is worn or damaged, it may need to be replaced to prevent slipping and improve extrusion performance.
By addressing a slipping extruder gear, you can ensure consistent and accurate filament feeding. This will help to minimize over extrusion issues and achieve better print quality on your CR-10 3D printer.
Reduce Print Speed
Print speed plays a significant role in 3D printing, including the occurrence of over extrusion. Running your CR-10 3D printer at higher speeds can put extra strain on the extruder, resulting in inconsistent filament feeding and potential over extrusion.
To address this issue, consider reducing the print speed using the following steps:
- Access your slicer software and locate the print speed settings.
- Gradually reduce the print speed for both outer and inner walls, as well as infill. Start with a small reduction, such as 5-10mm/s, and make additional adjustments as needed.
- Slice a test model or use an existing model to print and evaluate the results.
- Inspect the printed model for any signs of over extrusion, such as bulging or uneven surfaces.
- If over extrusion still occurs, continue reducing the print speed until the desired extrusion consistency is achieved.
Lowering the print speed allows the extruder more time to accurately feed the filament and reduces the likelihood of over extrusion. However, it’s essential to find a balance between reducing the print speed and maintaining a reasonable printing time. Highly detailed or complex models may require slower print speeds to achieve optimal results.
Keep in mind that reducing the print speed may increase the overall print time. However, this trade-off can lead to improved print quality, especially for intricate designs with fine details.
By adjusting and reducing the print speed, you can give the extruder more time to accurately extrude the filament, minimizing the occurrence of over extrusion. Experiment with different speeds to find the optimal setting for your CR-10 printer and your specific printing requirements.
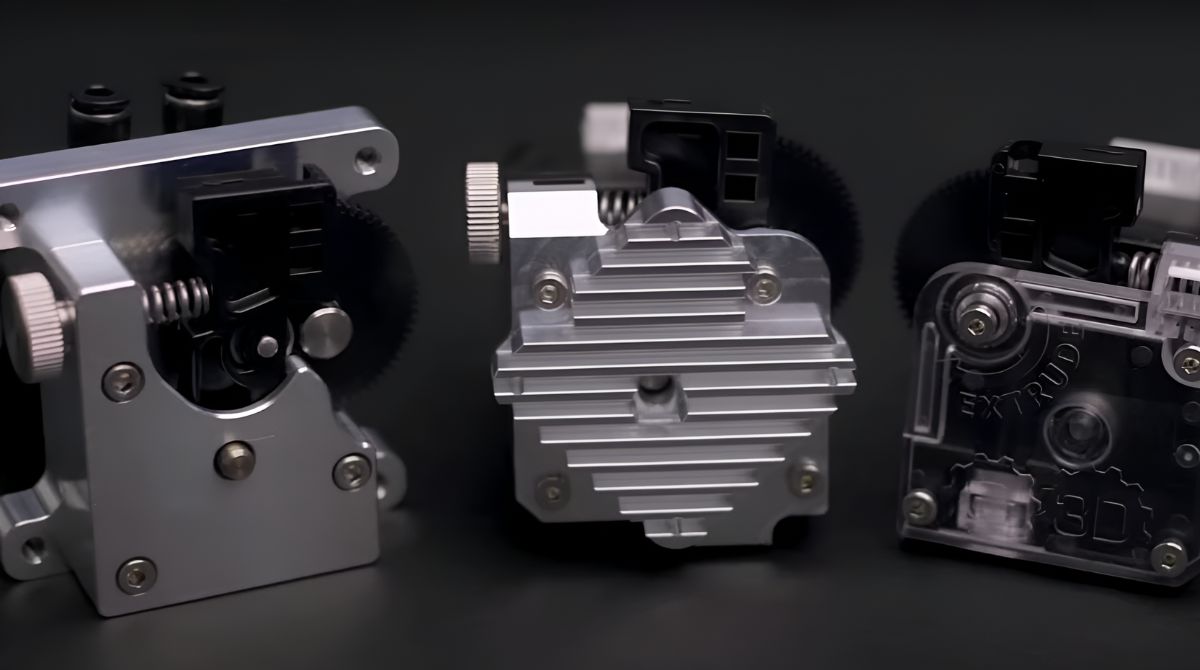
Check the Hotend Assembly
When troubleshooting over extrusion on your CR-10 3D printer, it’s important to inspect the hotend assembly for any mechanical issues that may contribute to the problem. A faulty or misaligned hotend can disrupt the smooth flow of filament, leading to over extrusion. Taking the time to check the hotend assembly can help identify and address any underlying issues.
Follow these steps to check the hotend assembly:
- First, ensure that the hotend is properly secured and tightly fastened to the extruder assembly. Loose fittings can cause misalignment and affect filament flow.
- Inspect the nozzle and ensure that it is properly screwed into the heater block. A loose nozzle can result in filament leakage and inconsistent extrusion.
- Check for any signs of filament residue or debris in and around the hotend assembly. Clean any accumulated debris using a lint-free cloth or an appropriate cleaning tool.
- If you recently performed any modifications or maintenance on the hotend assembly, double-check that all components are correctly aligned and tightened.
- Make sure that the fan or cooling system designed for the hotend is functioning properly. Insufficient cooling can lead to heat creep, causing filament to soften prematurely and result in over extrusion.
By ensuring that the hotend assembly is in proper working order, you can minimize the risk of over extrusion. A well-assembled and aligned hotend allows for consistent and controlled filament flow during printing.
If you encounter any issues during the hotend assembly check, consult the CR-10’s user manual or reach out to the manufacturer’s support for assistance. They can provide specific guidance or troubleshooting steps tailored to your printer model.
Regular inspection and maintenance of the hotend assembly is crucial for optimal print performance. By addressing any mechanical issues and ensuring proper alignment and tightness, you can promote smooth filament flow, reduce over extrusion, and achieve higher quality prints on your CR-10 3D printer.
Conclusion
Troubleshooting over extrusion on your CR-10 3D printer is a process that involves understanding the causes and implementing effective solutions. By following the steps outlined in this guide, you can identify and address the specific factors contributing to over extrusion, leading to improved print quality.
Throughout the troubleshooting process, it’s important to consider various factors that can cause over extrusion, such as incorrect slicer settings, filament diameter, and mechanical issues. Calibrating the extruder steps/mm, adjusting the flow rate, and checking for clogs or jams are crucial steps in addressing over extrusion. Additionally, optimizing printing temperature, checking for slipping extruder gears, reducing print speed, and inspecting the hotend assembly contribute to resolving the issue.
Remember that troubleshooting is a gradual and iterative process. Take one step at a time, test your prints after each adjustment, and make necessary fine-tuning to achieve the desired results. Patience and persistence are key in finding the optimal settings for your CR-10 printer.
By implementing the troubleshooting methods discussed in this guide, you can overcome over extrusion issues and achieve consistent and high-quality prints on your CR-10 3D printer. Keep exploring and experimenting to further enhance your printing experience. Happy printing!