Introduction
Welcome to the ultimate guide on how to destroy an external hard drive. In this digital age, where data security is of paramount importance, disposing of old or damaged hard drives requires careful consideration. Simply formatting or deleting files is not enough to ensure that the data is completely irrecoverable. This is where the process of physically destroying the hard drive becomes crucial.
Whether you’re a business owner trying to protect sensitive customer information or an individual wanting to safeguard personal data, destroying your external hard drive properly is essential to prevent unauthorized access or data breaches.
While there are various methods of destroying an external hard drive, each comes with its own level of effectiveness and complexity. In this comprehensive guide, we will explore different techniques that ensure your data is permanently destroyed beyond recovery.
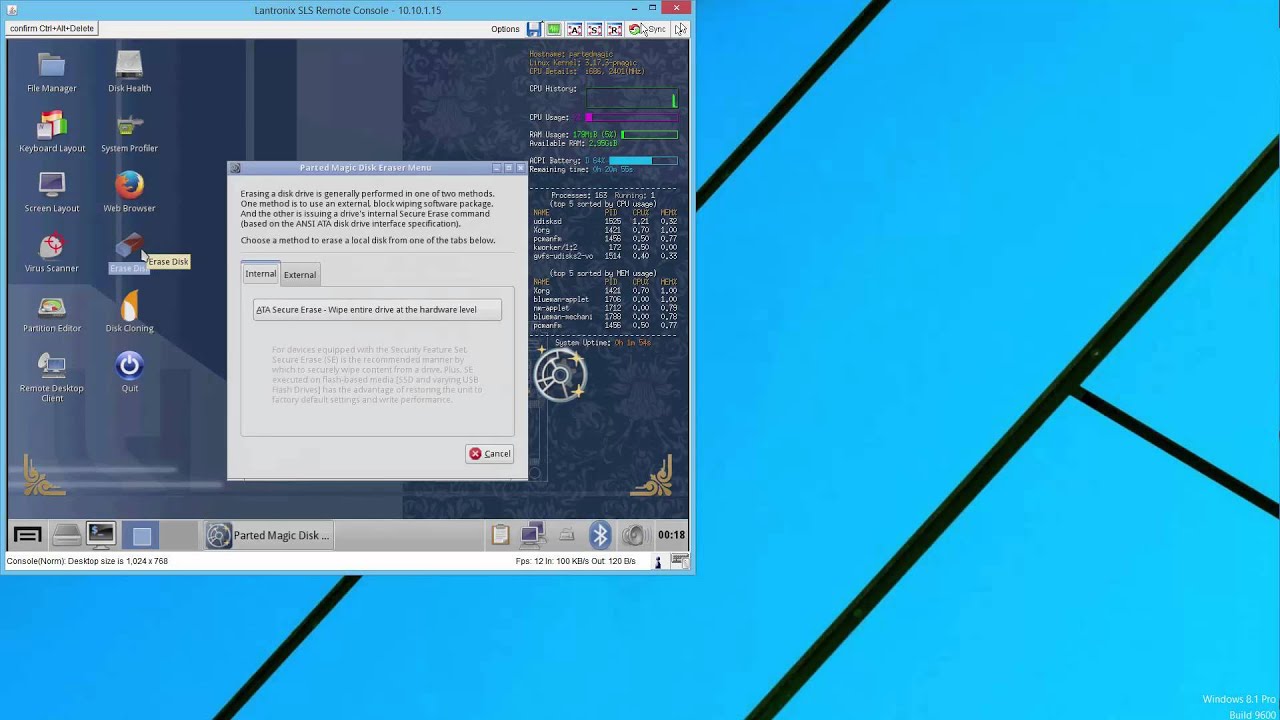
It’s important to note that these methods should only be used on external hard drives that are no longer functional or worthy of repair. If you intend to dispose of a working hard drive, consider wiping it clean or securely erasing the data before recycling or repurposing it.
Throughout this guide, we will outline the necessary safety precautions to take to protect yourself and others from any potential harm when carrying out the destruction process. Additionally, we will discuss four effective methods: physically destroying the hard drive, degaussing, shredding, and incinerating. Each method has its advantages and considerations, so let’s dive in and explore the options.
Safety Precautions
Before proceeding with any method of destroying an external hard drive, it’s essential to prioritize safety. Keep in mind that these techniques involve potentially hazardous tools and materials, so taking the necessary precautions is crucial. Here are some safety measures you should always follow:
- Protective Gear: Wear protective gloves, goggles, and a face mask to shield yourself from flying debris or harmful particles that may result from the destruction process.
- Choose a Suitable Location: Find a well-ventilated area with plenty of space to safely carry out the destruction process. Avoid conducting the procedure near flammable materials or in close proximity to sensitive electrical equipment.
- Disconnect Power: Before starting, ensure that the hard drive and any connected devices are disconnected from power sources to prevent accidental electric shocks or short circuits.
- Read and Follow Instructions: If using specific tools or machinery, carefully read and follow the manufacturer’s instructions to avoid accidents or misuse.
- Dispose of Debris Properly: After destroying the hard drive, dispose of the debris in accordance with local regulations for electronic waste management. Consider recycling centers or facilities that specialize in hard drive destruction.
- Professional Assistance: If you lack experience or are uncomfortable with DIY destruction methods, consider seeking professional assistance from reputable data destruction services or IT recycling companies.
By adhering to these safety precautions, you can minimize the risk of injury or accidents during the hard drive destruction process. Remember, safety should always be a priority when dealing with potentially dangerous tools and materials.
Method 1: Physically Destroying the Hard Drive
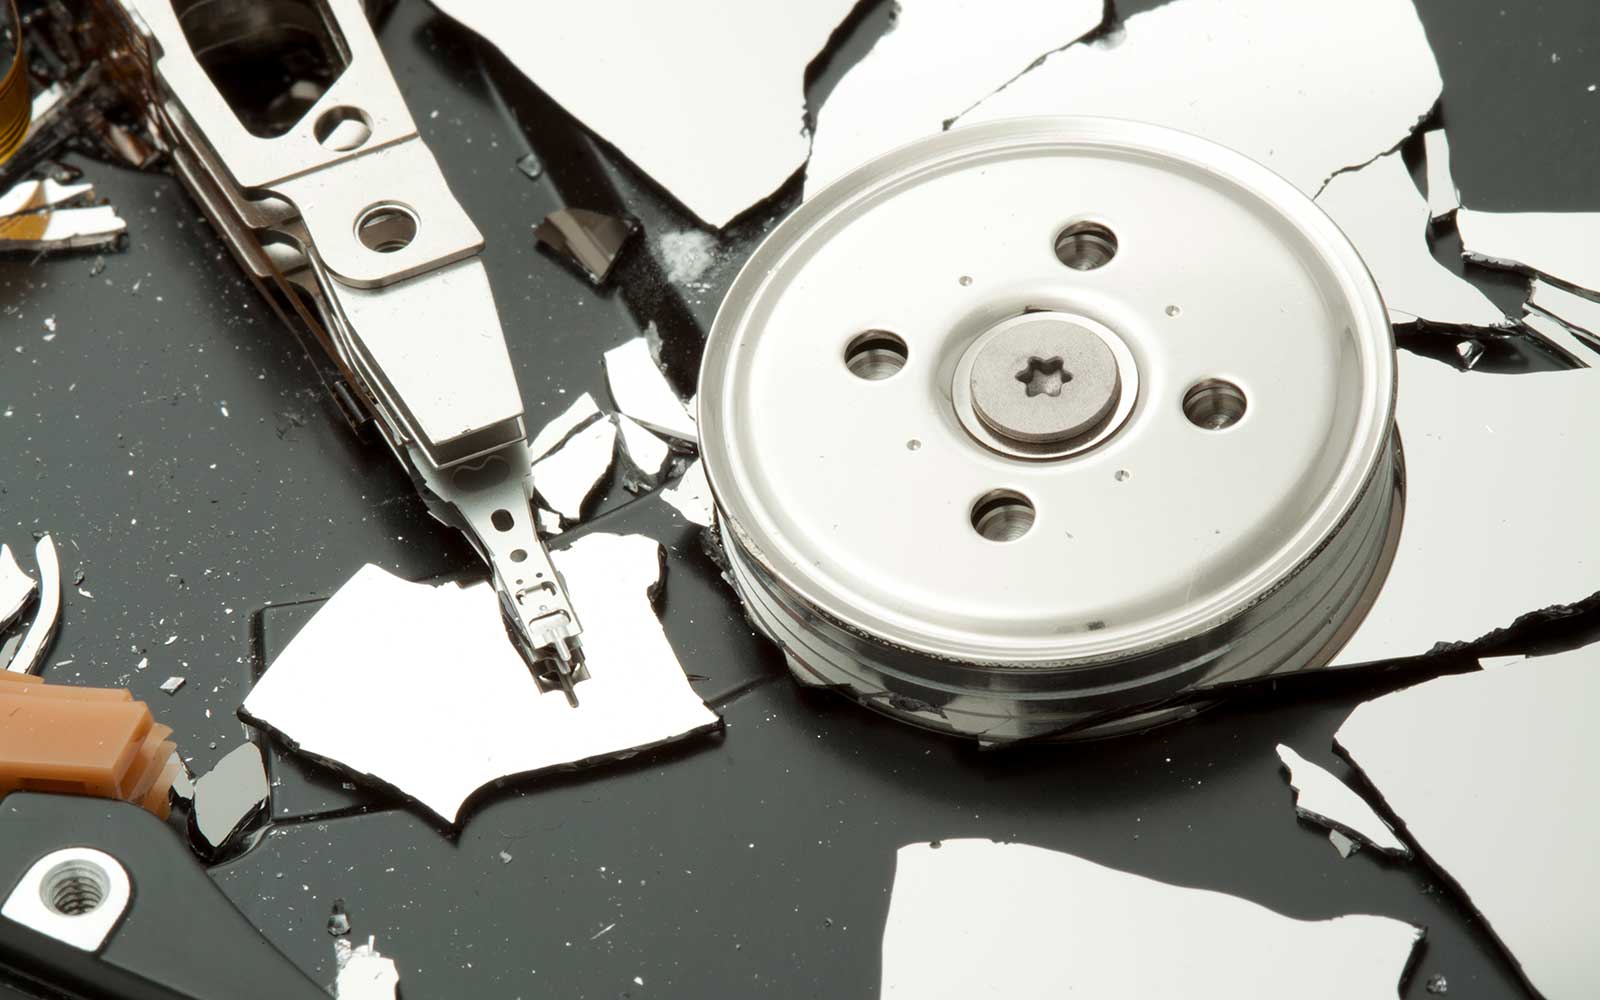
Physically destroying the hard drive is one of the most effective methods to ensure complete data destruction. By rendering the drive inoperable, it becomes nearly impossible to recover any data from it. Here are three common techniques for physically destroying an external hard drive:
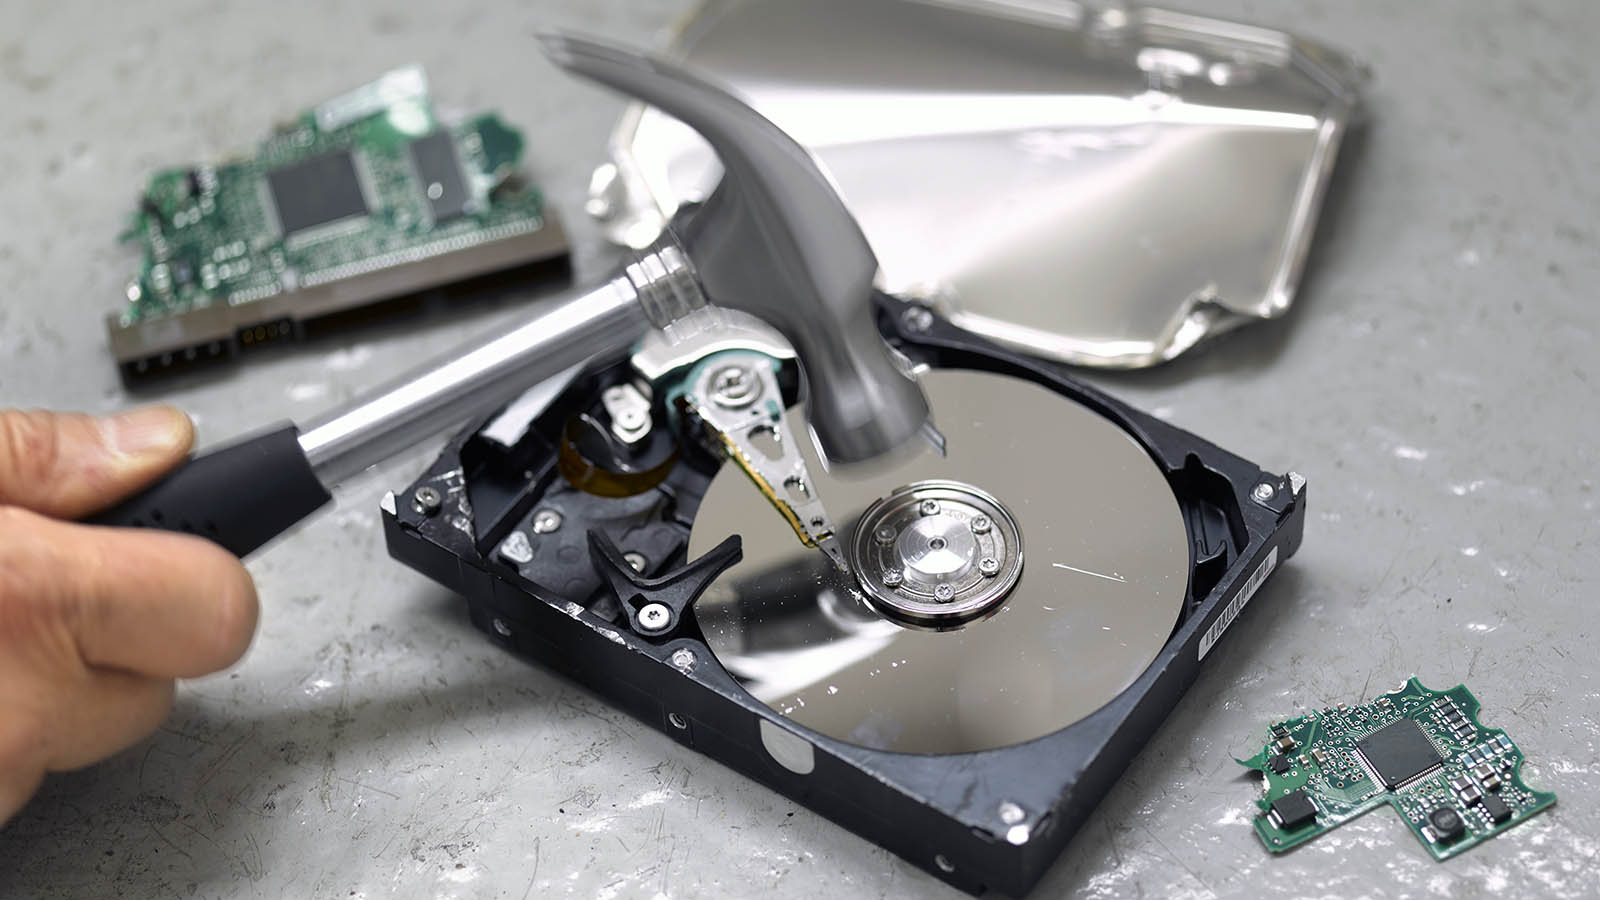
- Smash it with a Hammer: Place the hard drive on a sturdy surface, such as a concrete floor or workbench, to minimize the risk of damage to surrounding objects. Use a heavy hammer to strike the drive repeatedly, focusing on the platters inside the unit. Aim for complete fragmentation, ensuring that the hard drive’s internal components are irreparably damaged.
- Drill Holes into the Drive: Use a power drill to create multiple holes in the hard drive. Aim for the platters and other sensitive components to render them unusable. Make sure to drill in different locations to ensure complete destruction. Be aware that this method may generate metal shavings, so take precautions to dispose of them safely.
- Use an Angle Grinder: An angle grinder equipped with a cutting disc can be used to effectively destroy a hard drive. Carefully cut through the unit, making sure to target the platters and any other critical components. Be cautious while handling the angle grinder to avoid injury and wear appropriate protective gear.
When employing any of these physical destruction methods, it’s essential to exert caution and take appropriate safety precautions. Keep in mind that the goal is to render the hard drive inoperable beyond repair, ensuring that no data can be recovered.
Remember, physical destruction methods should only be used on hard drives that are no longer needed or capable of functioning. If you have any doubts about the drive’s usability or are unsure if it contains sensitive data, it’s best to explore alternative destruction methods to ensure data security.
a. Smash it with a Hammer
One of the simplest and most satisfying methods for physically destroying an external hard drive is by smashing it with a hammer. This method ensures that the internal components, especially the platters where the data is stored, are completely obliterated. Here’s a step-by-step guide on how to safely and effectively smash a hard drive:
- Gather the necessary tools and materials: To carry out this method, you’ll need a heavy hammer and a sturdy surface, such as a concrete floor, workbench, or an anvil. Ensure that the area is clear of any valuables or objects that could potentially be damaged during the process.
- Disconnect the hard drive from any power source: Before starting, make sure to disconnect the hard drive from any power sources or connected devices to avoid potential electrical hazards.
- Place the hard drive on a secure surface: Position the hard drive on the sturdy surface, ensuring that it is stable and won’t move around during the smashing process.
- Begin smashing: Using the hammer, strike the hard drive with considerable force. Focus the impact on the center of the drive, where the platters are located. Continue striking the drive repeatedly from various angles until the casing is completely shattered.
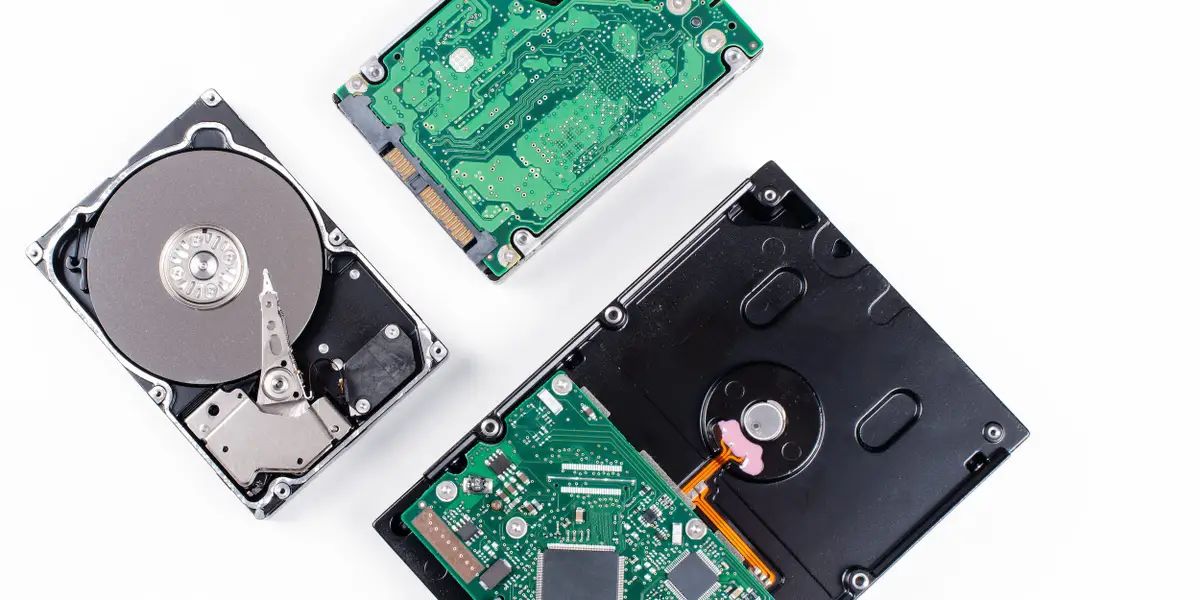
- Verify the destruction: After smashing the hard drive, inspect the internal components to ensure complete destruction. Look for shattered platters, broken circuit boards, and damaged connectors. Verify that the drive is beyond repair and that no data can be salvaged.
Always prioritize safety when smashing a hard drive with a hammer. Wear protective gloves and goggles to shield yourself from flying debris or sharp edges. It’s also important to exercise caution to prevent any injuries during the process.
By following these steps, you can effectively render your external hard drive unusable and ensure that your sensitive data remains irretrievable. Remember, this method is suitable for hard drives that are no longer required or functional. If you suspect the drive contains sensitive data or you’re uncertain about its usability, consider alternative destruction methods for enhanced data security.
b. Drill Holes into the Drive
Drilling holes into the hard drive is another effective method of physically destroying an external hard drive. By puncturing the platters and damaging the internal components, you ensure that the data cannot be recovered. Here’s a step-by-step guide on how to safely and effectively drill holes into a hard drive:
- Gather the necessary tools and materials: For this method, you’ll need a power drill, a drill bit suitable for drilling through metal, and a stable work surface. Additionally, ensure you have protective gloves, goggles, and a face mask to protect yourself from any potential debris or particles.
- Disconnect the hard drive from any power source: Before starting, make sure to disconnect the hard drive from any power sources or connected devices to avoid any electrical hazards.
- Prepare the work surface: Place the hard drive on a stable work surface, ensuring that it is secure and won’t move during the drilling process. Consider using clamps or a vice to hold the hard drive in place.
- Start drilling: Using the appropriate drill bit, carefully drill multiple holes into the hard drive. Aim for the platters and other critical components to ensure maximum destruction. Make sure to vary the location of the holes to ensure complete damage.
- Inspect the destruction: After drilling the holes, examine the internal components of the hard drive to ensure that the platters are punctured and any other crucial parts are damaged beyond repair. Verify that any potential data stored on the drive is completely destroyed.
It is important to take safety precautions when drilling holes into a hard drive. Wear protective gear, such as gloves, goggles, and a face mask, to protect yourself from metal shavings and any airborne particles that may be generated during the process.
By following these steps, you can effectively render your external hard drive unusable and ensure that your sensitive data remains irrecoverable. Remember, this method is suitable for hard drives that are no longer needed or functional. If you suspect the drive contains sensitive data or you’re unsure about its usability, consider alternative destruction methods for enhanced data security.
c. Use an Angle Grinder
Using an angle grinder to destroy an external hard drive is a powerful and efficient method to ensure complete data destruction. The cutting disc on an angle grinder can quickly and effectively render the hard drive inoperable. Here’s a step-by-step guide on how to use an angle grinder to destroy a hard drive:
- Gather the necessary tools and materials: For this method, you’ll need an angle grinder with a cutting disc suitable for metal, as well as protective gloves, goggles, and a face mask to protect yourself from sparks, metal fragments, and debris.
- Disconnect the hard drive from any power source: Before starting, ensure that the hard drive is disconnected from any power sources or connected devices to prevent electrical hazards.
- Secure the hard drive: Place the hard drive on a stable work surface, ensuring it is securely held in place. Consider using clamps or a vice to keep it steady during the destruction process.
- Start cutting: Carefully position the angle grinder’s cutting disc against the hard drive’s casing and power on the angle grinder. Slowly and steadily move the grinder along the surface of the drive, focusing on cutting through the casing and critical internal components.
- Inspect the destruction: After cutting through the hard drive, carefully examine the internal components to ensure complete destruction. Look for severed platters, broken circuit boards, and damaged connectors. Verify that the drive is beyond repair and that no data can be recovered.
When using an angle grinder, it’s crucial to prioritize safety. Wear protective gloves, goggles, and a face mask to shield yourself from sparks, fragments, and debris. Work in a well-ventilated area and ensure that flammable materials are kept away from the sparks generated by the angle grinder.
By following these steps, you can effectively render your external hard drive inoperable and ensure that your sensitive data remains inaccessible. Remember, this method is suitable for hard drives that are no longer required or functional. If you suspect the drive contains sensitive data or you’re uncertain about its usability, consider alternative destruction methods for enhanced data security.
Method 2: Degaussing the Hard Drive
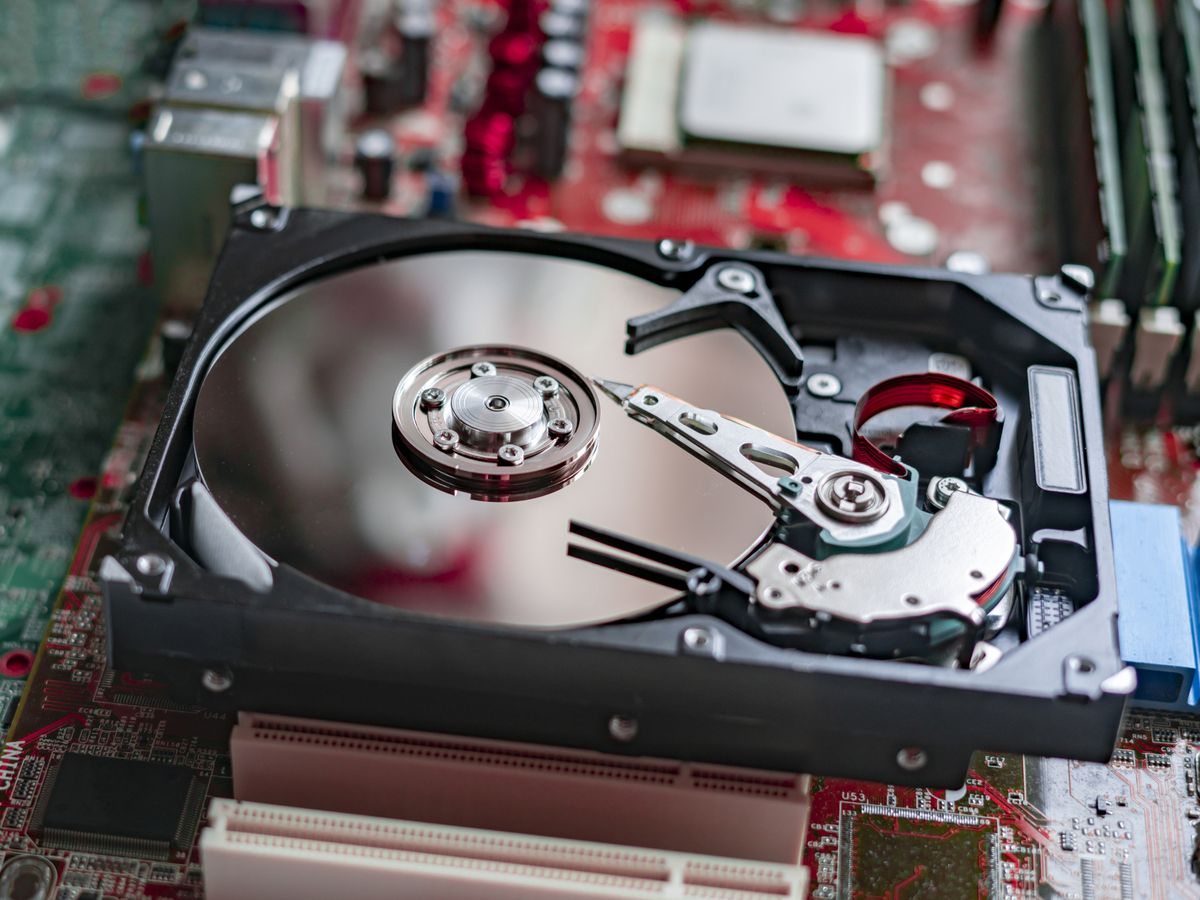
Degaussing is a method of destroying an external hard drive by using a powerful magnetic field to erase the data stored on its magnetic media. This method is highly effective in rendering the data irretrievable. Here’s an overview of the degaussing process:
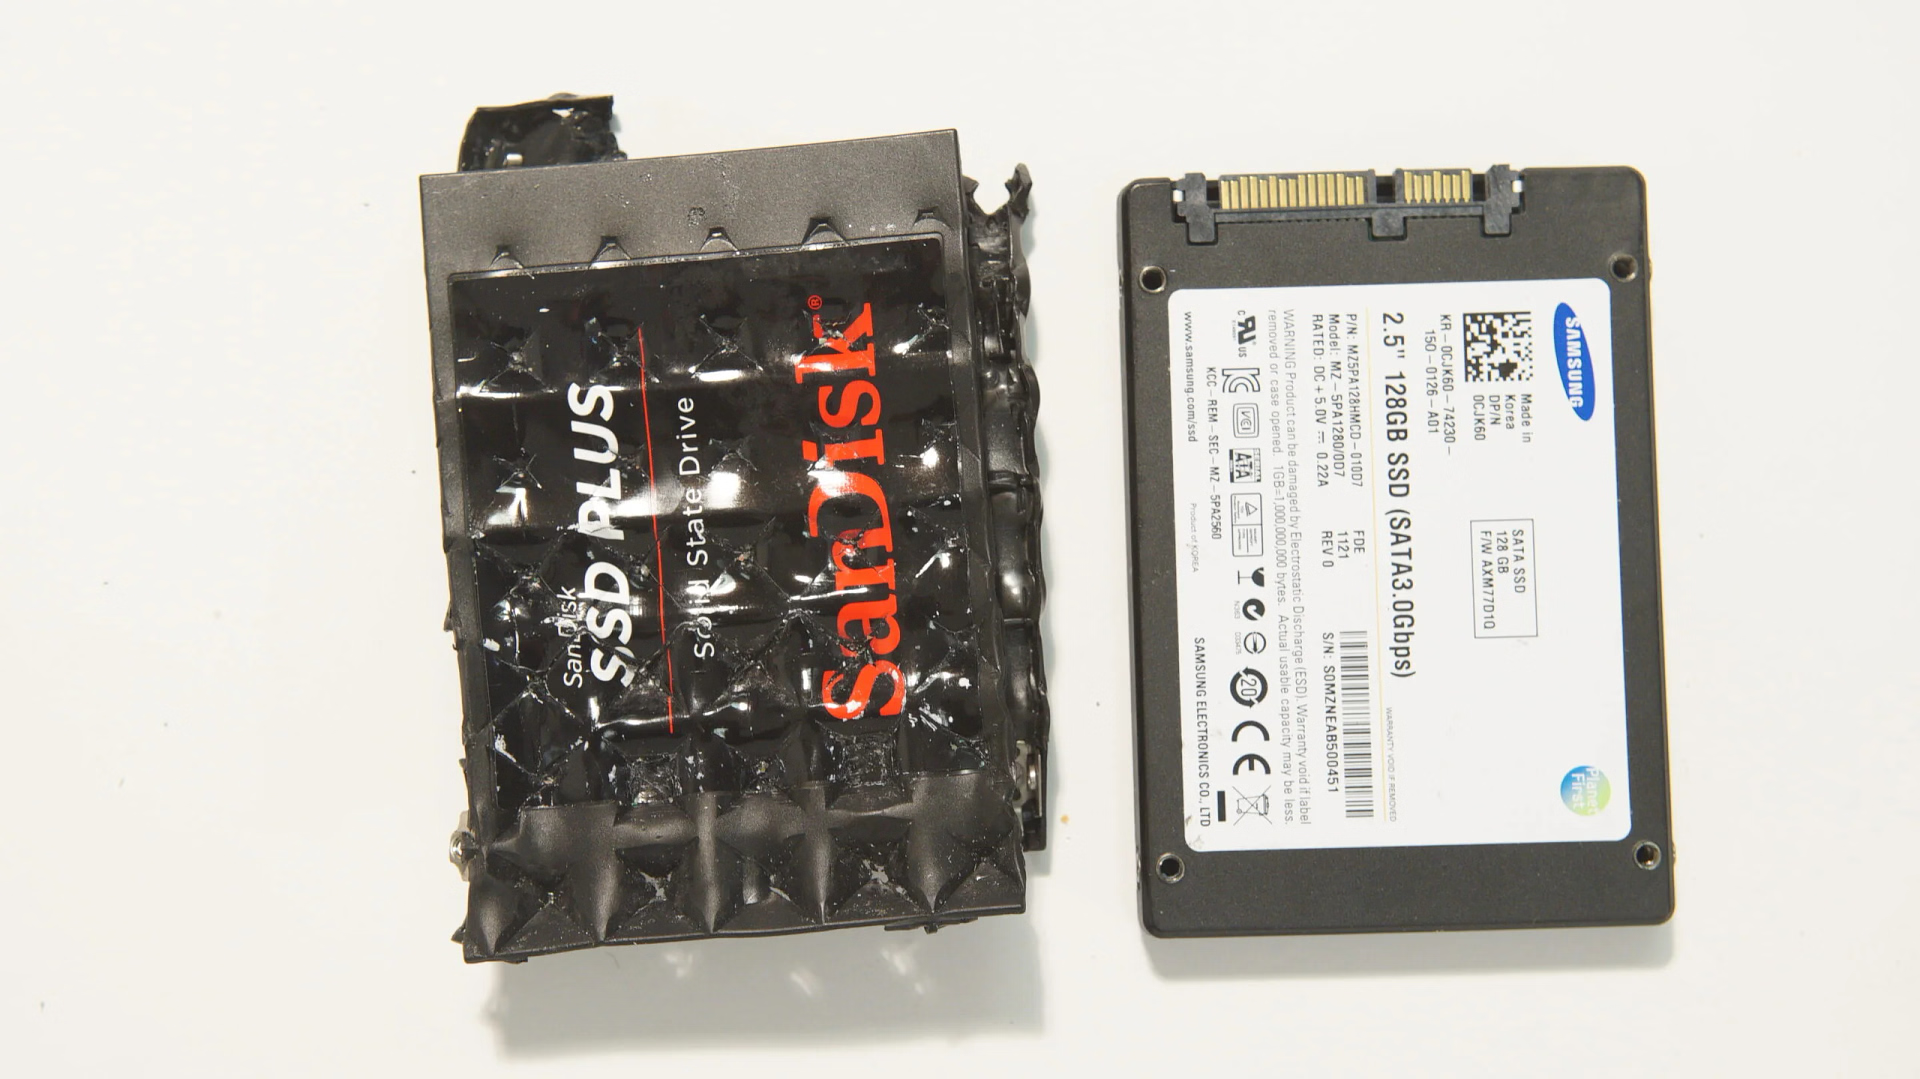
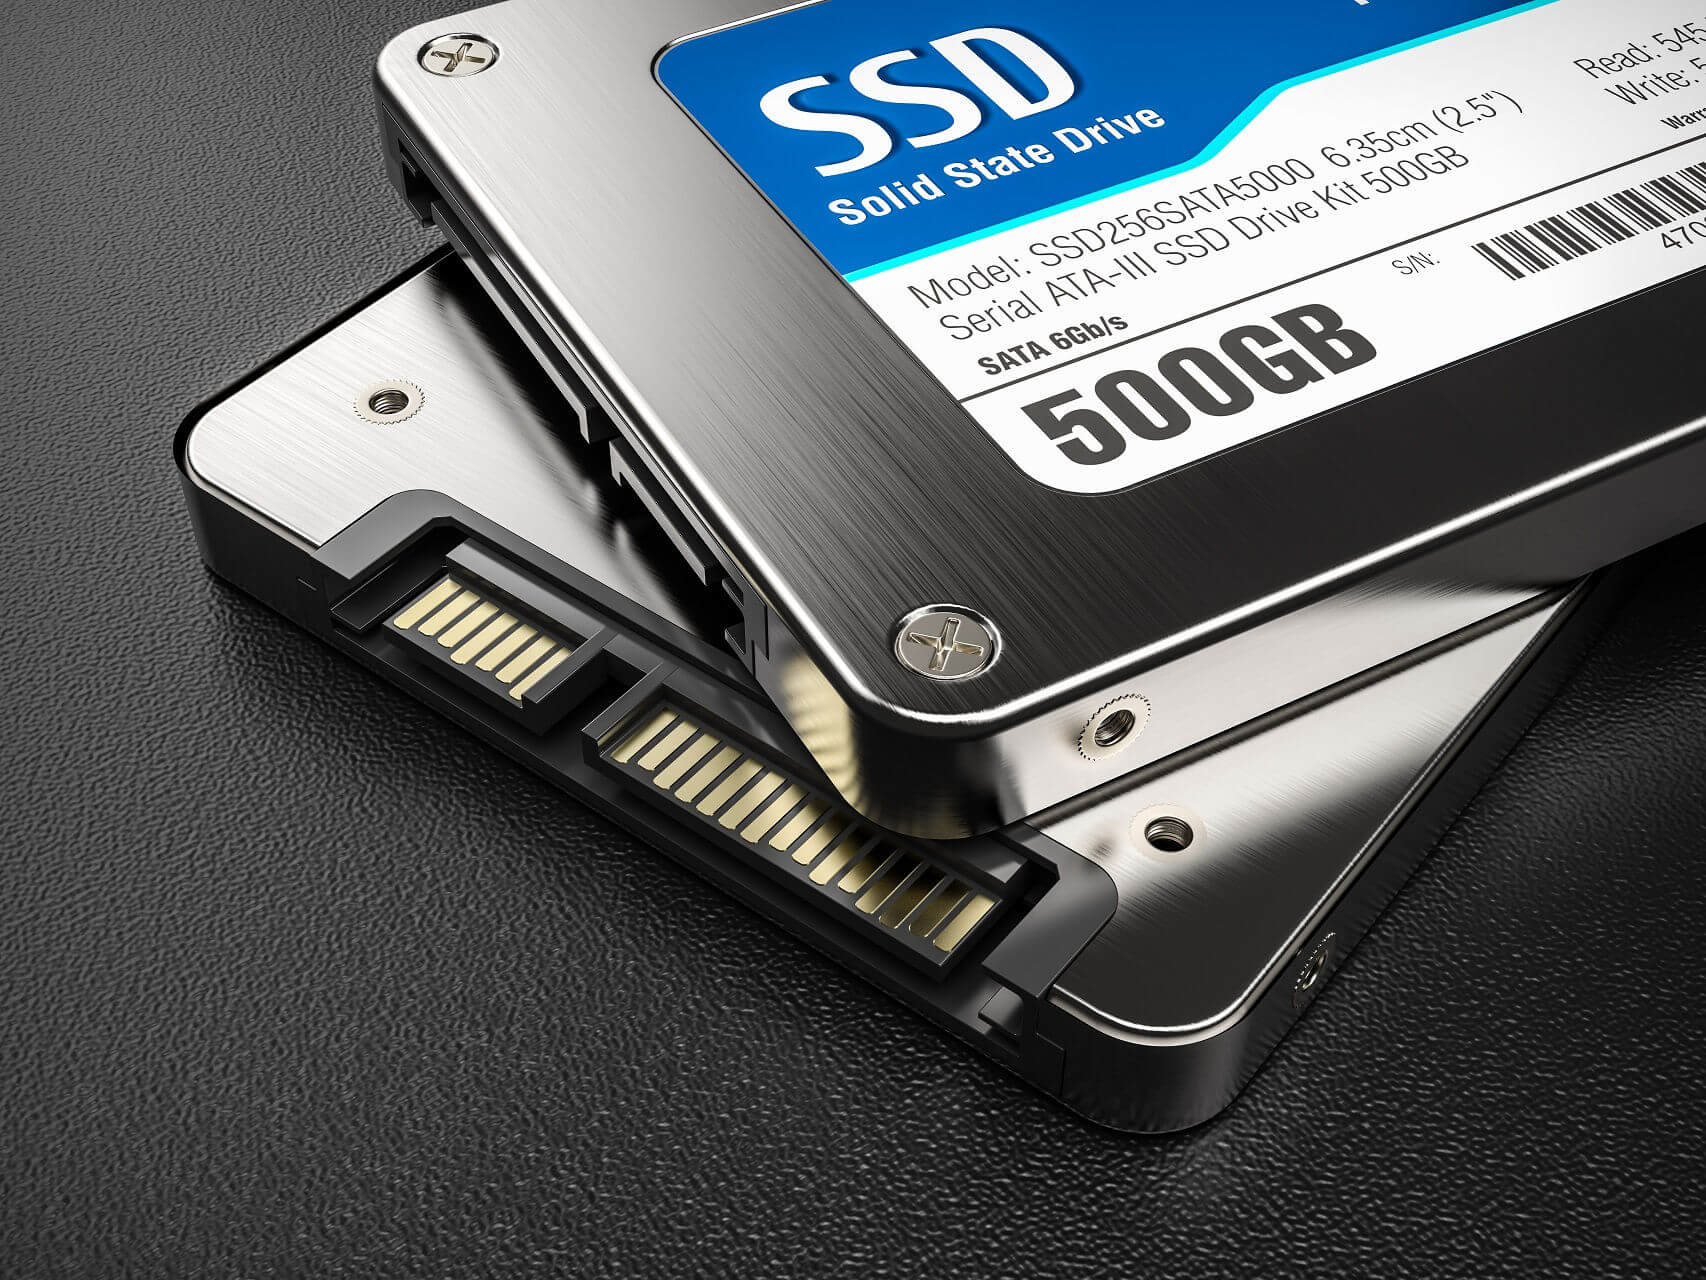
Note: Degaussing is only applicable to hard drives that use magnetic storage technology, such as traditional spinning hard disk drives (HDDs). Solid-state drives (SSDs), which are becoming increasingly popular, do not have magnetically-stored data and cannot be degaussed.
- Gather the necessary tools: To degauss an external hard drive, you’ll need a degausser machine specifically designed for this purpose. These machines generate a strong magnetic field to scramble or erase the data stored on the hard drive.
- Disconnect the hard drive: Before degaussing, ensure that the hard drive is disconnected from any power sources or connected devices.
- Follow the degausser machine instructions: Different degausser machines may have specific usage instructions, so carefully read and follow the manufacturer’s guidelines. Typically, you will need to place the hard drive into the degausser’s designated area and initiate the degaussing process.
- Verify the degaussing: After the degaussing process is complete, inspect the hard drive to ensure that the data storage media, such as the platters, has been effectively demagnetized. The drive should no longer retain any readable data.
- Proper disposal: Once degaussed, the hard drive is typically deemed unusable and should be disposed of properly. Remember to adhere to local regulations and guidelines for electronic waste disposal.
Degaussing is a professional method that may require specialized equipment. If you have a large number of hard drives to degauss or need to ensure complete destruction, it is recommended to seek the services of a professional data destruction company that has the necessary degaussing equipment.
Please note that degaussing is irreversible, and once the data is erased, it cannot be recovered. Therefore, it is important to ensure that the data on the hard drive is no longer needed or valuable before proceeding with this method.
Keep in mind that degaussing is only applicable to magnetic storage media and not on solid-state drives (SSDs) or other non-magnetic storage devices. For these types of drives, alternative destruction methods are required to ensure complete data destruction.
Method 3: Shredding the Hard Drive
Shredding the hard drive is an effective and secure method of destroying an external hard drive. By physically shredding the drive into small, unrecognizable pieces, you ensure that the data cannot be recovered. There are two primary options for shredding the hard drive:
- Professional Shredding Services: Many data destruction companies offer professional shredding services for hard drives. These companies use specialized industrial-grade shredders capable of reducing the hard drive to tiny fragments. They typically follow strict security protocols to ensure the confidentiality of your data throughout the shredding process. Professional shredding services provide a convenient and secure option, particularly for large quantities of hard drives.
- DIY Shredding with Industrial Strength Paper Shredders: If you have access to an industrial strength paper shredder, you can use it to shred the hard drive yourself. Some industrial shredders are designed to handle electronic media, including hard drives. These powerful machines can effectively shred the hard drive into small confetti-like pieces. Ensure that the paper shredder you use is suitable for electronic media and follow the manufacturer’s instructions for proper usage and safety precautions.
When opting for shredding, it’s crucial to consider safety measures and privacy concerns:
- Safety Precautions: Shredding hard drives involves powerful machinery that can pose risks. Ensure that you follow safety guidelines, wear appropriate protective gear, and keep bystanders away from the shredding area.
- Confidentiality: If the hard drive contains sensitive or confidential data, it is essential to choose a reputable shredding service provider or handle the shredding process securely to maintain the confidentiality of the information.
Shredding the hard drive provides a high level of data destruction and peace of mind, as the resulting shredded pieces are nearly impossible to reconstruct. Choose the most suitable option for your needs, whether it’s utilizing professional shredding services or using an industrial strength paper shredder for DIY shredding. Always ensure that you comply with local regulations for proper disposal and recycling of electronic waste.
Remember, shredding is irreversible, and once the hard drive is shredded, the data is gone forever. It is important to verify that the hard drive you are shredding is no longer needed or contains valuable data before proceeding with this method.
a. Professional Shredding Services
Professional shredding services offer a secure and efficient solution for destroying external hard drives. These services specialize in data destruction and employ industrial-grade shredding machines designed specifically for hard drives. Here are the key benefits of utilizing professional shredding services:
- Secure Data Destruction: Professional shredding services prioritize security and confidentiality. They follow strict protocols to ensure that your data remains protected throughout the shredding process. From secure transport to their facility to the shredding itself, these services maintain a chain of custody to safeguard your sensitive information.
- Compliance with Regulations: Shredding hard drives through professional services ensures compliance with local regulations for electronic waste disposal. They are well-versed in the legal requirements surrounding data destruction and can provide proper documentation to verify that the process was conducted in accordance with the applicable regulations.
- Efficiency for Large Quantities: If you have a large number of hard drives to destroy, professional shredding services offer the necessary capacity and expertise. With their industrial-grade shredders, they can efficiently handle large quantities of hard drives, ensuring complete destruction without compromising on security or efficiency.
- Cost-Effectiveness: While professional shredding services come at a cost, they can be a cost-effective option when dealing with a significant volume of hard drives. These services save you valuable time and resources by handling the entire shredding process, including transportation and disposal.
- Secure Certificate of Destruction: Professional shredding services often provide a certificate of destruction as proof that the hard drives have been securely destroyed. This document may include details such as the date, method of destruction, and a unique identifier for verification purposes.
When choosing a professional shredding service, ensure that they have a reliable reputation and adhere to industry standards for secure data destruction. Conduct thorough research and consider reading reviews or seeking recommendations to select a reputable service provider.
Professional shredding services offer a reliable and convenient solution for destroying external hard drives securely. By entrusting the task to experts who specialize in data destruction, you can ensure that your sensitive information is effectively and permanently destroyed, providing you with peace of mind.
b. DIY Shredding with Industrial Strength Paper Shredders
If you have access to an industrial strength paper shredder, you can take a DIY approach to shred the hard drive yourself. These powerful machines are designed to handle various types of materials, including hard drives. Here are the key steps to follow when shredding a hard drive using an industrial strength paper shredder:
- Choose the Right Shredder: Ensure that the industrial strength paper shredder you have access to is capable of shredding hard drives. Not all paper shredders can handle electronic media, so verify the specifications and look for models specifically designed for shredding hard drives.
- Disconnect and Prepare the Hard Drive: Before shredding, disconnect the hard drive from any power sources or connected devices. Remove any external casing to expose the internal components. Take caution and follow safety guidelines to avoid injury.
- Feed the Hard Drive into the Shredder: Depending on the shredder’s design, you may need to disassemble the hard drive further to fit it through the shredder’s feed opening. Follow the shredder’s instructions for proper feeding, ensuring that the hard drive is inserted securely to avoid any potential jamming.
- Shred and Verify: Activate the shredder to begin the destruction process. As the hard drive is fed into the shredder, the shredding blades will tear it into small pieces. Once the shredding is complete, verify that the hard drive has been thoroughly shredded and that the data storage media is beyond recognition or recovery.
- Dispose of the Shredded Pieces: After shredding, collect the shredded pieces of the hard drive and dispose of them responsibly according to local regulations for electronic waste disposal. Ensure that the shredded pieces are properly handled and recycled to minimize any potential environmental impact.
When shredding a hard drive with an industrial strength paper shredder, always prioritize safety by wearing protective gear, such as gloves and goggles, and closely following the manufacturer’s instructions. Be mindful of any potential hazards, such as sharp edges, exposed circuitry, or flying debris.
DIY shredding with an industrial strength paper shredder offers a convenient and cost-effective option for individual users or small businesses with a limited number of hard drives to destroy. It allows you to have control over the destruction process and provides an additional layer of security for your sensitive data.
Always remember to evaluate the capabilities and specifications of the paper shredder to ensure the effective destruction of hard drives. If you have a significant volume of hard drives or require additional security measures, it may be more prudent to opt for professional shredding services.
Method 4: Incinerating the Hard Drive
Incinerating the hard drive is an extreme method to ensure complete destruction of an external hard drive. By subjecting the drive to high temperatures through controlled incineration, the data storage media and other components of the drive are completely destroyed. Here are the key considerations for incinerating a hard drive:
- Professional Incineration Services: Incineration is a specialized process that requires professional equipment and expertise. Utilizing the services of a professional incineration company ensures that the hard drive is exposed to the necessary temperatures required for complete destruction.
- Ensure Data Destruction: Incineration results in the physical destruction and melting of the hard drive’s components, including the data storage media, making the data irretrievable. The extreme temperatures eliminate any chances of recovering sensitive information stored on the drive.
- Environmental and Regulatory Compliance: Incineration should be conducted in compliance with environmental regulations and local laws. Professional incineration services are equipped to handle electronic waste and follow proper disposal procedures to minimize environmental impact.
- Safety Precautions: Incinerating a hard drive involves exposure to high temperatures and potential chemicals. It should only be performed by trained professionals using appropriate safety measures to prevent accidents and minimize risks to health and the environment.
- Secure Chain of Custody: When choosing a professional incineration service, ensure they have secure protocols in place to establish and maintain a chain of custody. This ensures that the hard drive is securely transported, incinerated, and properly documented to ensure data privacy and legal compliance.
It’s important to note that incineration is an irreversible process. Once the hard drive is incinerated, it cannot be recovered, and the data contained within is permanently destroyed. Therefore, it is crucial to verify that the hard drive is no longer needed or contains valuable data before proceeding with this method.
While incinerating a hard drive may offer the highest level of destruction, it is an extreme method and may not be necessary for all situations. Consider factors such as the volume of hard drives, environmental concerns, and the sensitivity of the data when deciding on the appropriate method for destroying your external hard drives.
If you opt for incineration, seek professional services that specialize in electronic waste incineration to ensure the proper disposal of the hard drive and compliance with environmental regulations.
Conclusion
Properly destroying an external hard drive is essential to safeguard your sensitive data and ensure it is completely irretrievable. In this guide, we have explored various methods for destroying a hard drive, including physically destroying it, degaussing, shredding, and incineration. Each method offers different levels of effectiveness, convenience, and feasibility based on individual requirements. Let’s recap the key points:
Physically Destroying the Hard Drive: Techniques such as smashing the drive with a hammer, drilling holes into it, or using an angle grinder are effective for rendering the drive inoperable and irreparable.
Degaussing the Hard Drive: Degaussing uses a powerful magnetic field to erase the data stored on magnetic media. It is an irreversible method suitable for traditional hard drives.
Shredding the Hard Drive: Professional shredding services or using an industrial strength paper shredder effectively shred the hard drive into small, unrecognizable pieces, ensuring data destruction.
Incinerating the Hard Drive: Incineration is an extreme method that involves subjecting the drive to high temperatures, completely destroying the data storage media and other components of the drive.
When selecting a method, consider factors such as security, compliance with regulations, volume of hard drives, and environmental concerns. Prioritize safety when implementing any destruction method and dispose of the destroyed hard drives responsibly, adhering to local electronic waste disposal guidelines.
Remember, it is crucial to ensure that the data stored on the hard drive is no longer needed or valuable before proceeding with any destruction method. If you have concerns about data security or are unsure about the best approach, consulting with professional data destruction services can provide expert guidance.
By following the methods discussed in this guide, you can effectively protect your sensitive information and ensure that it remains inaccessible to unauthorized individuals. Choose the method that aligns with your needs and concerns, and take the necessary precautions to safely destroy your external hard drives.