Introduction
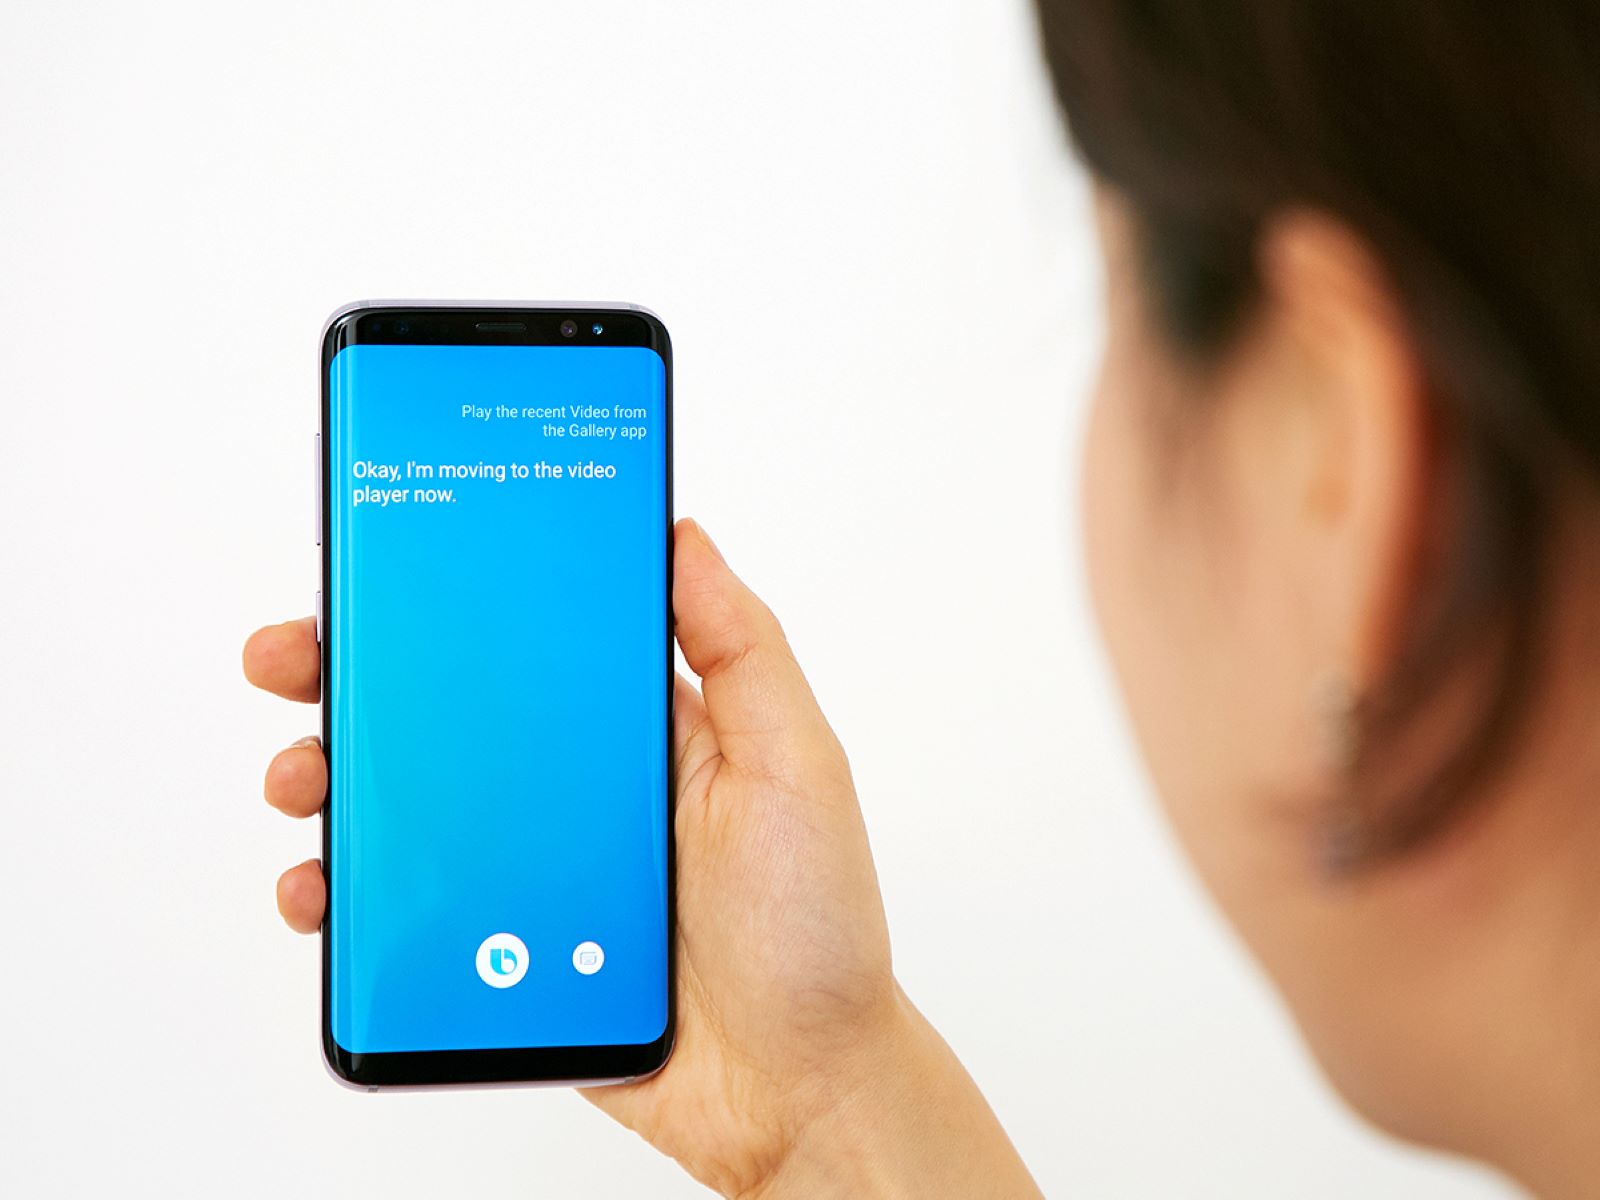
Denying Bixby permissions may seem like an unnecessary step, but it can greatly enhance your privacy and control over your device. Bixby, Samsung’s virtual assistant, comes pre-installed on many Samsung devices and offers various features and functionalities. However, it also requires certain permissions to access your personal data and perform its tasks. While granting these permissions can enhance Bixby’s functionality, it also raises concerns about privacy and security.
This article will guide you through the process of denying Bixby permissions on your device. By limiting Bixby’s access to certain aspects of your device, you can maintain control over your personal information and ensure a heightened level of privacy. Whether you’re concerned about Bixby accessing your contacts, camera, microphone, location, calendar, or photos, we’ll provide step-by-step instructions on how to restrict Bixby’s access to these areas.
By the end of this article, you’ll have a clear understanding of how to deny Bixby permissions on your Samsung device, allowing you to customize your Bixby experience while protecting your privacy.
Why Deny Bixby Permissions?
Denying Bixby permissions can be a crucial step in safeguarding your privacy and maintaining control over your personal data. While Bixby comes with its own set of features and functionalities that can enhance your smartphone experience, it also requires access to various aspects of your device to perform its tasks effectively.
However, granting Bixby permissions means giving it access to your personal information, including your contacts, camera, microphone, location, calendar, and photos. This may raise concerns regarding the potential misuse or unauthorized access to your sensitive data.
By denying Bixby permissions, you can protect your privacy and limit the information Bixby collects and uses. Here are a few reasons why you might consider denying Bixby permissions on your Samsung device:
- Privacy Protection: Denying Bixby access to your personal data ensures that your information remains secure and prevents any potential misuse.
- Data Control: By limiting Bixby’s access, you have more control over the information that is shared and stored by Bixby.
- Customized Experience: Denying specific permissions allows you to tailor your Bixby experience to suit your preferences and needs.
- Battery Conservation: Bixby constantly running in the background and accessing various features can contribute to battery drain. Restricting permissions can help conserve battery life.
- Reduced Intrusiveness: Limiting Bixby’s access to certain functions and data can lessen its intrusion into your daily life.
While Bixby may offer convenience and assist in various tasks, prioritizing your privacy and maintaining control over your personal information is essential. By understanding the importance of denying Bixby permissions, you can make informed decisions about which aspects of your device you want Bixby to access.
How to Deny Bixby Permissions
Denying Bixby permissions is a straightforward process that gives you control over the access Bixby has to various features and personal data on your Samsung device. Here are the steps to follow:
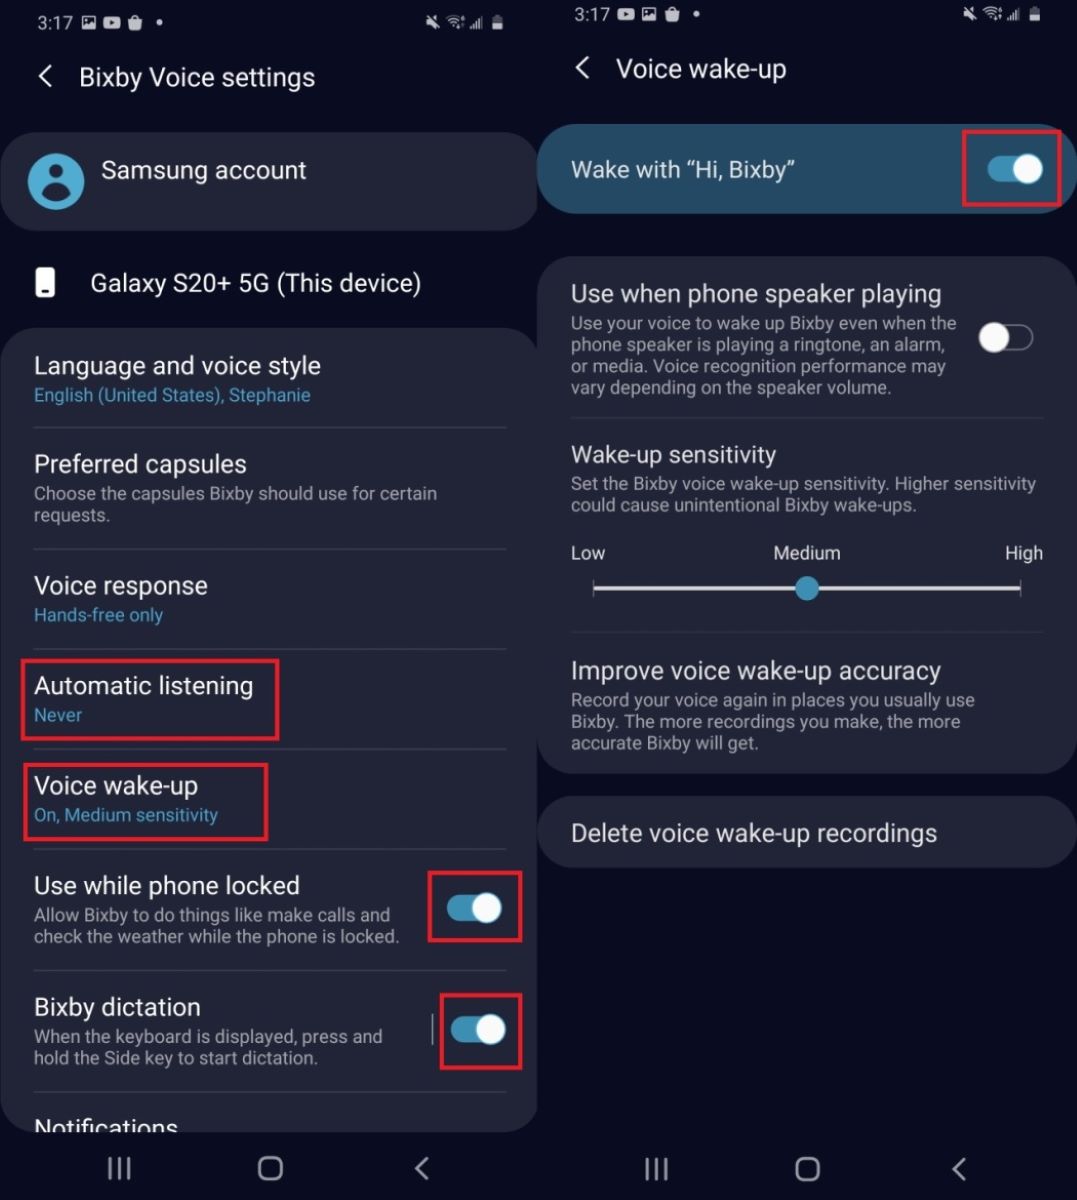
- Access Bixby settings: Open the Bixby settings on your device. You can do this by swiping right on your home screen or by pressing the dedicated Bixby button.
- Navigate to Permissions: In the Bixby settings menu, locate and tap on “Permissions.” This section allows you to manage the permissions granted to Bixby.
- Select the permission category: Choose the permission category you want to deny Bixby access to. This could include contacts, camera, microphone, location, calendar, or photos.
- Toggle off the permission: Once you’ve selected the desired permission category, simply toggle off the switch next to it. This will deny Bixby access to that particular feature or data.
- Repeat for other permissions: If you want to deny Bixby access to multiple categories, repeat the previous step for each permission you wish to disable.
- Review and customize: Take the time to review the permissions you have denied and ensure they align with your desired level of privacy. You can customize the access according to your preferences and needs.
- Enjoy enhanced privacy: By denying Bixby permissions, you can enjoy a higher level of privacy and control over your device, knowing that your personal data is secure.
Remember, the specific steps may vary slightly depending on the Samsung device model and the version of Bixby. However, the overall process should remain similar and accessible through the Bixby settings menu.
By following these steps, you can effectively deny Bixby permissions and ensure your privacy preferences are respected. Take advantage of this feature to create a more customized and secure experience with Bixby on your Samsung device.
How to Deny Bixby Access to Contacts
To deny Bixby access to your contacts, follow these simple steps:
- Open Bixby settings: Swipe right on your home screen or press the dedicated Bixby button to access Bixby settings.
- Go to Permissions: In the Bixby settings menu, locate and tap on “Permissions.”
- Choose Contacts: Scroll through the permission categories and select “Contacts.”
- Toggle off the Contacts permission: Once you’re in the Contacts settings, find the switch next to Bixby and toggle it off. This will deny Bixby access to your contacts.
- Confirm: You may be prompted to confirm the action. If so, confirm the denial of access to contacts.
By following these steps, you effectively deny Bixby access to your contacts, ensuring your contact list remains private and secure. This step is especially important if you have concerns about Bixby accessing your personal contact information.
Remember to review your other permissions in the Bixby settings to further customize Bixby’s access to your device, providing you with the desired level of privacy and control.
How to Deny Bixby Access to Camera
If you want to deny Bixby access to your device’s camera, follow these steps:
- Access Bixby settings: Swipe right on your home screen or press the dedicated Bixby button to open the Bixby settings.
- Go to Permissions: Within the Bixby settings menu, locate and tap on “Permissions.”
- Select Camera: Scroll through the permission categories and choose “Camera.”
- Toggle off the Camera permission: Once you’re in the Camera settings, find the switch next to Bixby and toggle it off. This will prevent Bixby from accessing your device’s camera.
- Confirm the action: You may be prompted to confirm the denial of camera access. If so, confirm the action to proceed.
By following these steps, you successfully deny Bixby access to your camera. This ensures your privacy when it comes to capturing images and videos on your device.
Remember to review and customize other permissions in the Bixby settings to personalize your device and maintain control over your privacy.
How to Deny Bixby Access to Microphone
If you wish to restrict Bixby’s access to your device’s microphone, follow these steps:
- Access Bixby settings: Swipe right on your home screen or press the dedicated Bixby button to open the Bixby settings.
- Go to Permissions: Within the Bixby settings menu, find and tap on “Permissions.”
- Select Microphone: Scroll through the permission categories and choose “Microphone.”
- Toggle off the Microphone permission: Once you’re in the Microphone settings, locate the switch next to Bixby and toggle it off. This will prevent Bixby from accessing your device’s microphone.
- Confirm the action: If prompted, confirm the denial of microphone access to Bixby.
By following these steps, you effectively deny Bixby access to your device’s microphone, ensuring your privacy during voice interactions and audio recording on your device.
Remember to review and customize other permissions in the Bixby settings to further personalize your device and maintain control over your privacy.
How to Deny Bixby Access to Location
To deny Bixby access to your device’s location, follow these steps:
- Open Bixby settings: Swipe right on your home screen or press the dedicated Bixby button to access the Bixby settings menu.
- Go to Permissions: Within the Bixby settings, locate and tap on “Permissions.”
- Select Location: Scroll through the permission categories and choose “Location.”
- Toggle off the Location permission: Once you’re in the Location settings, find the switch next to Bixby and toggle it off. This will prevent Bixby from accessing your device’s location.
- Confirm the action: You may be prompted to confirm the denial of location access to Bixby. If so, confirm the action to proceed.
By following these steps, you effectively deny Bixby access to your device’s location information. This helps protect your privacy and limits the data Bixby can gather regarding your whereabouts.
It’s important to review and customize other permissions in the Bixby settings to ensure your device is tailored to your preferences and respects your privacy.
How to Deny Bixby Access to Calendar
If you want to restrict Bixby’s access to your device’s calendar, you can follow these steps:
- Access Bixby settings: Swipe right on your home screen or press the dedicated Bixby button to open the Bixby settings.
- Go to Permissions: Within the Bixby settings menu, locate and tap on “Permissions.”
- Select Calendar: Scroll through the permission categories and choose “Calendar.”
- Toggle off the Calendar permission: Once you’re in the Calendar settings, find the switch next to Bixby and toggle it off. This will prevent Bixby from accessing your device’s calendar.
- Confirm the action: If prompted, confirm the denial of calendar access to Bixby.
By following these steps, you effectively deny Bixby access to your device’s calendar, ensuring your privacy regarding your scheduled events and appointments.
Remember to review and customize other permissions in the Bixby settings to further personalize your device and maintain control over your privacy.
How to Deny Bixby Access to Photos
If you wish to prevent Bixby from accessing your device’s photos, you can deny its permission by following these steps:
- Open Bixby settings: Swipe right on your home screen or press the dedicated Bixby button to access the Bixby settings menu.
- Go to Permissions: Within the Bixby settings, locate and tap on “Permissions.”
- Select Photos: Scroll through the permission categories and choose “Photos.”
- Toggle off the Photos permission: Once you’re in the Photos settings, find the switch next to Bixby and toggle it off. This will prevent Bixby from accessing your device’s photos.
- Confirm the action: You may be prompted to confirm the denial of photo access to Bixby. If so, confirm the action to proceed.
By following these steps, you successfully deny Bixby access to your device’s photos, keeping your private memories and images secure.
Make sure to review and customize other permissions in the Bixby settings to create a personalized experience that respects your privacy and preferences.
Conclusion
Denying Bixby permissions can be a vital step in maintaining your privacy and control over your device. By following the steps outlined in this article, you can effectively deny Bixby access to sensitive areas such as contacts, camera, microphone, location, calendar, and photos.
When you restrict Bixby’s permissions, you take back control over the personal data that Bixby collects and uses. This helps safeguard your privacy, ensuring that your information remains secure and protected.
By customizing Bixby’s access to your device, you can create a more personalized and tailored experience. You have the power to decide which aspects of your device you want Bixby to interact with, allowing you to maintain your preferred level of privacy and minimize any potential intrusions.
Remember to regularly review and update your permissions settings in the Bixby app, as new features and updates may require additional permissions. Staying vigilant and informed about the permissions you grant to Bixby will help you maintain control over your data and privacy.
With the ability to deny Bixby permissions, you can enjoy the benefits of this virtual assistant while maintaining a heightened level of privacy and control over your device. Embrace the power to customize your Bixby experience and protect your personal information.


