Introduction
iMessage, the popular messaging platform for Apple devices, offers a range of handy features to enhance your communication experience. One such feature is the iMessage App Store, which allows you to download and install various apps directly within the iMessage app. These apps can be incredibly useful, enabling you to play games, share stickers, manage tasks, and even order food, all without leaving the conversation.
While having a collection of apps at your disposal can be convenient, there may come a time when you no longer have a use for certain iMessage apps cluttering up your app drawer. Whether you want to free up some storage space or simply streamline your messaging experience, deleting unwanted iMessage apps is a straightforward process.
In this guide, we will walk you through the step-by-step process of deleting iMessage apps from your device. By following these simple instructions, you will be able to remove any unwanted apps and declutter your iMessage app drawer, ensuring that it contains only the apps you truly need and enjoy.
Step 1: Open the iMessage App drawer
To begin the process of deleting iMessage apps, you’ll need to open the iMessage App drawer. Launch the Messages app on your iPhone or iPad and open a conversation where you would typically send or receive iMessages.
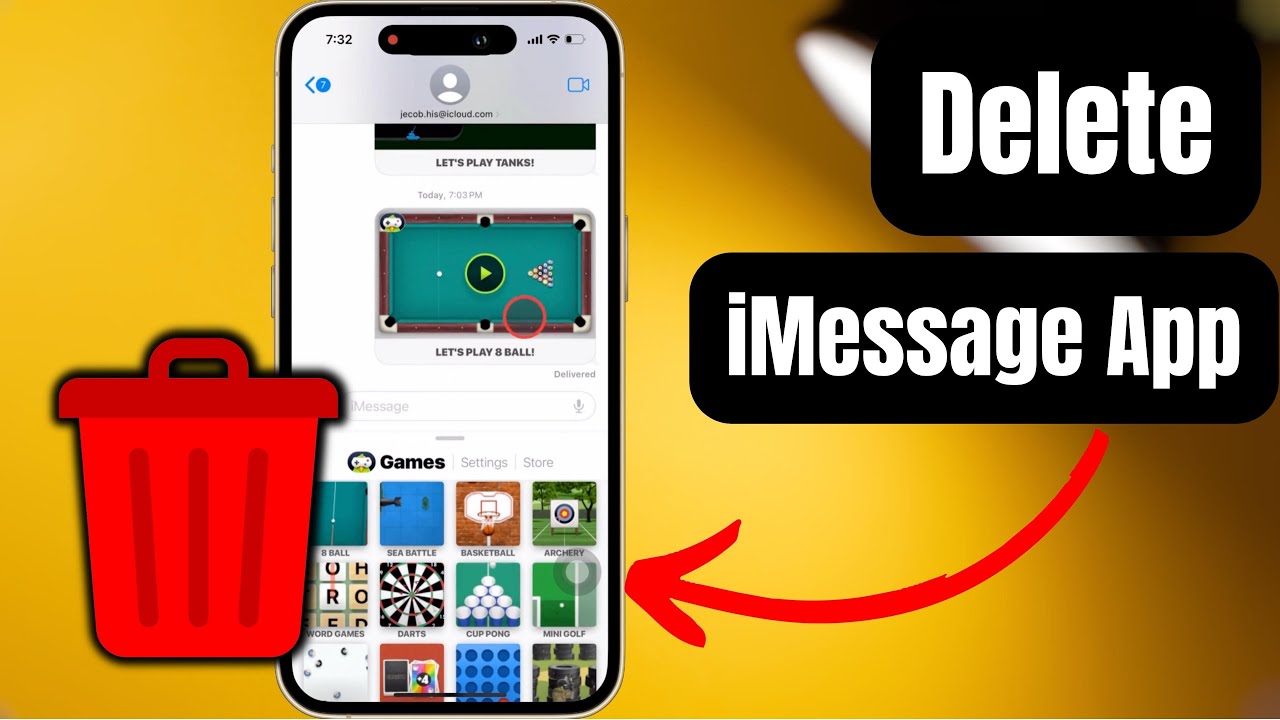
At the bottom of the screen, you’ll see the row of app icons. This is the iMessage App drawer. It houses all the apps you’ve installed or downloaded for use within iMessage. The iMessage App drawer is designed to give you quick access to your installed apps without needing to leave the conversation.
If you cannot see the iMessage App drawer, it might be hidden. To reveal it, tap the “A” (Apps) button located to the left of the text input field. The button resembles a small square with the letter “A” in it. Tap it, and the iMessage App drawer will appear at the bottom of the screen.
Once the iMessage App drawer is visible, you’re ready to move on to the next step and access the “Manage” tab, where you can delete unwanted iMessage apps.
Step 2: Access the “Manage” tab
After opening the iMessage App drawer, you’ll need to navigate to the “Manage” tab. This tab contains all the options and settings related to the apps installed within iMessage, including the option to delete them.
To access the “Manage” tab, tap on the “More” (three-dot) button located in the bottom-right corner of the iMessage App drawer. This will open a menu with various options related to the apps.
In the menu, you’ll notice the “Manage” option. Tap on it to proceed to the “Manage” tab where you can manage and delete your iMessage apps.
Upon tapping the “Manage” option, you’ll be taken to a screen that displays all the installed iMessage apps in a list format. Here, you can see the app icons, names, and additional information about each app.
The “Manage” tab is a convenient hub where you can easily delete unwanted iMessage apps without having to go through the hassle of searching for each app individually.
Now that you have accessed the “Manage” tab, you’re ready to move on to the next step and find the specific app you want to delete.
Step 3: Find the app you want to delete
Once you’re in the “Manage” tab, you can easily locate the specific iMessage app you want to delete. The list of installed apps is conveniently displayed, making it simple to find the app you’re looking for.
Scroll through the list of iMessage apps to browse through your installed apps. You can swipe up or down on the screen or use your finger to scroll through the list to find the app you want to delete.
If you have a large number of apps installed, it might be quicker to use the search bar at the top of the screen. Tap on the search bar and enter the name of the app you want to delete. The list will automatically filter to display the matching results, making it easier to find the desired app.
As you browse through the list or use the search bar, look for the app icon and name to identify the specific app you wish to delete. Take your time to ensure you select the correct app, as deleting an app cannot be undone.
Once you have identified the app you want to remove, proceed to the next step to begin the deletion process.
Step 4: Press and hold on the app icon
To delete an iMessage app, you need to press and hold on the app icon. This action will trigger a series of options, allowing you to manage the app and delete it from your iMessage app drawer.
On the “Manage” tab, locate the app icon that corresponds to the app you want to delete. Once you have found it, press and hold your finger on the app icon.
After a moment, you will see the app icon start to wiggle or shake. This indicates that the app is in “edit” mode, and you can start managing it.
While the app icon is wiggling, a set of options will appear, typically referred to as the “app actions” or “quick actions.” These options allow you to perform various actions on the app, including deleting it.
Be mindful not to tap on the app icon too quickly, as this might open the app instead of entering “edit” mode. Make sure you press and hold on the app icon until it starts to wiggle to access the deletion options.
Once the app icon is wiggling and the options have appeared, you’re ready to move on to the next step and tap on the “Delete” option to remove the app from your iMessage app drawer.
Step 5: Tap “Delete” when the options pop up
Once you have entered the “edit” mode by pressing and holding on the app icon, a series of options will appear on the screen. These options allow you to manage the app, including the ability to delete it.
Look for the “Delete” option among the available actions. It is typically represented by a small “X” icon or a trash bin symbol. Tap on the “Delete” option to proceed with the deletion.
When you tap on “Delete,” a confirmation prompt may appear, asking you to confirm your decision. The prompt ensures that you don’t accidentally delete an app without intention.
Read the confirmation prompt carefully to ensure that the correct app will be deleted. If you’re certain about deleting the app, tap on the “Delete” button or similar confirmation option on the prompt.
After confirming the deletion, the app will be permanently removed from your iMessage app drawer, freeing up the storage space it was occupying.
It’s important to note that deleting an iMessage app doesn’t remove the app from your device completely. The app will still be available on your device, either on the home screen or in the apps library. However, it will no longer be accessible within the iMessage app.
If you change your mind and want to reinstall a deleted iMessage app in the future, you can do so by visiting the App Store and downloading the app again.
Once you’ve successfully deleted the app, you can go ahead and repeat the process for any other iMessage apps you wish to remove.
Step 6: Confirm the deletion if prompted
After tapping on the “Delete” option, a confirmation prompt may appear on your screen. This prompt serves as an additional safety measure to ensure that you want to proceed with deleting the iMessage app.
The confirmation prompt will typically include information about the app you are about to delete, such as its name and any related data that will be permanently removed.
Read the prompt carefully to make sure you are deleting the correct app. If you’re certain about deleting the app, proceed with confirming the deletion.
To confirm the deletion, look for the “Confirm” button or a similar option on the prompt. Tap on the appropriate button to complete the deletion process.
By confirming the deletion, you are indicating that you no longer wish to have the app in your iMessage app drawer, and it will be permanently removed from your device.
If you change your mind and decide not to delete the app, look for a “Cancel” or “Go Back” button on the prompt. Tapping on this option will cancel the deletion process, and the app will remain in your iMessage app drawer.
Remember that once you confirm the deletion, you won’t be able to undo it. So, before confirming, take a moment to double-check and ensure that you truly want to delete the app.
Once you have successfully confirmed the deletion, you can proceed to the next step if there are any other apps you need to delete from your iMessage app drawer.
Step 7: Repeat for any other apps you want to delete
If you have additional iMessage apps that you want to delete, you can repeat the same process outlined in the previous steps for each app.
Go back to the iMessage App drawer and locate the next app you wish to remove. Press and hold on its icon to enter “edit” mode, just like you did before.
Once the app starts wiggling and the options appear, tap on the “Delete” option to initiate the deletion process.
If a confirmation prompt appears, read it carefully and confirm the deletion if you are certain about removing the selected app.
Repeat these steps for any other iMessage apps you want to delete from your device.
By going through this process for each app individually, you can effectively declutter your iMessage app drawer and ensure that it only contains the apps you need and use regularly.
Remember to take your time and double-check before confirming the deletion of each app. Once you delete an app, it cannot be recovered unless you reinstall it from the App Store.
Once you’ve completed deleting all the desired apps, you have successfully removed unwanted iMessage apps from your device.
Now you can enjoy a clean and streamlined iMessage app drawer, keeping only the apps that enhance your messaging experience.
Conclusion
Deleting unwanted iMessage apps from your device can help declutter your iMessage app drawer and improve your messaging experience. By following the step-by-step process outlined in this guide, you can easily remove unnecessary apps from your iMessage app collection.
Starting with opening the iMessage App drawer, you accessed the “Manage” tab where you could find the app you wanted to delete. You then pressed and held on the app icon to enter “edit” mode, and tapped on the “Delete” option when it appeared. Confirming the deletion if prompted ensured the app was permanently removed from your iMessage app drawer.
Remember to exercise caution when deleting iMessage apps and make sure you are removing the correct ones. Take your time and read the prompts carefully before confirming the deletion.
By eliminating unwanted apps, you can create a more streamlined and personalized messaging experience, with only the apps you need and enjoy readily available in your iMessage app drawer.
Don’t forget that you can always reinstall deleted iMessage apps from the App Store if you change your mind or want to use them again in the future.
So, go ahead and take control of your iMessage app drawer by deleting unnecessary apps, decluttering your messaging interface, and enjoying a more efficient and organized communication experience.