Introduction
Managing files on an external hard drive is an essential task for any Mac user. Whether you need to free up space or organize your data, knowing how to delete files from your external hard drive is crucial. Fortunately, the process is straightforward and can be accomplished in a few easy steps.
In this guide, you will learn how to delete files from an external hard drive on your Mac. We will walk you through the process, providing clear and concise instructions that even beginners can follow. With just a few clicks, you’ll be able to remove unwanted files and make the most out of your storage space.
Note that deleting files from an external hard drive is different from deleting files from your internal drive. When you delete a file from an external hard drive, it doesn’t go directly to the trash bin on your Mac. Instead, it gets moved to the external drive’s trash folder, and you’ll need to manually empty the trash to permanently delete the files. So let’s get started and learn how to delete files from an external hard drive on your Mac.
Step 1: Connect the external hard drive to your Mac
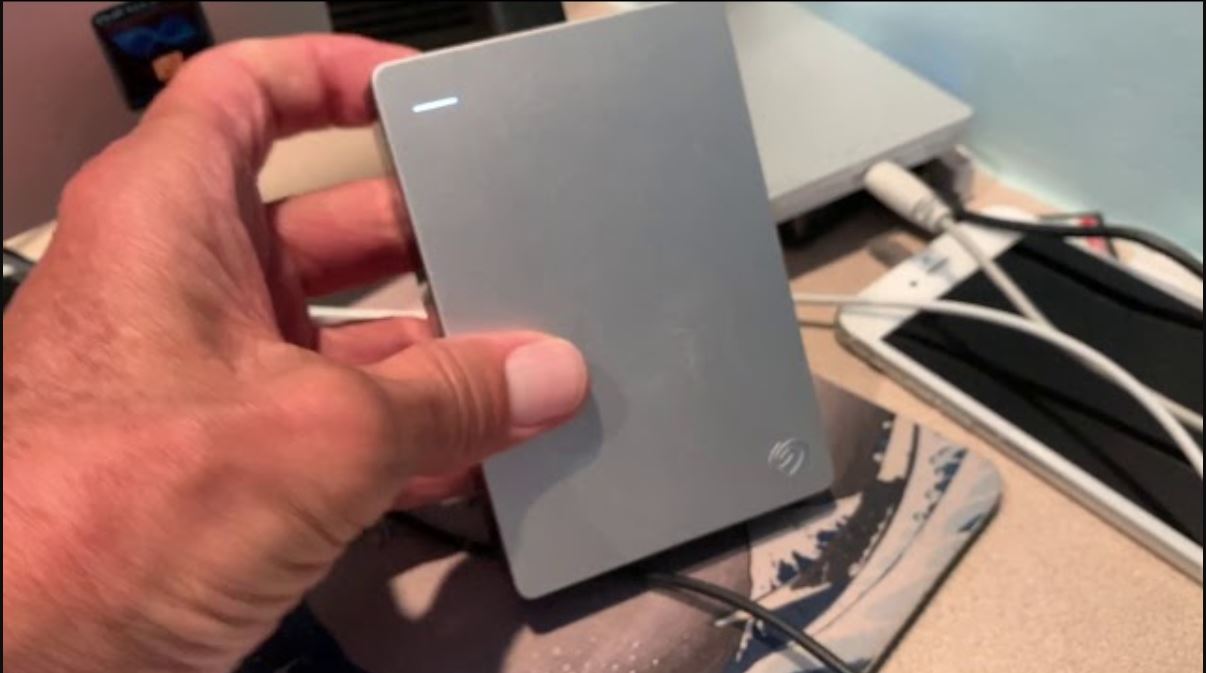
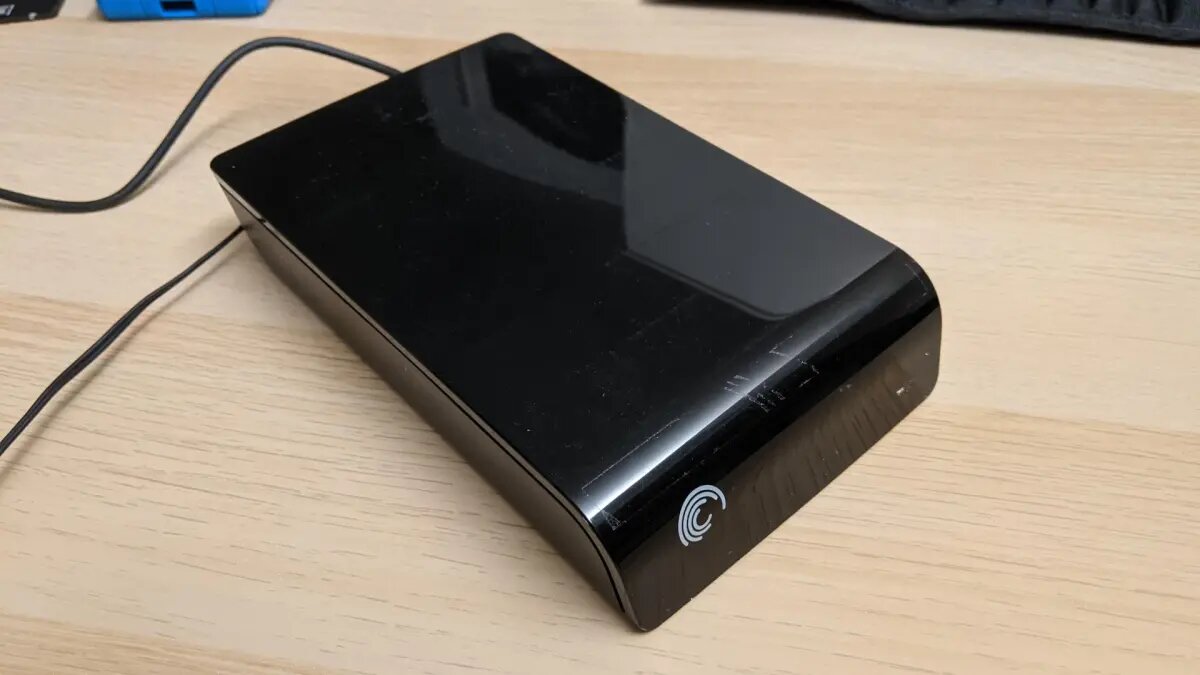
The first step in deleting files from an external hard drive on your Mac is to ensure that the drive is properly connected. Connect the USB or Thunderbolt cable from the external hard drive to an available USB or Thunderbolt port on your Mac. Make sure that both ends of the cable are securely plugged in.
Once the external hard drive is connected, it should appear on your desktop or in the Finder sidebar as a new device. You may also see a notification confirming that the drive has been detected by your Mac. Take a moment to ensure that the drive is recognized by your system before proceeding to the next step.
If your external hard drive is not showing up on your Mac, there are a few troubleshooting steps you can try. First, check if the drive is receiving power and if the cable connections are secure. If necessary, try a different cable or USB port to rule out any hardware issues.
You can also open the Disk Utility application on your Mac to check if the external hard drive appears there. To do this, go to the Applications folder, then open the Utilities folder, and double-click on Disk Utility. If the drive is listed in Disk Utility, you may need to mount it manually by selecting the drive and clicking on the Mount button.
Once you have successfully connected the external hard drive to your Mac and verified its recognition, you are ready to proceed with deleting files from the drive. Proceed to the next step to learn how to locate the external hard drive on your Mac.
Step 2: Locate the external hard drive on your Mac
After connecting the external hard drive to your Mac, the next step is to locate it on your system. There are a few different ways to find the external hard drive, depending on your preferences and the version of macOS you are using.
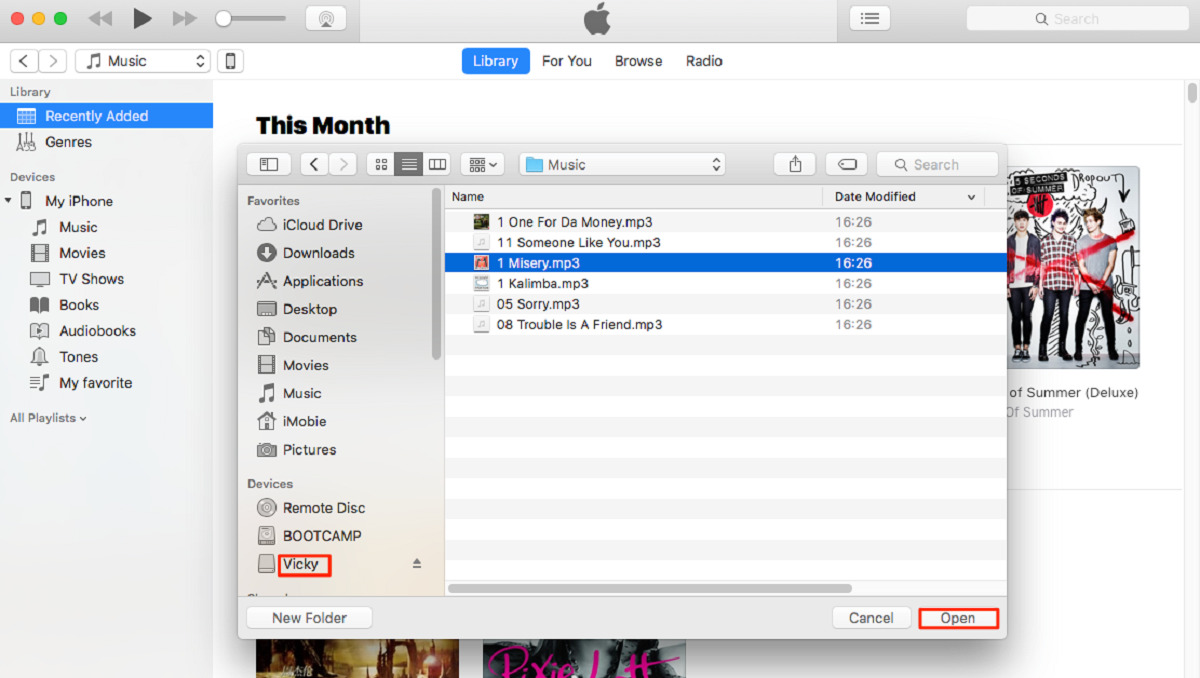
One common method to locate the external hard drive is by checking the desktop or the Finder sidebar. By default, macOS displays connected drives on the desktop. Look for an icon representing the external hard drive and click on it to open a new Finder window.
If you don’t see the external hard drive on the desktop, you can also check the Finder sidebar. Open a Finder window by clicking on the Finder icon in the Dock or by pressing Command + N on your keyboard. In the Finder window, look for the “Devices” section in the sidebar. Your external hard drive should be listed under the “External Drives” or a similar category.
Alternatively, you can use the Spotlight search to locate the external hard drive. To do this, click on the Spotlight icon in the top-right corner of the menu bar or press Command + Spacebar on your keyboard to open Spotlight search. Type in the name of your external hard drive, and it should appear in the search results. Click on the drive to open a Finder window.
It’s worth mentioning that the location of your external hard drive may vary depending on your system’s configuration and personal preferences. If you are unable to locate the drive using the above methods, you can also try opening the Finder Preferences and ensuring that the external hard drive is selected to be shown on the desktop and in the sidebar.
Once you have located the external hard drive on your Mac, you are ready to proceed to the next step and learn how to open the drive to access its contents.
Step 3: Open the external hard drive
Now that you have located the external hard drive on your Mac, it’s time to open it and access the files stored within. Opening the external hard drive is similar to opening any other folder or drive on your Mac.
To open the external hard drive, simply double-click on its icon on the desktop or in the Finder sidebar. This will open a new Finder window displaying the contents of the drive. Alternatively, you can also right-click on the drive icon and select “Open” from the context menu.
Once you open the external hard drive, you will see the files and folders that are stored within it. The organization of the files and folders may vary depending on how you have organized them previously or how they were saved on the drive.
Take a moment to explore the files and folders on the external hard drive and locate the specific files that you want to delete. You can navigate through the folders by double-clicking on them to open them and view their contents.
If you are unsure about the location of the files you want to delete, you can use the search bar at the top-right corner of the Finder window to search for specific file names or file extensions. Simply type in the name or extension of the file you are looking for, and the search results will be displayed.
Once you have opened the external hard drive and located the files you want to delete, you are ready to proceed to the next step and learn how to select the files for deletion.
Step 4: Select the files you want to delete
Now that you have opened the external hard drive and have access to its contents, it’s time to select the files you want to delete. Selecting files on a Mac is a simple process, allowing you to choose multiple files or select specific ones.
To select multiple files, click on the first file you want to delete and hold down the Command key on your keyboard. With the Command key held down, click on the additional files you want to delete. Each file you click on will be added to the selected files.
If you want to select a range of files, click on the first file, hold down the Shift key, and then click on the last file in the range. This will select all the files between the first and last file you clicked on.
If you only want to select specific files, you can click on each file individually while holding down the Command key. This allows you to choose files scattered throughout the external hard drive without selecting a range.
As you select files, you may notice that the selected files are highlighted or appear slightly different from the rest of the files. This visual cue helps you keep track of the files you have chosen for deletion.
Take your time to carefully select the files you want to delete. Double-check your selection to ensure that you have included all the necessary files and haven’t accidentally included any files you want to keep.
Once you have selected the files you want to delete from the external hard drive, you are ready to proceed to the next step and learn how to delete them permanently.
Step 5: Delete the selected files from the external hard drive
Now that you have selected the files you want to delete from the external hard drive on your Mac, it’s time to remove them from the drive. Deleting files from an external hard drive is a straightforward process and can be done in a few simple steps.
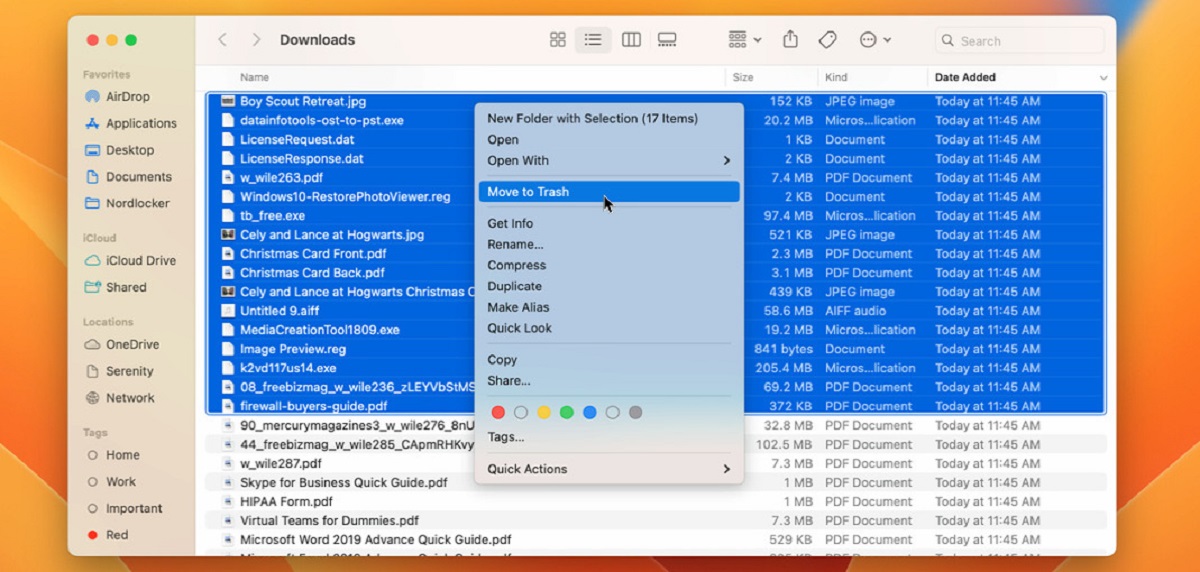
To delete the selected files, right-click on any of the selected files and choose “Move to Trash” from the context menu. Alternatively, you can press the Command + Delete keys on your keyboard or drag the selected files to the Trash icon in the Dock.
When you delete files from an external hard drive, they are not immediately deleted from the drive. Instead, they are moved to the Trash folder specific to that external hard drive. This allows you to recover the files in case you accidentally delete something.
After moving the selected files to the Trash, you can easily verify that they have been deleted by viewing the Trash folder. To do this, open a Finder window and click on the Trash icon in the Dock. In the Trash folder, you will see the files you deleted from the external hard drive.
Keep in mind that the deleted files still occupy space on the external hard drive until you empty the Trash. If you change your mind and want to restore a file, you can simply drag it out of the Trash and back onto the external hard drive.
However, if you are sure that you want to permanently delete the selected files and free up storage space on the external hard drive, proceed to the next step and learn how to empty the Trash.
Step 6: Empty the trash to permanently delete the files
After deleting files from your external hard drive and moving them to the Trash, they are not completely removed from the drive. To free up the storage space on the external hard drive and permanently delete the files, you need to empty the Trash.
To empty the Trash, right-click on the Trash icon in the Dock and select “Empty Trash” from the context menu. Alternatively, you can open the Trash folder by clicking on the Trash icon and then select “Empty” on the top-right corner of the Finder window.
When you empty the Trash, all the files stored in the Trash folder will be permanently deleted from the external hard drive. This action cannot be undone, so make sure that you have selected the correct files for deletion.
A confirmation message may appear, asking if you are sure you want to permanently delete the files. Review the files listed in the confirmation message to ensure that they are the ones you want to delete, and then click on “Empty Trash” to proceed.
Depending on the size of the files and the speed of your external hard drive, the emptying process may take a few moments. You can monitor the progress by observing the progress bar or spinner that appears during the deletion process.
Once the Trash has been emptied, the selected files will be permanently deleted from the external hard drive. The space they occupied will now be available for storing new files or organizing existing ones.
It’s essential to note that emptied files cannot be recovered unless you have an external backup or have utilized data recovery software. Therefore, double-check your selection and ensure that you have backed up any important files before emptying the Trash.
Congratulations! You have successfully deleted and permanently removed files from your external hard drive. Take a moment to verify that the selected files are no longer present on the drive before disconnecting it from your Mac.
Conclusion
Managing files on an external hard drive is a necessary task for maintaining storage space and organizing data on your Mac. In this guide, we have walked you through the process of deleting files from an external hard drive on your Mac, step by step.
We started by connecting the external hard drive to your Mac, ensuring proper recognition and connectivity. Then, we located the external hard drive on your Mac using different methods such as checking the desktop, the Finder sidebar, or utilizing Spotlight search.
Once the external hard drive was located, we opened it to access the files stored within. We then learned how to select the files that we wanted to delete, whether it was selecting multiple files, a range of files, or specific files scattered throughout the drive.
After selecting the files, we proceeded to delete them from the external hard drive by moving them to the Trash. However, it’s important to note that the files are not permanently deleted until we empty the Trash.
In the final step, we emptied the Trash to permanently delete the files from the external hard drive. This action frees up storage space and ensures that the deleted files cannot be recovered unless backed up through external methods or data recovery software.
By following these steps, you can confidently delete files from your external hard drive on your Mac, allowing you to manage your storage effectively and keep your files organized.
Remember to always double-check your selection before permanent deletion and make sure to backup important files before emptying the Trash. With this newfound knowledge, you can now confidently manage your files on your external hard drive with ease.
Thank you for reading this guide, and we hope it has been helpful in assisting you in deleting files from your external hard drive on your Mac.