Introduction
Welcome to our guide on how to delete duplicate photos in Google Photos! If you’re like most people, chances are you have a vast collection of photos stored on your Google Photos account. With the convenience of automatic backups and unlimited storage, it’s easy to accumulate duplicates over time. These duplicates not only take up valuable storage space but also create unnecessary clutter in your photo library. In this article, we’ll walk you through the steps to identify and delete duplicate photos, helping you organize your Google Photos collection more effectively.
Duplicate photos can occur for various reasons, such as multiple uploads, accidental backups, or syncing issues between devices. While it’s not difficult to identify and delete duplicates manually, it can be a time-consuming and tedious task, especially when you have an extensive photo library.
Fortunately, Google Photos provides some built-in features and options that can help simplify the process. Additionally, there are third-party apps available that can quickly scan and identify duplicates, making it easier for you to clean up your photo collection.
In the following sections, we’ll guide you through the steps to remove duplicate photos in Google Photos. Whether you’re using the mobile app or the web version, these methods are applicable to both platforms. So, let’s dive in and start decluttering your Google Photos library!
Step 1: Understand the Problem
Before we jump into deleting duplicate photos, it’s important to understand why they occur and how they can affect your Google Photos experience. Duplicate photos can accumulate in your library due to a variety of reasons, including:
- Multiple backups: If you’ve uploaded photos from different devices or used multiple backup methods, you may end up with duplicates of the same photo in your collection.
- Syncing issues: Sometimes, syncing problems between devices can result in the same photos being uploaded multiple times.
- Accidental uploads: It’s easy to accidentally upload the same photo multiple times, especially if you’re using the Google Photos mobile app and don’t realize that the photo has already been backed up.
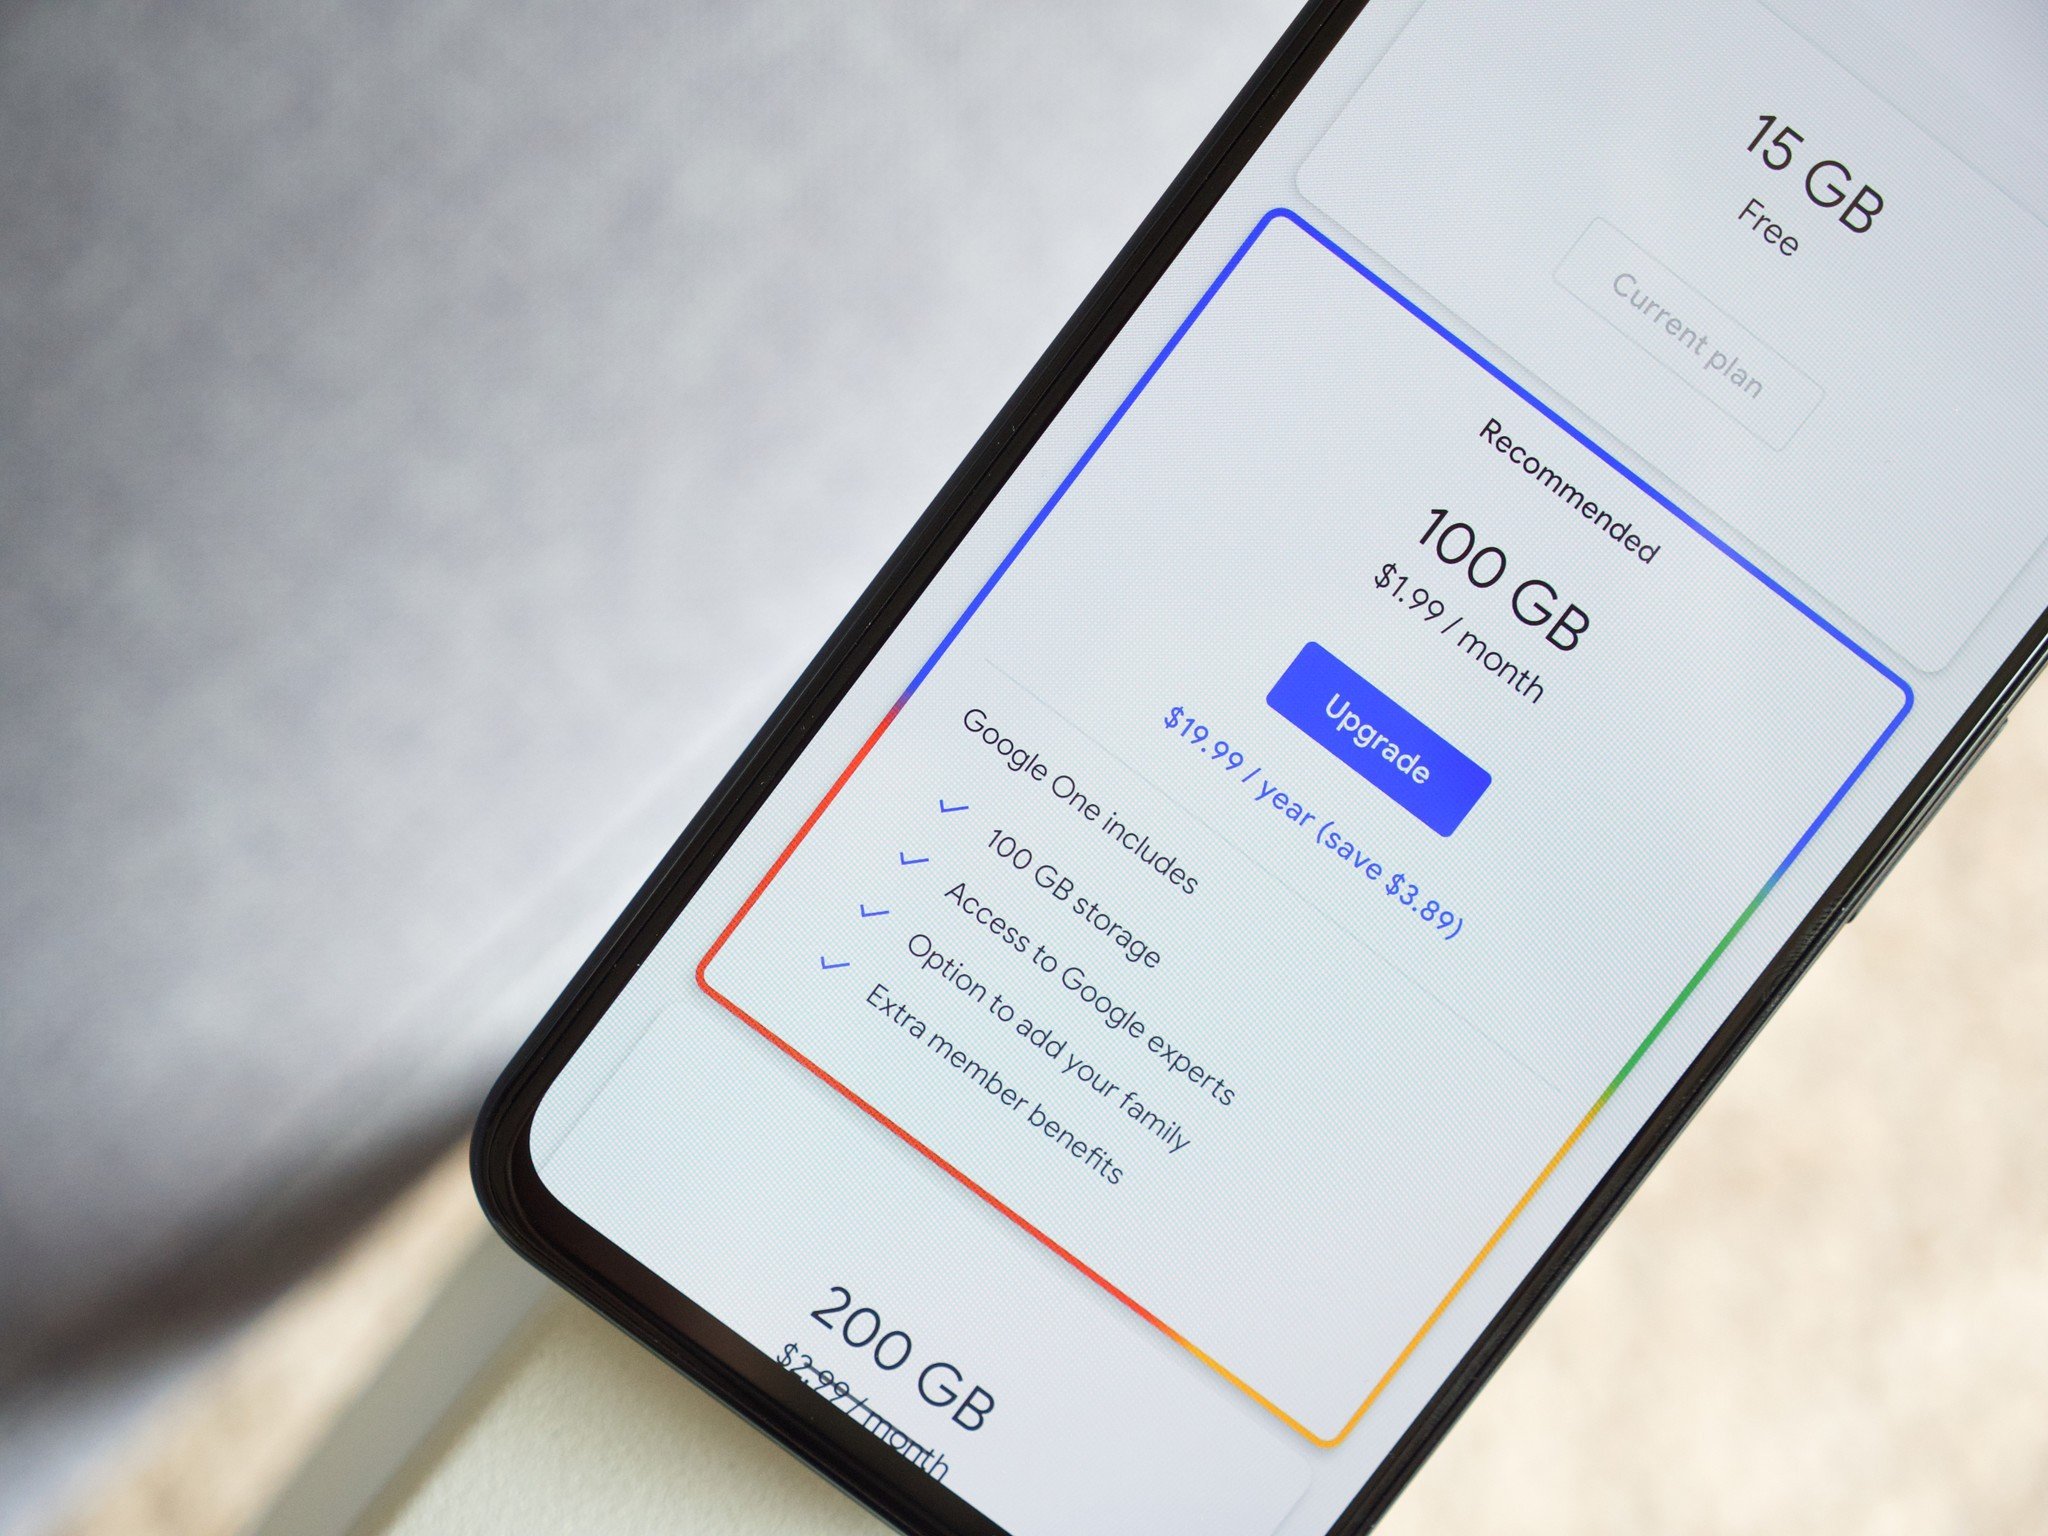
These duplicate photos can take up valuable storage space in your Google Photos account, especially if you have a large collection. They can also make it more difficult to find specific photos or create albums, as duplicates clutter up your library. By taking the time to clean up duplicate photos, you can free up storage space, improve organization, and enhance your overall Google Photos experience.
Now that you understand the problem and its implications, let’s move on to the next steps, where we’ll explore the options available in Google Photos to help you identify and delete duplicate photos.
Step 2: Explore Google Photos Settings
Google Photos offers several settings and features that can help you manage and remove duplicate photos. By exploring these options, you can identify and delete duplicates more efficiently:
1. Library Sync: Start by ensuring that the “Sync” feature is enabled in your Google Photos settings. This ensures that all your photos are synchronized across devices and reduces the chances of duplicates being created due to syncing issues.
2. Smart Storage: Google Photos has a “Smart Storage” feature that automatically removes photos and videos that are already backed up to the cloud but are taking up space on your device. Enabling this feature can help prevent accidental uploads and minimize the chances of duplicates.
3. Face Recognition: Google Photos uses facial recognition technology to identify people in your photos. By utilizing this feature, you can easily search for specific individuals and identify duplicate photos of the same person.
4. Assistant Suggestions: The Google Photos Assistant provides suggestions for organizing and managing your photo library, including identifying potential duplicates. Keep an eye on the Assistant’s suggestions tab, as it may flag duplicate photos for deletion.
5. Archive Folder: Google Photos allows you to archive photos and videos, which removes them from your main library but still keeps them saved. This can be useful for organizing duplicates or photos that you don’t want to delete permanently. Consider archiving duplicate photos instead of deleting them outright.
By exploring these settings and features, you can optimize the use of Google Photos and make the duplicate photo management process more efficient. Let’s move on to the next step, where we’ll delve into using Google Photos’ “Free up space” feature to identify and delete duplicates.
Step 3: Use Google Photos’ “Free up space” feature
Google Photos provides a handy “Free up space” feature that allows you to remove photos and videos from your device that have already been backed up to the cloud. This feature can help identify and delete duplicate photos, as well as reduce the storage footprint on your device.
Here’s how to use the “Free up space” feature in Google Photos:
- Open Google Photos: Launch the Google Photos app on your mobile device or visit the Google Photos website on your computer.
- Access Settings: Tap on the “Menu” icon (three horizontal lines in the top left corner) and select “Settings.”
- Free up space: In the Settings menu, look for the “Free up space” option and tap on it.
- Select photos to delete: Google Photos will now scan your device and display a list of photos and videos that have already been backed up to the cloud. Review the list and select the duplicates or any other photos/videos you want to remove.
- Delete: Once you’ve selected the photos/videos, tap on the “Delete” button to remove them from your device.
It’s important to note that using the “Free up space” feature will only remove the selected photos and videos from your device, not from your Google Photos account. The backed-up copies will still be accessible and available in your Google Photos library.
This feature is particularly useful if you have a large number of duplicate photos or if you want to quickly clear up space on your device. However, keep in mind that it’s always a good idea to double-check your selections before deleting any photos to avoid accidentally deleting important memories.
Now that you’re familiar with the “Free up space” feature, let’s proceed to the next step, where we’ll explore how to manually delete duplicate photos in Google Photos.
Step 4: Manually Delete Duplicate Photos
If you prefer a more hands-on approach, you can manually delete duplicate photos in Google Photos. This method allows you to carefully select and remove duplicate photos one by one. Here’s how you can do it:
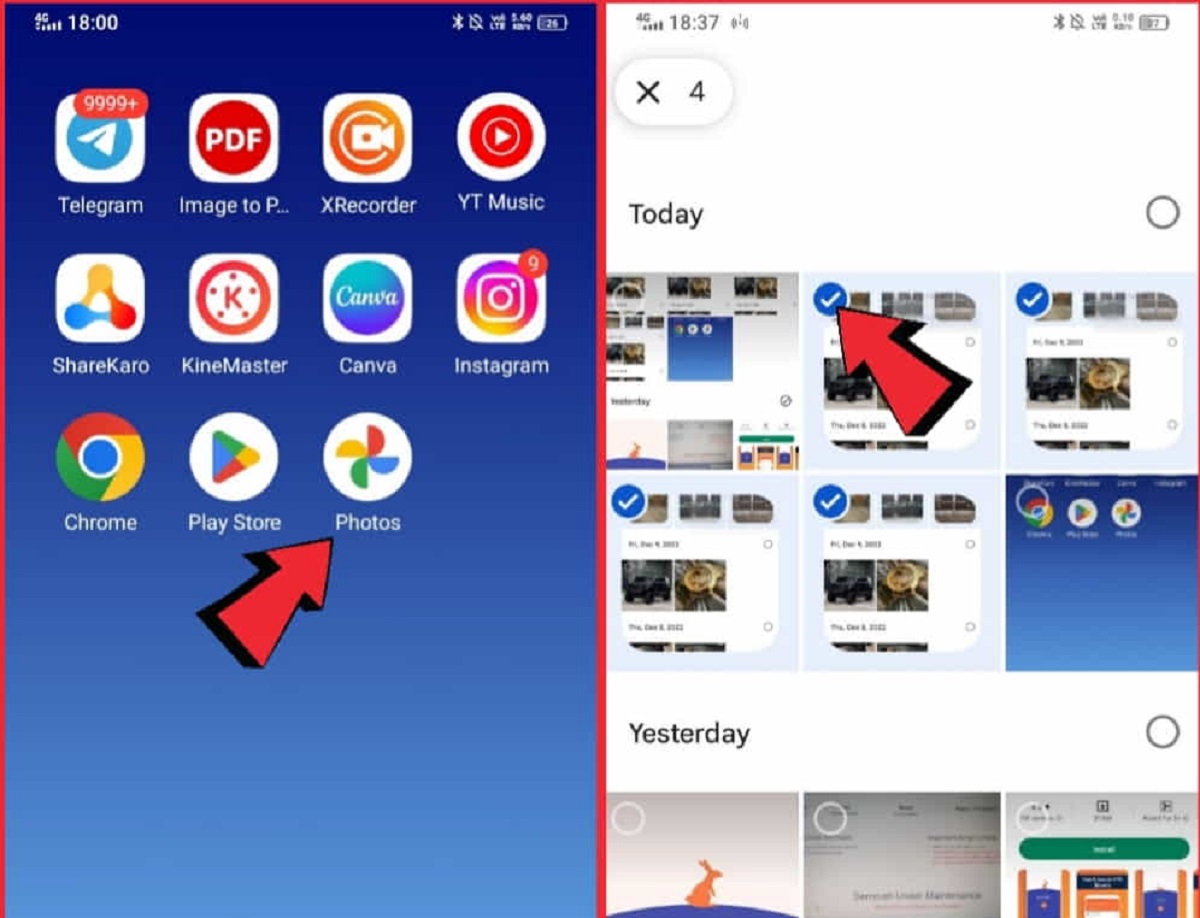
- Open Google Photos: Launch the Google Photos app on your mobile device or visit the Google Photos website on your computer.
- Identify duplicates: Browse through your photo library and look for photos that appear to be duplicates. Pay attention to photos with the same subject, composition, or timestamp.
- Select duplicate photos: Once you’ve identified a duplicate photo, tap on it to view it in full-screen mode. Then, tap on the three-dot menu icon and select the “Delete from device” option. Repeat this process for each duplicate photo you want to delete.
- Confirm deletion: Google Photos will ask you to confirm the deletion of the selected photo. Confirm by tapping on the “Delete” button.
- Revisit the process: Continue this process of identifying and deleting duplicate photos until you’ve thoroughly checked your entire library.
While manually deleting duplicate photos can be time-consuming, it allows for a more precise and selective cleanup. Take your time to carefully review each photo and consider factors such as image quality, resolution, and sentimental value before deleting.
However, keep in mind that manually deleting duplicates can be cumbersome, especially if you have a large collection of photos. Consider using the “Free up space” feature or a duplicate photo remover app (which we’ll cover in the next step) for a more efficient cleanup process.
Now that you know how to manually delete duplicate photos, let’s move on to the next step, where we’ll explore the use of duplicate photo remover apps to simplify the process.
Step 5: Utilize Duplicate Photo Remover Apps
If you have a large number of duplicate photos in your Google Photos library, using a duplicate photo remover app can be a time-saving solution. These apps are designed to scan your photo collection, identify duplicates, and help you remove them with ease. Here’s how you can utilize these apps:
- Choose a duplicate photo remover app: There are several apps available for both Android and iOS devices that specialize in identifying and deleting duplicate photos. Some popular options include “Remo Duplicate Photos Remover,” “Duplicate Photos Fixer,” and “Duplicate Photo Cleaner.”
- Download and install the app: Visit your device’s app store and search for the duplicate photo remover app of your choice. Download and install the app on your device.
- Grant necessary permissions: Once the app is installed, launch it and grant any necessary permissions for accessing your Google Photos library.
- Scan your photo library: Follow the app’s instructions to scan your Google Photos library. The app will compare your photos and identify duplicates based on various criteria such as file name, size, and content.
- Review and delete duplicates: Once the scan is complete, the app will present you with a list of duplicate photos. Review the list and select the duplicates you want to delete. Some apps may also have an option to automatically mark or delete all duplicates.
- Confirm deletion: After selecting the duplicates, confirm the deletion process. The app will then remove the selected duplicate photos from your Google Photos library.
Using a duplicate photo remover app can save you a significant amount of time and effort, especially if you have a large collection of photos. These apps utilize advanced algorithms to quickly scan and identify duplicates, helping you declutter your photo library efficiently.
However, it’s important to exercise caution when using these apps. Review the duplicates before deleting them and ensure that the app you choose is from a reputable source.
Now that you’re familiar with utilizing duplicate photo remover apps, let’s move on to the next step, where we’ll discuss organizing your Google Photos library for optimal management.
Step 6: Organize Your Google Photos Library
Once you have deleted duplicate photos from your Google Photos library, it’s a good idea to organize your remaining collection for easier management and accessibility. Here are some tips to help you organize your Google Photos library:
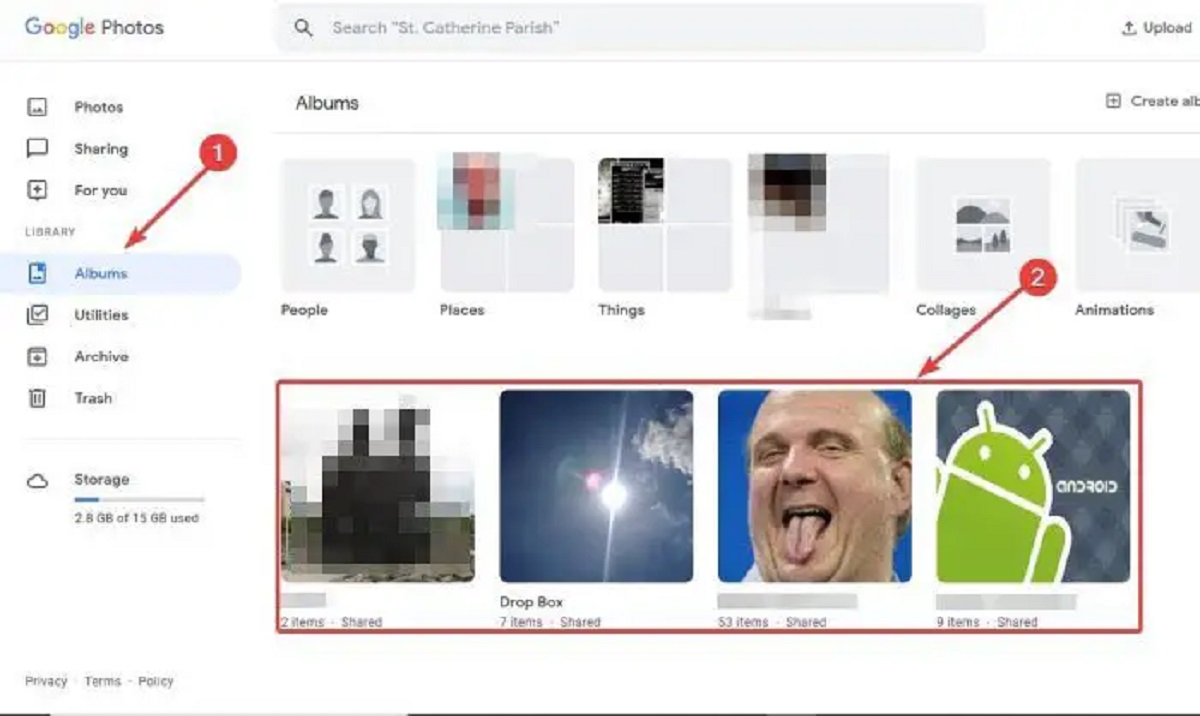
- Create albums: Utilize the album feature in Google Photos to group photos together based on specific themes, events, or people. This allows you to easily locate and browse through photos within specific categories.
- Use labels and tags: You can add labels or tags to your photos to categorize them further. For example, you can add labels like “Vacation,” “Family,” or “Nature” to quickly filter and find relevant photos using the search function.
- Add descriptions and captions: Adding descriptions and captions to your photos can provide context and enhance your memories. This can be especially helpful when sharing photos with others or when looking back on your collection in the future.
- Utilize facial recognition: Take advantage of Google Photos’ facial recognition feature to easily find photos of specific people. The app automatically groups photos by individual faces, allowing you to filter your library based on specific individuals.
- Sort by date or location: You can sort your photos by date or location to browse through your collection chronologically or geographically. This can help you relive past moments and easily find photos taken in specific places.
- Regularly review and delete: To maintain an organized photo library, make it a habit to regularly review your photos and delete any duplicates, low-quality shots, or images that are no longer relevant.
By implementing these organization methods, you can keep your Google Photos library tidy and easily navigate through your vast collection of memories.
Remember, organizing your library is an ongoing process. Continuously evaluate and update your albums, labels, and tags as you add new photos to your collection.
Now that you’re equipped with the knowledge to organize your Google Photos library, you’re ready to declutter and manage your collection more effectively.
Conclusion
Congratulations! You’ve reached the end of our guide on how to delete duplicate photos in Google Photos. By following the steps outlined in this article, you can effectively identify and remove duplicate photos, decluttering your library and improving your overall Google Photos experience.
We started by understanding the problem of duplicate photos and the various reasons they can accumulate in your collection. We then explored Google Photos settings and features that can assist in managing duplicates, such as Library Sync, Smart Storage, and Face Recognition.
Next, we discussed how to use Google Photos‘ “Free up space” feature to remove duplicate photos that have already been backed up to the cloud. We also covered the manual deletion method, allowing for a more hands-on approach in identifying and deleting duplicates.
Recognizing the importance of time-saving solutions, we explained how to utilize duplicate photo remover apps, which can quickly scan and identify duplicates in your Google Photos library.
Lastly, we emphasized the importance of organizing your Google Photos library for easy management and accessibility through methods like creating albums, using labels and tags, and taking advantage of facial recognition.
Remember, maintaining an organized photo library requires regular review and maintenance. Continuously evaluate your collection and delete any duplicates or irrelevant photos to keep your library streamlined and efficient.
We hope this guide has been helpful in your journey to delete duplicate photos in Google Photos. By implementing these strategies, you can free up valuable storage space, improve organization, and enhance your overall Google Photos experience. Happy decluttering!