Introduction
Do you find yourself constantly running out of storage space on your Android device? Whether it’s because of the numerous photos, videos, and apps we accumulate or the pre-installed bloatware that takes up valuable space, limited storage can be a frustrating issue. Fortunately, there are several ways to free up space and get more storage on your Android device. In this article, we will explore some effective strategies to help you optimize your storage and ensure smooth performance.
Smartphones have become an integral part of our lives, capturing precious memories and enabling us to stay connected with friends and family. However, these actions often result in data accumulation, which can quickly eat away at your device’s storage. By following the tips and tricks outlined in this article, you can reclaim valuable space and make room for new photos, videos, and apps on your Android device.
Before diving into the various methods of increasing storage space, it’s important to note that these strategies may vary slightly depending on your device’s manufacturer and Android version. However, the fundamental concepts and approach remain the same. Let’s explore the different methods and find the ones that work best for you!
Clear Cache
When you use apps on your Android device, they often store temporary files and data known as cache. While cache files can enhance app performance, they can also consume a significant amount of storage space over time. Clearing the cache regularly can help free up storage space and enhance the overall performance of your device.
To clear the cache on your Android device, follow these steps:
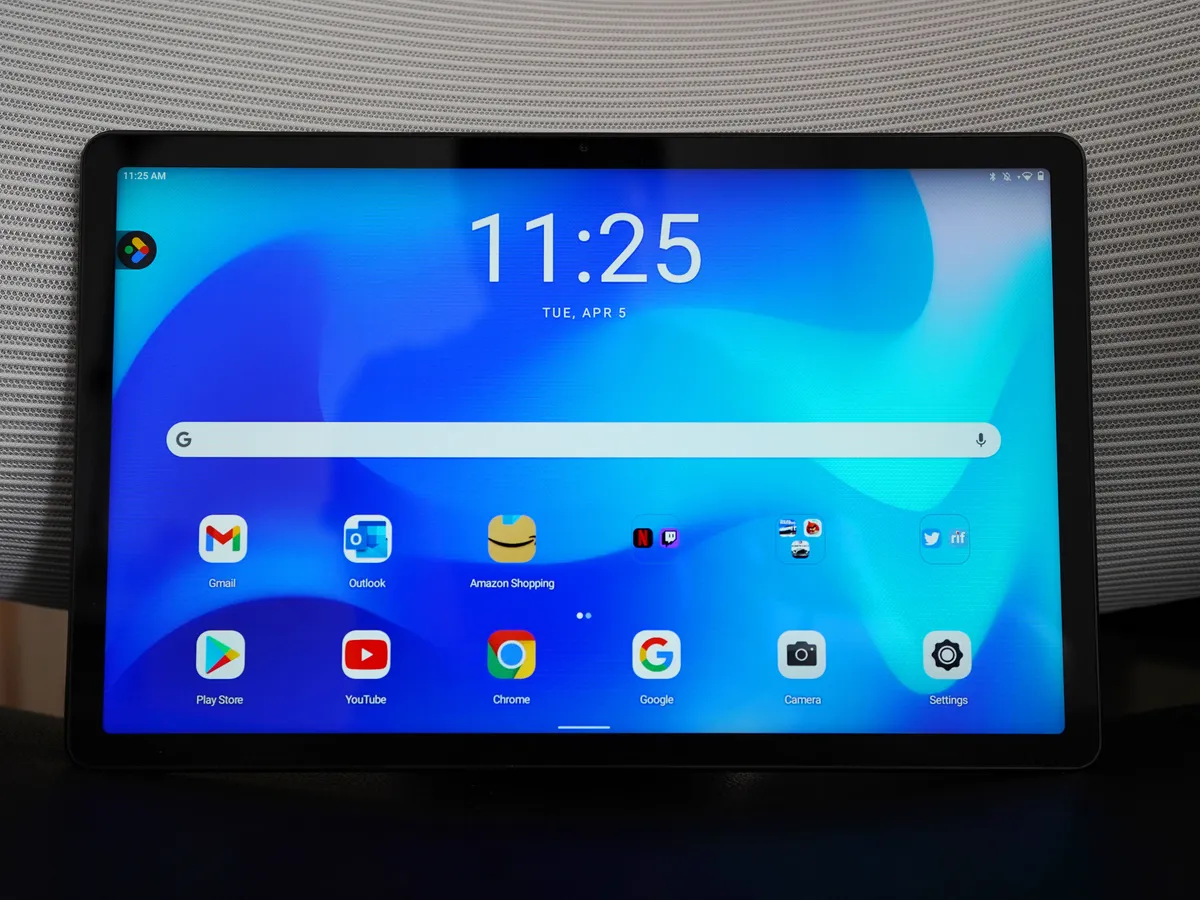
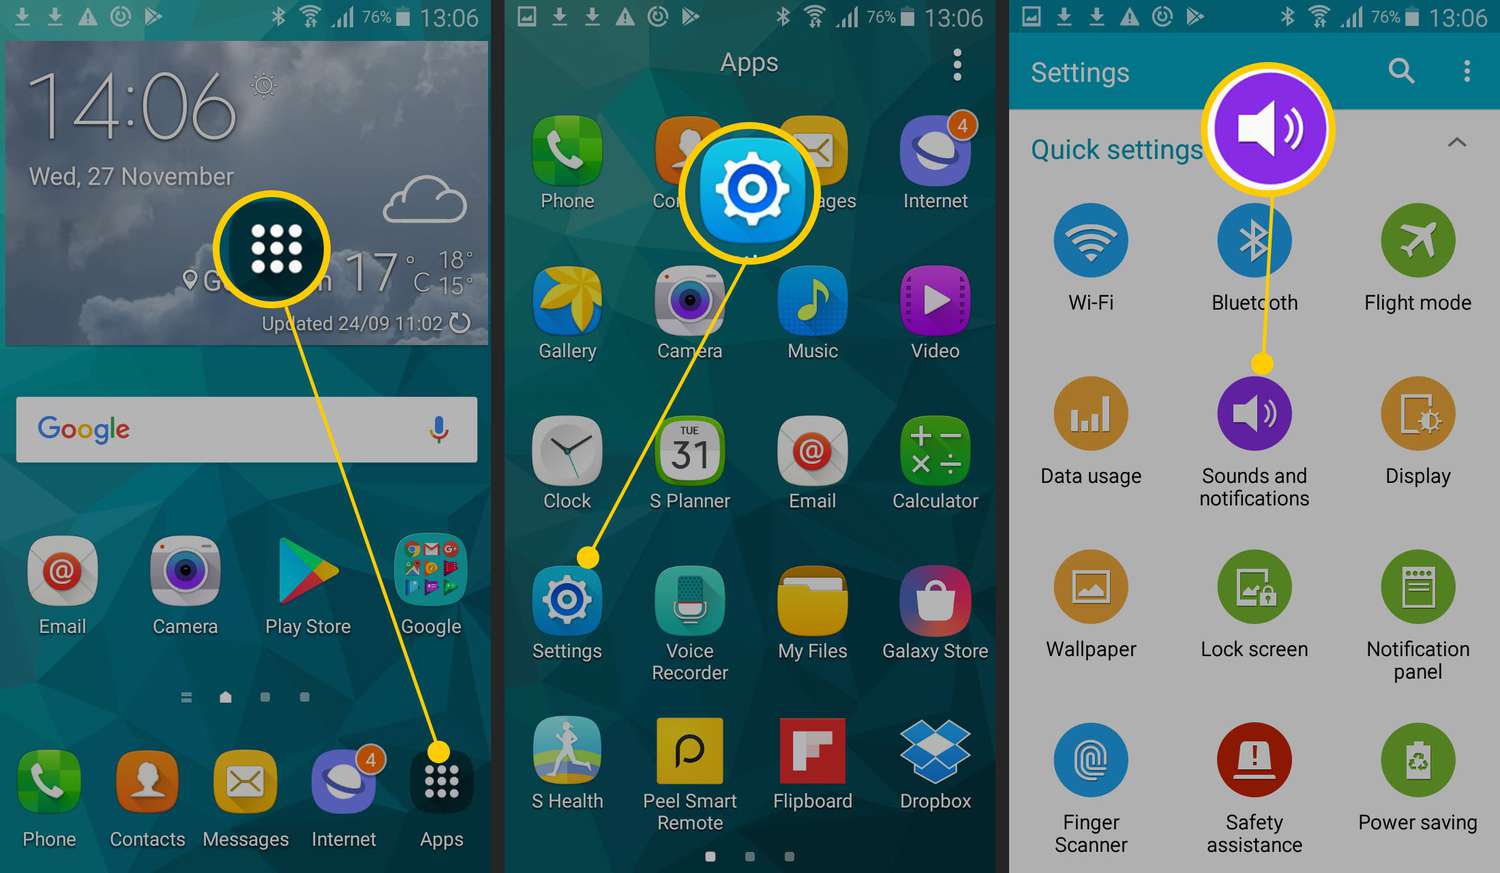
- Go to the “Settings” app on your device.
- Scroll down and tap on “Apps” or “Applications”.
- Look for the app that you want to clear the cache for and tap on it.
- Tap on the “Storage” or “Storage & cache” option.
- Tap on the “Clear Cache” button.
It’s important to note that clearing the cache will not delete any personal data associated with the app. It will only remove temporary files and data that the app has stored. You can repeat these steps for other apps as well to clear their cache.
By regularly clearing the cache, you can free up a significant amount of storage space on your Android device. This can be particularly useful for apps that tend to accumulate large cache files, such as social media apps or web browsers. Make it a habit to clear the cache every few weeks or whenever you notice your device’s storage starting to fill up.
Delete Unnecessary Apps
Over time, it’s easy for our Android devices to become cluttered with apps that we no longer use or need. These unused apps not only take up storage space but can also slow down the performance of your device. Deleting unnecessary apps is a simple and effective way to free up storage and optimize your Android experience.
To delete unwanted apps from your Android device, follow these steps:
- Go to the “Settings” app on your device.
- Scroll down and tap on “Apps” or “Applications”.
- Find the app that you want to delete and tap on it.
- Tap on the “Uninstall” button.
- A confirmation prompt will appear. Tap “OK” to confirm the deletion.
It’s important to remember that some apps come pre-installed on your device and cannot be uninstalled. However, you can disable these apps to prevent them from running and taking up additional space. To disable pre-installed apps, follow the same steps as above, but instead of tapping “Uninstall”, tap “Disable” or “Turn off”. This will prevent the app from running and free up storage space.
When deciding which apps to uninstall, consider removing apps that you haven’t used in a while or that serve a similar purpose as other apps you have installed. It’s also worth checking for any apps that you downloaded but no longer find useful. By removing unnecessary apps, you can declutter your device and create more room for the apps that you truly need and enjoy.
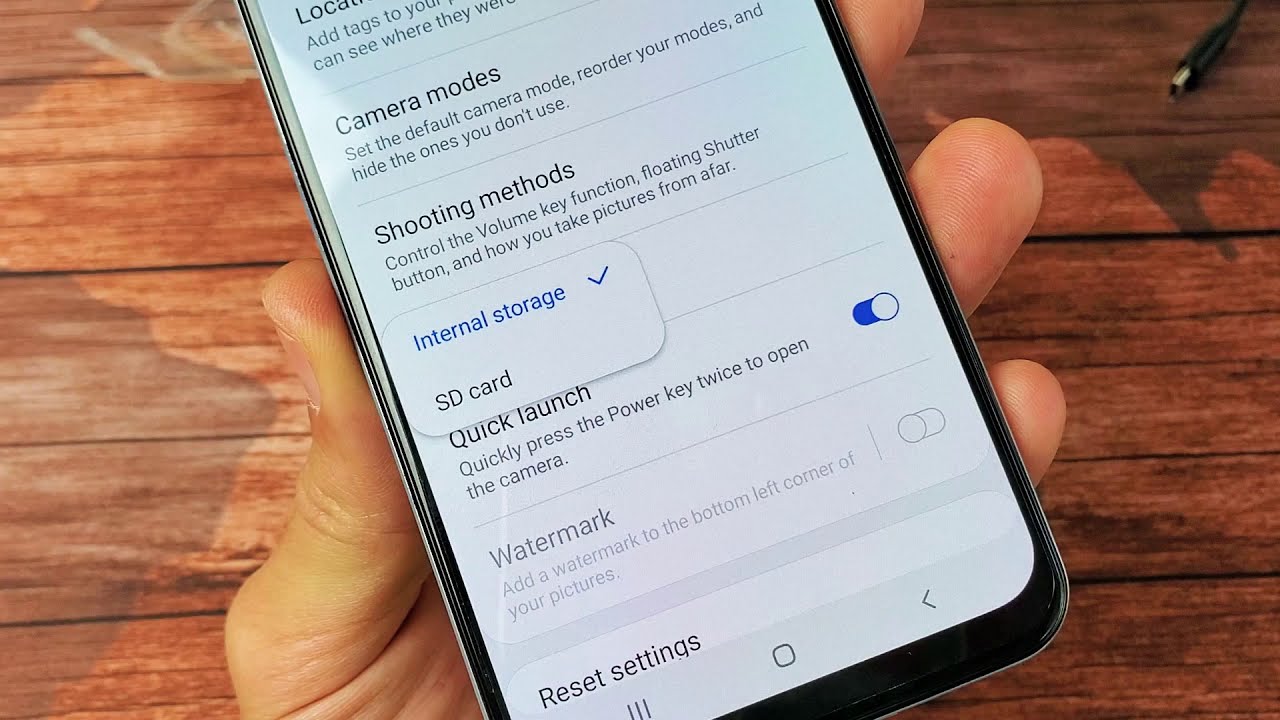
Move Apps to SD Card
Many Android devices have the option to expand storage using an external SD card. By moving apps from internal storage to the SD card, you can free up valuable space on your device. Not all apps can be moved to the SD card, but for those that can, this method can significantly increase your available storage capacity.
To move apps to the SD card on your Android device, follow these steps:
- Go to the “Settings” app on your device.
- Scroll down and tap on “Apps” or “Applications”.
- Find the app that you want to move and tap on it.
- If the option to move the app to the SD card is available, you will see a “Move to SD card” button. Tap on it.
- Wait for the app to be moved. The time it takes may vary depending on the size of the app.
It’s important to note that not all apps can be moved to the SD card. Some system apps and pre-installed apps are usually not eligible for this option. Additionally, moving apps to the SD card may cause them to run slightly slower compared to when they were on the device’s internal storage. However, for larger apps or ones that you use infrequently, this trade-off is often worth it for the gained storage space.
Additionally, some devices may have the option to set the SD card as the default storage location for new app installations. This means that any new apps you download will automatically be installed on the SD card, freeing up space on the internal storage from the start.
By moving apps to the SD card, you can make the most of your device’s available storage space. Make sure to regularly review and manage the apps on your SD card, as well as the internal storage, to optimize your device’s performance and storage capacity.
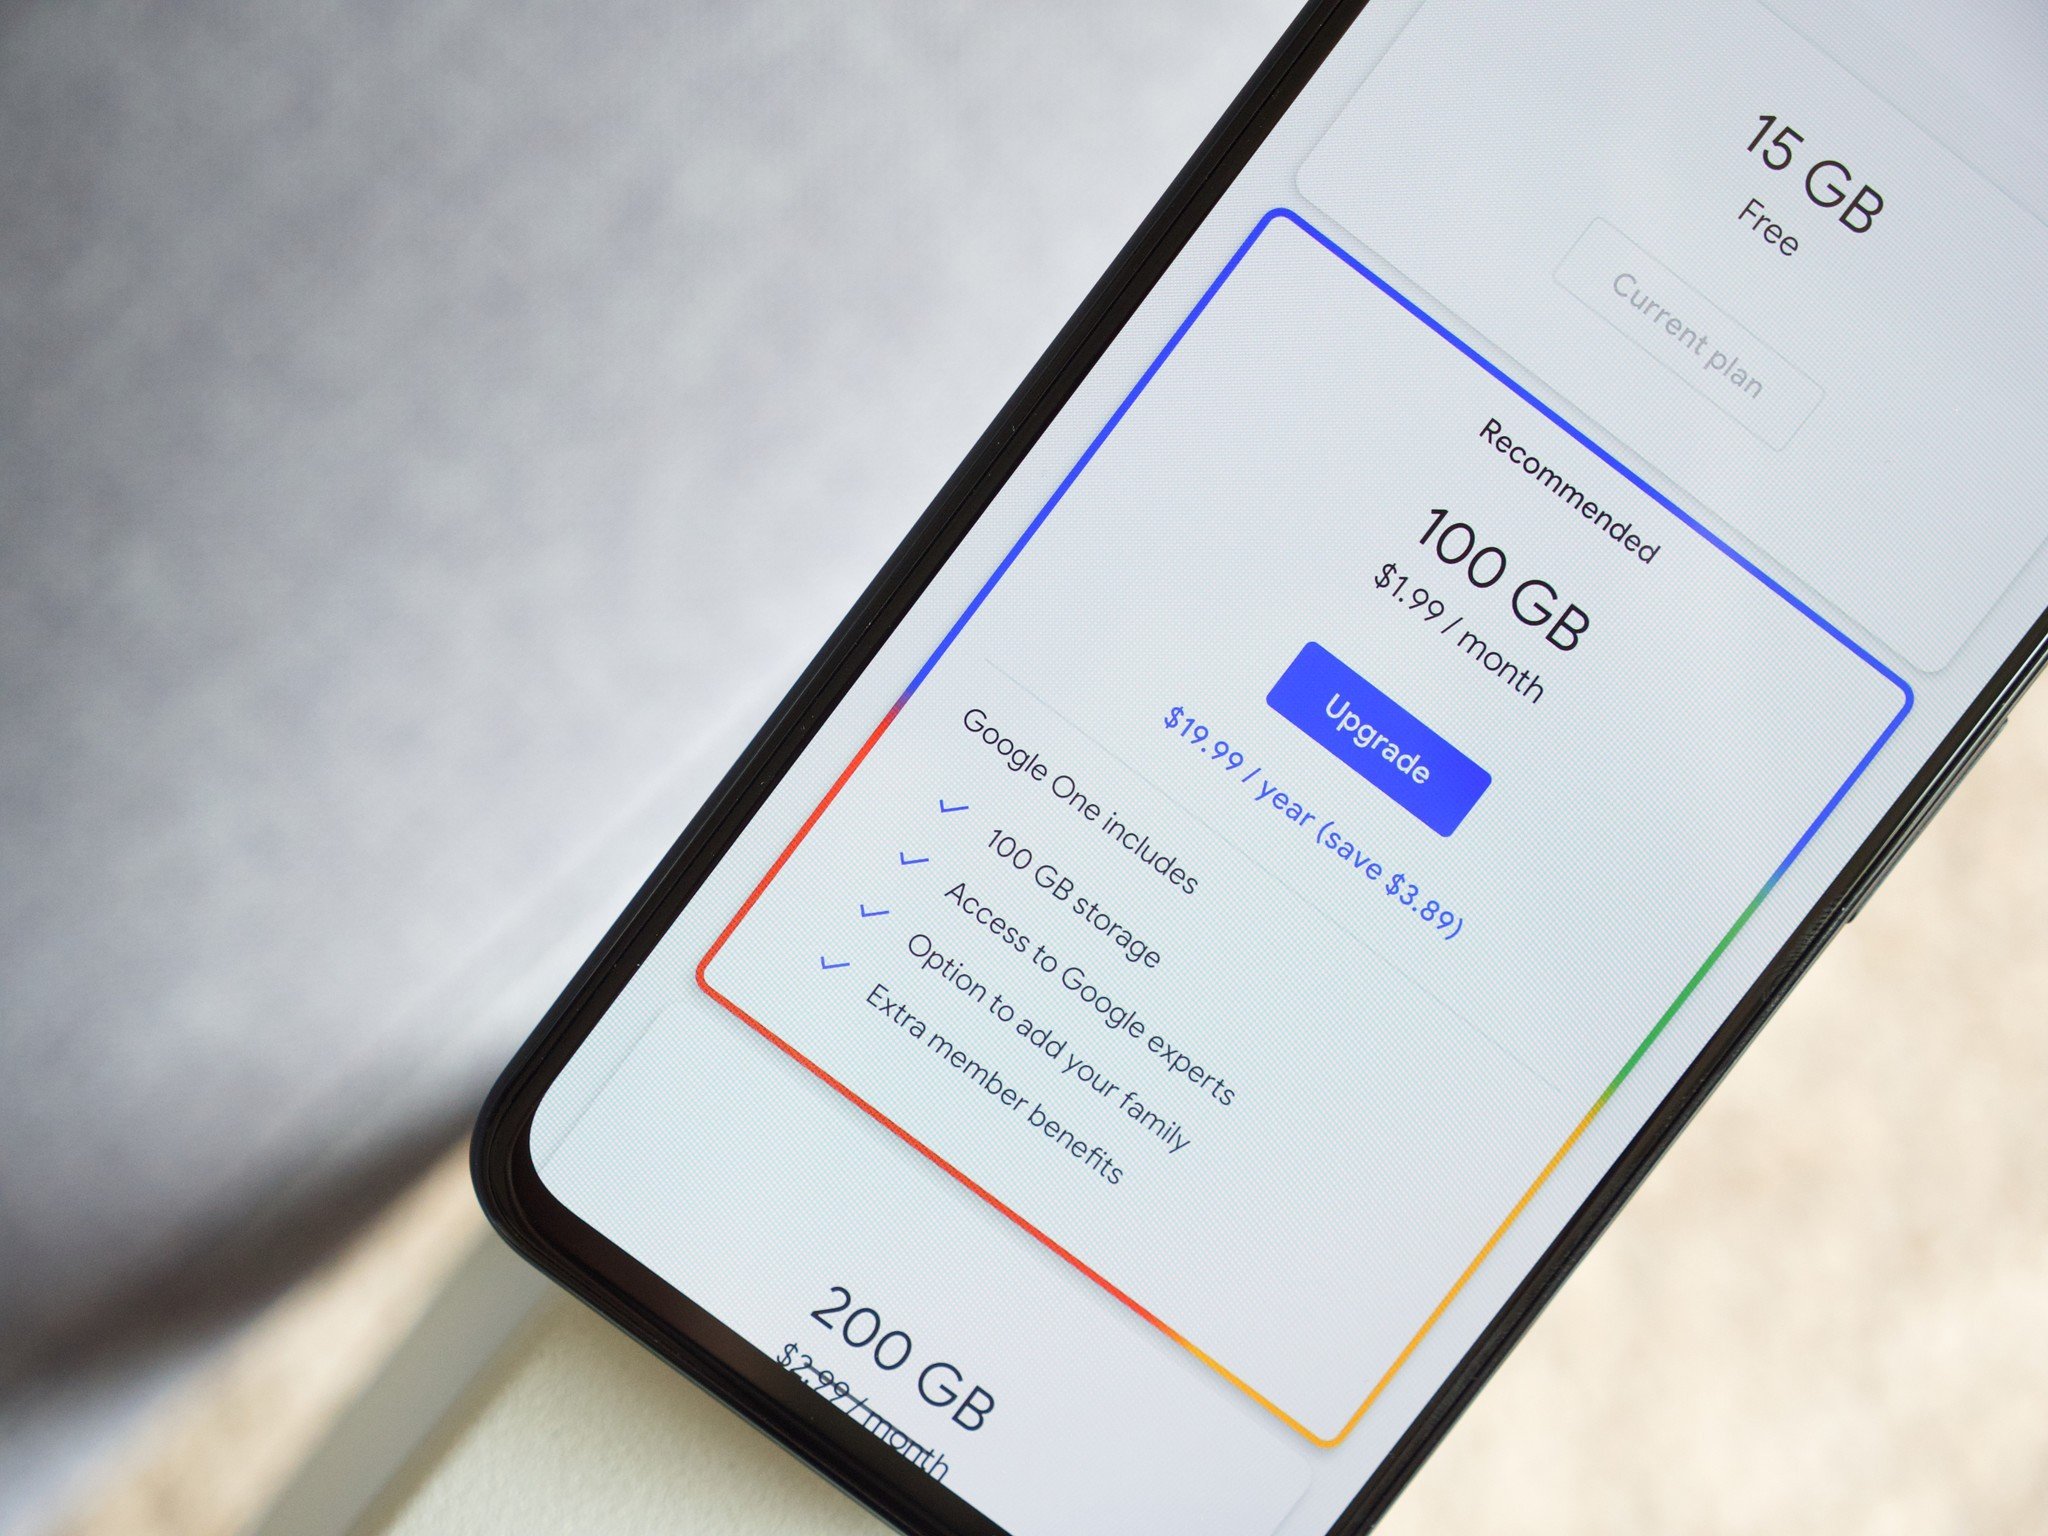
Use Cloud Storage
Running out of storage space on your Android device doesn’t mean you have to delete all of your files and data. Cloud storage services provide a convenient and secure way to store your files online and access them from any device with an internet connection. By utilizing cloud storage, you can free up space on your Android device while still keeping your files easily accessible.
There are several popular cloud storage services available, such as Google Drive, Dropbox, and Microsoft OneDrive. These services typically offer a certain amount of free storage, with the option to purchase additional storage if needed. Here’s how you can use cloud storage to increase your Android device’s storage capacity:
- Download the cloud storage app of your choice from the Google Play Store.
- Create an account or sign in if you already have one.
- Open the app and follow the prompts to sync your files to the cloud.
- Choose which files and folders you want to upload to the cloud.
- Once the upload is complete, you can safely delete the files from your device’s internal storage.
After uploading your files to the cloud, you can access them from any device with the cloud storage app installed. This means you can free up space on your Android device without worrying about losing your important documents, photos, or videos. Additionally, most cloud storage services offer automatic syncing, ensuring that any changes you make on one device are reflected across all your devices.
To optimize your cloud storage usage, consider keeping only frequently accessed files on your device while storing less frequently accessed files in the cloud. This way, you can have the best of both worlds – ample storage on your device and easy access to all your files whenever you need them.
Using cloud storage not only helps you save space on your Android device but also provides an effective backup solution for your important files. In the event of device loss or damage, your files will remain safely stored in the cloud, ready to be accessed and restored on a new device.
Delete Duplicate Files
Duplicate files can accumulate over time on your Android device, taking up valuable storage space unnecessarily. These duplicates can be created when you download the same file multiple times, receive duplicate files via messaging apps, or when you create backups of your files without deleting the originals. Deleting duplicate files is a simple and effective way to free up storage space and organize your files.
To delete duplicate files on your Android device, you can follow these steps:
- Download and install a reliable duplicate file finder app from the Google Play Store.
- Open the app and grant the necessary permissions to access your files.
- Select the storage location you want the app to scan for duplicates (internal storage or external SD card).
- Start the scan and wait for the app to analyze your files and identify duplicates.
- Review the list of duplicate files and choose which ones you want to delete.
- Once you have selected the duplicates, tap on the delete button to remove them from your device.
Before deleting duplicate files, it’s important to double-check and make sure that you are not deleting any important or unique files. Pay close attention to file names, sizes, and creation dates to avoid accidentally deleting files that are not duplicates. Additionally, some duplicate file finder apps also offer features to preview duplicate files before deleting them, adding an extra layer of precaution.
Regularly cleaning up duplicate files on your Android device can help you reclaim valuable storage space and organize your files more efficiently. It’s a good practice to periodically run a duplicate file scan to identify and remove any new duplicates that may have accumulated.
In addition to using a duplicate file finder app, you can also manually search for duplicate files and delete them. This method requires more time and effort, but it can be effective if you prefer complete control over the deletion process. Simply navigate through your storage directories, and when you come across duplicate files, delete the ones you don’t need.
By eliminating duplicate files, you can optimize your Android device’s storage space and ensure that you have more room for the files that truly matter to you. Keep your files organized and minimize clutter by regularly deleting duplicate files, enhancing both storage capacity and file management on your Android device.
Use Lite Versions of Apps
If you find that some apps on your Android device consume a significant amount of storage space, you may want to consider using lite versions of those apps. Lite versions are streamlined versions of popular apps that offer similar functionalities but with a smaller file size. These apps are designed to be more efficient and use less storage space, making them ideal for devices with limited storage capacity.
Lite versions of apps are typically optimized to use less memory, CPU power, and data, resulting in better performance even on low-end devices. Moreover, these versions often omit certain features and animations that are not essential, further reducing the app’s size. Many popular apps, including Facebook, Instagram, and Messenger, have lite versions available for download in the Google Play Store.
To use lite versions of apps on your Android device, follow these steps:
- Open the Google Play Store on your device.
- Search for the app you want to find a lite version for.
- Look for an option with “Lite” or a similar term in the app name or description.
- Tap on the lite version of the app and select “Install”.
- Wait for the app to download and install on your device.
Once the lite version of the app is installed, you can open and use it just like you would with the regular version. Keep in mind that lite versions may have slightly different user interfaces and may lack certain advanced features found in the regular versions. However, for most common tasks and essential functionality, lite versions can be a great alternative that saves both storage space and system resources.
In addition to using lite versions of specific apps, you can also consider using lite or lightweight alternatives to some commonly used app categories. For example, instead of using a full-fledged video editing app, you can opt for a lightweight video editor that offers the essential editing features you need without the extra bulk. Exploring such alternatives can significantly reduce the amount of storage space used by your apps.
By opting for lite versions of apps or lightweight alternatives, you can strike a balance between functionality and storage space on your Android device. These optimized versions offer a great way to enjoy your favorite apps without compromising on performance, making them an excellent solution for devices with limited storage capacity.
Utilize Storage Manager Apps
Managing storage space on your Android device can be a daunting task, especially when you have countless files and apps to organize. Fortunately, there are storage manager apps available that can help you efficiently manage and optimize your device’s storage space. These apps offer a range of features, including storage analysis, junk file cleanup, and app management, making it easier for you to identify and free up storage on your device.
Storage manager apps provide a comprehensive overview of your device’s storage usage, allowing you to identify which files and apps are taking up the most space. They also help you identify and clean up junk files, such as cached data and residual files left behind by uninstalled apps. By regularly using a storage manager app, you can reclaim storage space and improve the performance of your Android device.
To utilize storage manager apps effectively, follow these steps:
- Visit the Google Play Store and search for a storage manager app that suits your needs.
- Read the app descriptions, user reviews, and ratings to find a reliable and highly recommended app.
- Download and install the storage manager app on your device.
- Open the app and allow it access to your device’s storage.
- Run a storage analysis or scan to get an overview of your device’s storage usage.
- Review the results and identify areas where you can free up storage, such as junk files or large files.
- Use the app’s cleanup or optimization features to remove unnecessary files and free up storage space.
Storage manager apps often provide additional features, such as app management tools that allow you to uninstall, backup, or move apps to external storage. These features can be particularly helpful in optimizing your device’s storage capacity.
It’s worth noting that not all storage manager apps are created equal, and some may have additional features or be more intuitive to use than others. Take the time to research and choose a storage manager app that best fits your needs and preferences. Remember to regularly use the app to ensure that your device’s storage stays optimized and clutter-free.
By utilizing storage manager apps, you can efficiently manage your Android device’s storage space, keeping it organized and optimized. These apps provide valuable insights, allowing you to easily identify and remove unnecessary files, ultimately improving the overall performance of your device.
Delete and Disable Pre-installed Apps
When you purchase a new Android device, it often comes with pre-installed apps that may not be useful or necessary for your specific needs. These apps not only occupy storage space but may also run in the background, consuming system resources and potentially impacting performance. To optimize your device’s storage capacity and improve performance, consider deleting or disabling pre-installed apps that you do not use or need.
While it is not possible to delete all pre-installed apps, many can be disabled, preventing them from running and freeing up storage space. Here’s how you can delete or disable pre-installed apps on your Android device:
- Go to the “Settings” app on your device.
- Scroll down and tap on “Apps” or “Applications”.
- Tap on the “All Apps” or “Installed Apps” option.
- Find the pre-installed app you want to remove or disable and tap on it.
- If the app can be uninstalled, you will see an “Uninstall” button. Tap on it to remove the app from your device.
- If the app cannot be uninstalled, you will see a “Disable” button. Tap on it to disable the app. This will prevent it from running and free up storage space.
- Repeat the process for any other pre-installed apps you want to delete or disable.
Remember that disabling pre-installed apps does not completely remove them from your device; it simply stops them from running and consuming system resources. If you ever need to re-enable a disabled app, you can do so by following the same steps and tapping on the “Enable” button.
When deciding which pre-installed apps to delete or disable, consider apps that you have no use for, apps that offer similar functionality to third-party apps you prefer, or apps that you find unnecessary for your daily activities. By removing or disabling these apps, you can regain valuable storage space and potentially improve the performance of your Android device.
Keep in mind that some pre-installed apps may be essential for certain device functionalities, so exercise caution when deleting or disabling them. If you are unsure about a particular app, it is a good idea to research its purpose before making any changes.
By deleting or disabling pre-installed apps that you do not need or use, you can declutter your Android device’s storage and improve its performance. Take a few moments to review and manage your pre-installed apps, and enjoy a more streamlined and efficient user experience.
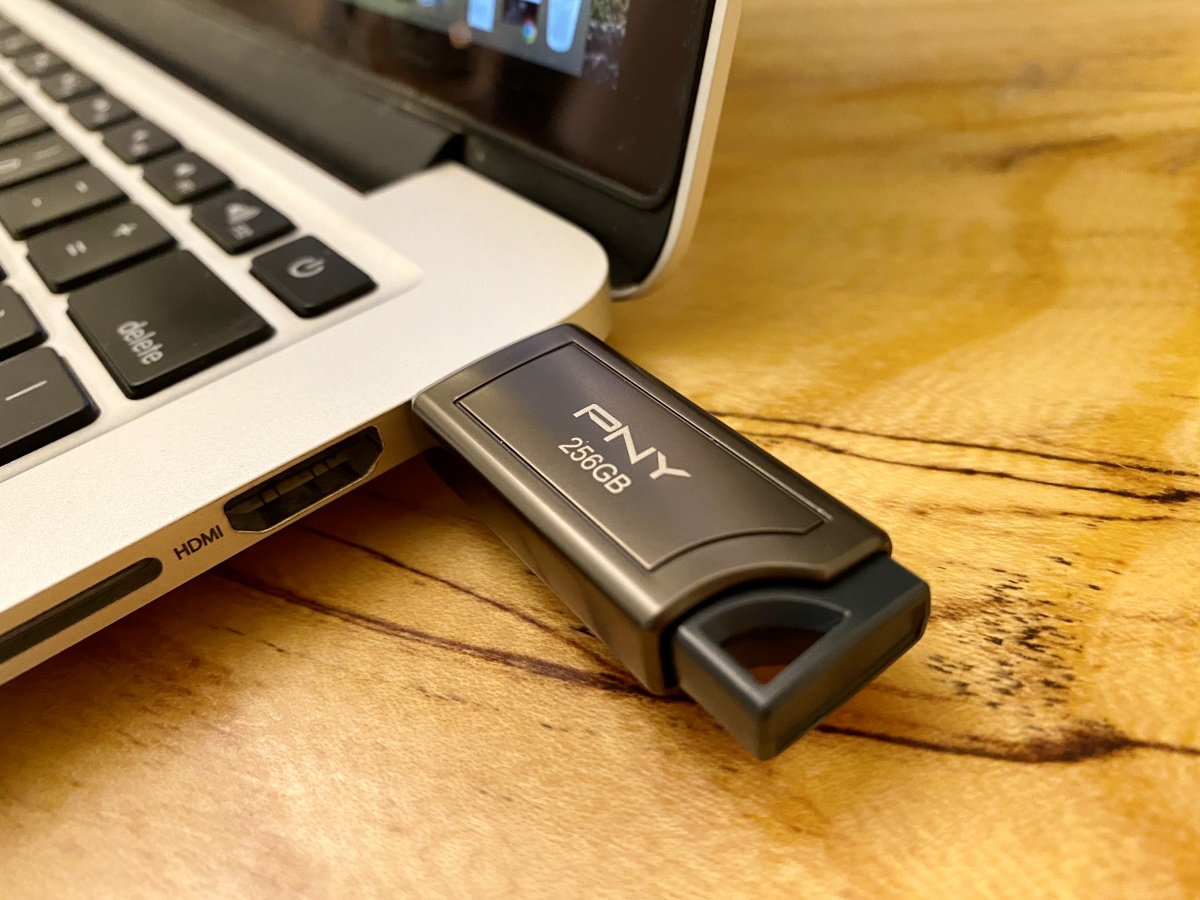
Use External Storage Devices
In addition to utilizing the built-in storage on your Android device, you can also take advantage of external storage devices to expand your storage capacity. External storage devices, such as USB flash drives or microSD cards, provide a convenient and portable solution for storing and accessing your files. By offloading files and apps to these devices, you can free up space on your Android device while still having your files readily available.
To use external storage devices on your Android device, follow these steps:
- Ensure that your device supports external storage devices, such as USB OTG or has an available microSD card slot.
- Insert the external storage device into the appropriate port or slot on your device.
- Open your device’s file manager app or a third-party file manager app from the Google Play Store.
- Locate the external storage device in the file manager app.
- You can now copy or move files and apps from your device’s internal storage to the external storage device.
By transferring files and apps to an external storage device, you can free up significant space on your Android device. This is particularly useful for large files, such as videos or high-resolution photos, as well as for apps that take up considerable space. Keep in mind that apps that are moved to external storage may have slightly longer loading times compared to when they were stored internally.
When using external storage devices, it’s important to handle them with care and eject them properly from your device to avoid data loss or corruption. Additionally, make sure to securely store the external storage devices to prevent physical damage or loss of files.
Remember that not all Android devices support external storage or have the necessary ports or slots. Before investing in external storage devices, ensure that your device is compatible and has the appropriate hardware capabilities. You can consult your device’s user manual or check the manufacturer’s website for information about external storage support.
Using external storage devices offers a flexible and expandable solution to increase your Android device’s storage capacity. By utilizing these devices, you can store more files, install more apps, and enjoy a seamless user experience without worrying about running out of space on your device.