Introduction
Are you tired of scrolling through numerous channels on your LG Smart TV and want to tidy up your channel list? Deleting unwanted channels can help declutter your TV interface and make it easier to navigate through your favorite content. In this article, we will guide you through the step-by-step process of deleting channels on an LG Smart TV in 2021.
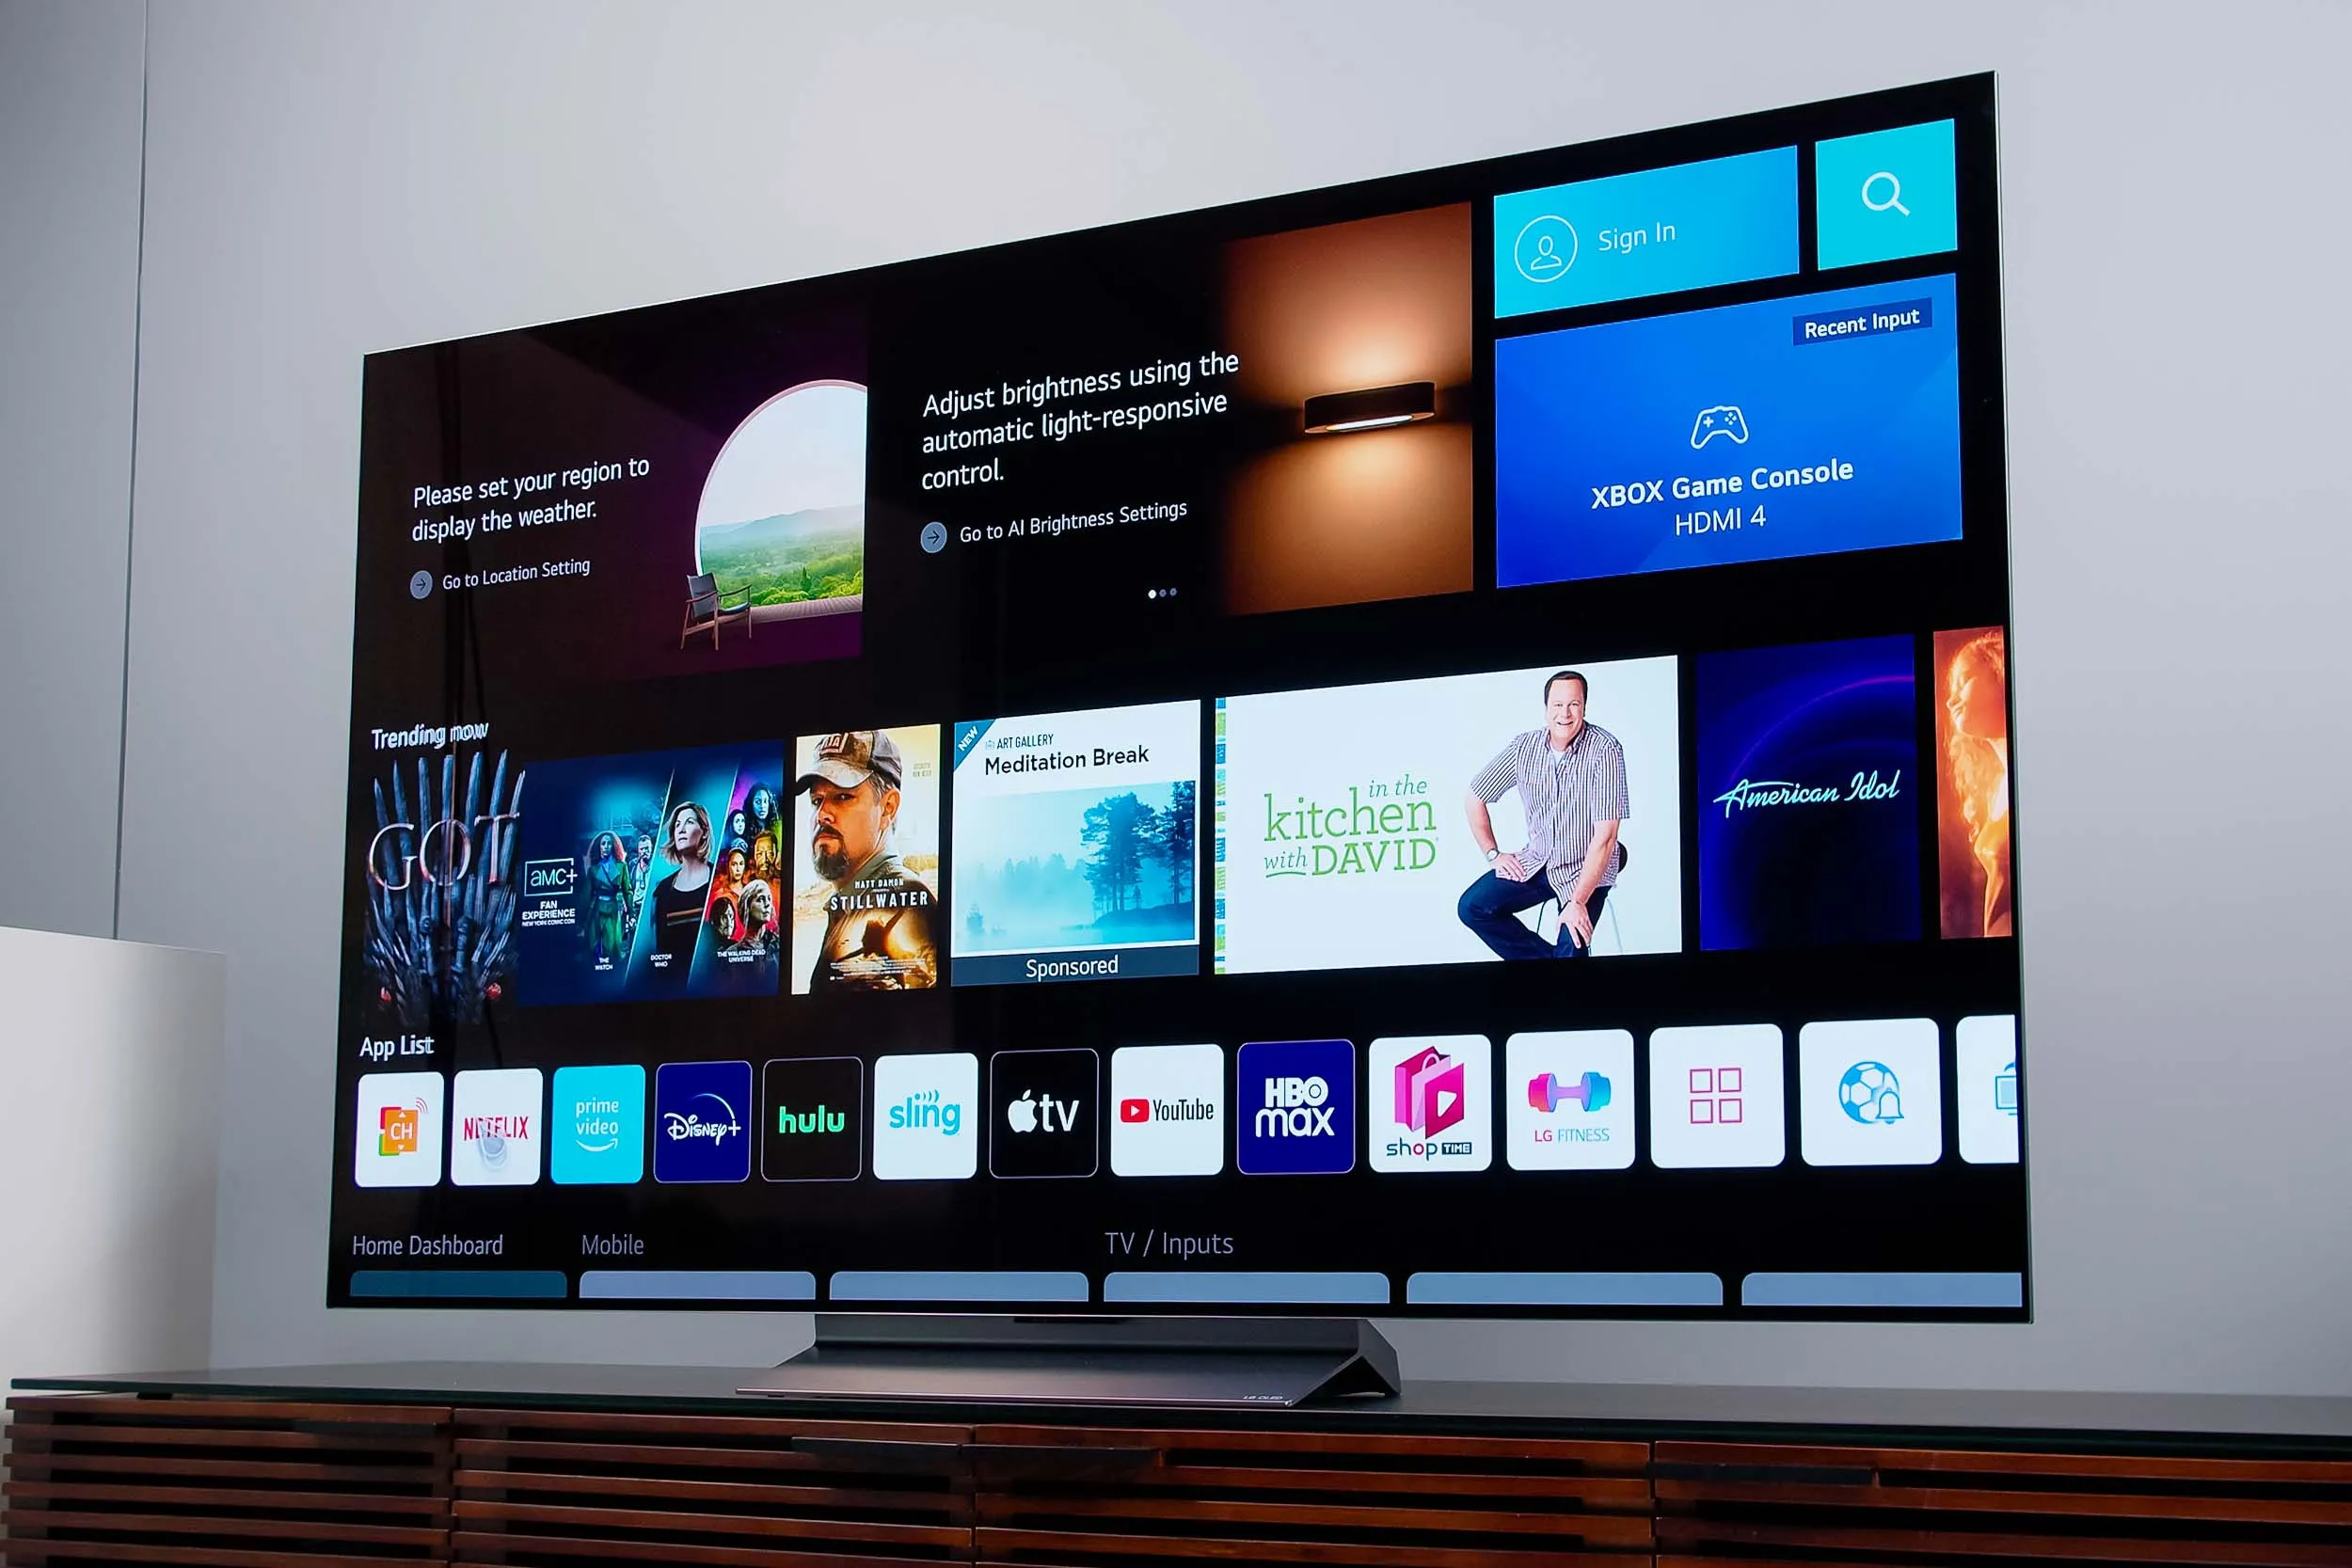
LG Smart TVs come with an intuitive interface that allows users to customize their channel lineup. With the Channel Manager feature, you can easily remove channels that you no longer watch or find relevant. Whether it’s removing duplicate channels, freeing up space, or simply organizing your favorite channels, the Channel Manager provides a hassle-free solution.
By following the simple instructions outlined in this guide, you will be able to efficiently remove unwanted channels from your LG Smart TV and enjoy a streamlined viewing experience. So, let’s dive into the process and get started with deleting channels on your LG Smart TV.
Step 1: Accessing the Channel Manager
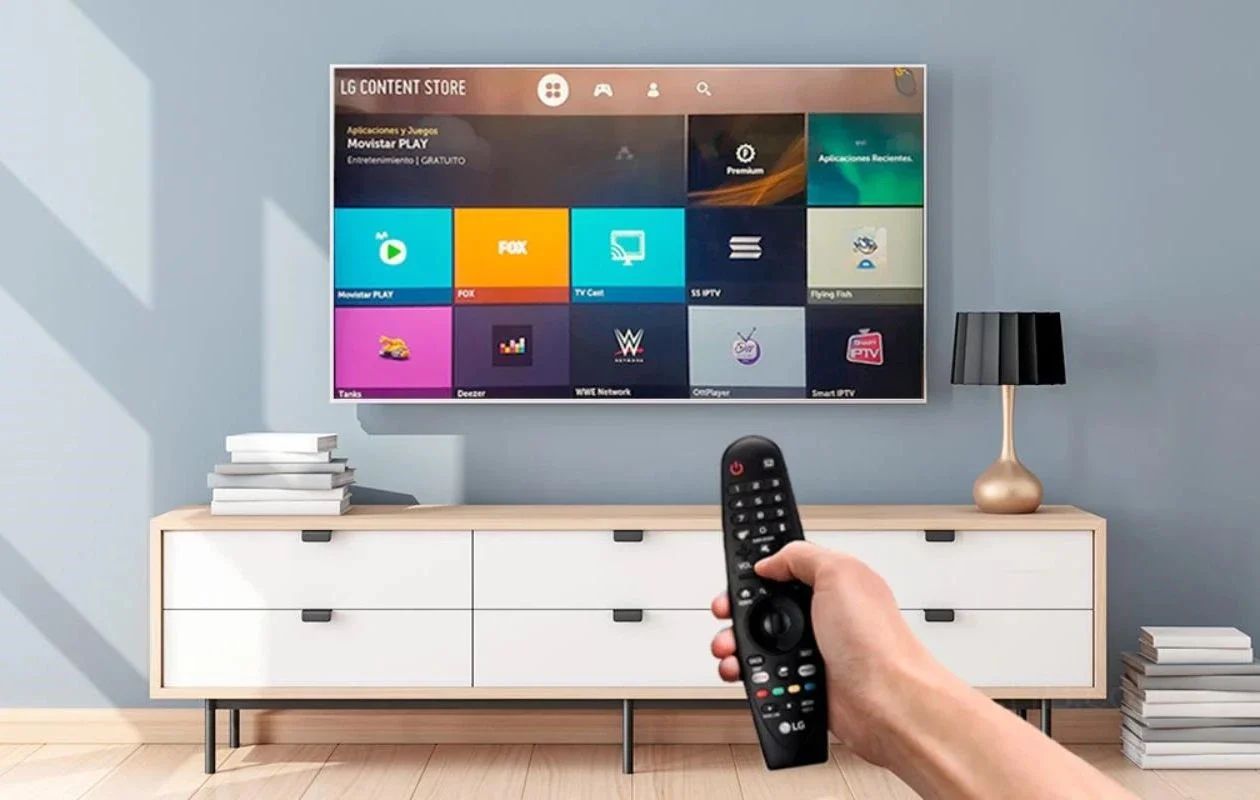
The first step in deleting channels on your LG Smart TV is accessing the Channel Manager. The Channel Manager is a built-in feature that allows you to manage your channel list and make necessary adjustments to suit your preferences. Here’s how you can access it:
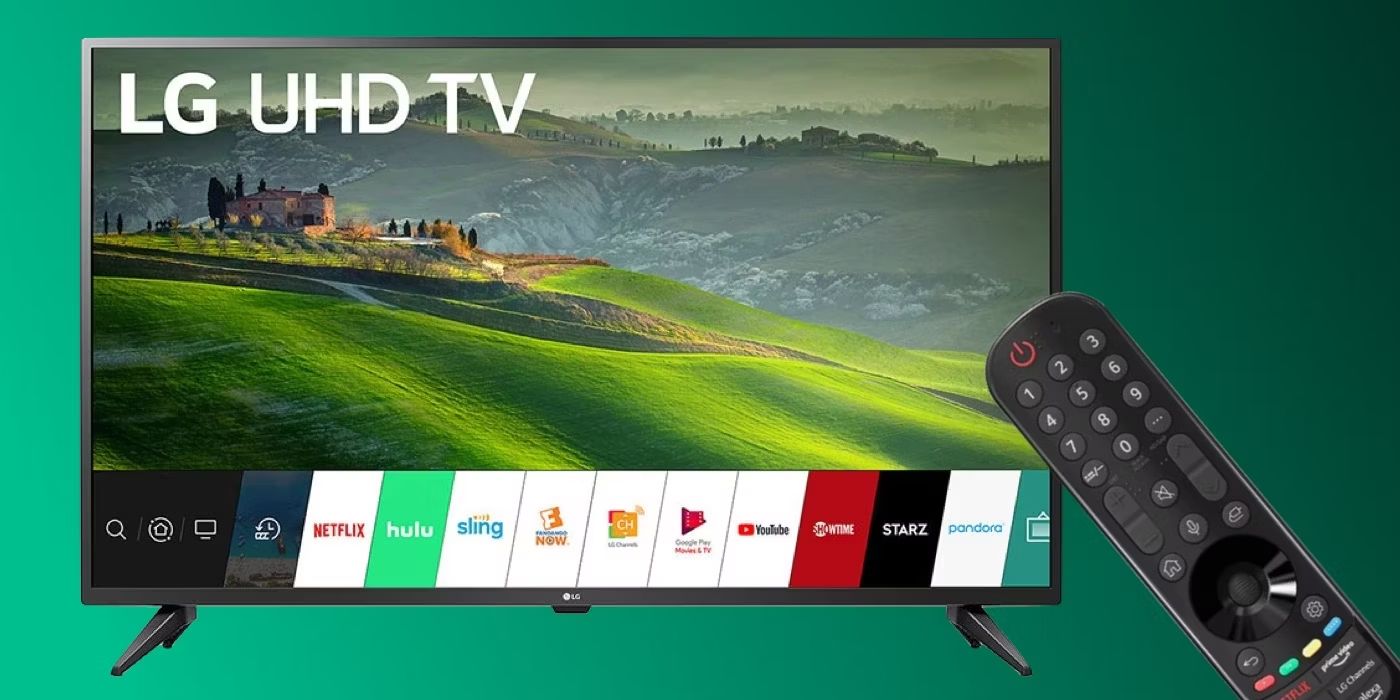
- Start by turning on your LG Smart TV and navigating to the home screen. You can do this by pressing the “Home” button on your TV remote.
- Once you’re on the home screen, locate the “Settings” icon and select it. The icon usually appears as a gear or cogwheel.
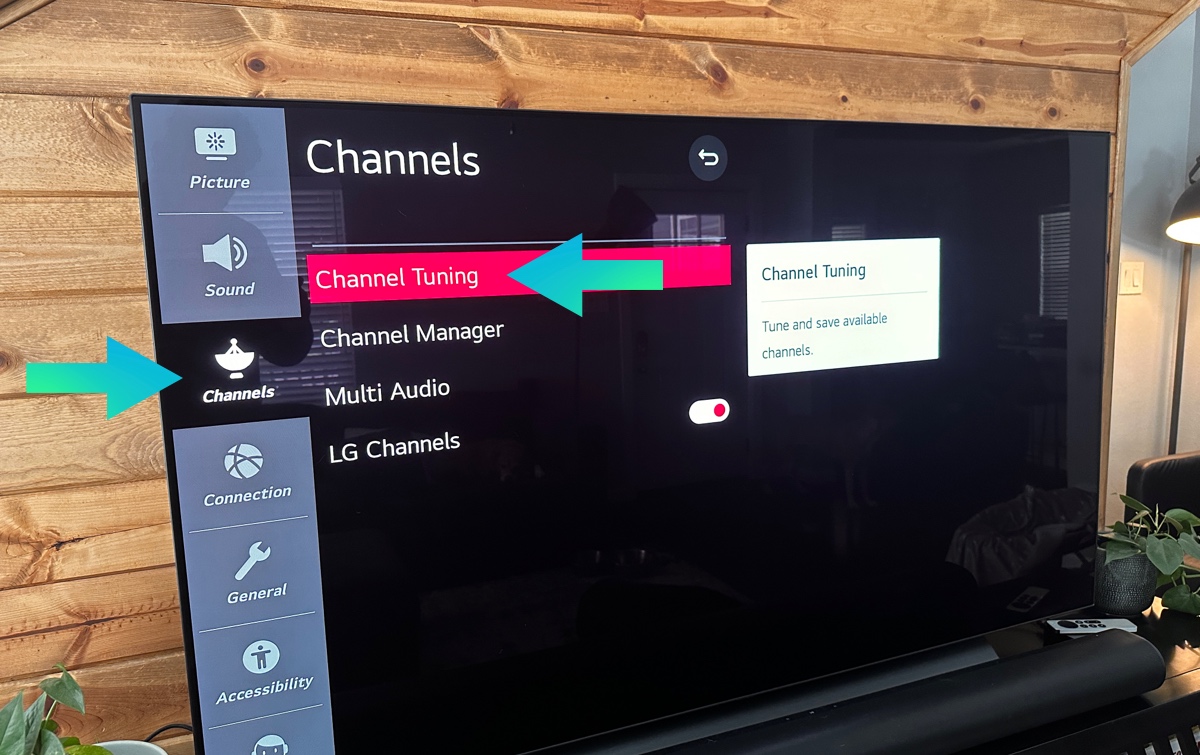
- In the Settings menu, you will find various options. Look for the one labeled as “Channels” or “Channel Manager.” The location of this option may vary depending on the model and firmware version of your LG Smart TV.
- Click on the “Channels” or “Channel Manager” option to access the channel management settings.
Once you have successfully accessed the Channel Manager, you are now ready to proceed to the next step of deleting unwanted channels from your LG Smart TV. It’s important to note that accessing the Channel Manager may differ slightly based on your TV model, so refer to your user manual if you encounter any difficulties.
Step 2: Selecting the Channel to Delete
Now that you have accessed the Channel Manager on your LG Smart TV, it’s time to select the specific channel or channels you want to delete. Follow these steps:
- Navigate to the Channel Manager menu on your TV screen, as explained in the previous step.
- Once inside the Channel Manager, you will see a list of all the channels available on your LG Smart TV. The channels may be displayed in a grid or list format, depending on your TV’s settings.
- Using your TV remote, scroll through the channel list and identify the channel you wish to delete. You can also use the arrow keys on your remote for quicker navigation.
- Once you have found the channel you want to remove, highlight it by selecting it with your remote. You will typically see a visual indicator, such as a border or color change, confirming that the channel is selected.
- If you want to delete multiple channels at once, continue scrolling through the list and selecting each channel individually. Alternatively, some LG Smart TVs may provide a “Select All” option to quickly mark all channels for deletion.
Take your time to carefully select the channels you want to delete, ensuring that you don’t accidentally remove any channels you still want to watch. Once you have chosen the channel or channels to delete, proceed to the next step to confirm the deletion in the Channel Manager settings.
Step 3: Confirming the Deletion
After selecting the channels you want to delete in the Channel Manager on your LG Smart TV, the next step is to confirm the deletion. Follow these steps to complete the process:
- Ensure that the channel or channels you wish to delete are still highlighted or selected in the Channel Manager menu.
- Look for the options or buttons on your TV remote that allow you to perform actions on the selected channels. The specific buttons may vary depending on your LG Smart TV model.
- Once you locate the appropriate button, press it to open the available actions or settings for the selected channels.
- In the actions or settings menu, look for an option that indicates the deletion or removal of the selected channels. It might be labeled as “Delete,” “Remove,” or something similar.
- Select the deletion option and confirm your choice when prompted. Your LG Smart TV may ask for your confirmation to ensure that you want to proceed with deleting the selected channels.
Be cautious during this step as the deletion action is permanent. Double-check that you have selected the correct channels to delete before confirming the deletion. Once the confirmation is completed, the selected channels will be permanently removed from your LG Smart TV’s channel list.
By following these steps, you can easily confirm the deletion of unwanted channels on your LG Smart TV and enjoy a more personalized viewing experience.
Step 4: Removing Multiple Channels at Once
If you have several channels you want to remove from your LG Smart TV, you can streamline the process by using the “Remove All” or “Select All” feature, if available. Here’s how you can efficiently remove multiple channels at once:
- Access the Channel Manager on your LG Smart TV using the steps outlined in the previous sections.
- Once inside the Channel Manager, look for an option or button that allows you to select multiple channels simultaneously. This option may be labeled as “Remove All” or “Select All.”
- If you find a “Remove All” option, selecting it will instantly delete all channels in the list. Be cautious with this option, as it will remove every channel, including ones you may intend to keep.
- In case you spot a “Select All” option, choose it to mark all available channels for deletion.
- After selecting all the channels you want to remove, follow the confirmation steps mentioned in Step 3 to finalize the deletion process.
By utilizing the bulk deletion feature, you can save time and effort when removing multiple channels from your LG Smart TV. This method is particularly useful for clearing out redundant or unwanted channels in one go.
Remember to exercise caution when using the bulk deletion option to ensure that you don’t accidentally delete channels that you still want to watch. Take a moment to review your selections before confirming the deletion.
With Step 4 completed, you have successfully removed multiple channels from your LG Smart TV. You can now enjoy a more streamlined and personalized channel lineup tailored to your preferences.
Conclusion
Deleting channels on your LG Smart TV is a simple and effective way to declutter your channel lineup and personalize your viewing experience. With the Channel Manager feature, you can easily remove unwanted channels, freeing up space and making it easier to navigate through your favorite content.
In this article, we have guided you through the step-by-step process of deleting channels on an LG Smart TV in 2021. We covered how to access the Channel Manager, select the channels to delete, confirm the deletion, and even remove multiple channels at once.
Remember to exercise caution when deleting channels, ensuring that you don’t accidentally remove channels you still want to watch. Take your time to carefully review your selections before confirming the deletion.
By removing unwanted channels, you can create a customized channel lineup that suits your preferences, making it more convenient to find and enjoy your favorite shows and movies. Whether you’re freeing up space, organizing your channels, or eliminating duplicates, the Channel Manager on your LG Smart TV provides a user-friendly solution.
Now that you have learned how to delete channels on your LG Smart TV, take a moment to go through your channel list and remove any channels that no longer serve your interests. Enjoy a clutter-free viewing experience with a personalized channel lineup that caters to your entertainment needs.