Introduction
Managing contacts on your Android device is essential for keeping your address book organized and up to date. Whether it’s deleting duplicate entries, removing outdated information, or simply getting rid of unwanted contacts, knowing how to delete a contact on Android can be quite handy. In this article, we will guide you through various methods to accomplish this on your Android device.
Having unnecessary or outdated contacts in your address book can clutter your device and make it harder to find the contacts you actually need. Additionally, deleting a contact from your device will also remove them from any synced accounts, such as Google Contacts. So, let’s dive into the different methods you can utilize to delete contacts on your Android device and keep your contact list neat and tidy.
Whether you prefer using the dedicated Contacts app on your device or opt for alternate methods such as the Phone app or the Google Contacts website, we’ve got you covered. We’ll provide step-by-step instructions for each method to ensure you can easily follow along regardless of your level of technical expertise.
Aside from individual contact deletion, we’ll also cover how to delete multiple contacts simultaneously, saving you time and effort. This can be particularly useful when cleaning up your contact list or removing contacts in bulk after importing them from various sources.
So, if you’re ready to streamline your contact list and eliminate unnecessary clutter from your Android device, let’s get started with our guide on how to delete a contact on Android.
Method 1: Deleting a Contact from the Contacts App
One of the easiest and most direct methods for deleting a contact on Android is through the Contacts app. The Contacts app is a built-in feature on most Android devices and provides a straightforward way to manage your contacts. Here’s how you can delete a contact using the Contacts app:
- Open the Contacts app on your Android device. The app icon is usually a silhouette of a person.
- Navigate to the contact that you want to delete. You can scroll through the list or use the search bar at the top to find the contact quickly.
- Once you’ve located the contact, tap on it to open the contact details.
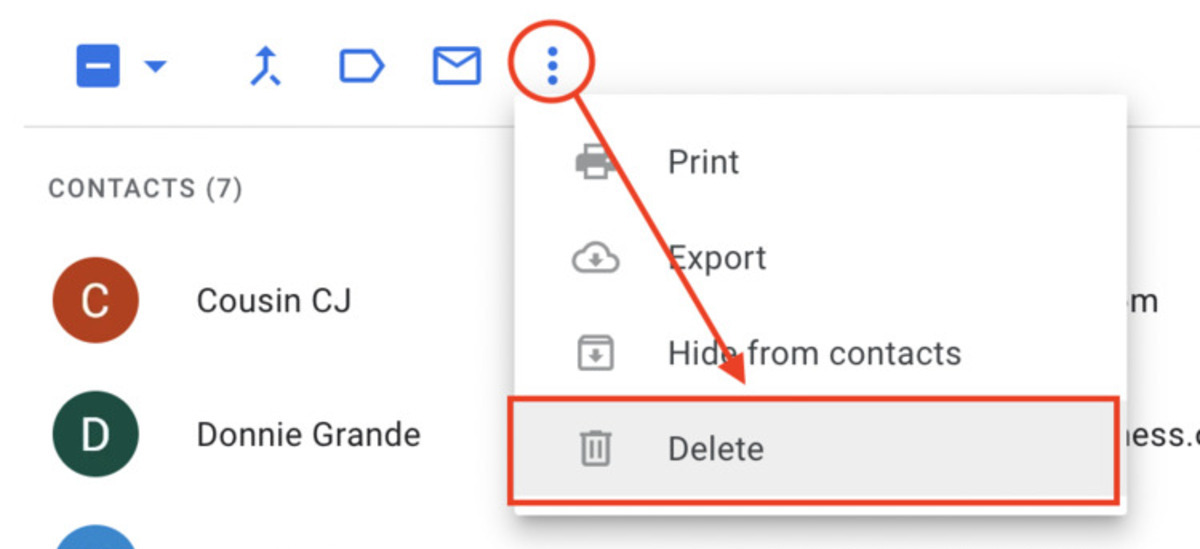
- On the contact details page, look for the menu icon or the three-dot menu button – it is typically located in the top-right corner of the screen.
- Tap on the menu icon to open a dropdown menu of options.
- From the menu, select the “Delete” or “Remove” option. This will prompt a confirmation dialog to appear.
- Review the confirmation dialog to ensure you’re deleting the correct contact. If everything looks good, confirm the deletion by tapping “OK” or “Delete”.
After completing these steps, the selected contact will be permanently deleted from your Android device. Keep in mind that this action cannot be undone, so double-check before confirming the deletion.
Although the specific steps may vary slightly depending on the device manufacturer and Android version, the general process remains the same across most Android devices. Deleting contacts from the Contacts app is a quick and convenient method, allowing you to maintain a clutter-free contact list on your Android device.
Method 2: Deleting a Contact from the Phone App
Another method for deleting a contact on Android is through the Phone app. The Phone app is often pre-installed on Android devices and provides access to your call history, contacts, and dialer. Here’s how you can delete a contact using the Phone app:
- Open the Phone app on your Android device. The app’s icon is usually a phone receiver or a combination of a phone receiver and a dialer.
- Navigate to the “Contacts” tab or a similar section within the app. This will display your list of contacts in a phone-friendly format.
- Scroll through the list or use the search bar at the top to find the contact you wish to delete.
- Once you’ve located the contact, swipe left or right on the contact’s name or entry to reveal an “Delete” or “Remove” button.
- Tap on the “Delete” or “Remove” button to initiate the deletion process.
- Confirm the deletion when prompted. The wording of the confirmation dialog may vary, but it typically asks if you want to permanently remove the contact from your device.
After following these steps, the selected contact will be deleted from your Android device. The Phone app offers a convenient way to manage your contacts straight from the dialer interface, allowing for quick and efficient control over your contact list.
Do note that the exact steps and gestures may differ slightly depending on the phone manufacturer and the version of Android you are using. However, the general process remains fairly consistent across most Android devices.
Using the Phone app to delete contacts is especially useful if you frequently make calls or need to quickly access your contact list. It offers an alternative method to remove unwanted contacts without navigating to the dedicated Contacts app, maximizing your efficiency when managing your Android device.
Method 3: Deleting a Contact from the Google Contacts Website
If you have your contacts synced with your Google account, you can delete a contact from the Google Contacts website. This method allows you to manage your contacts from any device with internet access. Here’s how you can delete a contact using the Google Contacts website:
- Open a web browser on your computer or mobile device and go to the Google Contacts website. You can search for “Google Contacts” or use the URL “contacts.google.com”.
- Sign in with the Google account that is synced with your Android device. Ensure that you are using the same account on both the website and your device.
- Once you’re signed in, you will see a list of your contacts displayed in a user-friendly interface.
- Scroll through the list or use the search bar to find the contact you want to delete.
- Hover your cursor over the contact’s name or entry to reveal a checkbox next to it.
- Click on the checkbox to select the contact for deletion. You can select multiple contacts if you wish to delete them simultaneously.
- After selecting the contact(s), look for the “More” button at the top of the page, typically represented by three vertical dots.
- Click on the “More” button and choose the “Delete” option from the dropdown menu.
- Confirm the deletion when prompted. Review the confirmation message to ensure you’re deleting the correct contact(s), then click “Delete” to permanently remove them from your Google account and synced devices.
By following these steps, you can delete a contact from your Google account, which will automatically remove it from the synced contacts on your Android device. This method allows for centralized management of your contacts, making it easier to maintain a consistent contact list across multiple devices.
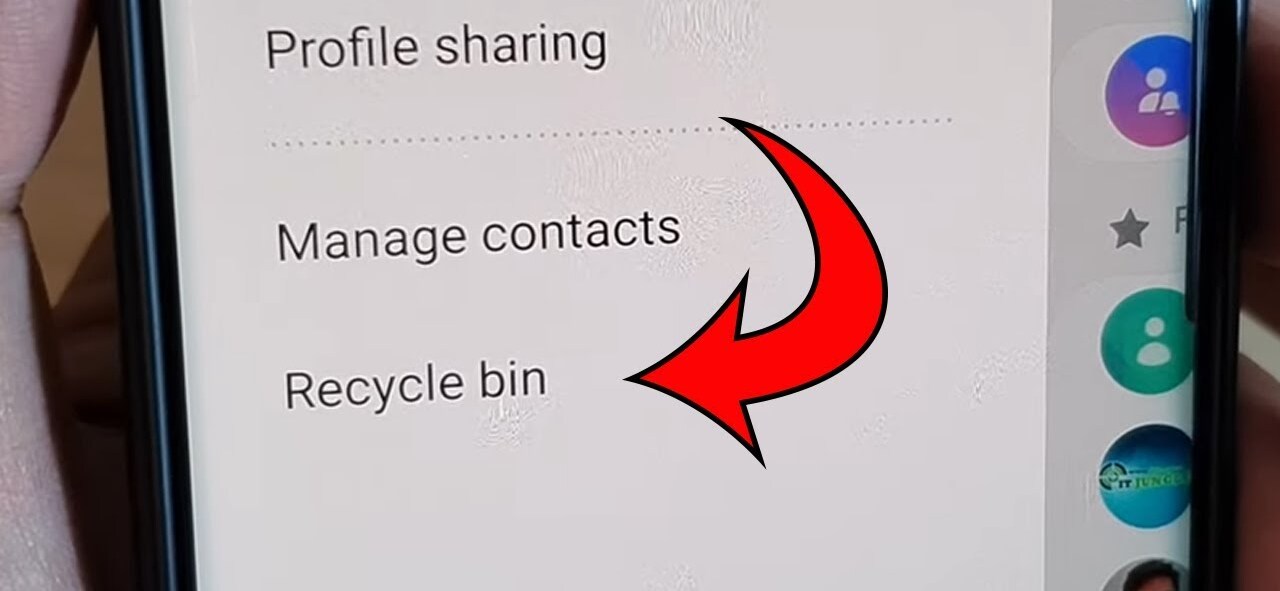
Using the Google Contacts website gives you additional flexibility and functionality when it comes to contact management. You can perform actions such as merging duplicate contacts, editing contact details, and restoring deleted contacts from the trash folder. Take advantage of these features to ensure your contact list is always accurate and up to date.
Method 4: Deleting a Contact from the Google Contacts App
If you prefer managing your contacts directly from your Android device, you can use the Google Contacts app to delete contacts synced with your Google account. The Google Contacts app offers a convenient and intuitive interface specifically designed for contact management. Here’s how you can delete a contact using the Google Contacts app:
- Open the Google Contacts app on your Android device. The app’s icon typically features a silhouette of a person with blue, yellow, and green background colors.
- Once the app is open, you will see a list of your contacts displayed in a user-friendly format.
- Scroll through the list or use the search bar at the top to find the contact you wish to delete.
- Tap on the contact’s name or entry to open the contact details.
- On the contact details page, tap on the menu icon, which is usually represented by three vertical dots in the top-right corner.
- From the menu, select the “Delete” or “Remove” option. This will prompt a confirmation dialog to appear.
- Confirm the deletion by tapping “OK” or “Delete” when prompted. Take a moment to review the confirmation message to ensure you’re deleting the correct contact.
After completing these steps, the selected contact will be permanently deleted from both your Google account and any synced devices. The Google Contacts app offers a seamless and intuitive experience for managing your contacts, all from the convenience of your Android device.
Keep in mind that the specific interface and options may vary slightly depending on the device manufacturer and the version of the Google Contacts app. However, the basic process remains consistent across most Android devices.
Using the Google Contacts app eliminates the need for accessing the Contacts or Phone app separately and provides a straightforward method for managing your contacts in one centralized location. Take advantage of the app’s features to keep your contact list organized and up to date.
Method 5: Deleting Multiple Contacts at Once
If you have a large number of contacts to delete or want to clean up your contact list quickly, deleting multiple contacts at once can be a time-saving option. Here’s how you can delete multiple contacts simultaneously on your Android device:
- Open the Contacts app on your Android device. The app icon is usually a silhouette of a person.
- Navigate to the list or section where your contacts are displayed, such as “All Contacts” or “Phone Contacts”.
- Look for a menu icon or a three-dot menu button at the top of the screen and tap on it.
- From the menu options, select the “Select” or “Select All” option. This will enable you to select multiple contacts at once.
- Now, scroll through the list and tap on each contact you want to delete. Selected contacts are usually highlighted or marked with a checkbox.
- If your device offers a “Select All” option, you can use it to quickly select all contacts. Be careful with this option to avoid inadvertently deleting contacts you want to keep.
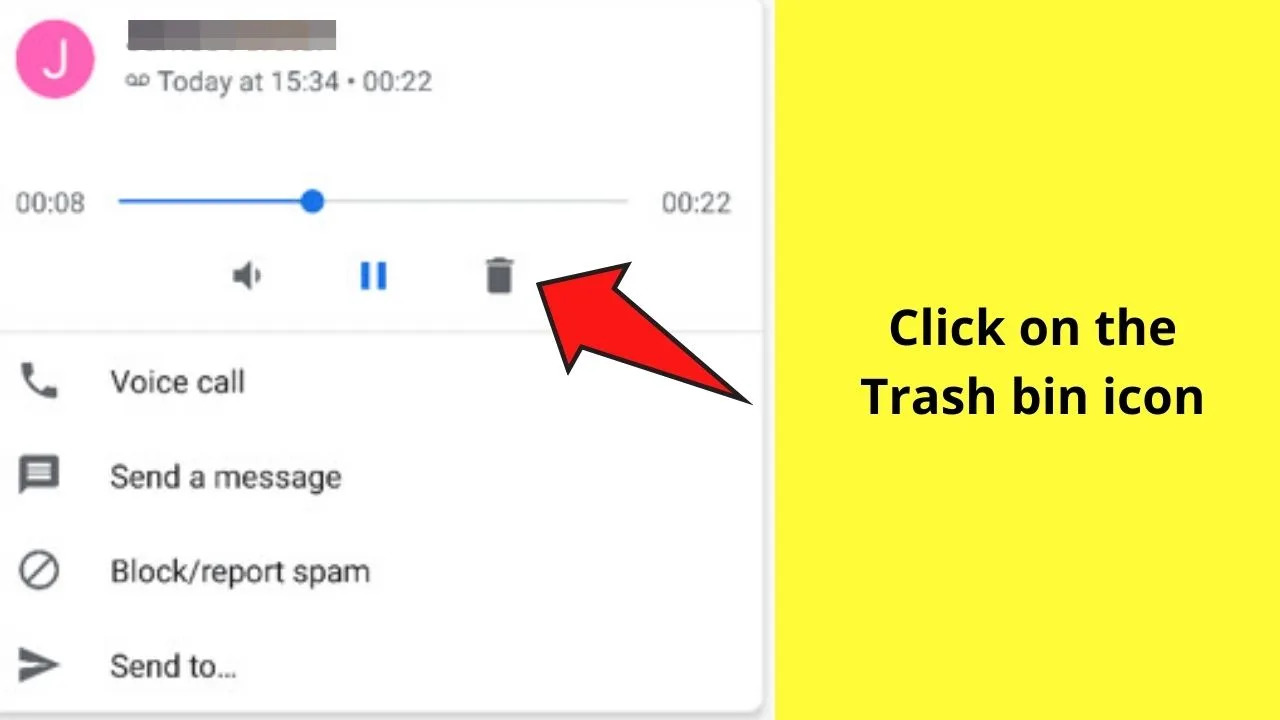
- Once you’ve finished selecting the contacts to delete, look for a trashcan icon or a “Delete” button in the menu or toolbar. Tap on it to initiate the deletion process.
- A confirmation dialog will appear, prompting you to confirm the deletion of the selected contacts. Review the dialog to ensure you’re deleting the correct contacts, then tap “OK” or “Delete” to proceed.
After confirming the deletion, the selected contacts will be permanently removed from your Android device. This method allows you to quickly delete multiple contacts, saving you time and effort compared to deleting them individually.
Keep in mind that the exact steps and options may vary depending on your device and Android version. However, most Android devices offer a similar functionality to select and delete multiple contacts simultaneously.
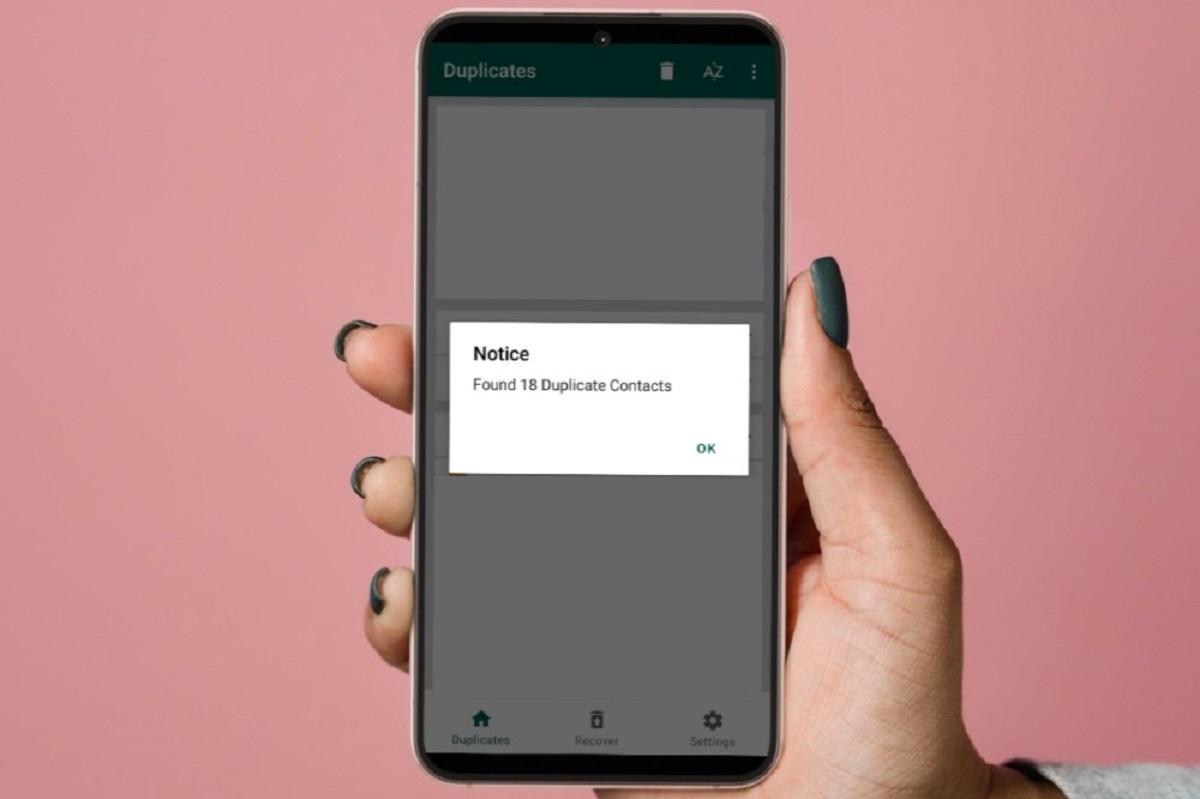
Deleting multiple contacts at once can be particularly useful after importing contacts from various sources or when removing duplicate entries. By utilizing this method, you can efficiently clean up your contact list and ensure it remains clutter-free and organized.
Conclusion
Managing your contacts on an Android device is crucial for keeping your address book organized and up to date. Whether you’re deleting obsolete entries, removing unwanted contacts, or tidying up your contact list, knowing how to delete a contact on Android is essential. In this article, we have explored various methods to help you accomplish this task efficiently.
We started by discussing how to delete a contact using the built-in Contacts app on your Android device. This method provides a straightforward approach, allowing you to delete contacts individually with just a few taps. We then moved on to deleting contacts from the Phone app, providing an alternative method for those who frequently make calls and want to manage contacts directly from the dialer interface.
We also explored how to delete a contact through the Google Contacts website. This method offers the convenience of managing your contacts from any device with internet access. Additionally, we discussed the Google Contacts app, which provides a dedicated interface for managing contacts on your Android device, including deleting individual contacts with ease. Lastly, we covered the method of deleting multiple contacts at once, saving you time and effort when cleaning up your contact list.
By utilizing these methods, you can keep your contact list organized, up to date, and free from unnecessary clutter. Remember, always double-check before deleting a contact to ensure you’re not removing valuable information by mistake.
Whether you choose to use the Contacts app, Phone app, Google Contacts website, or Google Contacts app, managing your contacts on Android is made easy. Each method offers its advantages, catering to different preferences and situations. Select the method that suits you best and take control of your contact list today.
With a streamlined and organized contact list, you’ll have quick access to the contacts you need while maintaining a clutter-free experience on your Android device.