Introduction
When it comes to digital storage, SD cards are a popular choice for storing data such as photos, videos, and documents. Whether you want to back up your files or transfer them to another device, knowing how to copy an SD card is a valuable skill.
Copying an SD card allows you to create a duplicate of all the data stored on it, making it easy to access and share your files without worrying about losing them. Whether you’re a professional photographer, a student with important documents, or simply someone who wants to secure their memories, learning how to copy an SD card is a useful technique.
In this guide, we will walk you through the step-by-step process of copying an SD card. You’ll learn how to connect your SD card to your computer, locate the files you want to copy, and safely transfer them to your desired destination. Whether you’re using a Windows or Mac operating system, this guide will provide you with the necessary instructions to ensure a hassle-free experience.
So, if you’re ready to learn how to copy an SD card and keep your valuable files safe and accessible, let’s dive into the process and get started!
Equipment Needed
Before you begin the process of copying an SD card, it’s important to gather the necessary equipment. To successfully copy an SD card, you’ll need the following:
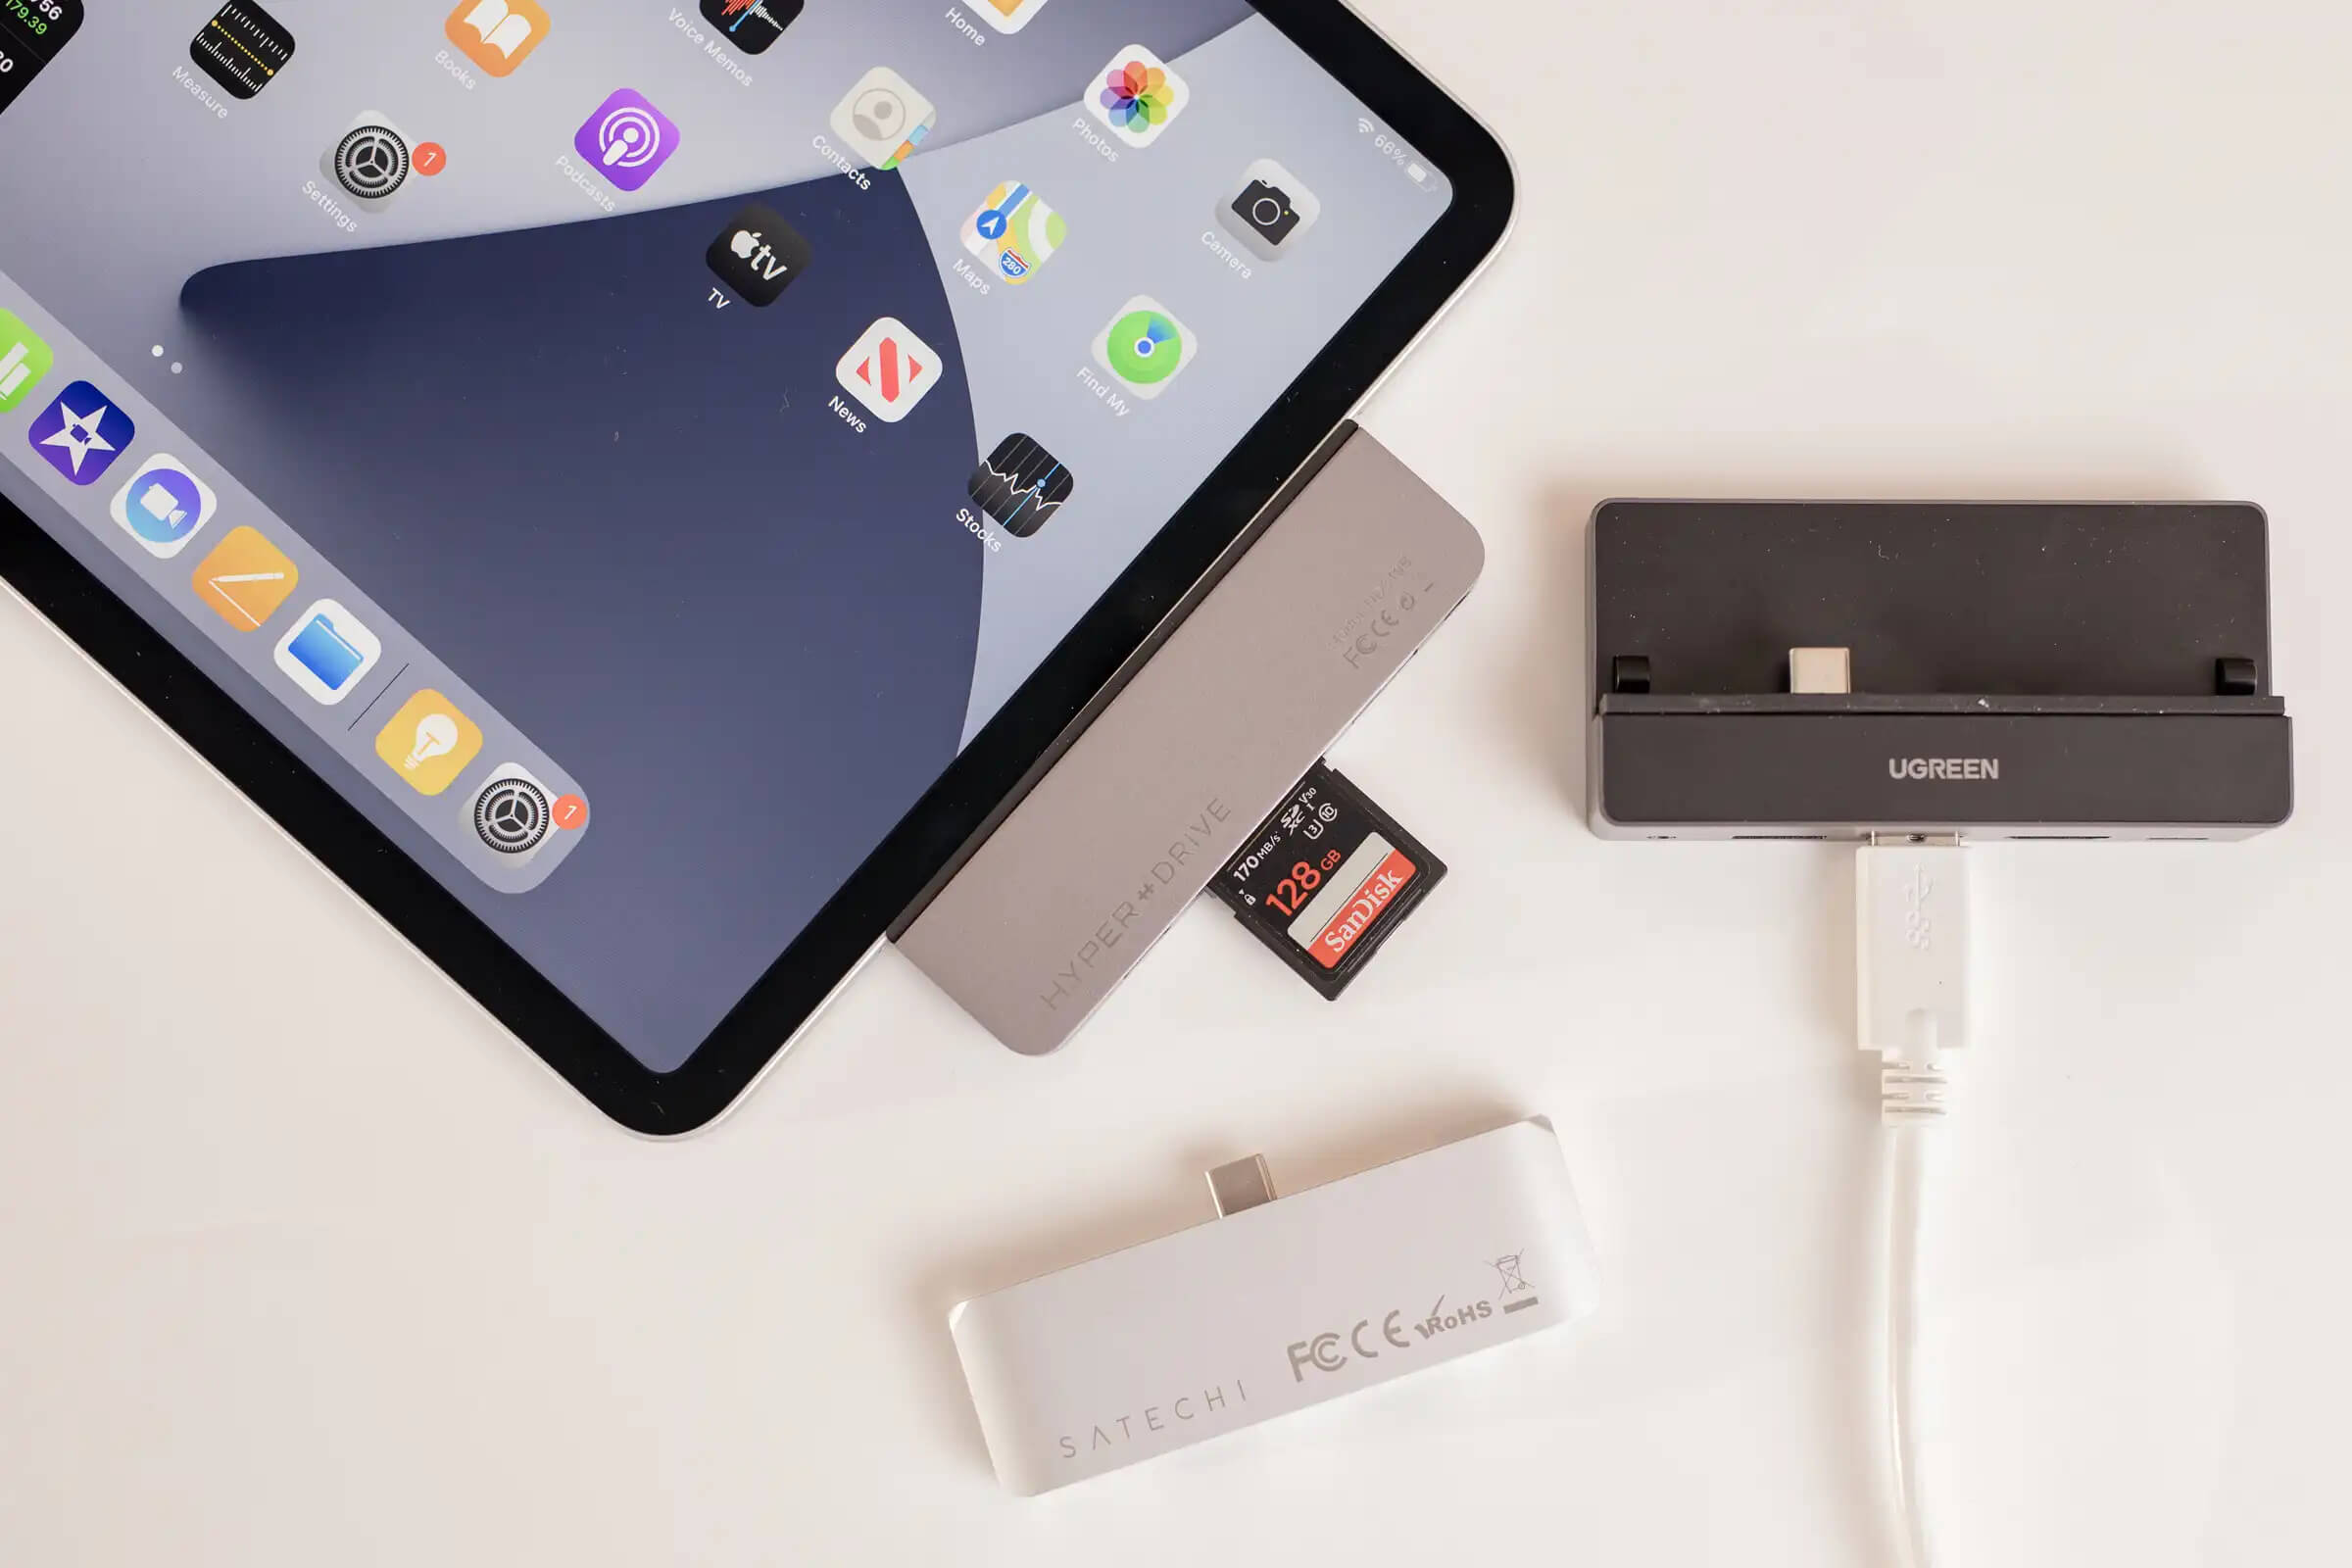
- An SD card reader: This is a device that allows you to connect your SD card to your computer. Depending on your computer’s specifications, you can choose between a USB-based SD card reader or an internal card reader if your computer has one built-in.
- A computer: You’ll need a computer with an available USB port or an internal card slot to connect the SD card reader.
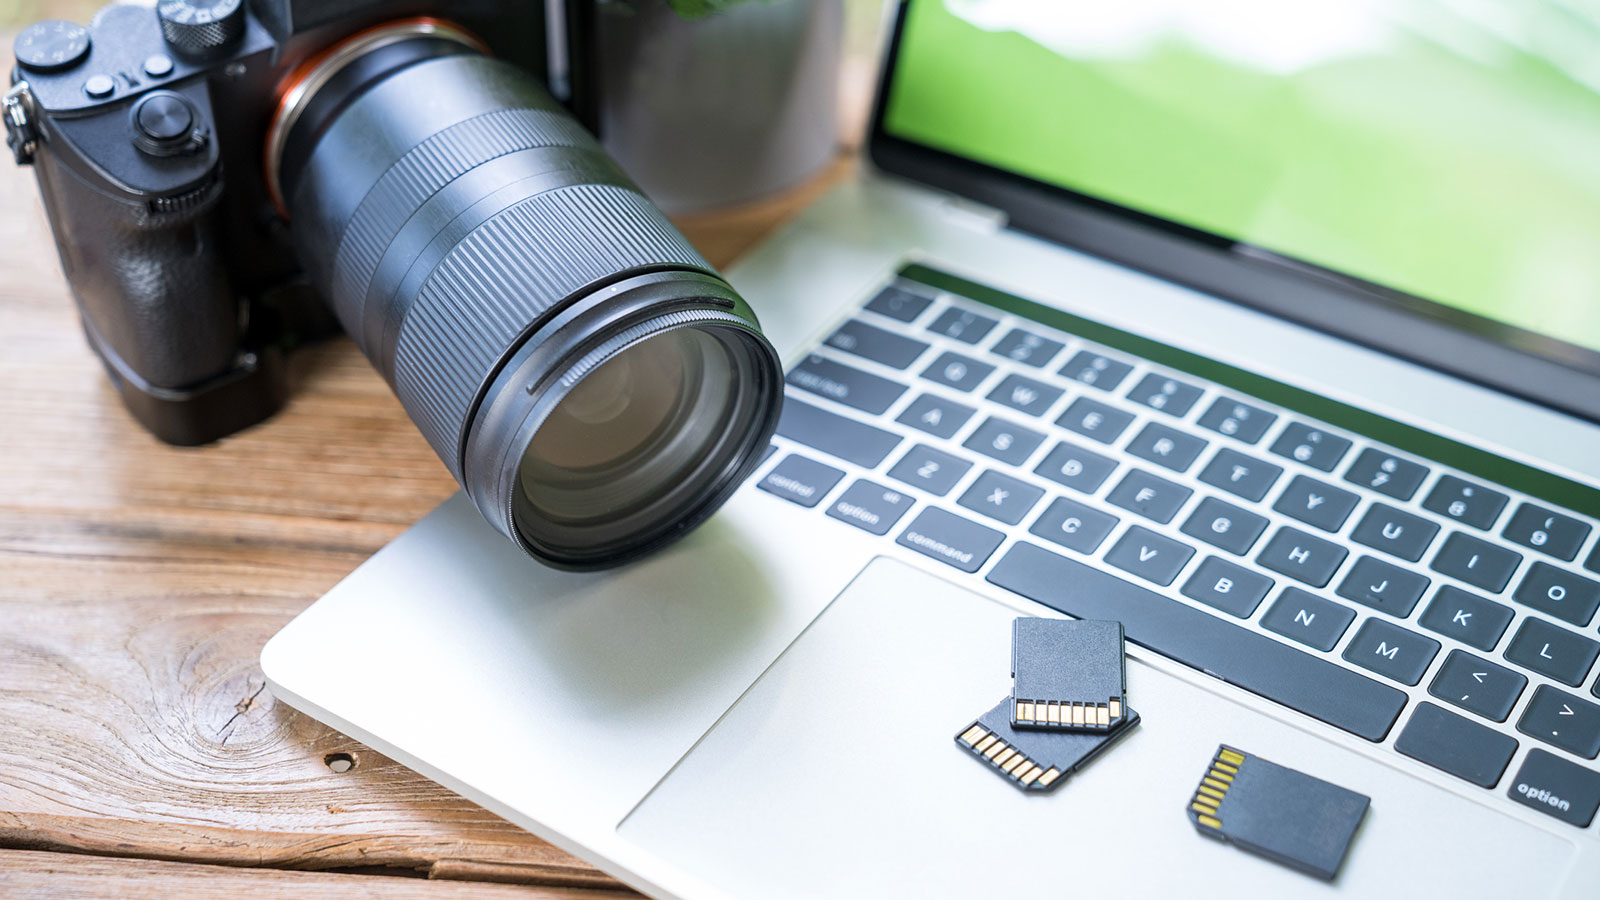
- An SD card: Of course, you’ll need the SD card you want to copy. Ensure that it is in good working condition and has enough free space to accommodate the files you want to copy.
Once you have gathered these essential items, you’re ready to proceed with the copying process. Ensure that your computer is powered on and ready to connect the SD card reader. It’s also important to have enough free storage space on your computer’s hard drive to store the copied files temporarily before transferring them to their final destination.
Now that you have the necessary equipment, let’s move on to the next step in the process: inserting the SD card and connecting the reader.
Step 1: Insert the SD Card
The first step in copying an SD card is to properly insert the card into the SD card reader. Follow these simple steps:
- Locate the SD card slot or USB port on your computer. This will vary depending on the device you are using. If you are unsure, consult your computer’s user manual for guidance.
- If you are using a USB-based SD card reader, connect it to an available USB port on your computer.
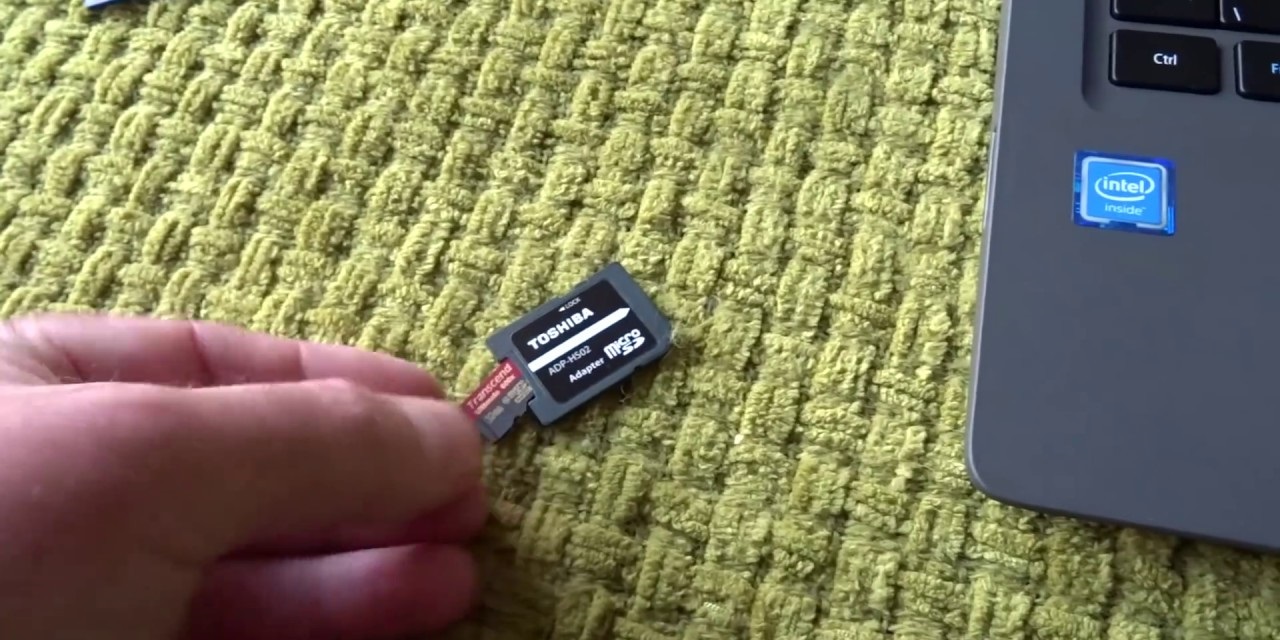
- Take your SD card and carefully insert it into the appropriate slot or the SD card reader. Make sure the contacts on the card are facing down.
- Gently push the card in until it is fully inserted and clicks into place. This ensures a secure connection.
Once the SD card is properly inserted, your computer should recognize it and establish a connection. This allows you to access the data on the card and begin the copying process.
It’s important to handle the SD card with care and avoid touching the gold contacts or exposing it to extreme temperatures or moisture. This helps prevent any damage that could affect the performance of the card or result in data loss.
Now that you have successfully inserted the SD card, we can proceed to the next step: connecting the SD card reader to your computer.
Step 2: Connect the SD Card Reader
Now that you have inserted the SD card into the appropriate slot or USB port on your computer, it’s time to connect the SD card reader. Follow these steps to establish a connection:
- If you’re using a USB-based SD card reader, ensure that it is properly connected to an available USB port on your computer. Make sure the connection is secure.
- If you’re using an internal card reader, you can skip this step as it is already built into your computer.
Once the SD card reader is connected, your computer will detect the newly added device. It may take a few moments for the computer to install any necessary drivers or software for the SD card reader.
You can check whether the connection is successful by looking for the SD card reader icon in the system tray (Windows) or the desktop (Mac). If the icon appears, it indicates that the SD card reader is connected and ready to use.
At this point, your computer is fully prepared to recognize and access the contents of the SD card. You’re now ready to move on to the next step: opening the file explorer or finder to locate the SD card.
Step 3: Open File Explorer (Windows) or Finder (Mac)
After connecting the SD card reader and ensuring a successful connection, it is time to open the appropriate file management tool on your computer. The process may differ depending on your operating system:
Windows:
- Click on the “Start” button located in the bottom left corner of your screen.
- From the start menu, select “File Explorer” or press the “Windows key” and the letter “E” simultaneously on your keyboard.
- The File Explorer window will open, displaying various folders and drives on your computer.
Mac:
- Click on the “Finder” icon located in the dock. The Finder icon resembles a blue and white smiley face.
- The Finder window will open, displaying various locations and folders on your Mac.
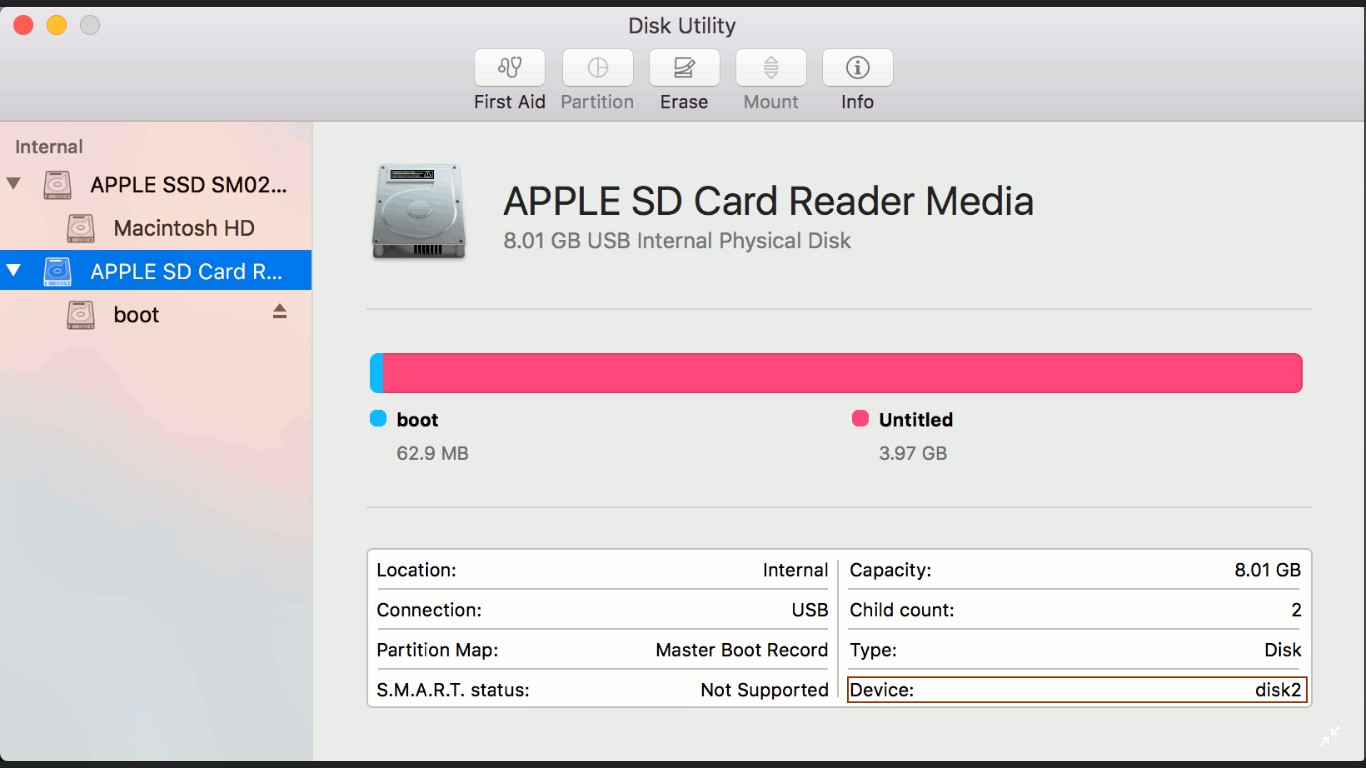
Once the File Explorer (Windows) or Finder (Mac) window is open, you will be able to see a list of drives and devices connected to your computer. Look for the SD card, which is typically labeled with its name or a generic “Removable Disk”. Click on it to access the contents of the SD card.
If you are unable to locate the SD card in the File Explorer or Finder window, try disconnecting and reconnecting the SD card reader, ensuring a secure connection. Additionally, you can try restarting your computer, as this may resolve any recognition issues.
Now that you have successfully opened the file explorer or finder and located the SD card, we can proceed to the next step: creating a new folder to store the copied files and folders.
Step 4: Locate the SD Card
With the File Explorer (Windows) or Finder (Mac) window open, it’s time to locate the SD card and access its contents. Follow these steps to find the SD card:
- Look for the list of drives and devices in the File Explorer (Windows) or Finder (Mac) window. The SD card is generally labeled with its name or a generic “Removable Disk” designation.
- Click on the SD card to select it. The contents of the SD card will be displayed in the main window of the File Explorer or Finder.
- You can browse through the folders and files on the SD card, just like you would navigate through any other folder on your computer. If your SD card has multiple partitions or folders, click on each one to explore its contents.
It’s important to note that the organization and structure of the files may vary depending on how the SD card was used previously. If you’re specifically looking to copy certain files or folders, take note of their location within the SD card.
By locating the SD card and accessing its contents, you have successfully established a connection between your computer and the SD card. Now, it’s time to proceed to the next step: creating a new folder where you will store the copied files and folders.
Step 5: Create a New Folder
Before copying the files and folders from your SD card, it’s important to create a new folder on your computer where you will store the copied data. Follow these simple steps to create a new folder:
- In the File Explorer (Windows) or Finder (Mac) window, navigate to the location on your computer where you want to create the new folder. This can be your desktop, a specific directory, or any other desired location.
- Right-click (Windows) or control-click (Mac) on an empty space within the selected directory. A context menu will appear.
- In the context menu, select the option to create a new folder. This option is typically labeled “New Folder” or “Create New Folder”.
- A new folder will be created with a default name, such as “New Folder” or “Untitled Folder”.
- Once the folder is created, rename it to a descriptive and meaningful name that reflects the contents you’ll be copying from the SD card. To rename the folder, right-click (Windows) or control-click (Mac) on the folder and select the “Rename” option from the context menu. Type in the desired name and press Enter (Windows) or Return (Mac).
With the new folder created and named, you’re now ready to move on to the next step: selecting the files and folders you want to copy from the SD card.
Step 6: Select Files and Folders to Copy
Once you have located the SD card and created a new folder on your computer, it’s time to select the specific files and folders that you want to copy. Follow these steps to choose the data you wish to duplicate:
- Navigate through the folders and files on the SD card using the File Explorer (Windows) or Finder (Mac) window. Look for the files or folders that you want to copy.
- To select individual files, simply click on them one by one. You can hold down the Ctrl key (Windows) or the Command key (Mac) to select multiple non-contiguous files.
- If you want to select a range of files, click on the first file, hold down the Shift key, and then click on the last file in the range. This will select all files between the first and last file.
- If you want to select all files and folders within a particular folder, click on the folder itself. This will highlight the entire folder and its contents.
Take your time to review the selected files and folders, ensuring that you have chosen everything you want to copy. Be mindful of the available storage space on your computer’s hard drive, as you don’t want to exceed its capacity.
Once you have made the appropriate selections, you’re ready to move on to the next step: copying the files and folders from the SD card.
Step 7: Copy the Files and Folders
With the desired files and folders selected, it’s time to proceed with the process of copying them from the SD card to your computer. Follow these steps to initiate the copying process:
- Right-click (Windows) or control-click (Mac) on one of the selected files or folders. This will bring up a context menu.
- In the context menu, select the option to copy the selected files/folders. This option is typically labeled “Copy” or “Copy To”.
- Navigate to the newly created folder on your computer where you want to store the copied contents. This may involve opening another File Explorer (Windows) or Finder (Mac) window.
- Right-click (Windows) or control-click (Mac) on an empty space within the new folder. This will bring up the context menu once again.
- In the context menu, select the option to paste the copied files/folders. This option is typically labeled “Paste” or “Paste Here”.
The selected files and folders will begin to copy from the SD card to the new location on your computer. The speed of the copying process will depend on the size of the files/folders as well as the speed of your computer and SD card reader.
During the copying process, it’s important to avoid disconnecting the SD card or shutting down the computer, as this can interrupt the transfer and potentially lead to data loss. Ensure that there is a stable power supply and that your computer remains powered on until the copying is complete.
Once the files and folders have finished copying, you’re ready to proceed to the next step: pasting the copied files and folders into the new location.
Step 8: Paste the Copied Files and Folders
After successfully copying the files and folders from the SD card to your computer, it’s time to paste them into the newly created folder. Follow these steps to complete the process:
- Navigate back to the window displaying the newly created folder.
- Right-click (Windows) or control-click (Mac) on an empty space within the folder. This will bring up the context menu.
- In the context menu, select the option to paste the copied files and folders. This option is typically labeled “Paste” or “Paste Here”.
- The files and folders you copied from the SD card will now be pasted into the new folder location.
Depending on the size and number of files and folders, the pasting process may take some time to complete. Be patient and avoid interrupting the process by disconnecting the SD card or shutting down the computer.
Once the pasting is finished, you can verify the presence of the copied files and folders within the new location. Open the new folder and check that all the files and folders you selected are present and intact.
It’s a good practice to double-check the copied files to ensure that they were transferred successfully and are accessible. Open a few files or folders to confirm that they can be opened without any issues.
Now that you have successfully pasted the copied files and folders into the new location, you’re ready for the final step: safely removing the SD card from your computer.
Step 9: Safely Remove the SD Card
After completing the process of copying the files and folders from the SD card, it’s important to safely remove the SD card from your computer. This ensures that the data transfer is complete and prevents potential data corruption. Follow these steps to safely remove the SD card:
- Make sure all file transfer operations involving the SD card are complete. Check that the copying process has finished and that all necessary files have been successfully pasted into the new location.
- In the File Explorer (Windows) or Finder (Mac) window, navigate to the list of drives and devices.
- Locate the SD card among the drives and devices.
- Right-click (Windows) or control-click (Mac) on the SD card to bring up the context menu.
- In the context menu, select the option to safely eject or safely remove the SD card. This option is typically labeled “Eject” or “Safely Remove”.
- Wait for your computer to indicate that it is safe to remove the SD card. This may involve a notification or a message confirming the removal.
- Once it is safe to do so, gently remove the SD card from the SD card reader or USB port.
It’s important to handle the SD card with care and avoid exposing it to extreme temperatures or moisture. Additionally, always use the proper procedure for removing the SD card to prevent any damage to the card or loss of data.
With the SD card safely removed from your computer, you have completed the process of copying an SD card. Your files and folders are now stored on your computer in the desired location, ready for you to access, share, or back up as needed.
Conclusion
Congratulations! You have successfully learned how to copy an SD card and safeguard your valuable files and folders. Copying an SD card allows you to create a duplicate of your data, providing an additional layer of security and flexibility for accessing and sharing your files.
In this guide, we covered the step-by-step process of copying an SD card. We explored how to insert the SD card into a reader, connect the reader to your computer, open the file explorer or finder, locate the SD card, create a new folder, select the files and folders to copy, copy and paste the data, and safely remove the SD card.
Remember, proper handling and care of your SD card are crucial throughout the process. Avoid touching the gold contacts of the card, protect it from extreme temperatures, and handle it gently to prevent damage or data loss.
By following the steps outlined in this guide, you can confidently copy your SD card and keep your files safe and accessible. Whether you’re creating backup copies, transferring data to another device, or organizing your files, knowing how to copy an SD card is a valuable skill in today’s digital world.
So, the next time you need to back up your photos, transfer documents, or share memories captured on your SD card, refer back to this guide and easily replicate the contents of your SD card with ease.
Happy copying!