Introduction
Welcome to the exciting world of 3D television! While 3D technology was once considered a luxury reserved for movie theaters, it has now made its way into our living rooms. Transforming your LED TV into a 3D TV opens up a whole new dimension of entertainment, bringing movies, sports, and games to life like never before.
In this article, we will guide you through the process of converting your LED TV into a 3D TV. Whether you’re a tech enthusiast looking to upgrade your home entertainment setup or simply want to experience the immersive world of 3D, you’ve come to the right place. We’ll explore the ins and outs of 3D technology, assess the compatibility of your LED TV, and provide you with a step-by-step guide to convert your TV into a 3D powerhouse.
Before we dive into the technical details, it’s important to note that not all LED TVs can be converted to 3D. The ability to support 3D functionality depends on various factors, such as the model, year of manufacture, and specific features of your TV. It’s essential to assess compatibility to ensure a successful conversion process.
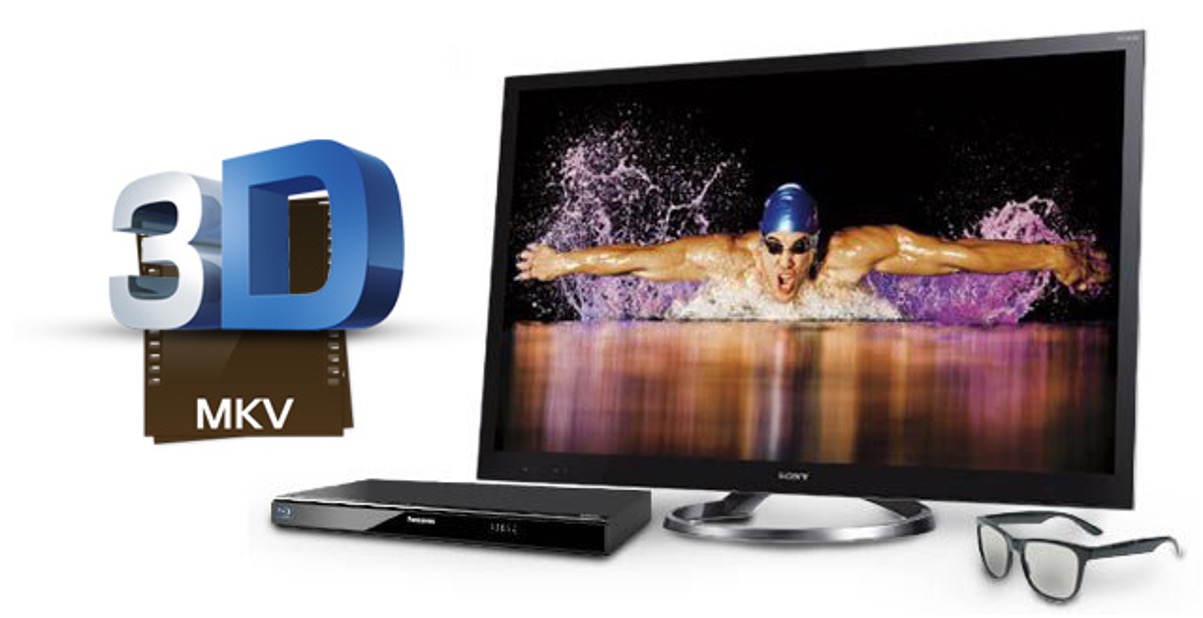
To convert your LED TV to 3D, you’ll need a few essential tools and accessories. Don’t worry; they are readily available and relatively affordable. These include 3D glasses, a compatible 3D converter box, an HDMI cable, and 3D content such as Blu-ray discs or streaming services. By gathering these necessary items, you’ll be well-prepared to embark on your 3D TV conversion journey.
Now, without further ado, let’s explore the step-by-step process of converting your LED TV to a 3D TV. We’ll cover everything from connecting the 3D glasses to adjusting the picture settings for optimal 3D viewing. So grab your popcorn, put on your 3D glasses, and get ready to enter a whole new dimension of entertainment!
Understanding 3D Technology
Before we delve into converting your LED TV into a 3D TV, let’s take a moment to understand the basics of 3D technology. 3D, short for three-dimensional, refers to the representation of objects with depth perception. This means that you can see an image or video on your TV screen that appears to have depth, just like in real life.
The essence of 3D technology lies in creating an illusion of depth through a combination of techniques. One common method is known as stereoscopy. Stereoscopy involves using two different images, one for the left eye and one for the right eye, which are then viewed simultaneously. This creates a sense of depth as each eye perceives a slightly different perspective, similar to how our eyes naturally perceive depth in the real world.
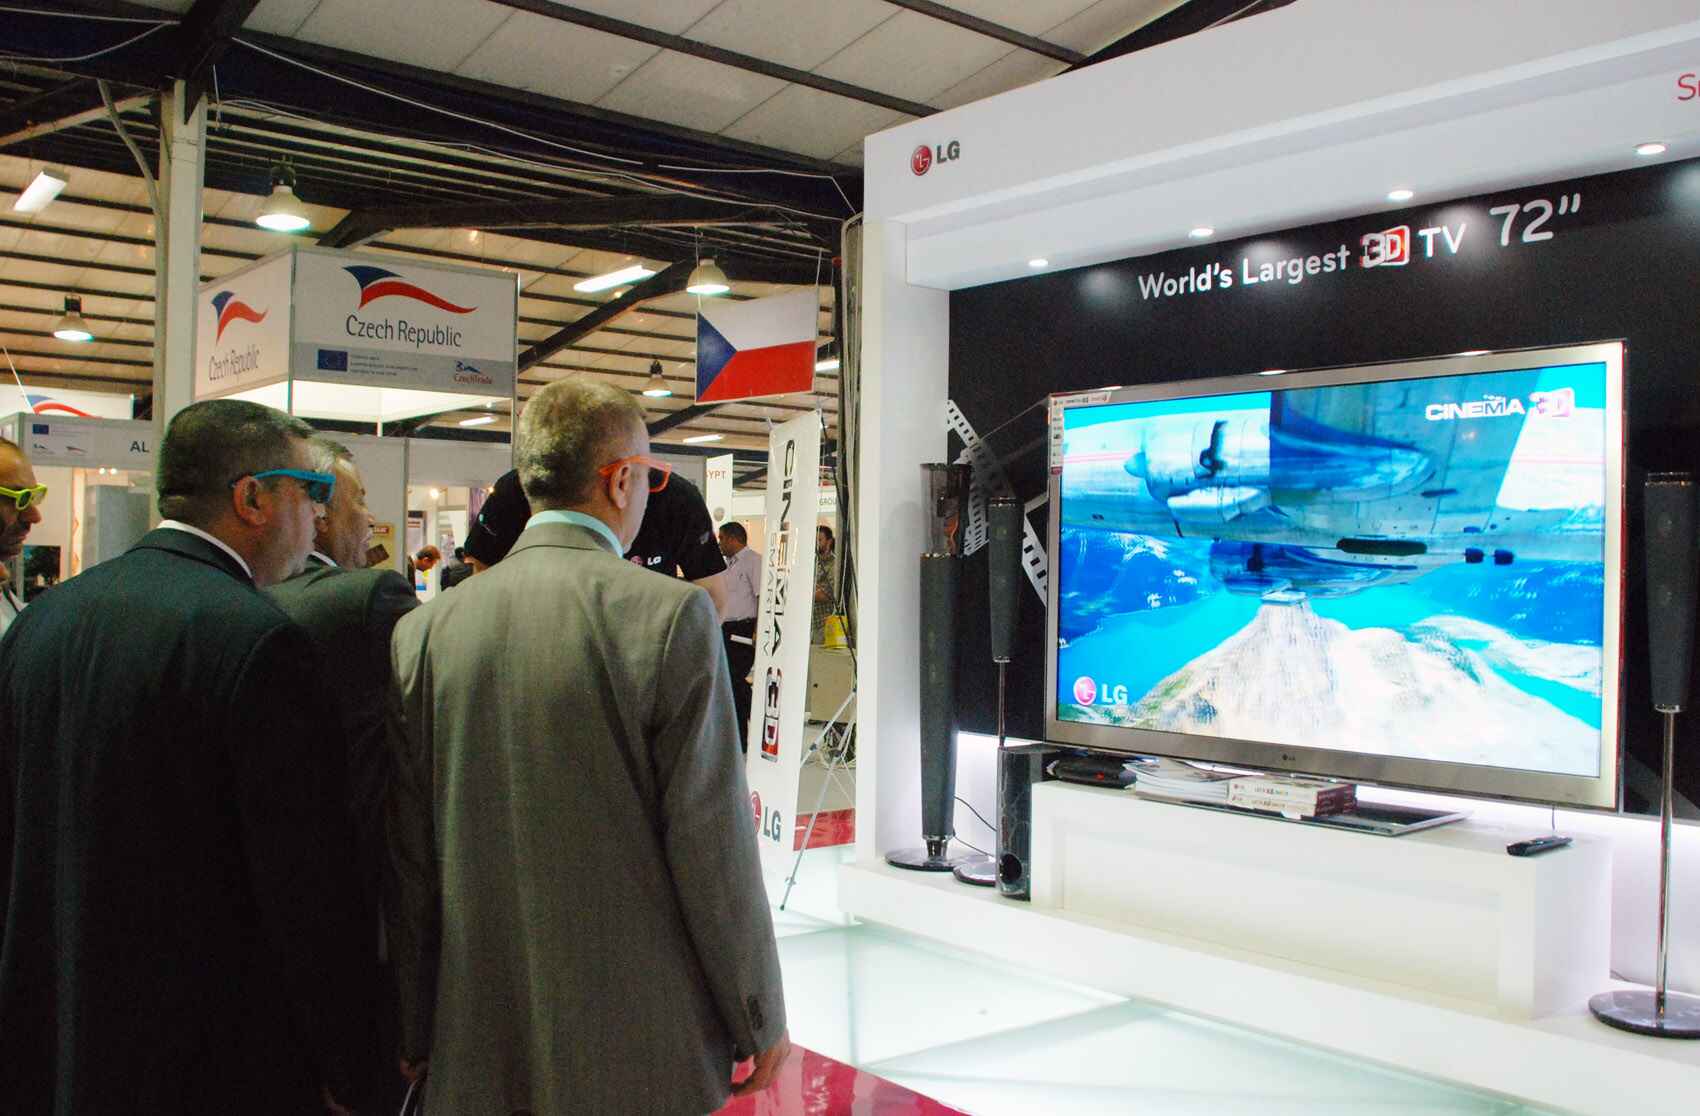
To experience 3D content on your LED TV, you’ll need a pair of 3D glasses. These glasses are specially designed to filter the separate images to the corresponding eye. They can be either passive or active. Passive 3D glasses use polarization filters to separate the images, while active 3D glasses utilize LCD shutters that alternate rapidly to let each eye see the correct image.
It’s important to note that 3D technology for TV viewing has advanced significantly in recent years, providing a more immersive experience. Earlier versions relied on red and blue anaglyph glasses, but modern 3D technology offers improved color accuracy and depth perception.
Now, not all content is available in 3D, so it’s essential to have compatible 3D media. This can include 3D Blu-ray discs, streaming services that offer 3D content, or even 3D video games. Make sure to check the compatibility of your LED TV with the specific type of content you intend to use.
Ultimately, understanding the fundamentals of 3D technology is crucial to make the most of your LED TV to 3D TV conversion. By grasping the concept of depth perception, the role of 3D glasses, and the availability of 3D content, you’ll be well-prepared to enjoy an immersive and captivating 3D viewing experience.
Assessing Compatibility of LED TV
Before embarking on your LED TV to 3D TV conversion journey, it’s crucial to determine the compatibility of your current television. Not all LED TVs can be converted to support 3D functionality, so it’s important to assess whether your TV meets the necessary requirements.
The first thing to consider is the model and year of manufacture of your LED TV. Older models may not have the necessary hardware or software capabilities to support 3D technology. Check the user manual or the manufacturer’s website for information about 3D compatibility. You can also contact customer support for confirmation.
Another factor to consider is the specific features of your LED TV. Some models come with built-in 3D capabilities, while others may require an external converter box to enable 3D functionality. Look for any 3D-related settings or options in the TV’s menu system. If you don’t find any, it’s likely that your TV needs an external converter box.
In addition to the LED TV itself, you should also consider the compatibility of other components. Check if your current media player, gaming console, or external devices support 3D output. Some devices may require firmware updates or additional 3D accessories to transmit the 3D signal to the TV.
It’s also important to note that not all LED TVs support the same 3D technology. Some TVs use passive 3D technology, which requires compatible passive 3D glasses, while others use active 3D technology, requiring active 3D glasses. Make sure you understand the type of 3D technology supported by your LED TV and obtain the correct glasses accordingly.
Lastly, consider the type of 3D content you plan to use. Check if your LED TV is compatible with the specific format or media, such as 3D Blu-ray discs or streaming services. Some TVs may have limitations on the type of 3D content they can display, so it’s important to verify compatibility before making any purchases.
By thoroughly assessing the compatibility of your LED TV, you can ensure a smooth and successful conversion process. Whether your TV requires an external converter box, specific 3D glasses, or compatibility with certain 3D content, it’s important to gather all the necessary information to make informed decisions and enjoy the 3D experience to its fullest.
Required Tools and Accessories
Now that you’ve assessed the compatibility of your LED TV for 3D conversion, it’s time to gather the essential tools and accessories needed for the process. These items will ensure that your LED TV can successfully support 3D functionality and provide you with an immersive viewing experience.
The first item on the list is a pair of 3D glasses. Depending on the type of 3D technology supported by your LED TV, you’ll need either passive or active 3D glasses. Passive 3D glasses use polarization filters, while active 3D glasses utilize LCD shutters. Make sure to check the compatibility requirements of your LED TV and purchase the appropriate type of 3D glasses.
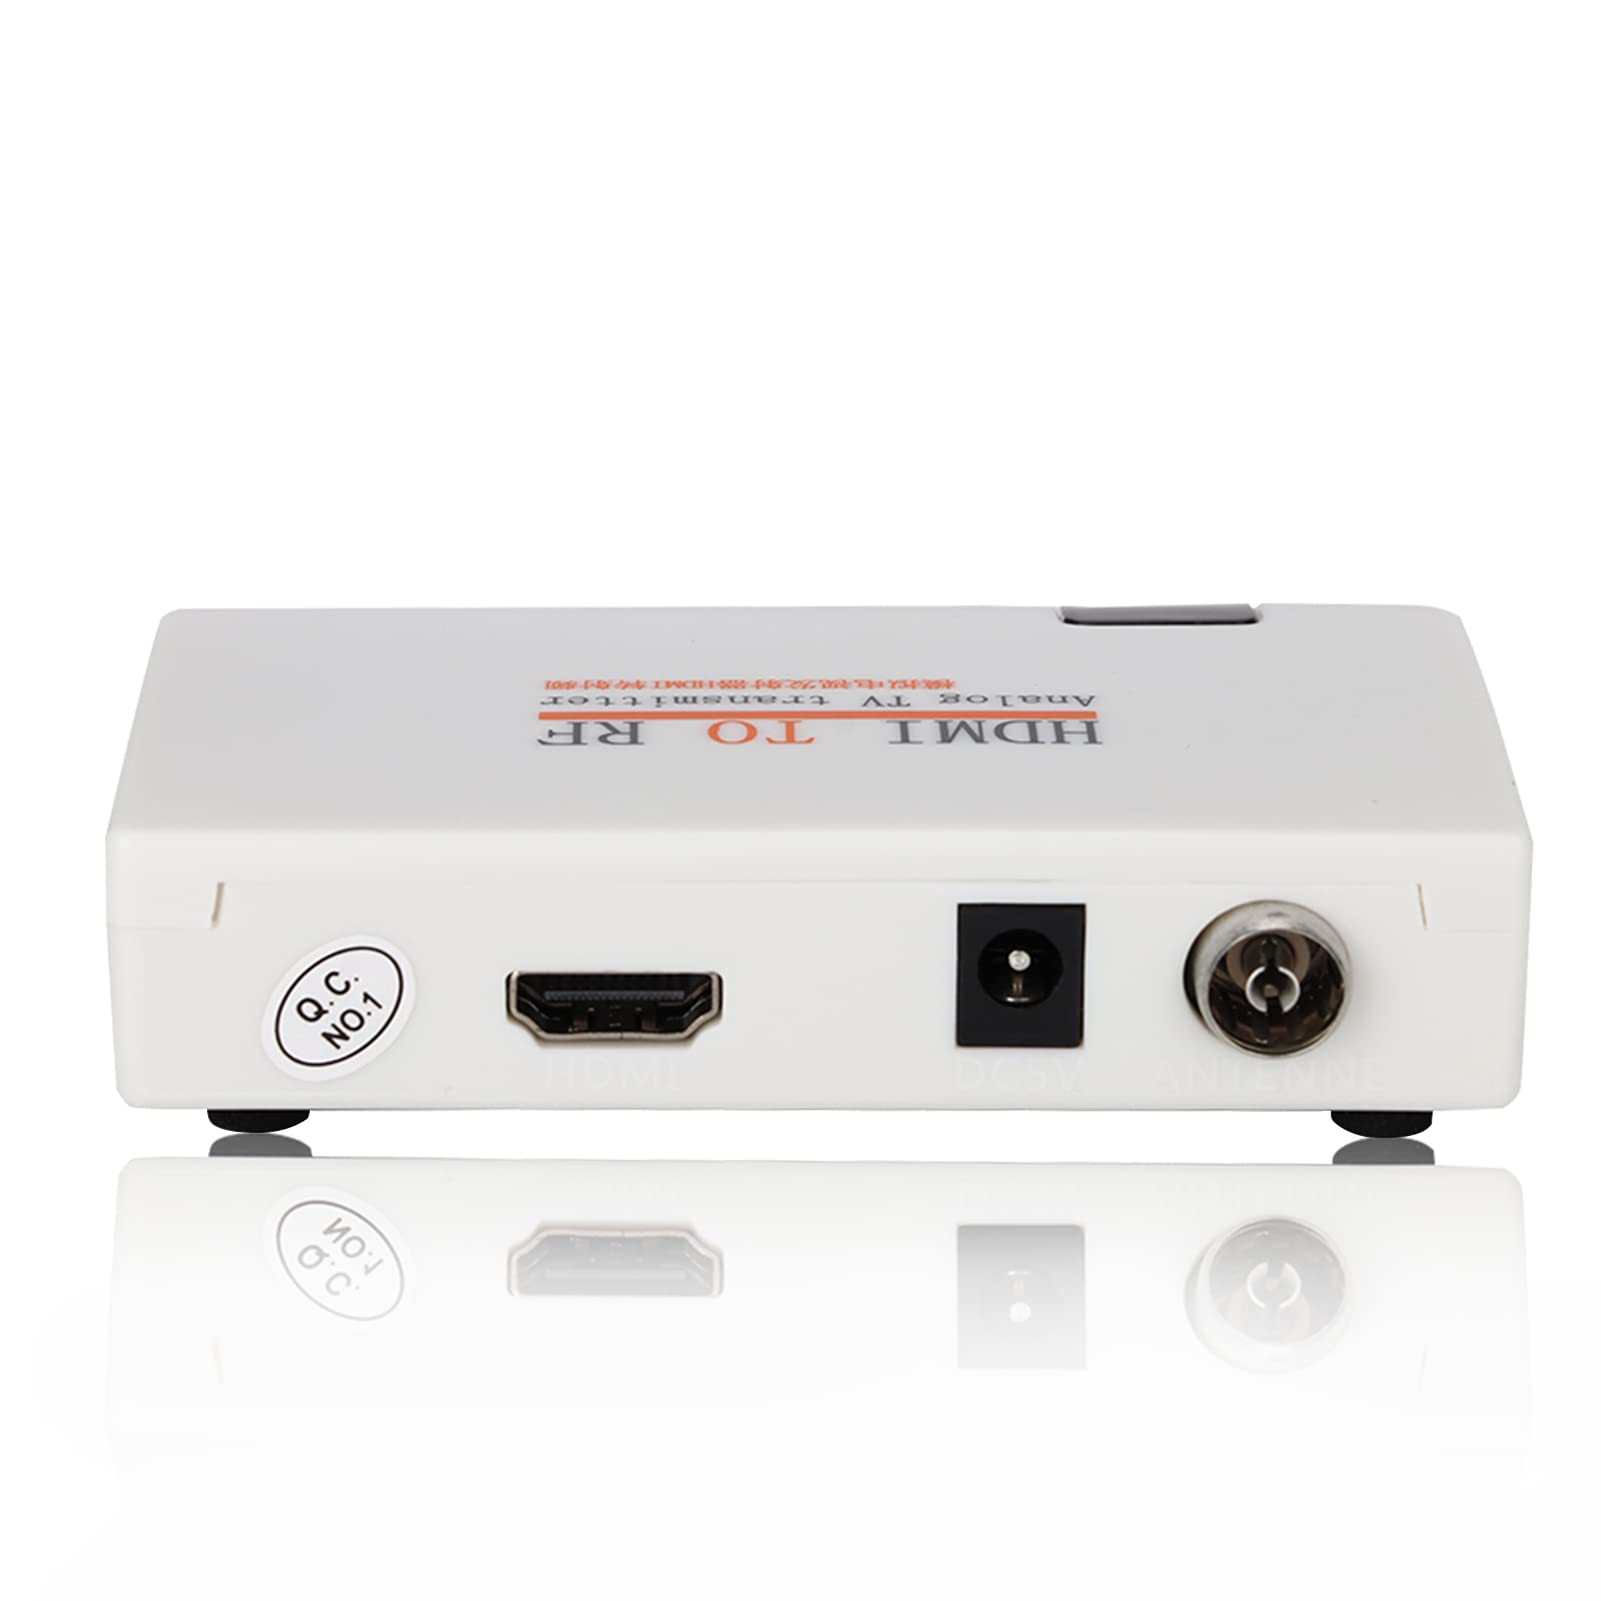
Next, you’ll need a compatible 3D converter box, also known as a 3D signal transmitter. This device acts as a bridge between your LED TV and the content source, converting the 2D signal into a 3D signal for display. The converter box typically connects to the TV via an HDMI cable and requires a power source. Ensure that the converter box you choose is compatible with your LED TV model and supports the necessary 3D technology.
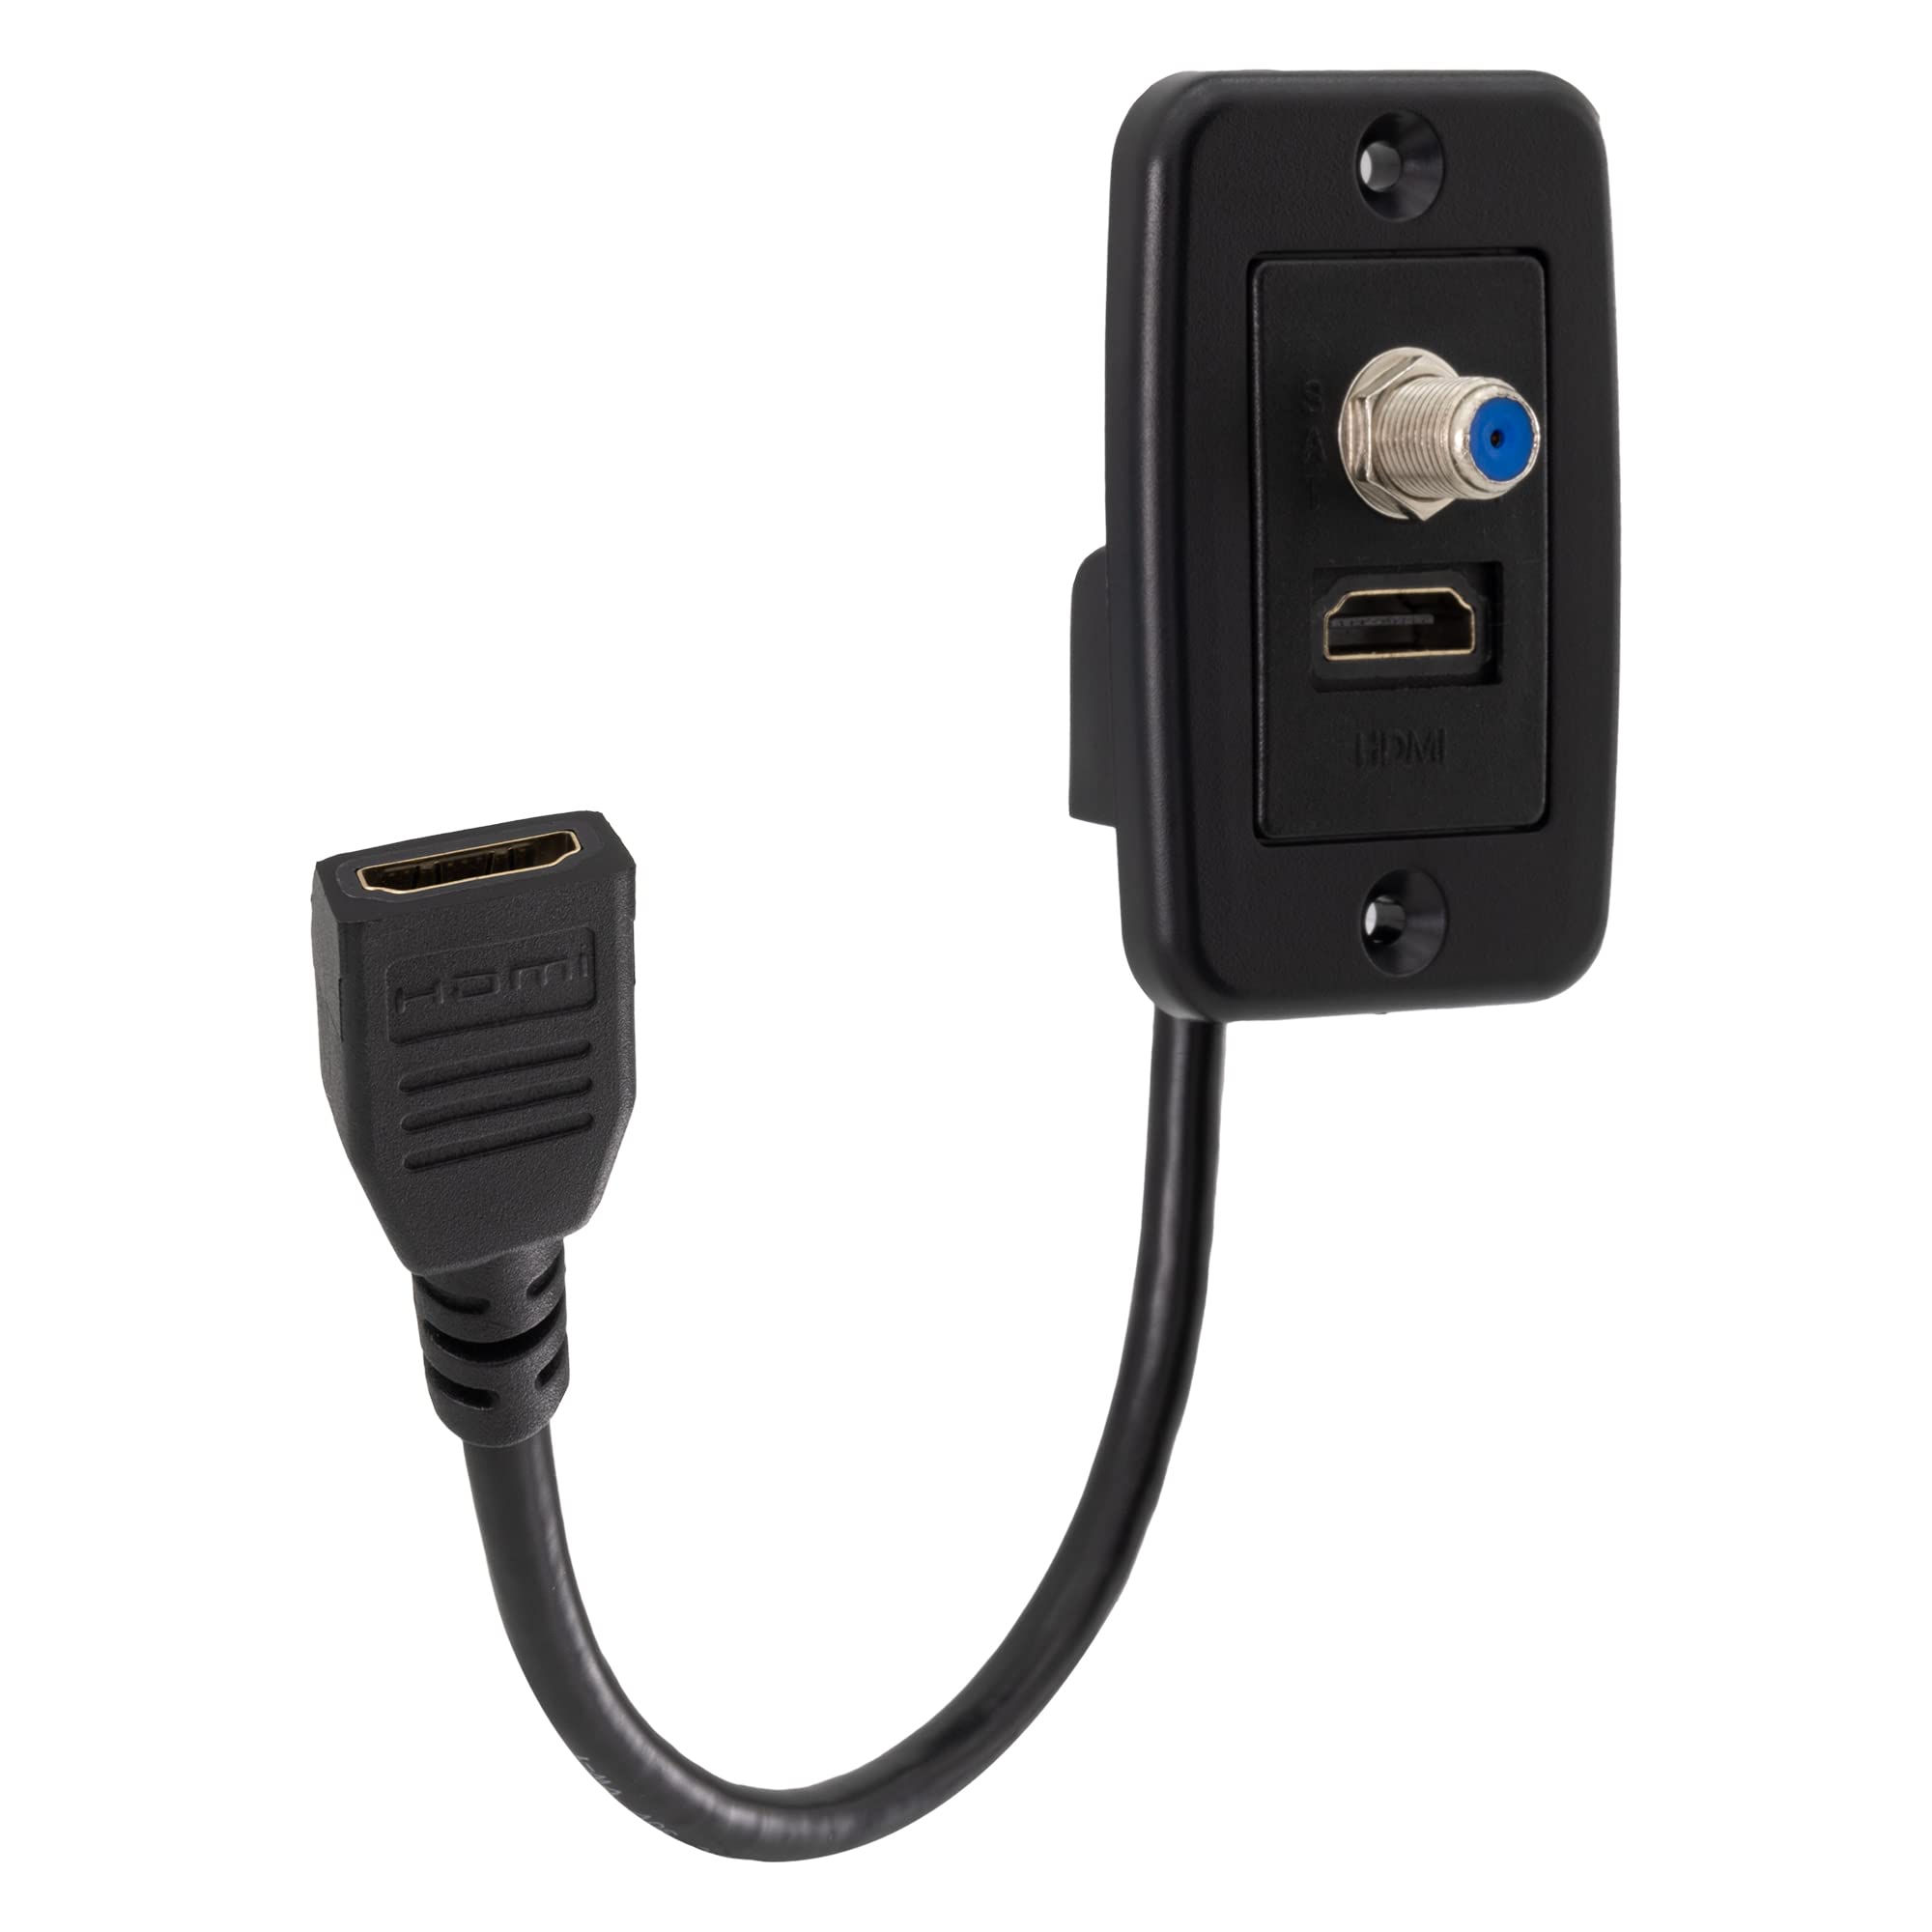
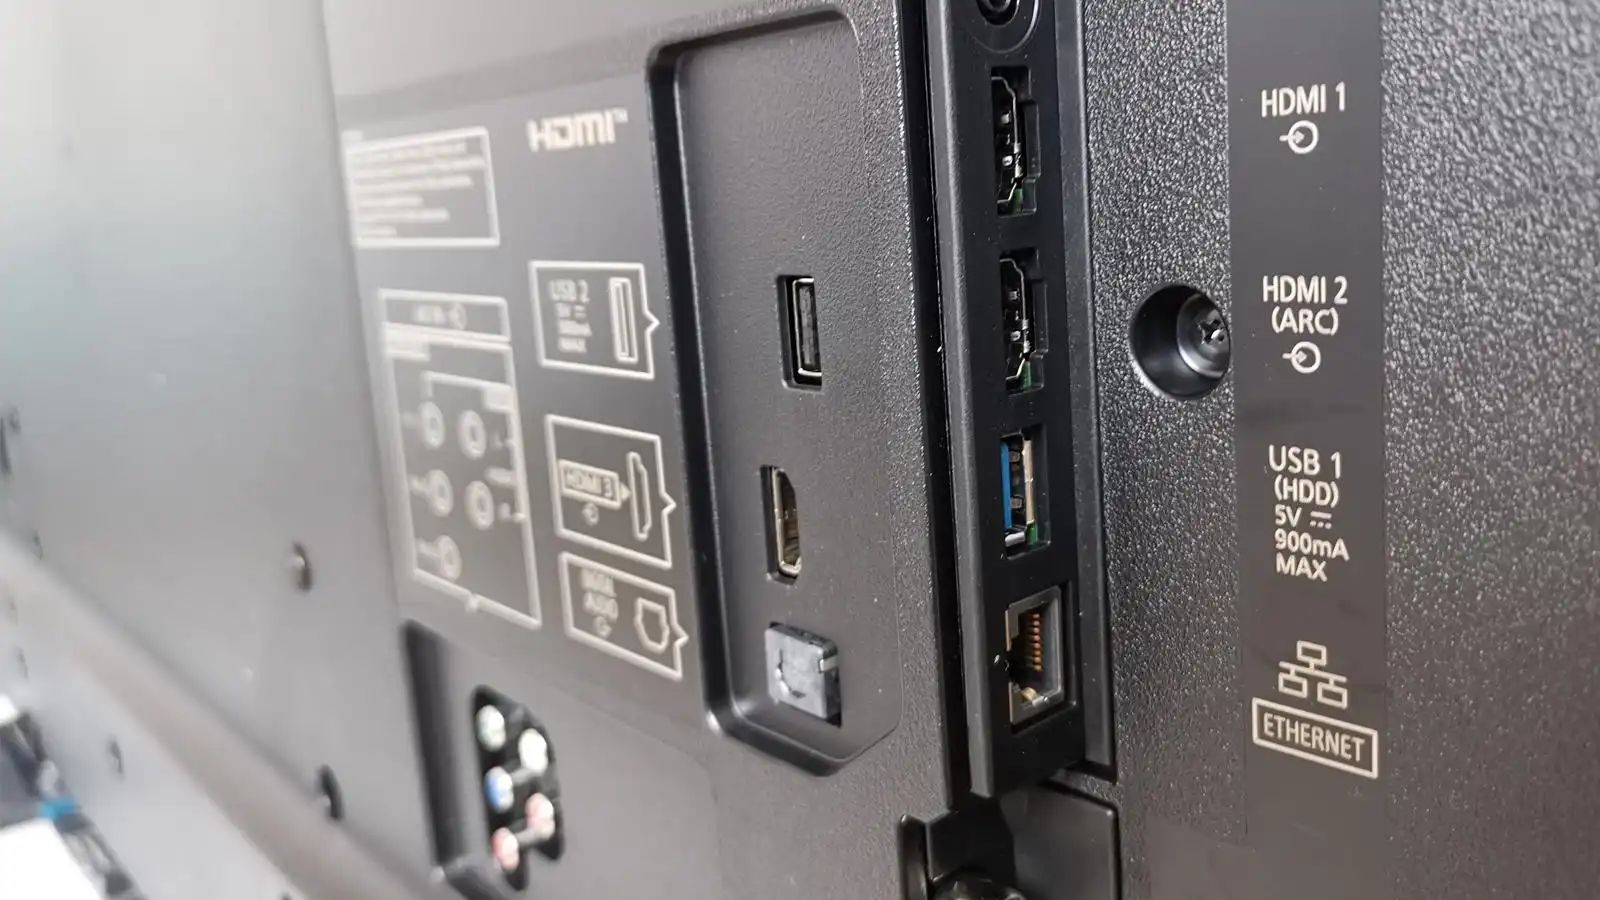
An HDMI cable is another essential accessory for connecting the 3D converter box to your LED TV. This cable carries both audio and video signals, providing a high-quality connection between devices. Make sure to check the HDMI version supported by your LED TV and choose a compatible cable for optimal performance.
Lastly, to fully enjoy the 3D experience, you’ll need 3D content. This can include 3D Blu-ray discs, streaming services that offer 3D movies or TV shows, or even 3D video games. Ensure that the 3D content you plan to use is compatible with your LED TV and can be played through the selected media player or gaming console.
Once you’ve gathered all the necessary tools and accessories, you’ll be well-prepared to embark on the LED TV to 3D TV conversion process. Remember to carefully follow the manufacturer’s instructions for setting up the 3D converter box, configuring the picture settings, and connecting the 3D glasses. With the right tools and accessories in place, you’ll soon be enjoying the captivating world of 3D entertainment from the comfort of your own home.
Step-by-Step Guide to Convert LED TV to 3D TV
Now that you have assessed the compatibility of your LED TV and gathered the necessary tools and accessories, it’s time to dive into the step-by-step process of converting your TV into a 3D powerhouse. Follow these instructions to ensure a successful and seamless conversion:
Step 1: Connect the 3D converter box to your LED TV. Use an HDMI cable to establish a connection between the converter box’s output port and the HDMI input port of your TV. Make sure both devices are powered off before making the connection.
Step 2: Plug the power cord of the 3D converter box into an electrical outlet. Ensure that it is securely connected and turned on before proceeding.
Step 3: Turn on your LED TV and navigate to the settings menu. Look for the 3D settings option and enable 3D mode or 3D display. The exact location and terminology may vary depending on your TV model. Refer to the user manual if needed.
Step 4: Put on your 3D glasses and ensure that they are fully charged, if applicable. Activate your glasses by switching them on or following the manufacturer’s instructions. Some glasses may require synchronization with the 3D converter box.
Step 5: Insert a 3D Blu-ray disc or access a 3D streaming service on your media player or gaming console. Make sure the content you choose is compatible with your LED TV’s 3D requirements.
Step 6: Begin playing the 3D content and adjust the picture settings on your LED TV as needed. This includes adjusting the depth perception, brightness, and contrast levels to optimize the 3D viewing experience. Refer to the TV’s user manual for specific instructions on adjusting picture settings for 3D content.
Step 7: Sit back, relax, and enjoy the captivating world of 3D entertainment on your LED TV. Immerse yourself in the depth and realism brought to life through the combination of 3D glasses, the 3D converter box, and compatible 3D content.
It’s important to note that the conversion process may vary depending on your specific LED TV model and the brand of the 3D converter box. Always refer to the manufacturer’s instructions for accurate guidance and troubleshooting tips.
With these step-by-step instructions, you can convert your LED TV into a 3D TV and unlock a whole new dimension of entertainment in your home. So, grab your popcorn, sit back, and get ready to be amazed by the immersive 3D experience that awaits you.
Connecting 3D Glasses to LED TV
Now that you have your LED TV converted to support 3D technology, it’s time to connect your 3D glasses for an immersive viewing experience. The process of connecting the glasses will depend on the type of glasses and the specific requirements of your LED TV. Follow these general steps to get started:
Step 1: Ensure that your 3D glasses are fully charged or have fresh batteries. Refer to the user manual or instructions provided by the manufacturer for guidance on charging or changing batteries, if necessary.
Step 2: Turn on your LED TV and the 3D glasses. Most glasses have a power button or switch on the side. Activate the glasses by switching them on or following the manufacturer’s instructions.
Step 3: Check if your LED TV requires synchronization with the 3D glasses. Some models may require initial pairing or syncing to establish a connection. Consult your TV’s user manual for specific instructions on synchronizing the 3D glasses.
Step 4: Put on the 3D glasses and make sure they fit comfortably. Adjust the glasses if needed to ensure a clear and aligned view through both lenses. Proper placement and alignment are essential for a quality 3D viewing experience.
Step 5: Start playing a 3D movie, show, or game on your LED TV through a compatible media player or gaming console. Ensure that the 3D content is compatible with your TV’s 3D technology and format.
Step 6: Sit at an optimal viewing distance and angle from your LED TV. Different TVs have recommended viewing distances and angles for optimal 3D effect. Consult your TV’s user manual for guidance on the ideal viewing position.
Step 7: Enjoy the 3D experience! Immerse yourself in the depth and realism of the content as it comes to life on your LED TV. Adjust the 3D settings on your TV, such as depth perception or 3D effect intensity, to your preference for an even more personalized viewing experience.
Remember to follow the manufacturer’s instructions for your specific 3D glasses model and LED TV. If you encounter any issues or difficulties with the connection, consult the user manuals or contact customer support for assistance.
By connecting your 3D glasses to your LED TV, you can fully experience the immersive world of 3D entertainment from the comfort of your own home. Get ready to be transported into a new dimension and enjoy the captivating visuals that 3D technology brings to your LED TV.
Adjusting Picture Settings for 3D Viewing
Now that you have your LED TV converted to support 3D technology and your 3D glasses connected, it’s important to adjust the picture settings to enhance your 3D viewing experience. Optimizing the picture settings ensures that the depth and clarity of the 3D content are maximized. Follow these steps to adjust the picture settings on your LED TV:
Step 1: Access the TV settings menu. Use your remote control to navigate to the settings menu on your LED TV. The location of the settings menu may vary depending on your TV model. Consult the user manual if you’re unsure about accessing the settings menu.
Step 2: Locate the picture settings. Within the settings menu, look for the picture or display settings. This section may be labeled differently, depending on your TV model. Common labels include “Picture Mode,” “Display Settings,” or “Visual Settings.”
Step 3: Adjust the depth perception. Within the picture settings, you’ll find an option to adjust the depth perception or 3D effect intensity. This setting controls the apparent distance between objects displayed in 3D. Experiment with different levels until you find a depth that provides a realistic and comfortable viewing experience.
Step 4: Fine-tune brightness and contrast. While watching 3D content, it’s important to adjust the brightness and contrast levels to maintain optimal image quality. Too high or too low settings can result in a washed-out or dull appearance. Use the brightness and contrast settings within the picture settings menu to achieve a balanced and vibrant picture.
Step 5: Disable unnecessary image processing. Some LED TVs come with additional image processing features, such as motion smoothing or noise reduction, which can affect the 3D viewing experience. These features may introduce artifacts or distortions in the 3D content. Ensure that these unnecessary processing features are turned off in the picture settings.
Step 6: Customize color and sharpness. Depending on your personal preference and the specific requirements of the 3D content, you may wish to adjust the color and sharpness settings. These options allow you to fine-tune the vibrancy and clarity of the image. Experiment with different levels to achieve the desired balance and visual appeal.
Step 7: Save and test the settings. Once you’ve made the necessary adjustments, save the picture settings and start playing the 3D content. Evaluate the picture quality and adjust the settings further if needed. It may require some trial and error to find the perfect balance for your personal taste.
By taking the time to adjust the picture settings specifically for 3D viewing, you can enhance the overall 3D experience on your LED TV. It allows you to fine-tune the depth perception, optimize brightness and contrast, and customize color and sharpness to suit your preferences and create a visually stunning 3D viewing experience.
Troubleshooting Common Issues
While converting your LED TV to a 3D TV can provide an immersive viewing experience, you may encounter some common issues along the way. Here, we will address a few of these issues and provide troubleshooting tips to help you overcome them:
Issue 1: No 3D Effect
If you’re not experiencing the desired 3D effect, start by double-checking the 3D settings on your LED TV. Ensure that 3D mode or 3D display is enabled in the settings menu. Confirm that you’re using the correct type of 3D glasses (passive or active) and that they are properly synchronized with the TV. Also, check if your content source is compatible with the TV’s 3D technology and if the 3D converter box is functioning properly.
Issue 2: Distorted or Double Images
If you notice distorted or double images while watching 3D content, the issue may lie in the alignment of the glasses or the synchronization between the glasses and the TV. Adjust the position of the glasses on your face to ensure both eyes are viewing through the correct lens. If your glasses require synchronization, follow the manufacturer’s instructions to reset the synchronization and try again.
Issue 3: Flickering or Fluctuating Picture
Flickering or fluctuating picture quality can be caused by various factors. Start by checking the HDMI cable connections between your 3D converter box and the LED TV. Ensure that the cables are securely plugged in and that there are no loose connections. Additionally, verify that your HDMI cable supports the necessary bandwidth for 3D content. If the issue persists, try replacing the HDMI cable with a different one to see if that resolves the problem.
Issue 4: Eye Strain or Discomfort
If you’re experiencing eye strain or discomfort while watching 3D content, it may be due to the brightness or sharpness settings of your LED TV. Adjust these settings to ensure a comfortable viewing experience. It’s also important to take regular breaks and limit your 3D viewing time to prevent eye fatigue. If eye strain persists, consult an eye care professional for further guidance.
Issue 5: Incompatible Content
If you encounter issues playing certain 3D content, it may be due to compatibility issues. Ensure that your LED TV is compatible with the specific format or media you’re trying to watch, such as 3D Blu-ray discs or streaming services. Check if there are any firmware updates available for your TV or converter box, as these updates can often resolve compatibility issues.
If you continue to experience difficulties or encounter other issues not mentioned here, consult the user manuals of your LED TV, the 3D glasses, and the 3D converter box. You can also reach out to customer support for further assistance. By troubleshooting common issues, you can overcome any obstacles that may arise and enjoy a seamless 3D viewing experience on your LED TV.
Conclusion
Converting your LED TV to a 3D TV opens up a whole new dimension of entertainment, bringing movies, sports, and games to life in an immersive and captivating way. Throughout this guide, we’ve explored the process of converting your LED TV to support 3D technology, from understanding the fundamentals of 3D to assessing compatibility, gathering the necessary tools and accessories, and adjusting picture settings for optimal 3D viewing.
By following the steps outlined in this guide, you can enjoy the thrill of 3D entertainment from the comfort of your own home. Whether you’re watching 3D movies, streaming your favorite shows, or immersing yourself in the world of 3D gaming, the converted LED TV will provide an immersive and visually stunning experience.
Remember to assess the compatibility of your LED TV, purchase the appropriate 3D glasses, and obtain compatible 3D content. Adjust the picture settings to ensure a vibrant and lifelike 3D viewing experience. Troubleshoot common issues that may arise, such as a lack of 3D effect or distorted images, to optimize your 3D setup.
Converting your LED TV to a 3D TV is a fantastic way to elevate your home entertainment experience. It allows you to enjoy the depth and realism of 3D content without leaving your living room. So, grab your 3D glasses, sit back, and prepare to be amazed as your LED TV transports you into a whole new dimension of entertainment.


