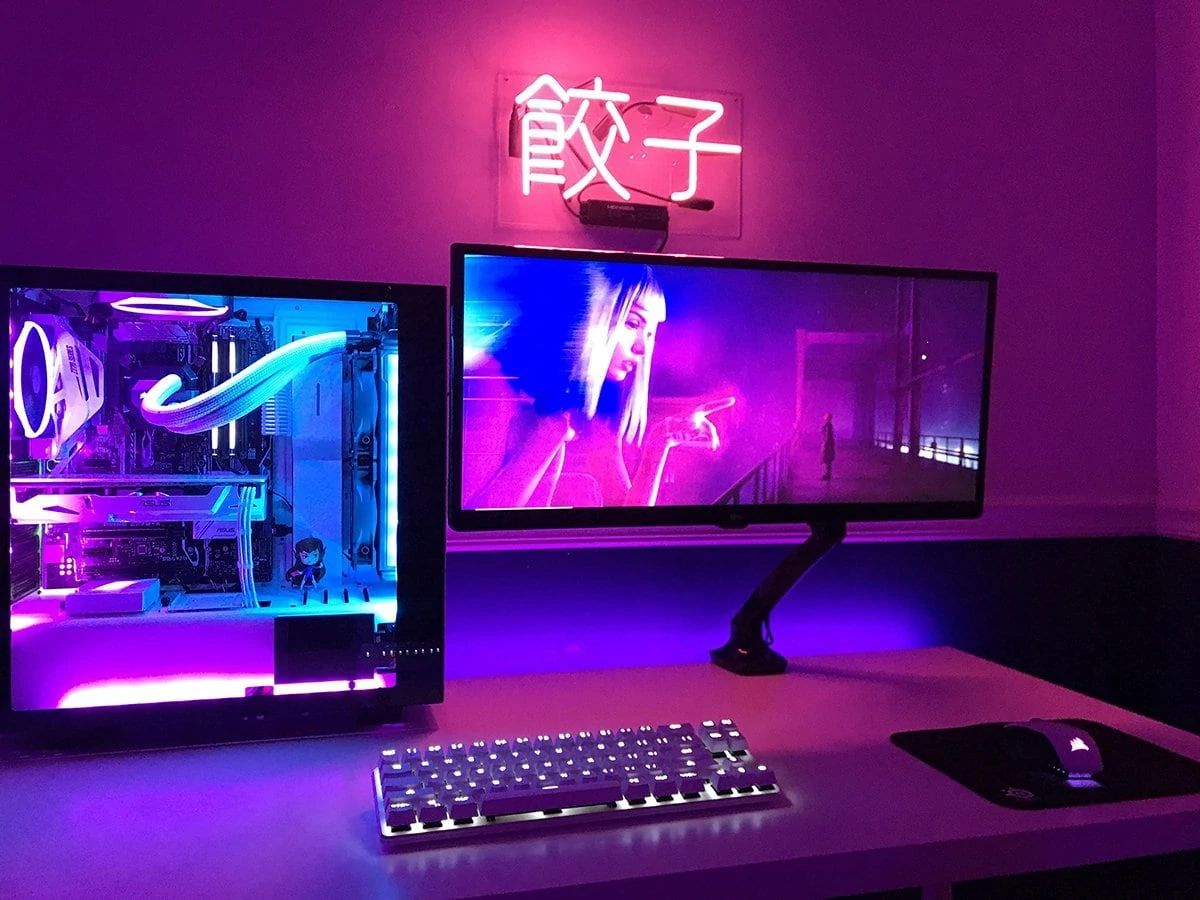
To turn off PC case LED lights, use your motherboard's RGB software to disable lighting effects or set them to black. This is the fastest method for most modern PCs without touching any hardware.
How to turn off PC case LED lights with motherboard software
Motherboard software is the most direct way to control LEDs connected to your motherboard's RGB headers. Choose this method if your case fans, strips, or other components plug directly into the motherboard and you prefer a software solution over physical changes.
- For ASUS motherboards, open Armoury Crate or Aura Sync. In Armoury Crate, navigate to "Devices," select your motherboard, then "Shutdown Effect," and toggle the option to "Off" or select black.
- For Gigabyte motherboards, install Gigabyte Control Center (GCC) and the RGB Fusion module. Within RGB Fusion, select the desired component (e.g., Motherboard) and set the "LED Effect" to "Off."
These steps disable the lighting while the PC is running and often persist through reboots.
How to turn off LED lights on Corsair components
Corsair uses its own ecosystem, so you'll need iCUE software to manage RAM, fans, and AIO coolers. Choose this method if you have Corsair RGB products that stay lit even after shutdown and need a persistent off state.
- Open iCUE (version 4 or newer).
- Create a "Murals" effect with "Static Color" and set R, G, B values to 0 or decrease opacity completely.
- To turn off Corsair RGB RAM when the PC is off, use "Device Memory Mode" (formerly "Hardware Lighting") in iCUE, either by removing the default lighting option or creating a static black color effect.
Device Memory Mode saves the blackout setting directly to the RAM's onboard memory, so lights stay off even when iCUE isn't running or the PC is powered down.
Using a dedicated LED controller or case switch
Many PC cases include a physical button or switch on the front or top panel to toggle RGB lighting. Choose this method if your case has a built-in controller and you want instant, software-free control without opening the side panel.
Press the button once to cycle through lighting modes until the LEDs turn off, or flip the dedicated switch to the off position. Some cases include an external remote or a small controller box that mounts inside the case with a button accessible from the rear. If your case lacks these, aftermarket controllers can be added, but verify compatibility with your LED strip voltage and connector type.
Turning off LEDs in your BIOS or UEFI settings
When operating system software isn't available or doesn't work, the BIOS/UEFI provides a hardware-level toggle. Choose this method if you cannot install manufacturer software or need to disable LEDs before the OS loads.
- Restart your PC and press the key to enter BIOS/UEFI (commonly Del, F2, or F12).
- Navigate to the "Hardware" or "PC Configuration" section.
- Save changes and exit.
Not all motherboards include this setting. If you don't see a lighting option, revert to software or hardware methods.
Physically disconnecting the LED cables
This method involves opening the case and unplugging the power or control cables feeding the LEDs. Choose this method if software and BIOS options fail, or you want a guaranteed, permanent blackout without any chance of accidental re-enablement.
- Power off the PC, unplug the power cord, and ground yourself to avoid static discharge.
- Locate the LED hub or controller inside the case, typically a small circuit board with multiple connector ports.
- Carefully unplug the cable(s) running from the hub to the LED strips or fans. Alternatively, unplug the SATA power cable feeding the hub.
Physically disconnecting the LED cables may void the warranty on your PC case. Check with the manufacturer before proceeding if warranty coverage is a concern.
Covering LEDs with electrical tape or paint
For individual LEDs that can't be disabled any other way, physical blocking is a non-invasive solution. Choose this method if you only want to hide specific LEDs (like a logo or power indicator) without affecting the rest of the lighting or case functionality.
- Ensure the LEDs are off to avoid heat buildup under tape.
- Cut small pieces of black electrical tape to cover each LED completely. Press firmly to block all light.
- For a more permanent look, apply black paint with a small brush directly over the LED lens. Let it dry fully before powering on.
Electrical tape is fully reversible, peel it off later with no residue. Paint requires solvent or scraping to remove and may leave marks, so test on a hidden area first.