Introduction
Welcome to the world of wireless gaming! Connecting a wireless Xbox One controller to your console opens up a whole new level of convenience and freedom. No longer will you be tethered to your gaming chair by cables, as wireless connectivity allows you to sit back and enjoy your favorite games from wherever you want in the room.
In this guide, we will walk you through the step-by-step process of connecting your wireless Xbox One controller to your console. Whether you’re a seasoned gamer or new to the Xbox One experience, this tutorial will help you get up and running in no time.
Before we dive into the steps, let’s briefly discuss the benefits of using a wireless controller. First and foremost, it eliminates the hassle of dealing with tangled cables and limits your mobility. You can say goodbye to tripping over cords or accidentally pulling them out of the console mid-game.
Moreover, a wireless controller enables you to position yourself comfortably at any distance from the console. Whether you prefer sitting on your couch, gaming chair, or even on the floor, the wireless connection allows you to enjoy your gaming session without any physical constraints.
Another advantage of using a wireless Xbox One controller is the convenience it offers during multiplayer gaming. You can connect multiple controllers to a single console, allowing you to enjoy multiplayer games with friends and family. Say goodbye to the days of passing around a single controller or dealing with a web of tangled wires.
Now that we’ve highlighted the advantages of using a wireless controller, let’s jump into the step-by-step process of connecting it to your Xbox One console. By following these easy instructions, you’ll be ready to embark on your gaming adventures wirelessly!
Step 1: Turn on your Xbox One controller and make sure it’s in pairing mode
The first step in connecting your wireless Xbox One controller is to turn it on and activate the pairing mode. Follow these simple instructions:
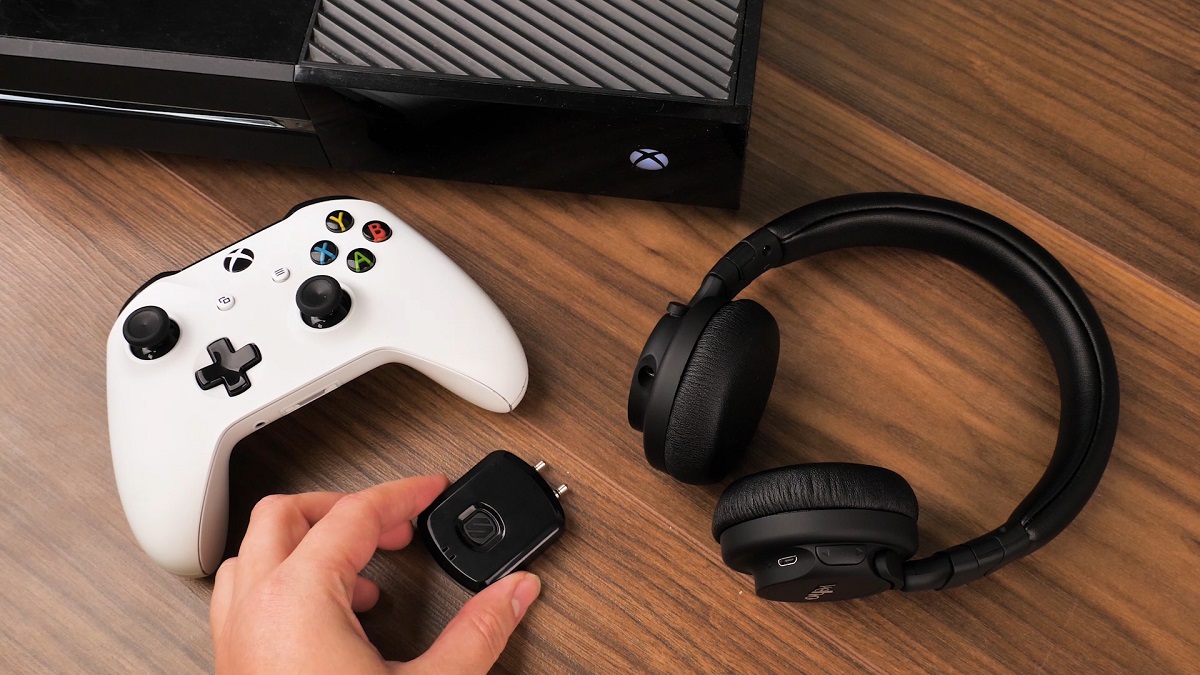
- Ensure that your controller has batteries or is charged using a USB cable. It is essential to have power for the controller to function properly.
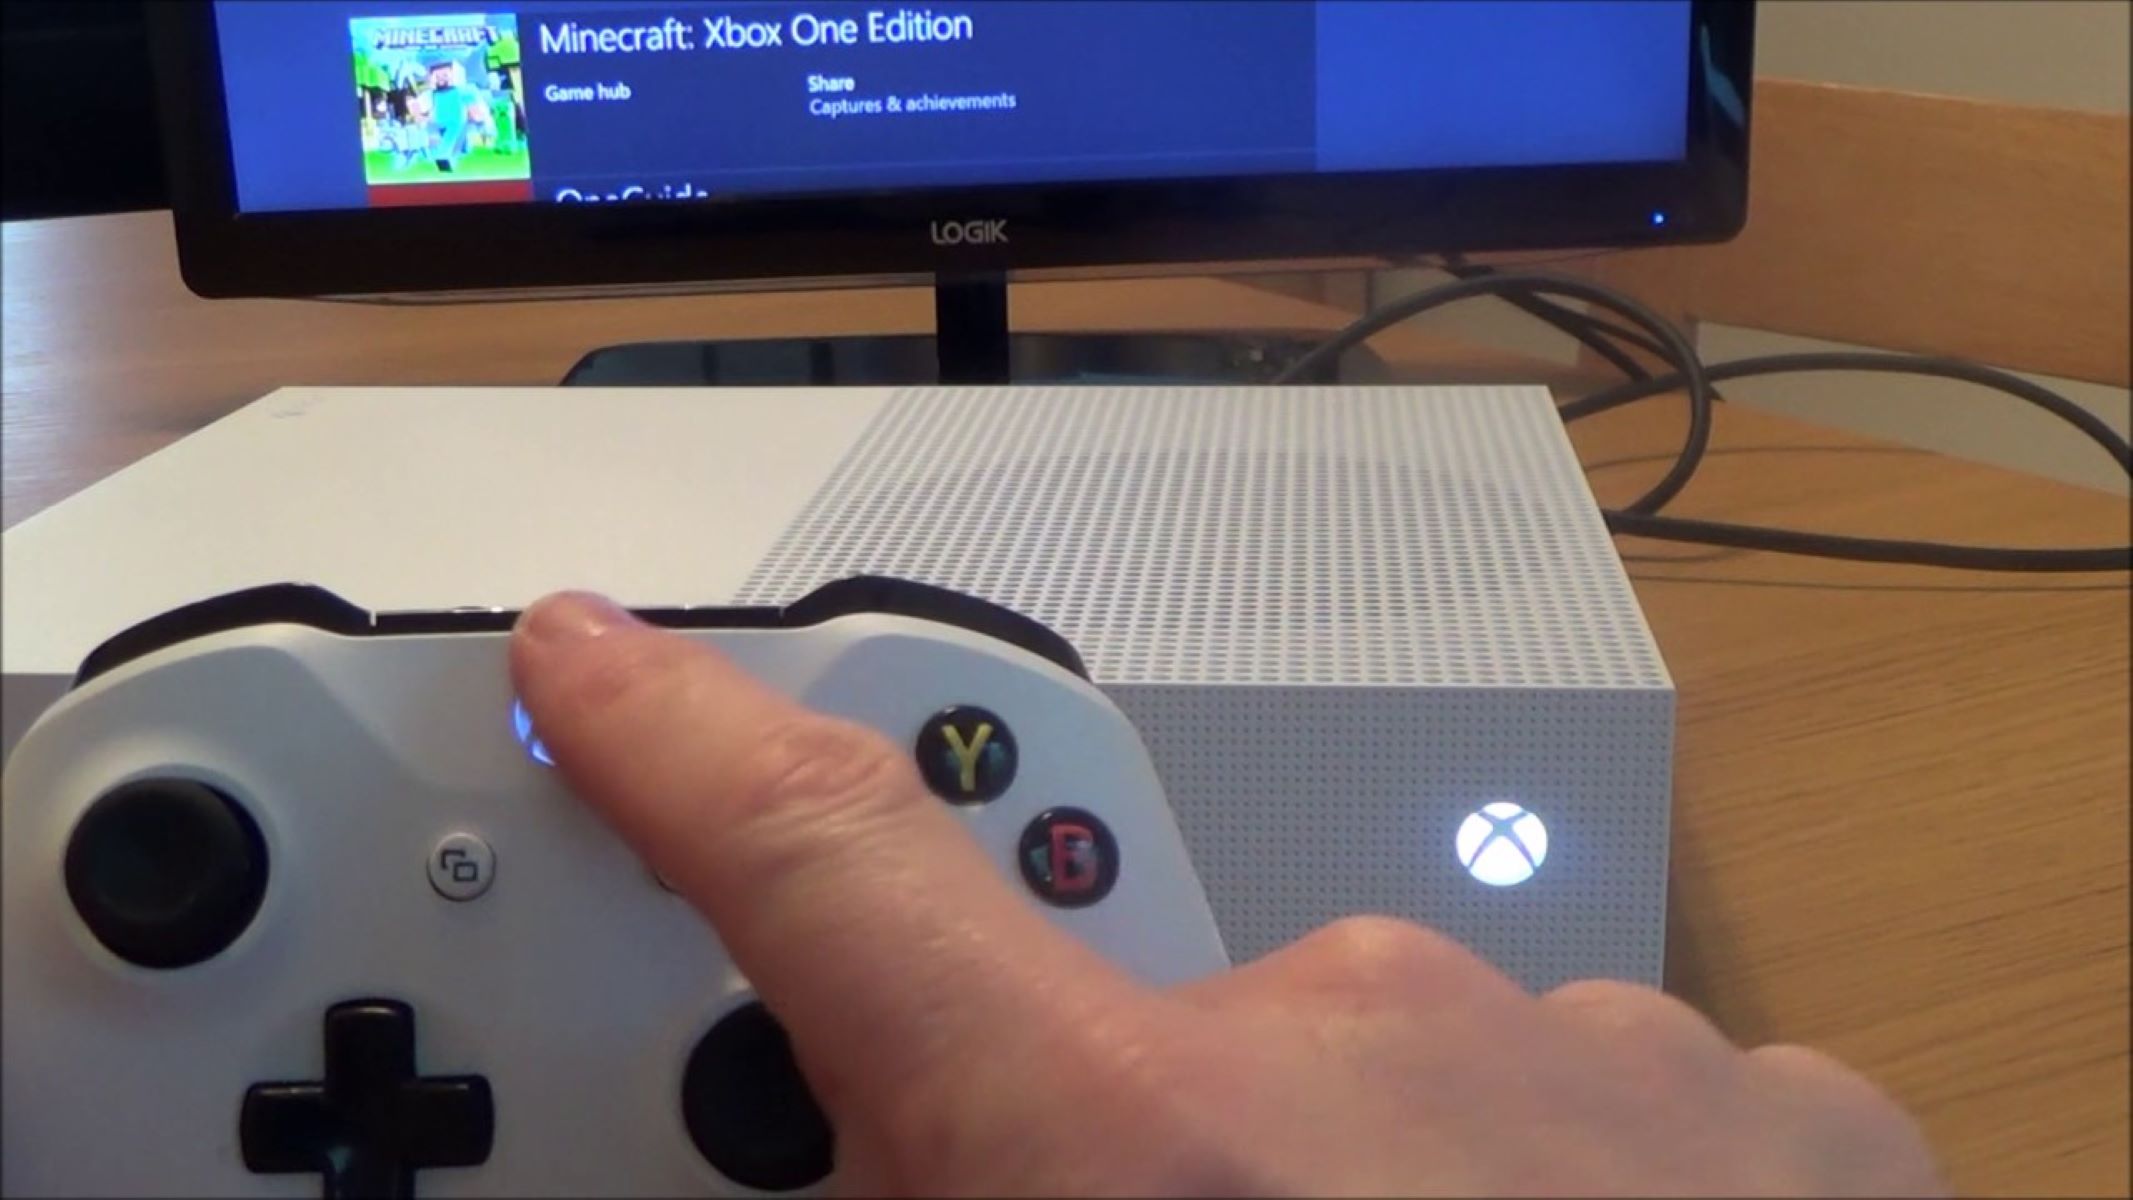
- Locate the Xbox button at the center of your controller. Press and hold this button until it lights up, indicating that the controller is turned on.
- To put the controller in pairing mode, look for the small sync button located near the top of the controller, beside the left trigger. Press and hold down this button until the Xbox logo on the controller starts flashing. This signifies that the controller is ready to be paired with your Xbox One console.
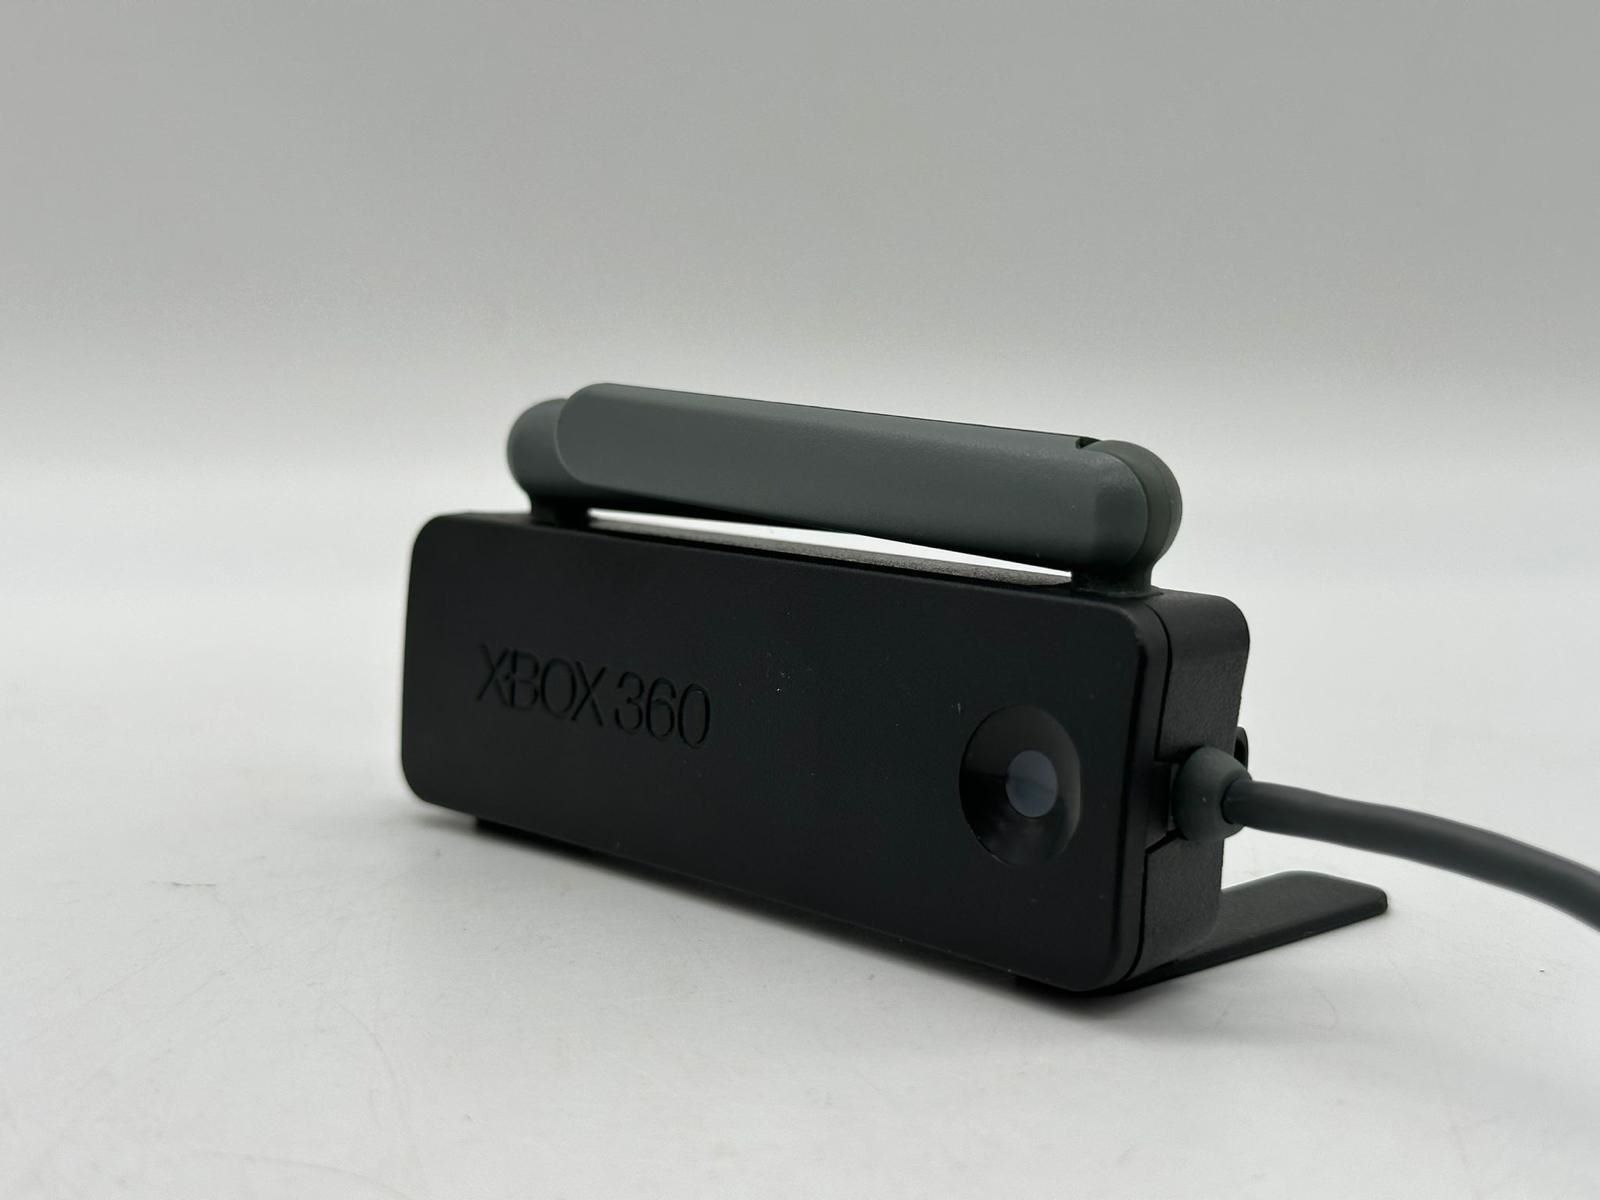
It’s important to note that if you have an Xbox One S or Xbox One X console, there is also a built-in sync button on the front of the console. However, this sync button is not necessary for the pairing process and is only used for other purposes, such as syncing additional accessories.
By following these steps, you have successfully turned on your Xbox One controller and put it into pairing mode. Now, let’s proceed to the next step to connect it to your Xbox One console.
Step 2: Turn on your Xbox One console
Now that your Xbox One controller is in pairing mode, let’s move on to turning on your Xbox One console:
- Locate the power button on the front of your Xbox One console.
- Press the power button once to turn on the console.
- Wait for the console to boot up, which typically takes a few seconds. You will see the Xbox logo on your TV screen.
- If prompted, sign in to your Xbox Live account using your controller. This step is necessary to fully access all the features and functionalities of your console.
During the startup process, your console will establish a connection with your controller. The Xbox logo on the controller will continue to flash until the connection is established.
Once your Xbox One console is turned on and fully booted up, you’re now ready to proceed to the next step, where we will sync the controller with the console.
Note: If you’re using an Xbox One S or Xbox One X console, you can also power on your console using the Xbox button on your controller. Simply press and hold the Xbox button until the console powers on.
Step 3: Press the Sync button on your Xbox One console
To establish a wireless connection between your controller and Xbox One console, follow these steps:
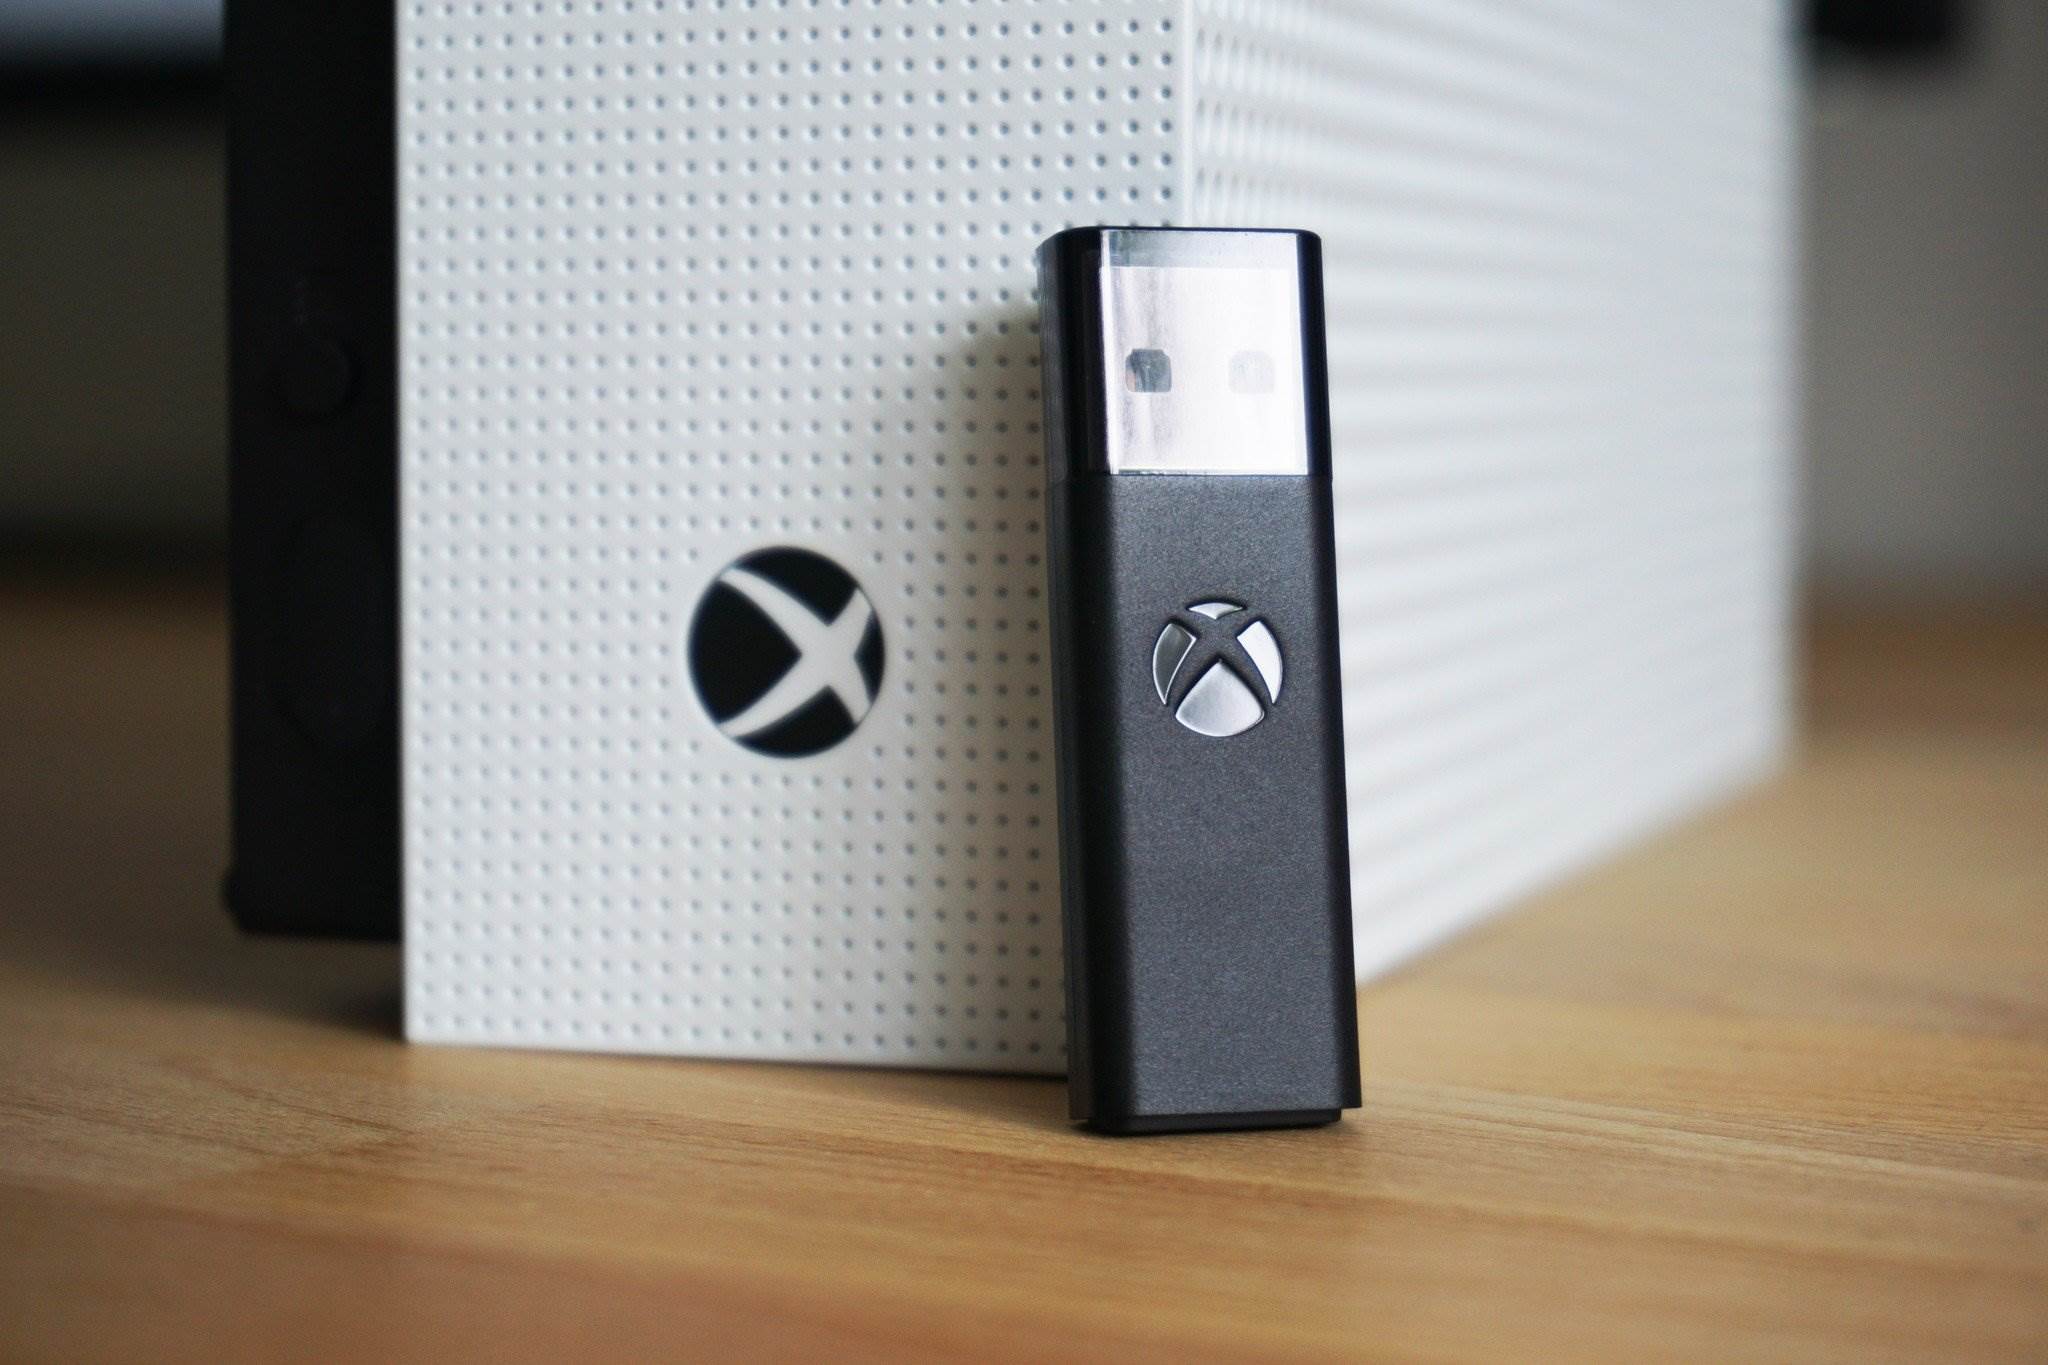
- Locate the sync button on your Xbox One console. On the original Xbox One, it is located on the left side of the console, beside the disc drive. On the Xbox One S and Xbox One X, it is located on the front of the console, near the USB ports.
- Press and hold down the sync button on your Xbox One console. This will initiate the pairing process and activate the console’s ability to detect the controller.
- Continue holding the sync button until the light on the console starts flashing. This indicates that the Xbox One console is actively searching for nearby devices to connect to.
It’s important to ensure that your controller remains within range of the console during this step. Although Xbox One controllers have an impressive wireless range, it’s best to keep them reasonably close to ensure a stable and reliable connection.
Once the console’s light starts flashing, you’re now ready to proceed to the next step, where we will sync the Xbox One controller with the console.
Note: If you’re using an Xbox One S or Xbox One X console, you can also initiate the syncing process by pressing the sync button on the front of the console, just beside the USB ports. However, this step is not mandatory, as the console will automatically search for nearby controllers when in pairing mode.
Step 4: Press the Sync button on your Xbox One controller
Now that your Xbox One console is ready to connect to your controller, it’s time to sync the two devices:
- Still in pairing mode, hold the Xbox One controller firmly in your hand.
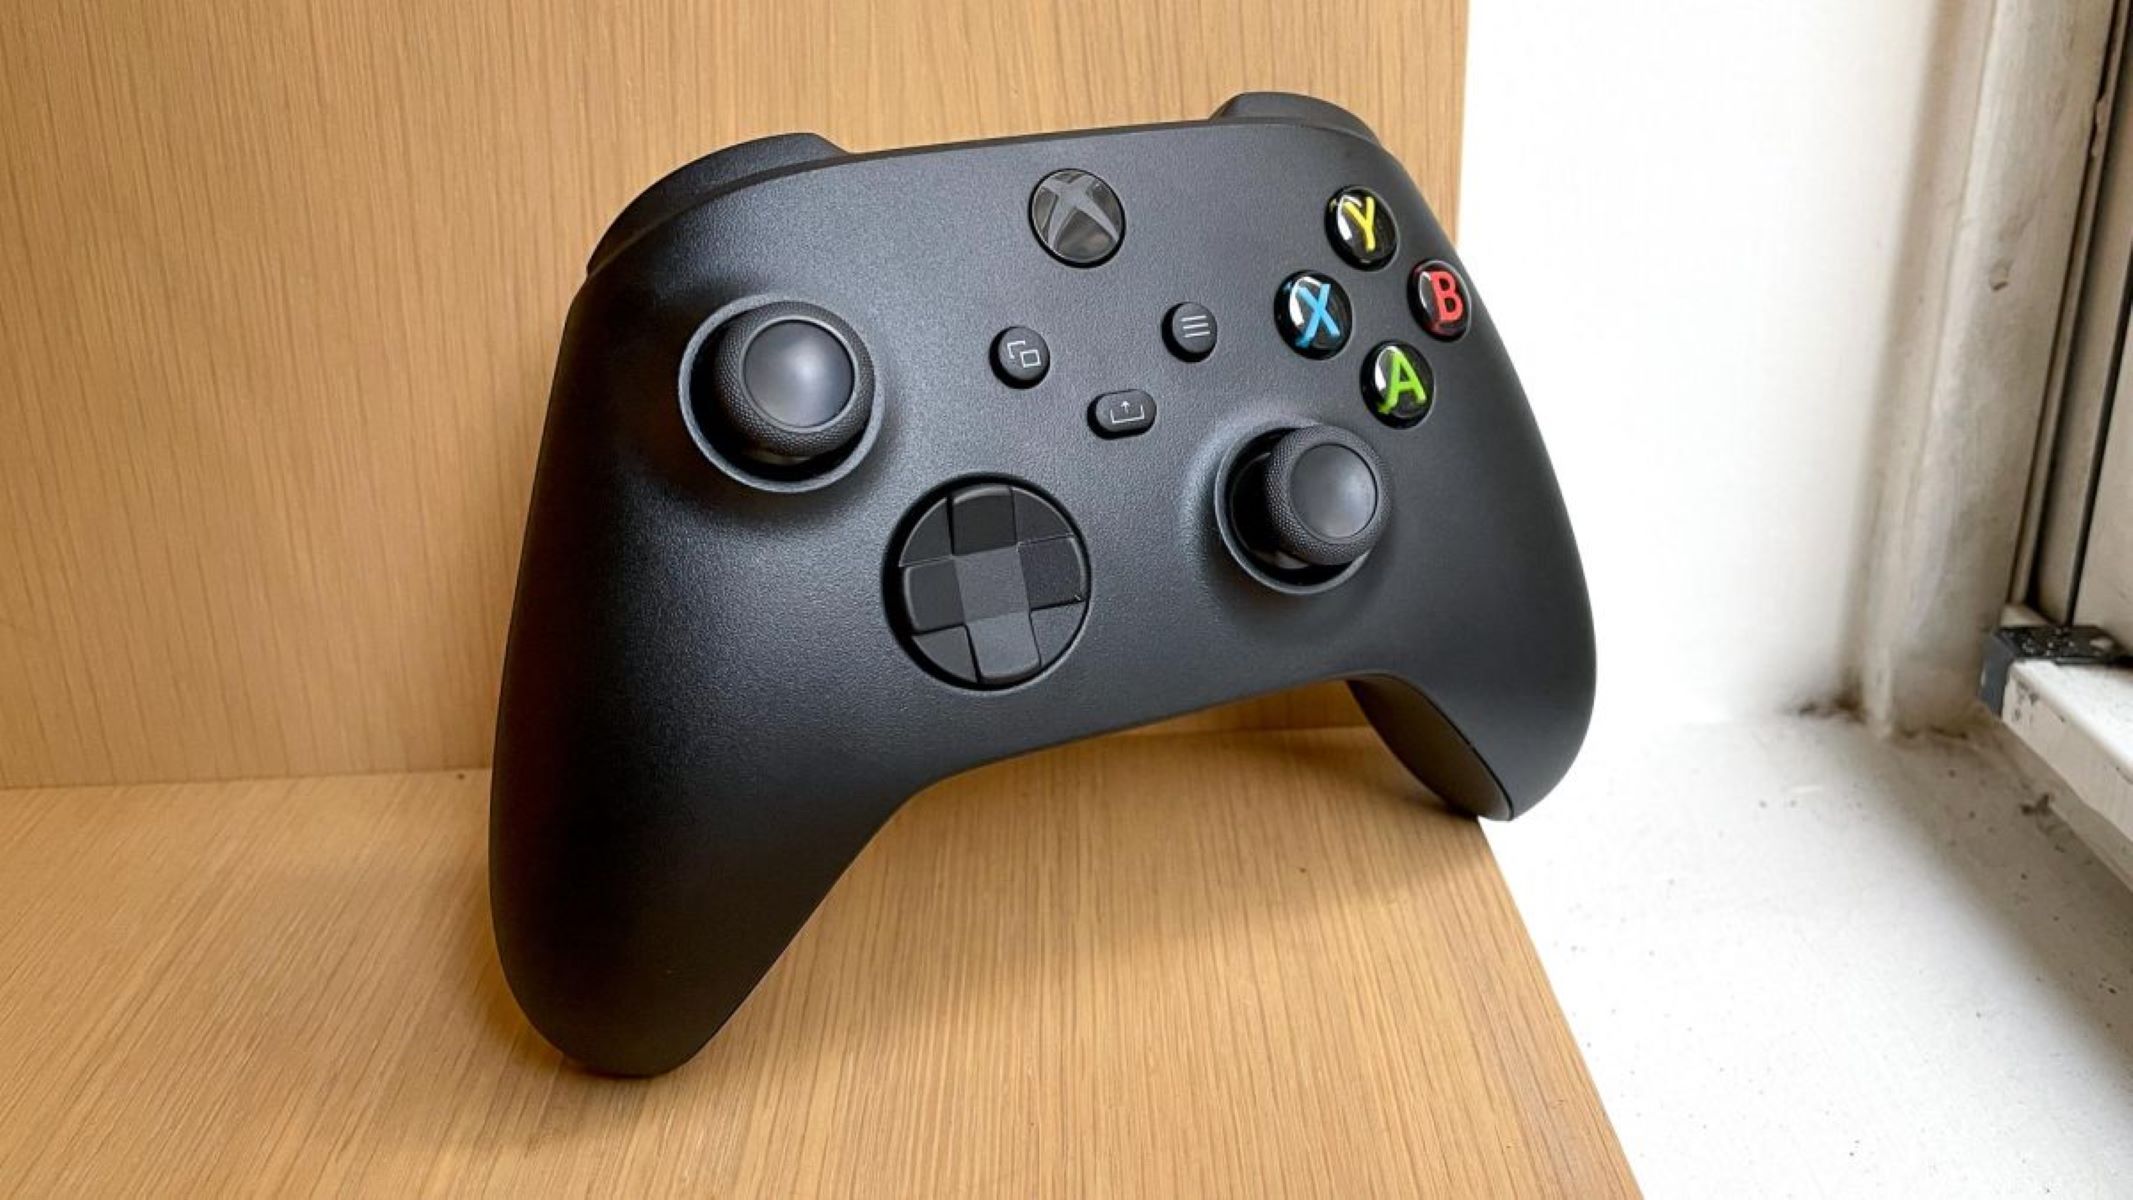
- Locate the sync button on the Xbox One controller. It is located at the top of the controller, near the left shoulder button.
- Press and hold down the sync button on your Xbox One controller. As you do this, the Xbox logo on the controller will start flasging rapidly.
- Keep holding the sync button until the Xbox logo on your controller stops flashing and remains lit. This indicates that the controller has successfully connected to your Xbox One console.
It’s important to note that the syncing process may take a few seconds. During this time, your console and controller are establishing a secure and reliable connection.
Once the Xbox logo on your controller is no longer flashing, you can release the sync button. Congratulations! Your Xbox One controller is now wirelessly connected to your console.
By following these steps, you have successfully synced your Xbox One controller. You’re now ready to move on to the next step, where we will wait for your Xbox One console to recognize and connect to the controller.
Note: If you have multiple controllers and wish to connect additional ones, simply repeat these steps for each controller. Your Xbox One console can support multiple wireless controllers for multiplayer gaming.
Step 5: Wait for the Xbox One console to recognize and connect to your controller
After syncing your Xbox One controller, it’s time to patiently wait for your console to recognize and establish a connection with the controller. Follow these steps:
- Place your Xbox One controller within range of the console.
- Allow a few moments for the console to detect and configure the controller. During this time, you may notice the console’s on-screen prompts or notifications indicating that it is pairing with the controller.
- Monitor the Xbox logo on your controller. As the console establishes a connection, the Xbox logo will remain lit and no longer flash.
- Once the Xbox logo on your controller is solidly lit, it means that your Xbox One console has successfully recognized and connected to the controller. You’re now ready to enjoy wireless gaming!
If, for any reason, your controller fails to connect, make sure the batteries are charged or try connecting it via a USB cable to troubleshoot any potential issues. Also, ensure that your controller and console are within a reasonable range for a stable wireless connection.
Once the Xbox logo on your controller is solidly lit, you can proceed to the final step, where we will test the connection and embark on your wireless gaming journey.
Congratulations! You have successfully completed the steps to connect a wireless Xbox One controller to your console. Now, let’s test the connection and enjoy the gaming experience, untethered from cables!
Step 6: Test the connection and enjoy wireless gaming
Now that your Xbox One controller is successfully connected to your console, it’s time to ensure that the connection is working properly and enjoy the freedom of wireless gaming. Follow these steps to test the connection:
- Select a game or application on your Xbox One console.
- Use the buttons and controls on your controller to navigate through menus and interact with the game or application.
- Pay attention to the responsiveness of the controller. You should feel a seamless and lag-free experience as you play.
- Try out various functions of the controller, such as the triggers, thumbsticks, D-pad, and buttons, to ensure they are working as expected.
- Move around the room while playing and make sure the connection remains stable. This will showcase the true advantage of wireless gaming, allowing you to find your most comfortable gaming position.
- Enjoy your gaming session without the constraints of cables, wires, or limited mobility!
By thoroughly testing the connection, you can ensure a smooth and immersive gaming experience. If you encounter any issues or connectivity problems, refer to the troubleshooting section in your Xbox One user manual or consult the Xbox support website.
Now that you’ve successfully connected and tested your wireless Xbox One controller, you’re ready to dive into the world of wireless gaming. Say goodbye to the limitations imposed by wired controllers and enjoy the freedom and convenience that wireless gaming brings.
So, grab your controller, start your favorite game, and lose yourself in the captivating world of Xbox One gaming, free from the hassle of cables and cords!
Conclusion
Congratulations! You have successfully connected your wireless Xbox One controller to your console and are now ready to enjoy the freedom and convenience of wireless gaming.
In this guide, we have walked you through the step-by-step process of connecting your controller to your Xbox One console. We started by turning on the controller and putting it in pairing mode, followed by turning on the console itself. Then, we pressed the sync button on both the console and the controller to establish a connection between the two devices. After that, we waited for the console to recognize and connect to the controller. Finally, we tested the connection to ensure everything was working perfectly.
By following these steps, you can now play your favorite games with unmatched mobility and comfort. No more worrying about tangled cables or limited movement. With a wireless Xbox One controller, you can sit back, relax, and immerse yourself in the gaming experience without constraints.
Remember, wireless gaming not only enhances your gaming performance but also allows for seamless multiplayer experiences. Connect multiple controllers to your console, gather your friends and family, and dive into multiplayer games together.
If you encounter any issues or need further assistance, consult the Xbox support website or reach out to their customer support for guidance. They will be more than happy to help you troubleshoot any problems you may encounter.
Now, take your wireless Xbox One controller, power on your console, and embark on countless gaming adventures without the limitations of cables. Enjoy the freedom, mobility, and immersive experience that wireless gaming brings.
Happy gaming!