Introduction
Playing video games on your Xbox 360 console can be an exhilarating experience, but for some gamers, the freedom and flexibility of playing with a wireless controller is simply unbeatable. If you’re tired of being tied down by wires and cables, you’ll be thrilled to know that connecting a wireless Xbox 360 controller to your console is easier than you might think.
In this guide, we will take you through the step-by-step process of connecting a wireless Xbox 360 controller. Whether you’re a seasoned gamer or new to the Xbox 360 console, this simple tutorial will have you enjoying the freedom of wireless gaming in no time.
Before we dive into the steps, it’s important to note that to connect a wireless Xbox 360 controller, you’ll need an Xbox 360 console equipped with a wireless receiver. The wireless receiver allows the console to communicate with the wireless controller, providing you with that wire-free gaming experience you desire.
So, if you’re ready to untether yourself from the console and embrace the freedom of wireless gaming, let’s get started on connecting your wireless Xbox 360 controller!
Step 1: Check your Xbox 360 controller
Before you begin the process of connecting your wireless Xbox 360 controller to your console, it’s important to ensure that your controller is in working order and compatible with the console. Here are a few steps to help you check your controller:
- Inspect the batteries: Check to see if the batteries in your controller are working and properly inserted. If the batteries are low or dead, replace them with fresh ones to ensure optimal performance.
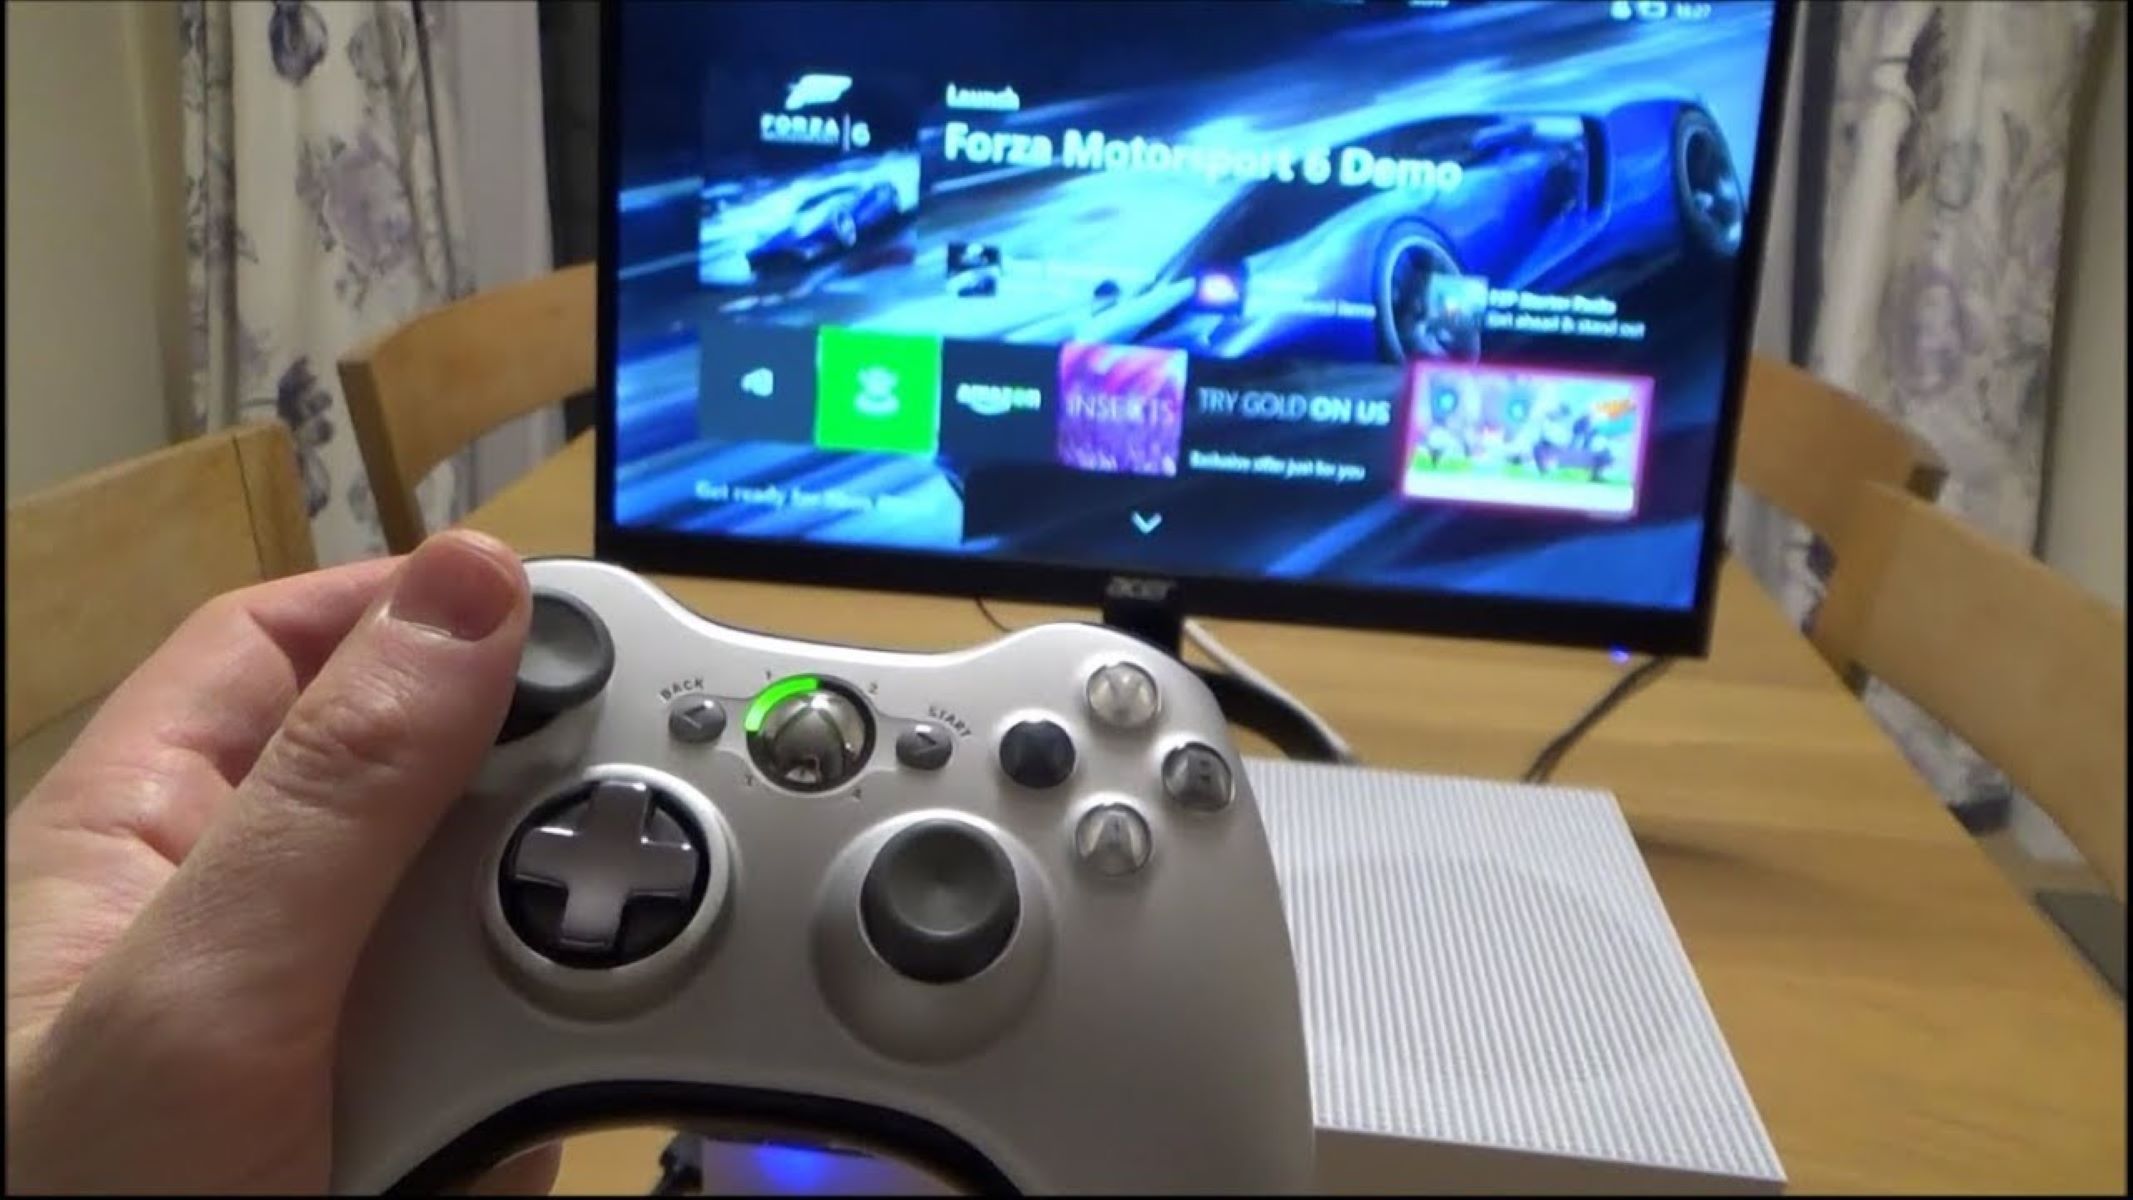
- Check the controller’s wireless connection: On the front of your Xbox 360 controller, you’ll find a small circular button known as the “connect” button. Press this button to activate the wireless connection on your controller. The circular indicator light around the button should start flashing to indicate that the controller is in pairing mode.
- Make sure the controller is synced with the console: If you have previously used the controller with another Xbox 360 console, it may need to be synced with your current console. To do this, press the “connect” button on both the console and the controller within a few seconds of each other. The indicator lights on both devices should begin to rotate and then stabilize, indicating a successful sync. If the sync is unsuccessful, repeat the process until the connection is established.
- Test the controller’s functionality: Once the controller is connected and synced with your console, it’s essential to check if all the buttons and joysticks are working correctly. Launch a game or navigate through the Xbox dashboard to ensure that the controller responds accurately to your inputs.
By following these steps and ensuring that your Xbox 360 controller is in good working condition, you can proceed to the next steps with confidence, knowing that your controller is ready to be connected wirelessly to your console.
Step 2: Prepare your Xbox 360 console
Before you can connect your wireless Xbox 360 controller to your console, you need to make sure that your console is ready to receive the wireless signal. Here’s what you need to do:
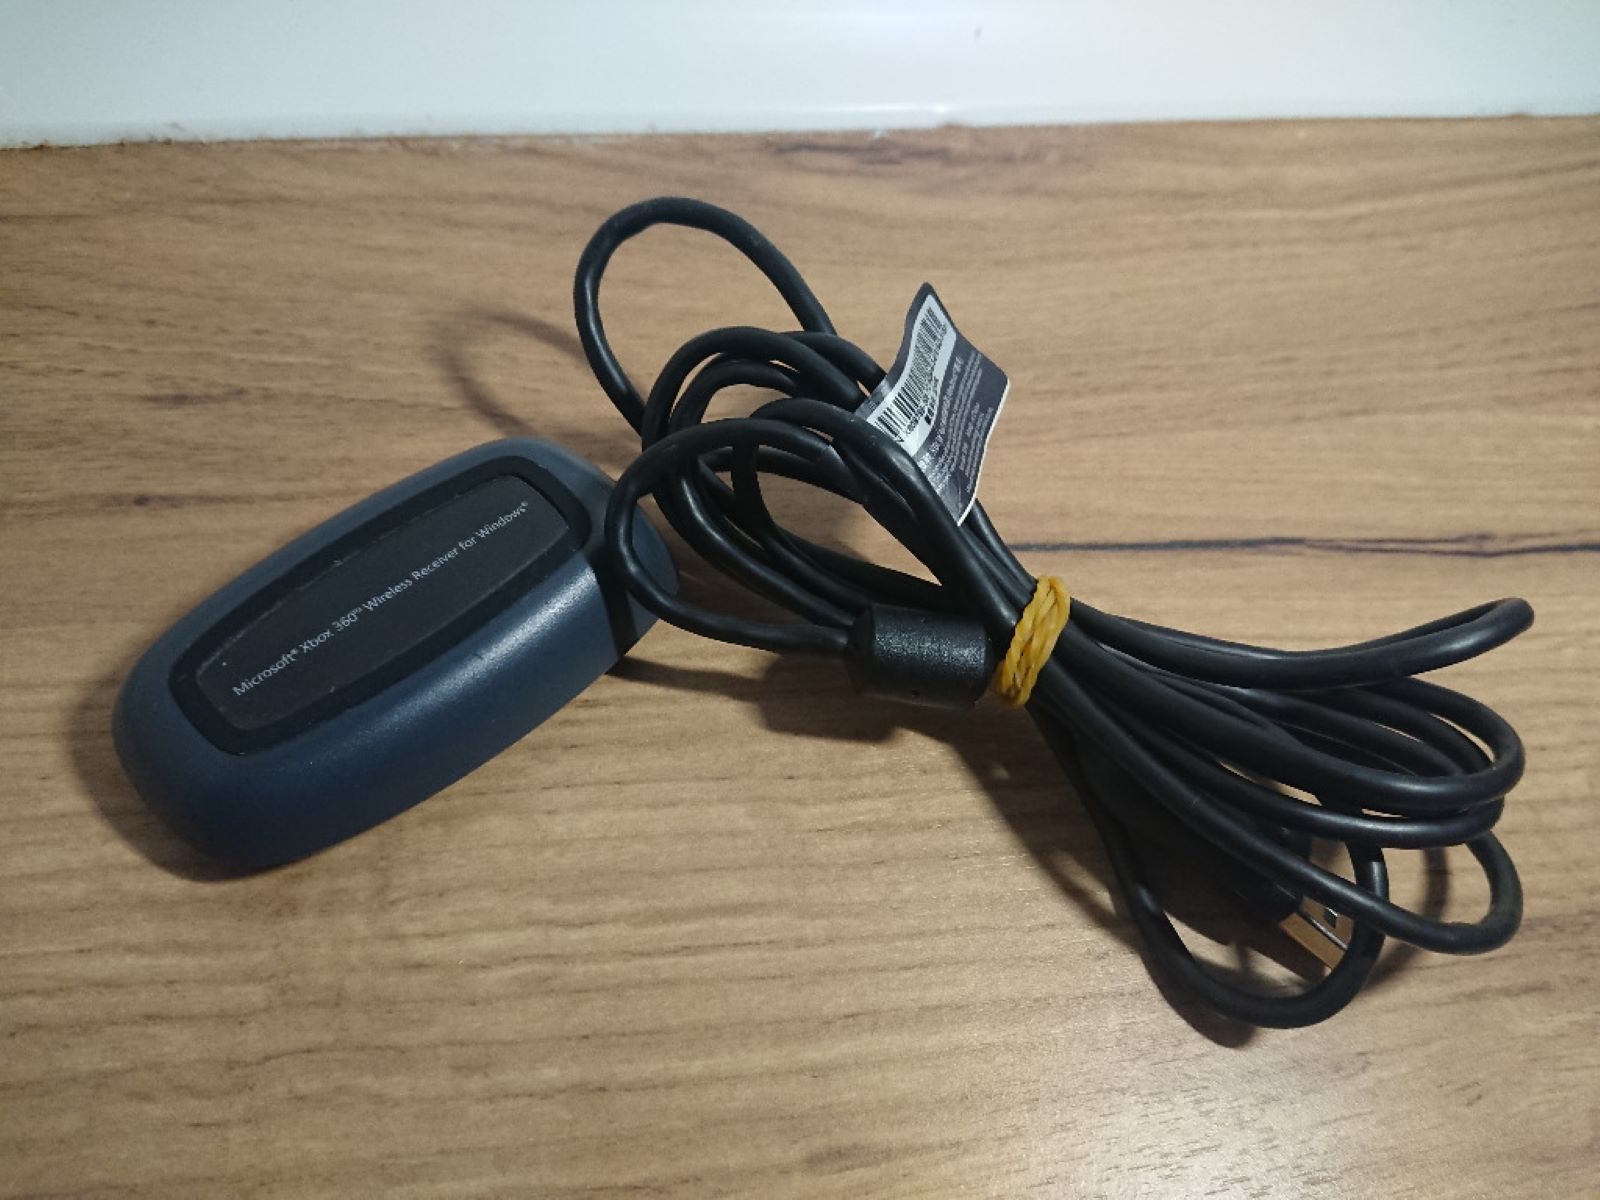
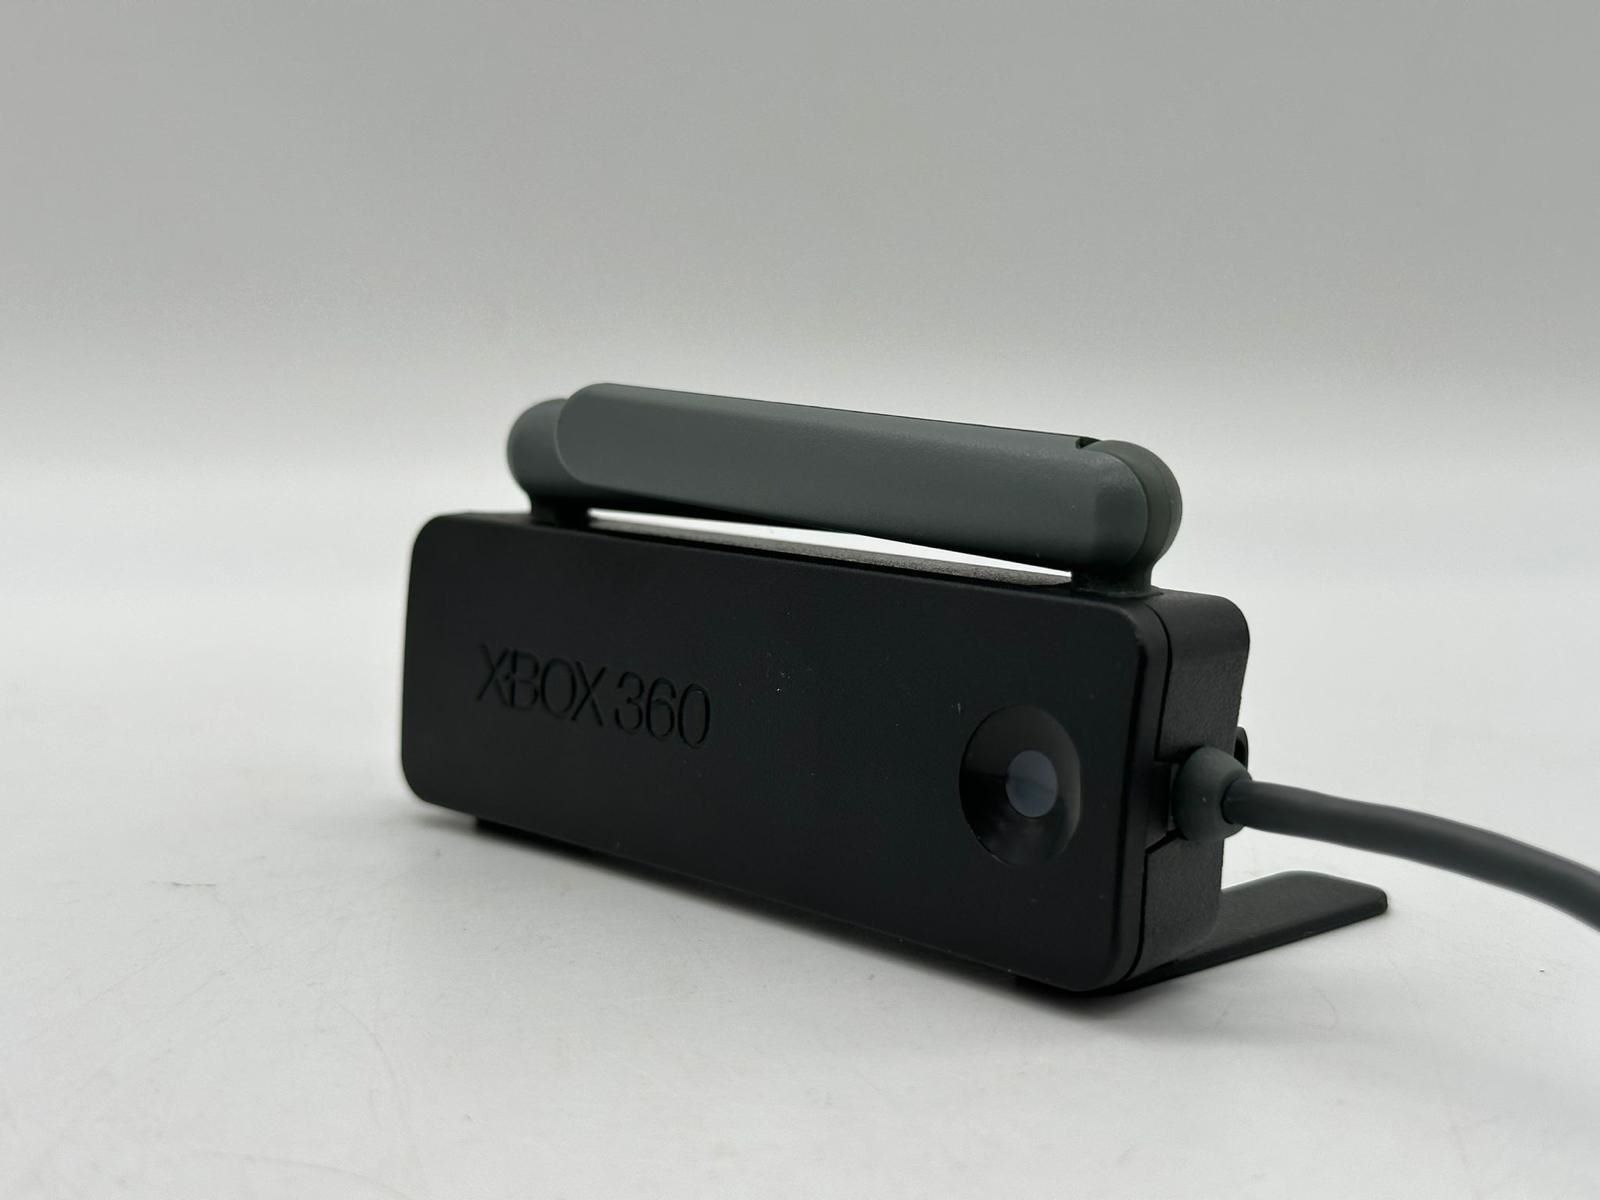
- Check for a wireless receiver: The Xbox 360 console needs to have a wireless receiver accessory in order to connect wirelessly with your controller. This receiver plugs into a USB port on the console and allows it to communicate with the controller. If your console doesn’t already have a wireless receiver, you will need to purchase one separately.
- Plug in the wireless receiver: If you have a wireless receiver, plug it into one of the USB ports on the front or back of your Xbox 360 console. Make sure the connection is secure and that the receiver is properly aligned with the console.
- Verify receiver functionality: Once the wireless receiver is plugged in, you should see a green light or indicator on the receiver itself. This light signifies that the receiver is receiving power and is ready to pair with your controller.
- Position the console: To ensure optimal wireless connectivity, it’s important to place your Xbox 360 console in an open area that is free from obstructions. Avoid placing the console in enclosed cabinets or near other electronic devices that could interfere with the wireless signal.
By preparing your Xbox 360 console and ensuring that it has a wireless receiver and is positioned appropriately, you are now ready to move on to the next step of syncing your controller with the console.
Step 3: Sync your controller to the console
Now that you have checked your Xbox 360 controller and prepared your console, it’s time to sync the controller with the console. Follow these steps to establish a wireless connection:
- Turn on your console: Press the power button on your Xbox 360 console to turn it on. Wait for it to fully boot up before proceeding.
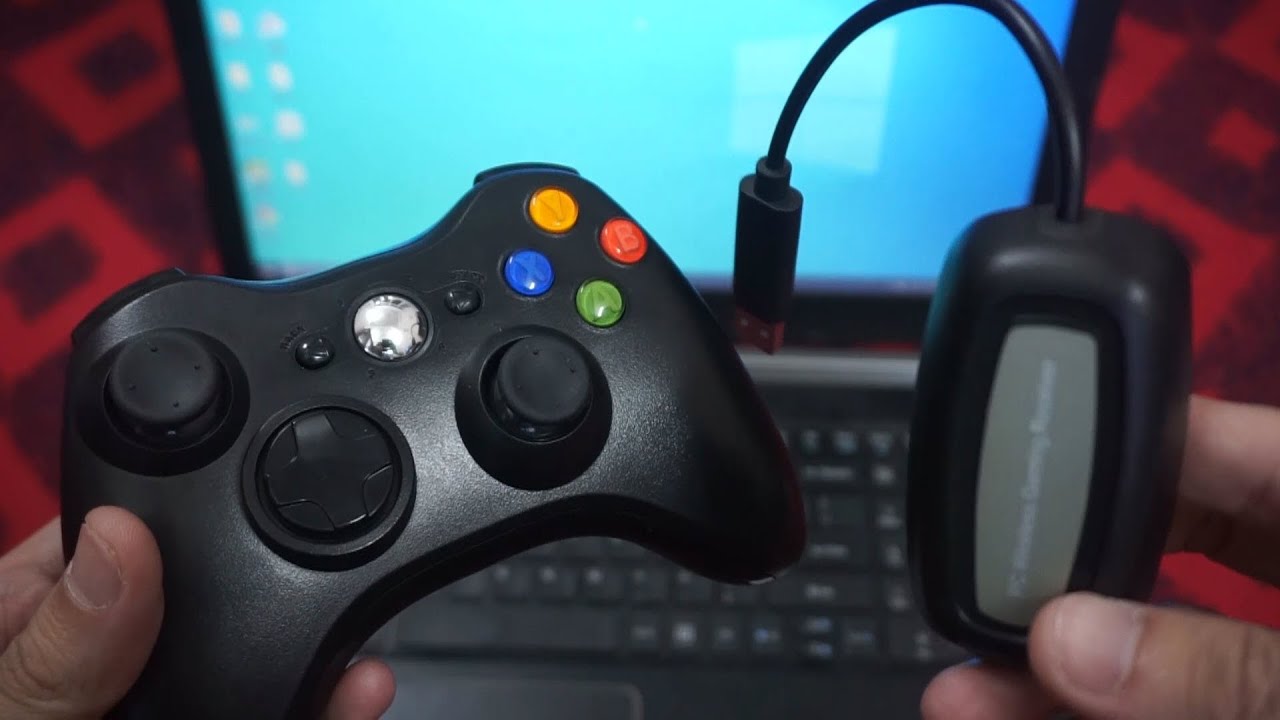
- Press the sync button on the console: Locate the small sync button on the front of your Xbox 360 console. Press and hold this button for a few seconds until the circular indicator light starts flashing.
- Press the sync button on the controller: On your Xbox 360 wireless controller, locate the small sync button. It is usually located near the battery compartment. Press and hold this button until the circular indicator light around the Xbox button on the controller starts flashing.
- Wait for the connection: After pressing the sync button on both the console and the controller, they will search for each other and establish a wireless connection. The indicator lights on both devices will rotate and then stabilize, indicating a successful sync.
Once the wireless connection is established, your Xbox 360 controller is ready to use with the console wirelessly. Test the controller’s functionality by navigating through the Xbox dashboard or launching a game.
Note: If you have multiple controllers or additional accessories, it’s important to sync each one individually following the same process.
By following these steps, you can easily sync your wireless Xbox 360 controller to your console and enjoy the convenience of wire-free gaming.
Step 4: Troubleshooting tips
Even with the most straightforward processes, technical glitches and issues can sometimes occur. If you encounter any problems while connecting your wireless Xbox 360 controller, here are a few troubleshooting tips to help you resolve them:
- Ensure a clear line of sight: Make sure there are no physical barriers, such as walls or other electronic devices, between the controller and the console. These obstacles can weaken the wireless signal and cause connection issues. Re-position the console or the controller to establish a clear line of sight.
- Replace or recharge the batteries: If your controller is not connecting or experiencing intermittent connectivity, try replacing the batteries with fresh ones. If you are using rechargeable batteries, ensure they have enough charge to provide a stable connection.
- Restart the console and controller: Sometimes, a simple reset can fix connection issues. Turn off both the console and the controller, then restart them. Press and hold the power button on both devices to turn them off and then power them on again.
- Verify the wireless receiver: Ensure that the wireless receiver is securely plugged into the USB port on the console. If it’s loose or not properly connected, it can cause connection problems. Remove the receiver, inspect it for any damage, and re-insert it securely into the USB port.
- Check for interference: Other wireless devices or electronic equipment in close proximity to the console can interfere with the wireless signal. Move any such devices away from the console to minimize interference and improve the connection stability.
- Update console firmware: Occasionally, updating the console’s firmware can resolve issues with wireless connectivity. Check for any available updates for your Xbox 360 console and install them accordingly.
- Try a different controller: If you have access to another wireless Xbox 360 controller, try syncing it with the console to determine if the issue is specific to the controller or the console.
By following these troubleshooting tips, you can overcome common connectivity issues and ensure a smooth wireless gaming experience with your Xbox 360 controller.
Conclusion
Connecting a wireless Xbox 360 controller to your console opens up a whole new world of gaming freedom. By following the simple steps outlined in this guide, you can easily sync your controller with your Xbox 360 console and enjoy the convenience of wire-free gameplay.
First, make sure to check your Xbox 360 controller for any issues and ensure it is in proper working order. Verify the batteries, wireless connection, and sync the controller if needed. Next, prepare your Xbox 360 console by ensuring it has a wireless receiver and is positioned in an optimal location to receive the wireless signal.
Syncing your controller to the console is the next step. Press the sync buttons on both the console and the controller simultaneously, wait for the devices to establish a connection, and then test the controller’s functionality to confirm the successful sync.
If you encounter any problems along the way, the troubleshooting tips provided can help you overcome common connectivity issues. From checking for physical obstruction to updating firmware, these tips can help ensure a stable and reliable wireless connection.
With your wireless Xbox 360 controller connected and working smoothly, you can enjoy the freedom to move around without the hassle of wires, making your gaming experience even more immersive and enjoyable.
So go ahead, grab your wireless Xbox 360 controller, sync it to your console, and dive into the world of wireless gaming!