Introduction
Welcome to the exciting world of gaming with the Xbox 360! If you’ve recently acquired a new Xbox wireless game controller and are eager to pair it with your Xbox 360 console, you’ve come to the right place. This comprehensive guide will walk you through the process, ensuring that you can seamlessly connect your new controller and dive into your favorite games without delay.
Pairing a new Xbox wireless game controller to an Xbox 360 is a straightforward process, but it’s essential to follow the correct steps to ensure a successful connection. Whether you’re replacing a worn-out controller or adding an extra one for multiplayer gaming, this guide will equip you with the knowledge to get your new controller up and running in no time.
Before we delve into the pairing process, it’s crucial to verify the compatibility of your new controller with the Xbox 360 console. This step will help you avoid potential issues and ensure that your gaming experience is as seamless and enjoyable as possible. Once compatibility is confirmed, we’ll guide you through the process of powering on the controller, syncing it with your Xbox 360, and conducting a quick test to ensure everything is functioning as expected.
So, without further ado, let’s embark on this journey to pair your new Xbox wireless game controller with your Xbox 360 console and get you back to gaming in no time!
Checking Compatibility
Before diving into the pairing process, it’s crucial to ensure that your new Xbox wireless game controller is compatible with the Xbox 360 console. Compatibility is determined by the type of controller and the version of the console, so it’s essential to verify that the two devices can work together seamlessly.
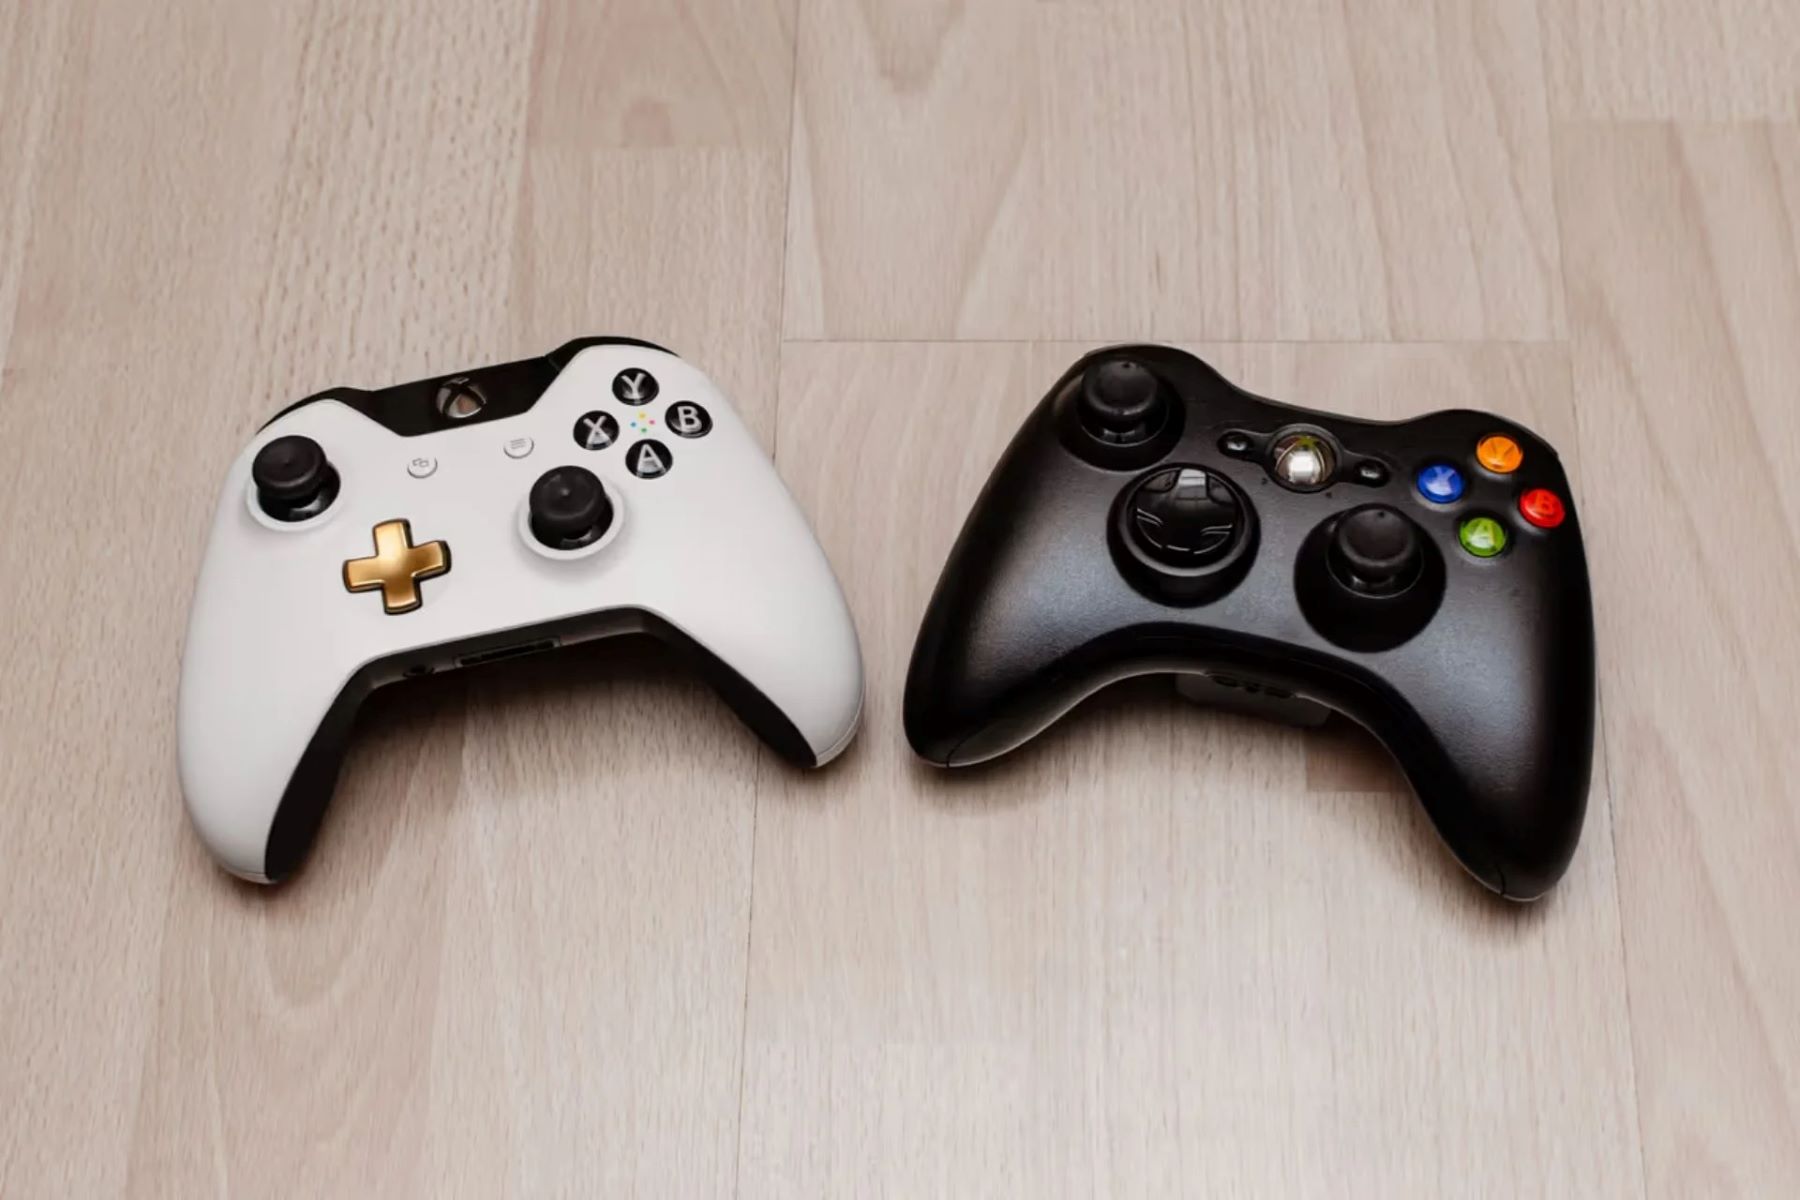
First and foremost, check the type of Xbox wireless game controller you have. The Xbox 360 is compatible with both the Xbox 360 Wireless Controller and the Xbox 360 Wireless Controller with Play & Charge Kit. If your new controller falls into either of these categories, you’re on the right track.
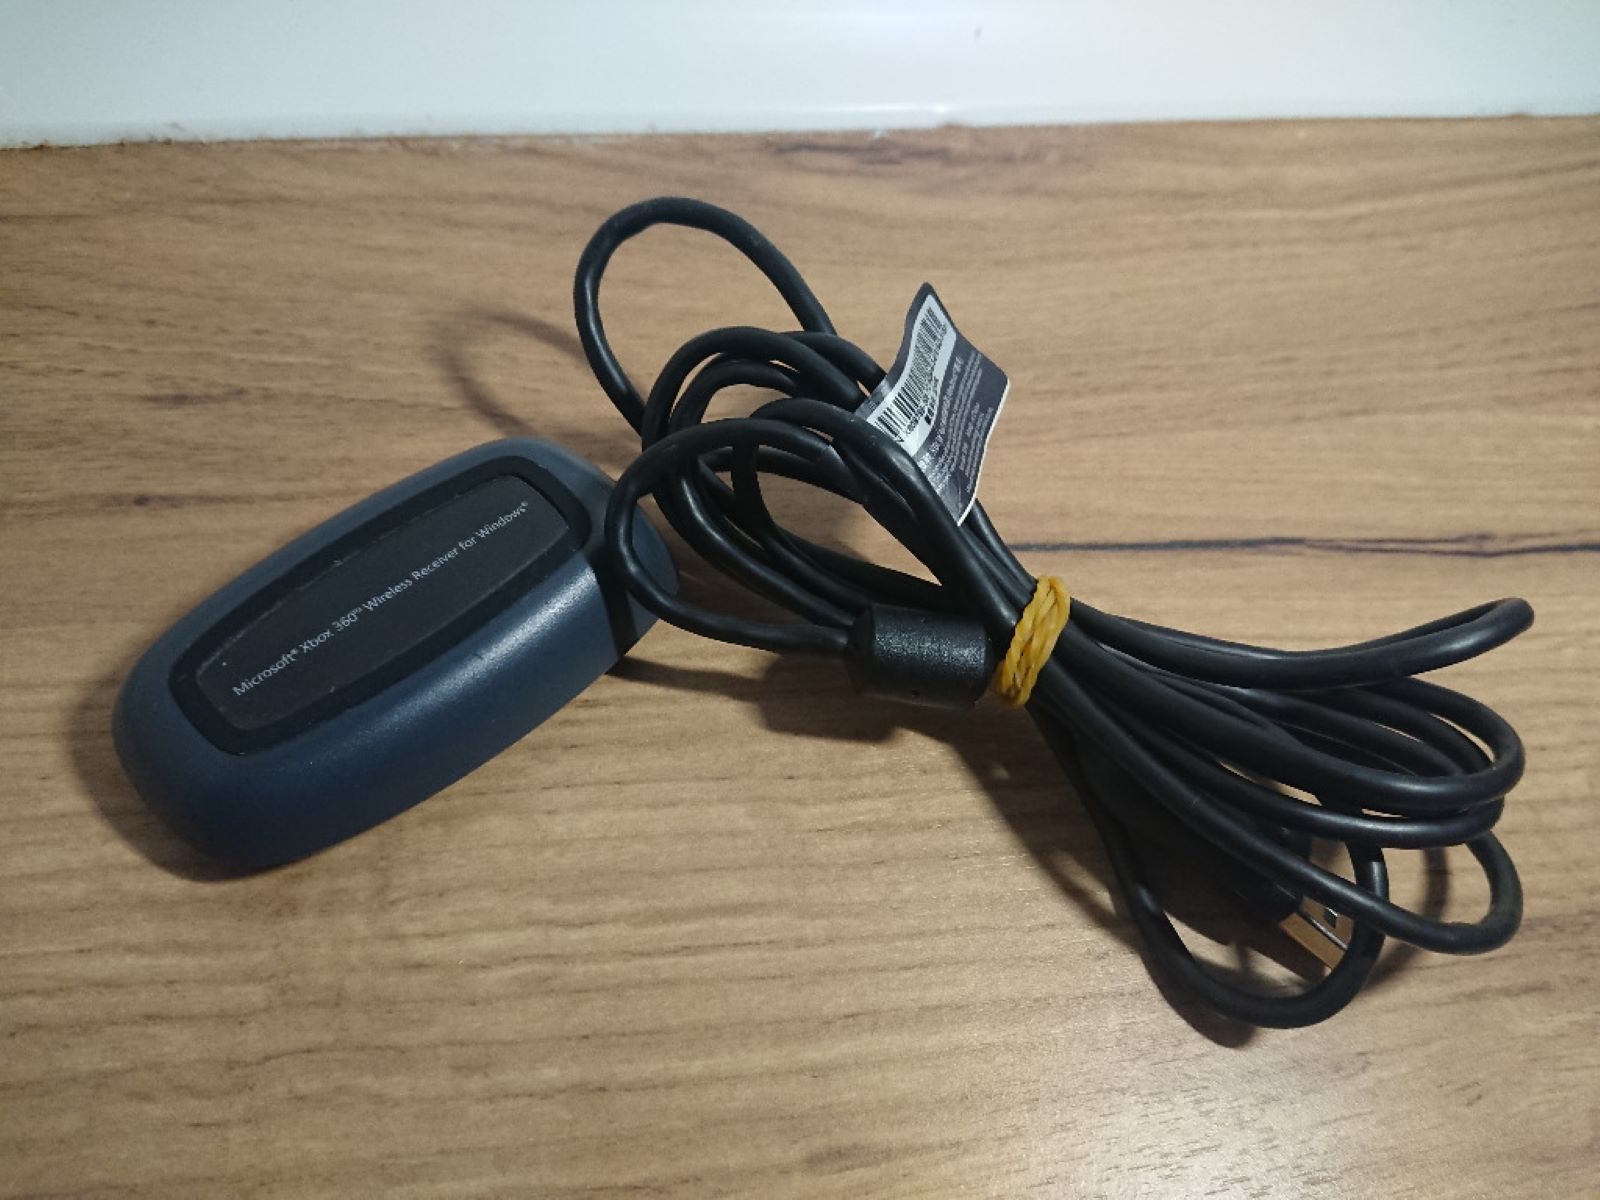
Next, consider the version of your Xbox 360 console. The original Xbox 360 console, as well as the Xbox 360 S and Xbox 360 E models, are all compatible with the wireless controllers mentioned above. However, if you have an Xbox 360 Core or Xbox 360 Arcade console, you may need to purchase a separate wireless gaming receiver to use wireless controllers.
If you’re unsure about the compatibility of your controller and console, consult the user manual for your Xbox 360 or visit the official Xbox support website for detailed information. Additionally, you can cross-reference the model numbers of your controller and console to ensure compatibility.
By taking the time to confirm compatibility, you can prevent potential frustrations that may arise from attempting to pair incompatible devices. Once you’ve established that your new Xbox wireless game controller is compatible with your Xbox 360 console, you’re ready to move on to the next steps of the pairing process.
Powering On the Controller
Before you can pair your new Xbox wireless game controller with your Xbox 360 console, you’ll need to ensure that the controller is powered on and ready for syncing. The process of powering on the controller is simple and straightforward, allowing you to prepare it for the subsequent pairing steps.
To power on your new Xbox wireless game controller, begin by inserting fresh batteries into the battery compartment. Alternatively, if your controller is equipped with a rechargeable battery pack, ensure that it’s fully charged before proceeding. Once the batteries are in place or the rechargeable pack is charged, press the Xbox Guide button located in the center of the controller to power it on.
Upon pressing the Xbox Guide button, the controller’s indicator lights should illuminate, indicating that it’s powered on and ready for use. If the controller fails to power on, double-check the battery installation or rechargeable pack connection to ensure everything is properly set up.
It’s important to note that if your new Xbox wireless game controller has been previously paired with another console, you may need to reset it before proceeding with the pairing process. To reset the controller, locate the small sync button on the front of the controller near the audio jack. Press and hold this button for a few seconds until the indicator lights begin to flash rapidly. This action will clear any existing pairing and prepare the controller for a new connection.
With your new Xbox wireless game controller powered on and, if necessary, reset, you’re now ready to move on to the next crucial step: syncing the controller with your Xbox 360 console. This seamless process will establish a wireless connection between the two devices, allowing you to enjoy uninterrupted gaming experiences with your new controller.
Syncing the Controller with the Xbox 360
Syncing your new Xbox wireless game controller with your Xbox 360 console is a pivotal step in the pairing process. This procedure establishes a wireless connection between the controller and the console, enabling seamless communication and control during gaming sessions. Follow these simple steps to sync your controller with your Xbox 360:
- Turn on the Console: Begin by powering on your Xbox 360 console. Ensure that it’s fully operational and ready to establish a connection with the new controller.
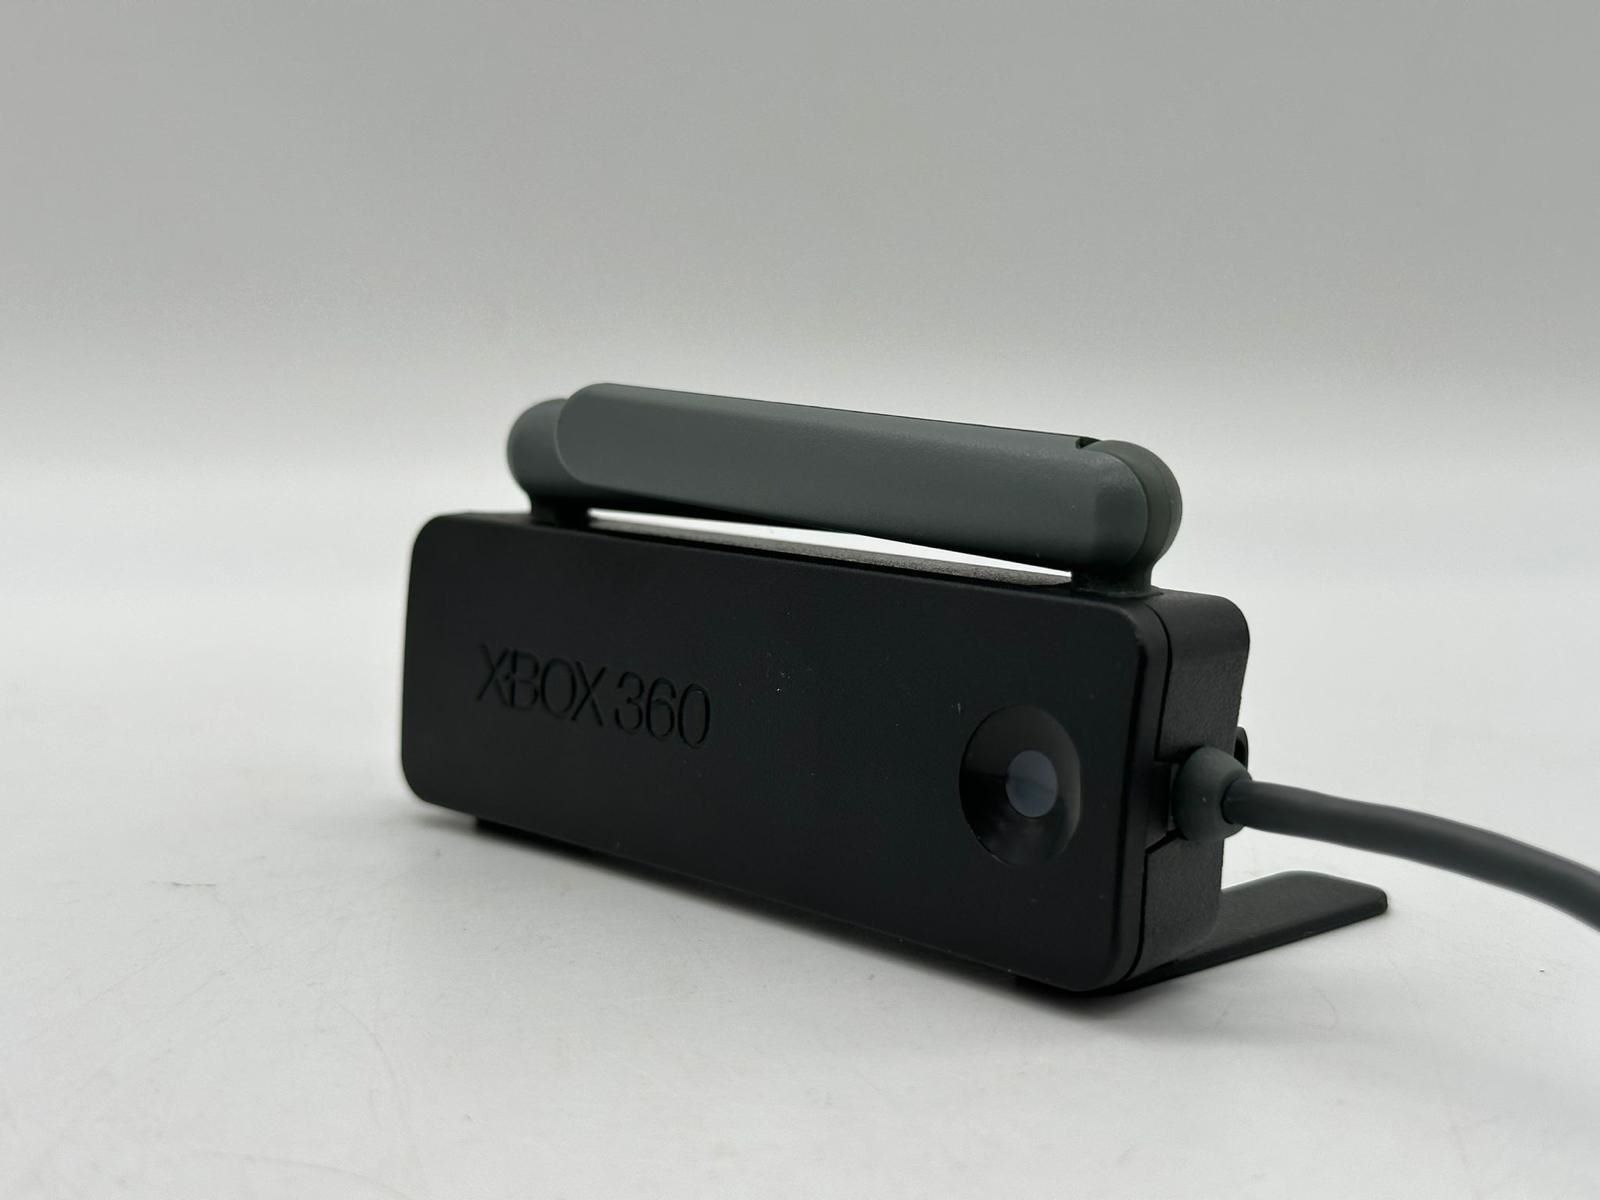
- Locate the Sync Button: On the front of your Xbox 360 console, you’ll find a small sync button near the disc tray. This button is crucial for initiating the syncing process and establishing a connection with the controller.
- Press the Sync Button on the Console: Press the sync button on the console to put it into a pairing mode. The indicator lights on the console should begin to flash, indicating that it’s ready to detect and pair with a new controller.
- Press the Sync Button on the Controller: Similarly, locate the small sync button on your new Xbox wireless game controller, situated near the audio jack. Press and hold this button until the controller’s indicator lights start flashing rapidly.
- Wait for the Connection: After pressing the sync button on the controller, allow a few seconds for the console and the controller to establish a wireless connection. Once the connection is successful, the controller’s indicator lights will stop flashing and remain lit, indicating that it’s paired with the console.
Following these steps will ensure that your new Xbox wireless game controller is successfully synced with your Xbox 360 console, ready to deliver an immersive gaming experience without any interruptions.
It’s important to note that once the controller is successfully synced with the console, it will retain this connection for future gaming sessions. You won’t need to repeat the syncing process unless you’re pairing the controller with a different console or addressing connectivity issues.
With the controller successfully synced with your Xbox 360 console, you’re now ready to proceed to the final step: testing the controller to ensure that it’s functioning as expected.
Testing the Controller
Once your new Xbox wireless game controller is successfully synced with your Xbox 360 console, it’s essential to conduct a quick test to ensure that all functions are operational. This step will allow you to verify that the controller is responsive and ready for seamless gameplay. Follow these simple guidelines to test your newly paired controller:
- Navigation Test: Use the controller’s directional pad and joysticks to navigate through the Xbox 360 dashboard. Ensure that the movements are smooth and responsive, allowing you to access various menus and options effortlessly.
- Button Functionality: Test each button on the controller, including the A, B, X, and Y buttons, as well as the triggers and bumpers. Verify that each button responds accurately when pressed, providing tactile feedback and registering commands within games and applications.
- Home Button Function: Press the Xbox Guide button to confirm that it efficiently opens the Xbox Guide, allowing you to access the console’s features and settings without any delays or issues.
- Wireless Range Test: Move around the gaming area while using the controller to ensure that the wireless connection remains stable and reliable. Verify that the controller maintains a consistent connection with the console, even at varying distances.
- Vibration Test: If your controller is equipped with vibration feedback, test this feature by playing a game that supports vibration functionality. Verify that the vibration effects are smooth and enhance the overall gaming experience.
By performing these tests, you can confidently confirm that your new Xbox wireless game controller is fully functional and ready for extended gaming sessions. If any issues are identified during the testing phase, consider re-syncing the controller with the console or replacing the batteries to address potential connectivity or power-related issues.
Once you’ve completed the testing process and verified the controller’s functionality, you can seamlessly transition into your favorite games, knowing that your new controller is fully operational and primed for an immersive gaming experience on your Xbox 360.