Understanding Ethernet Connections
Ethernet is a networking technology widely used to connect devices, such as computers, switches, routers, and printers, to a local area network (LAN) or the internet. It provides a reliable and efficient way to transmit data over a wired connection, making it essential for businesses and home networks alike.
An Ethernet connection uses a standardized set of protocols to establish communication between devices. It operates on the principle of sending data packets in a serial format over twisted pair or fiber optic cables. These packets contain both the data being transmitted and the necessary control information for successful delivery.
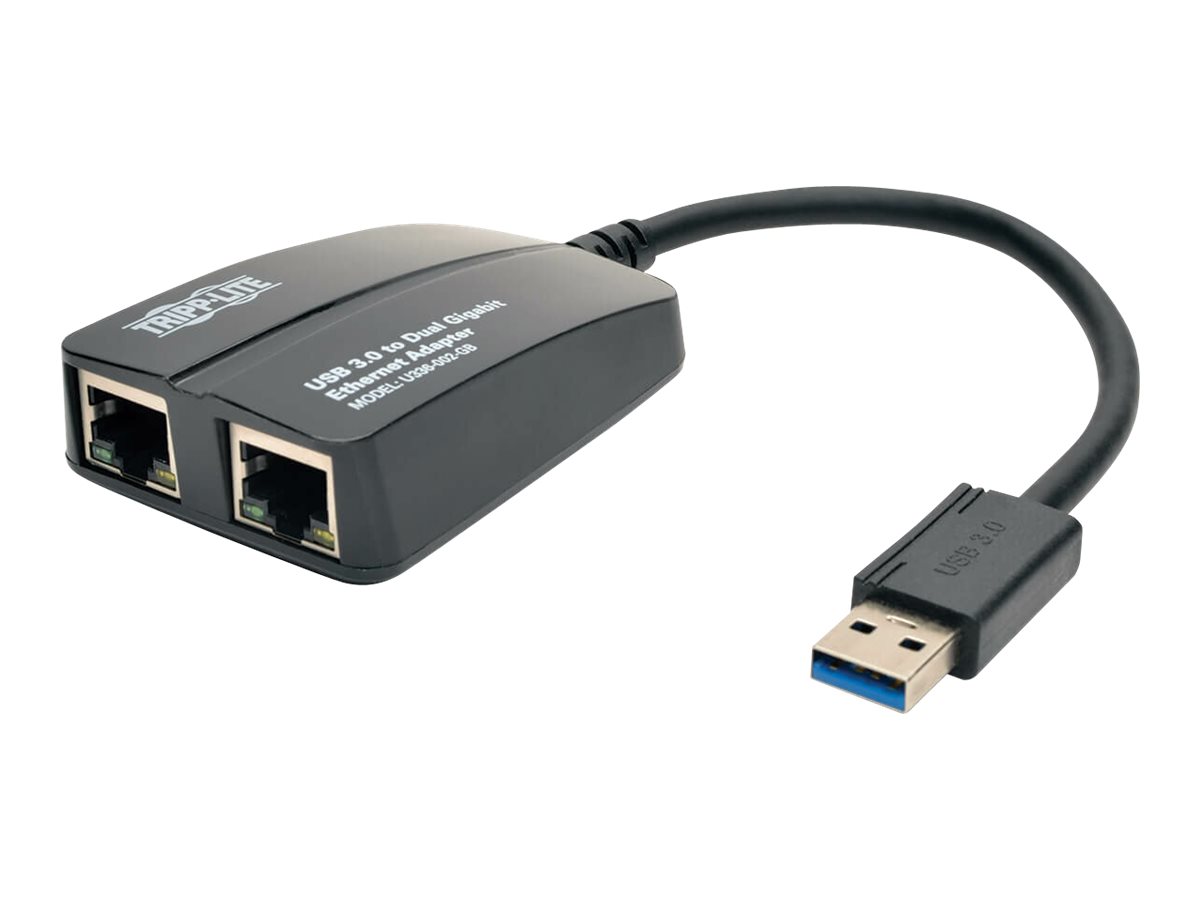
One of the key components in an Ethernet connection is the Ethernet switch. A switch functions as a central hub that facilitates data transmission between devices connected to it. It receives data packets from one device and then forwards them to the appropriate destination device based on the unique media access control (MAC) addresses of each device.
When connecting a switch to an Ethernet cable, it is crucial to ensure that the cable is compatible with the hardware being used. Ethernet cables come in various categories, including Cat5, Cat5e, Cat6, and Cat7, each with different specifications for maximum data transmission speeds and distance limitations. Selecting the appropriate cable for your setup will ensure optimal performance and avoid data transfer issues.
Another important aspect of Ethernet connections is the speed or bandwidth. Ethernet connections typically come in different speed variants, such as 10/100/1000 Mbps (megabits per second), or even higher speeds in the case of Gigabit Ethernet or 10 Gigabit Ethernet. The speed of the connection determines how quickly data can be transferred between devices.
Additionally, Ethernet connections can be made over different types of physical media, such as twisted pair copper cables or fiber optic cables. Twisted pair cables are commonly used in home and office networks, while fiber optic cables are preferred for longer distance or high-speed connections.
Understanding the basics of Ethernet connections is crucial for successfully setting up and troubleshooting network connectivity. By familiarizing yourself with the different components and technical aspects, you can ensure a stable and efficient network environment for your devices.
Connecting the Switch to an Ethernet Cable
Connecting a switch to an Ethernet cable is a straightforward process that requires a few simple steps. By following these steps, you can establish a secure and reliable connection between the switch and the network devices.
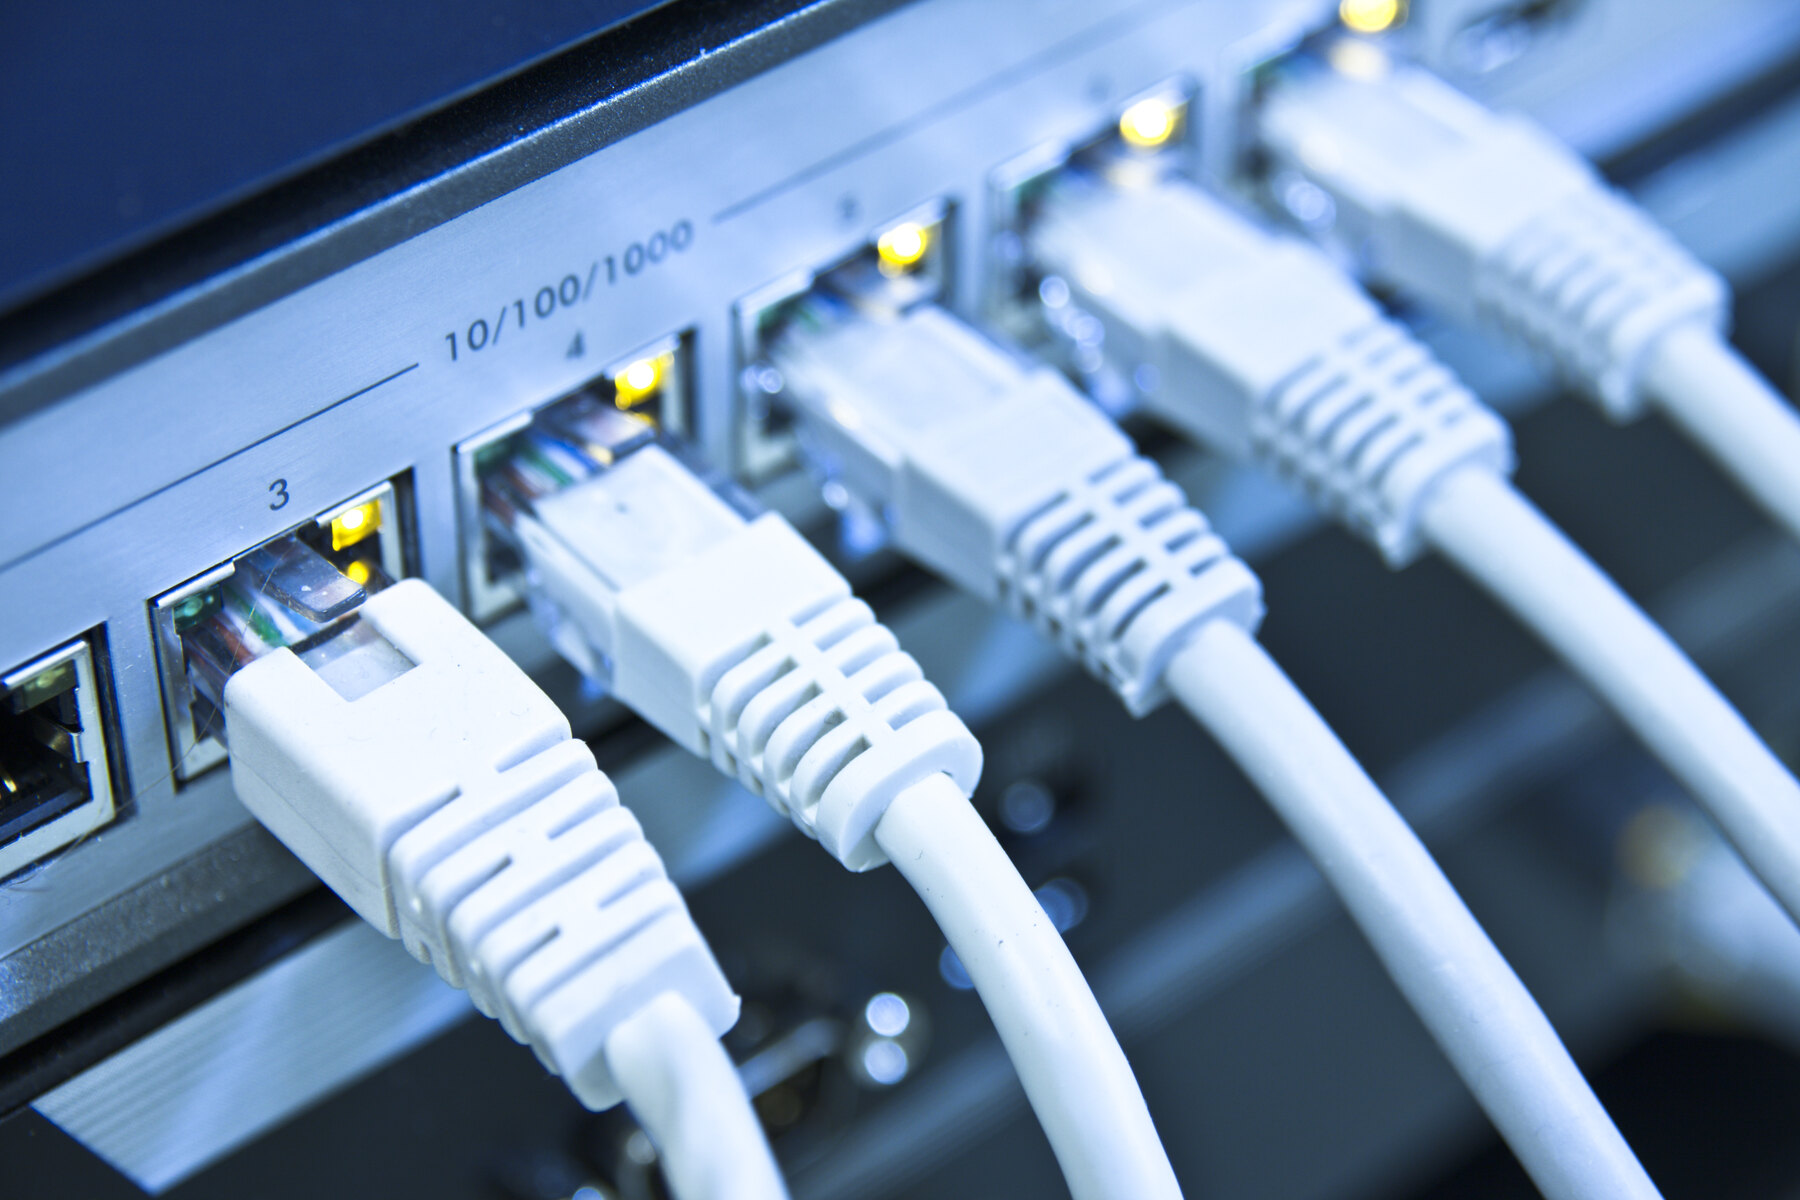
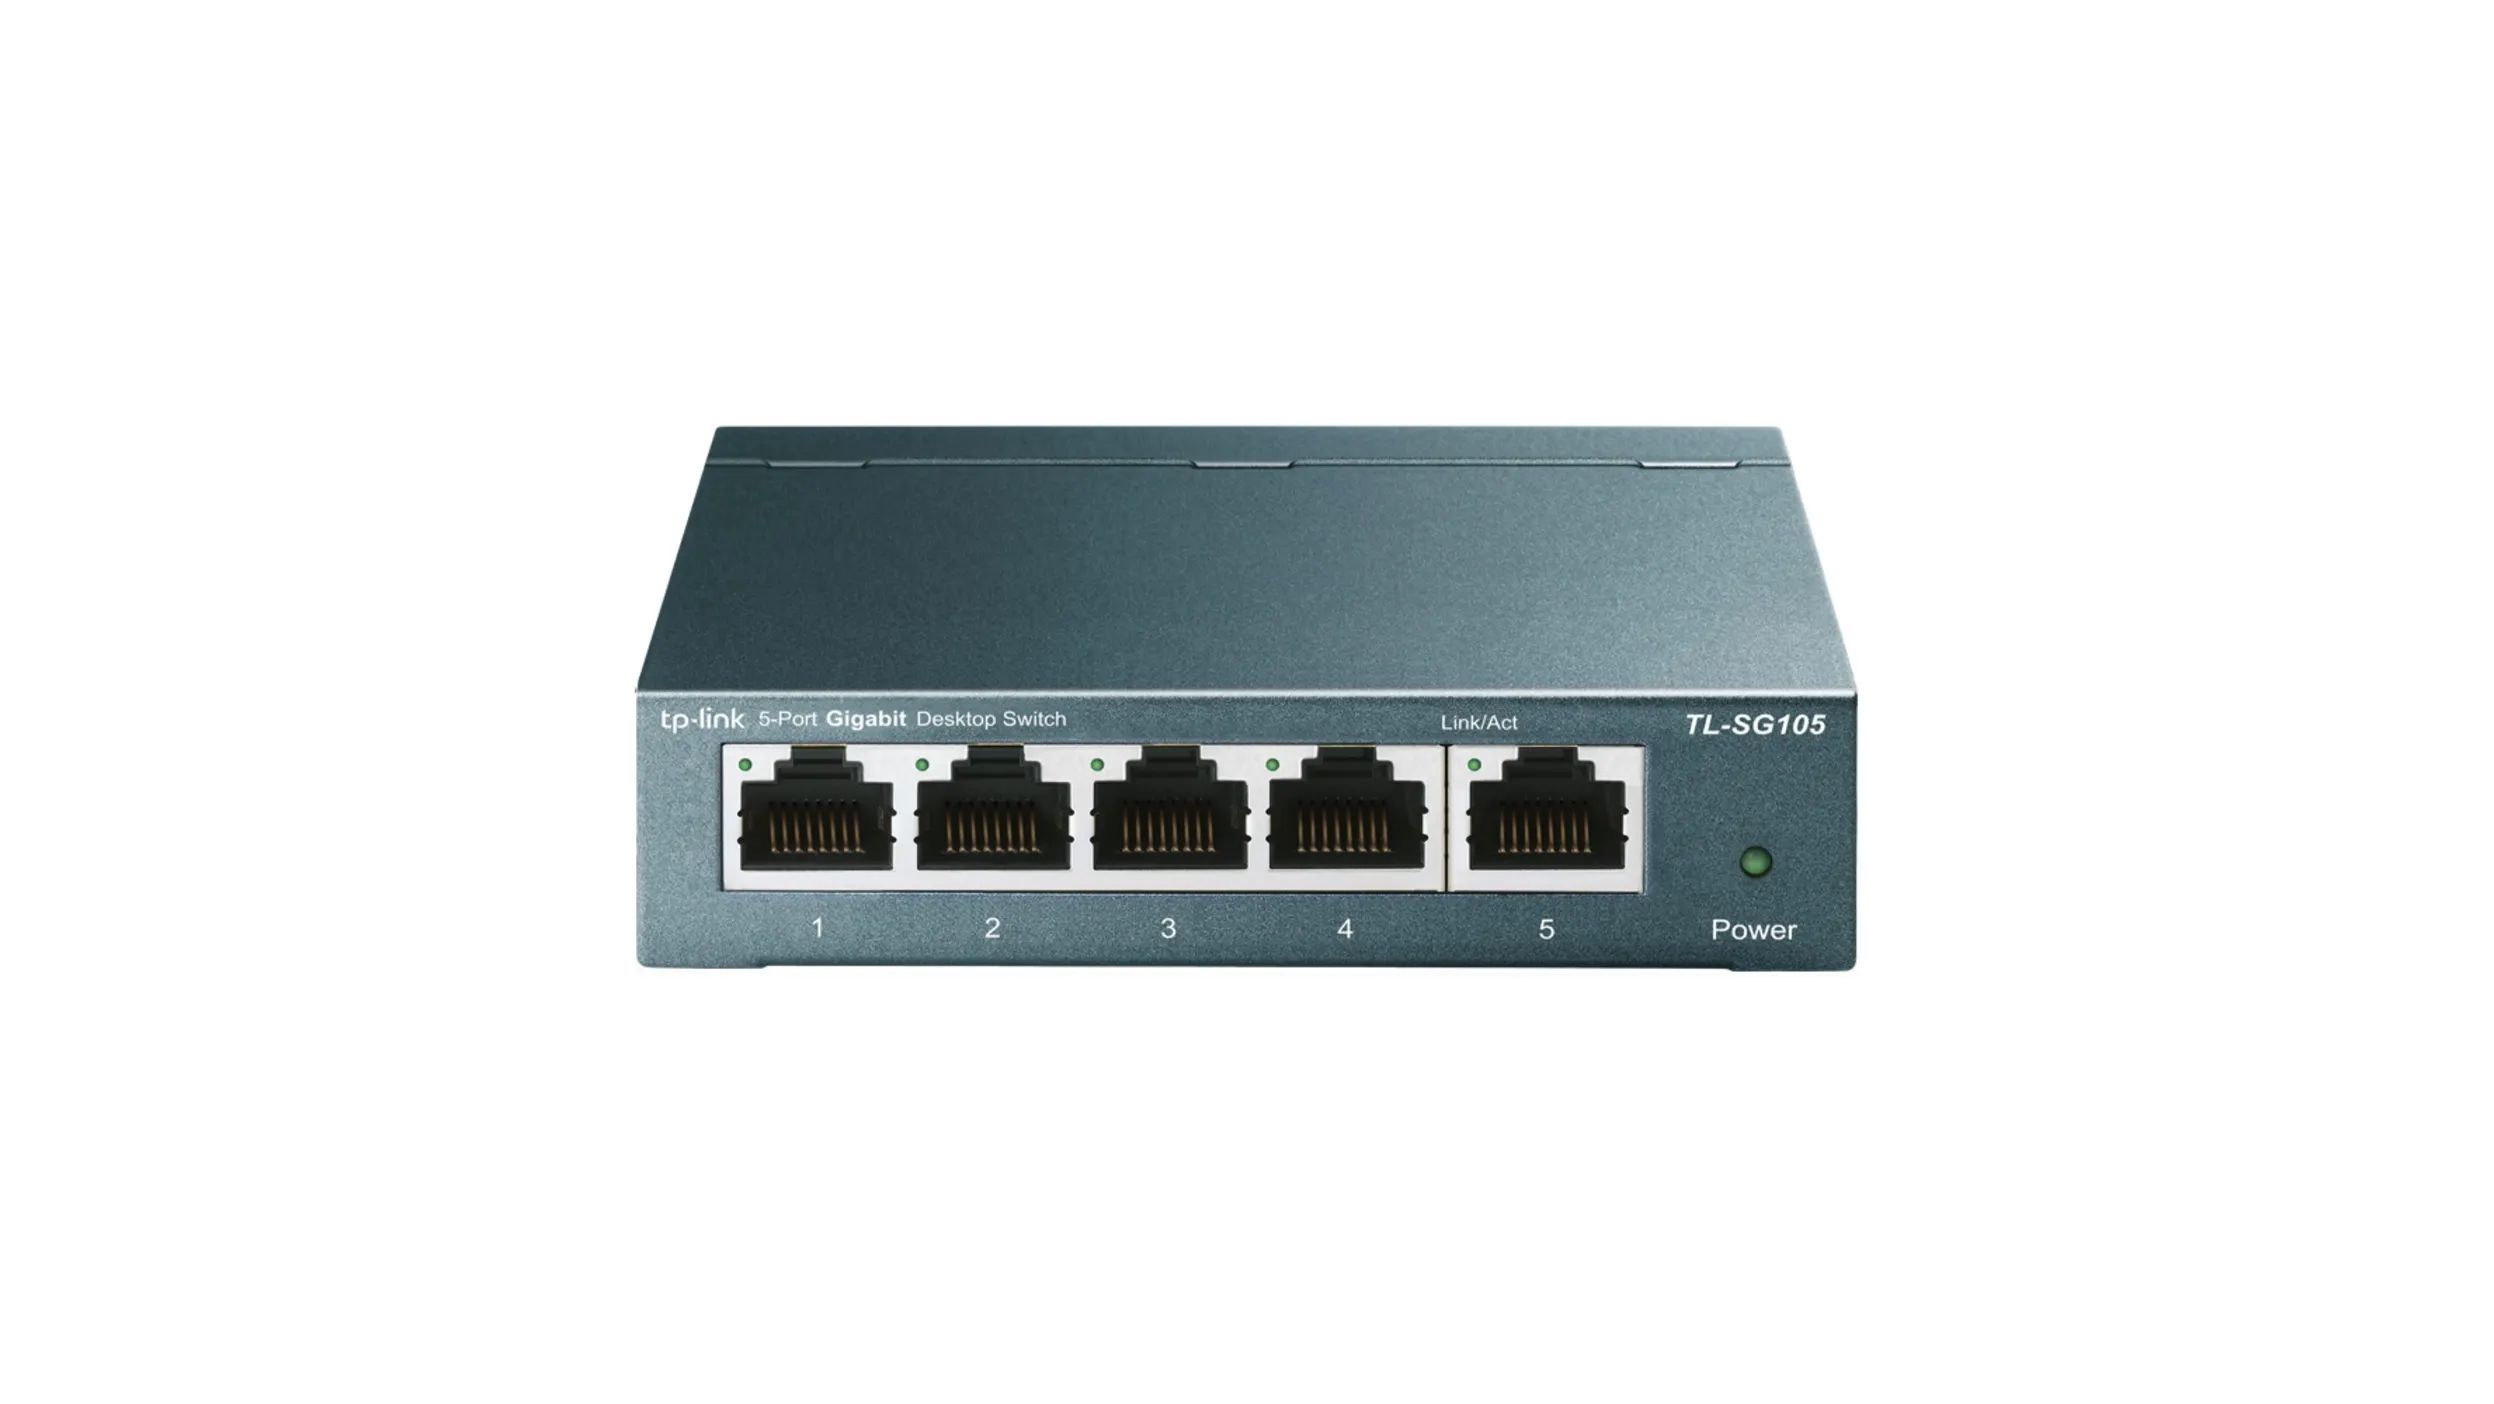
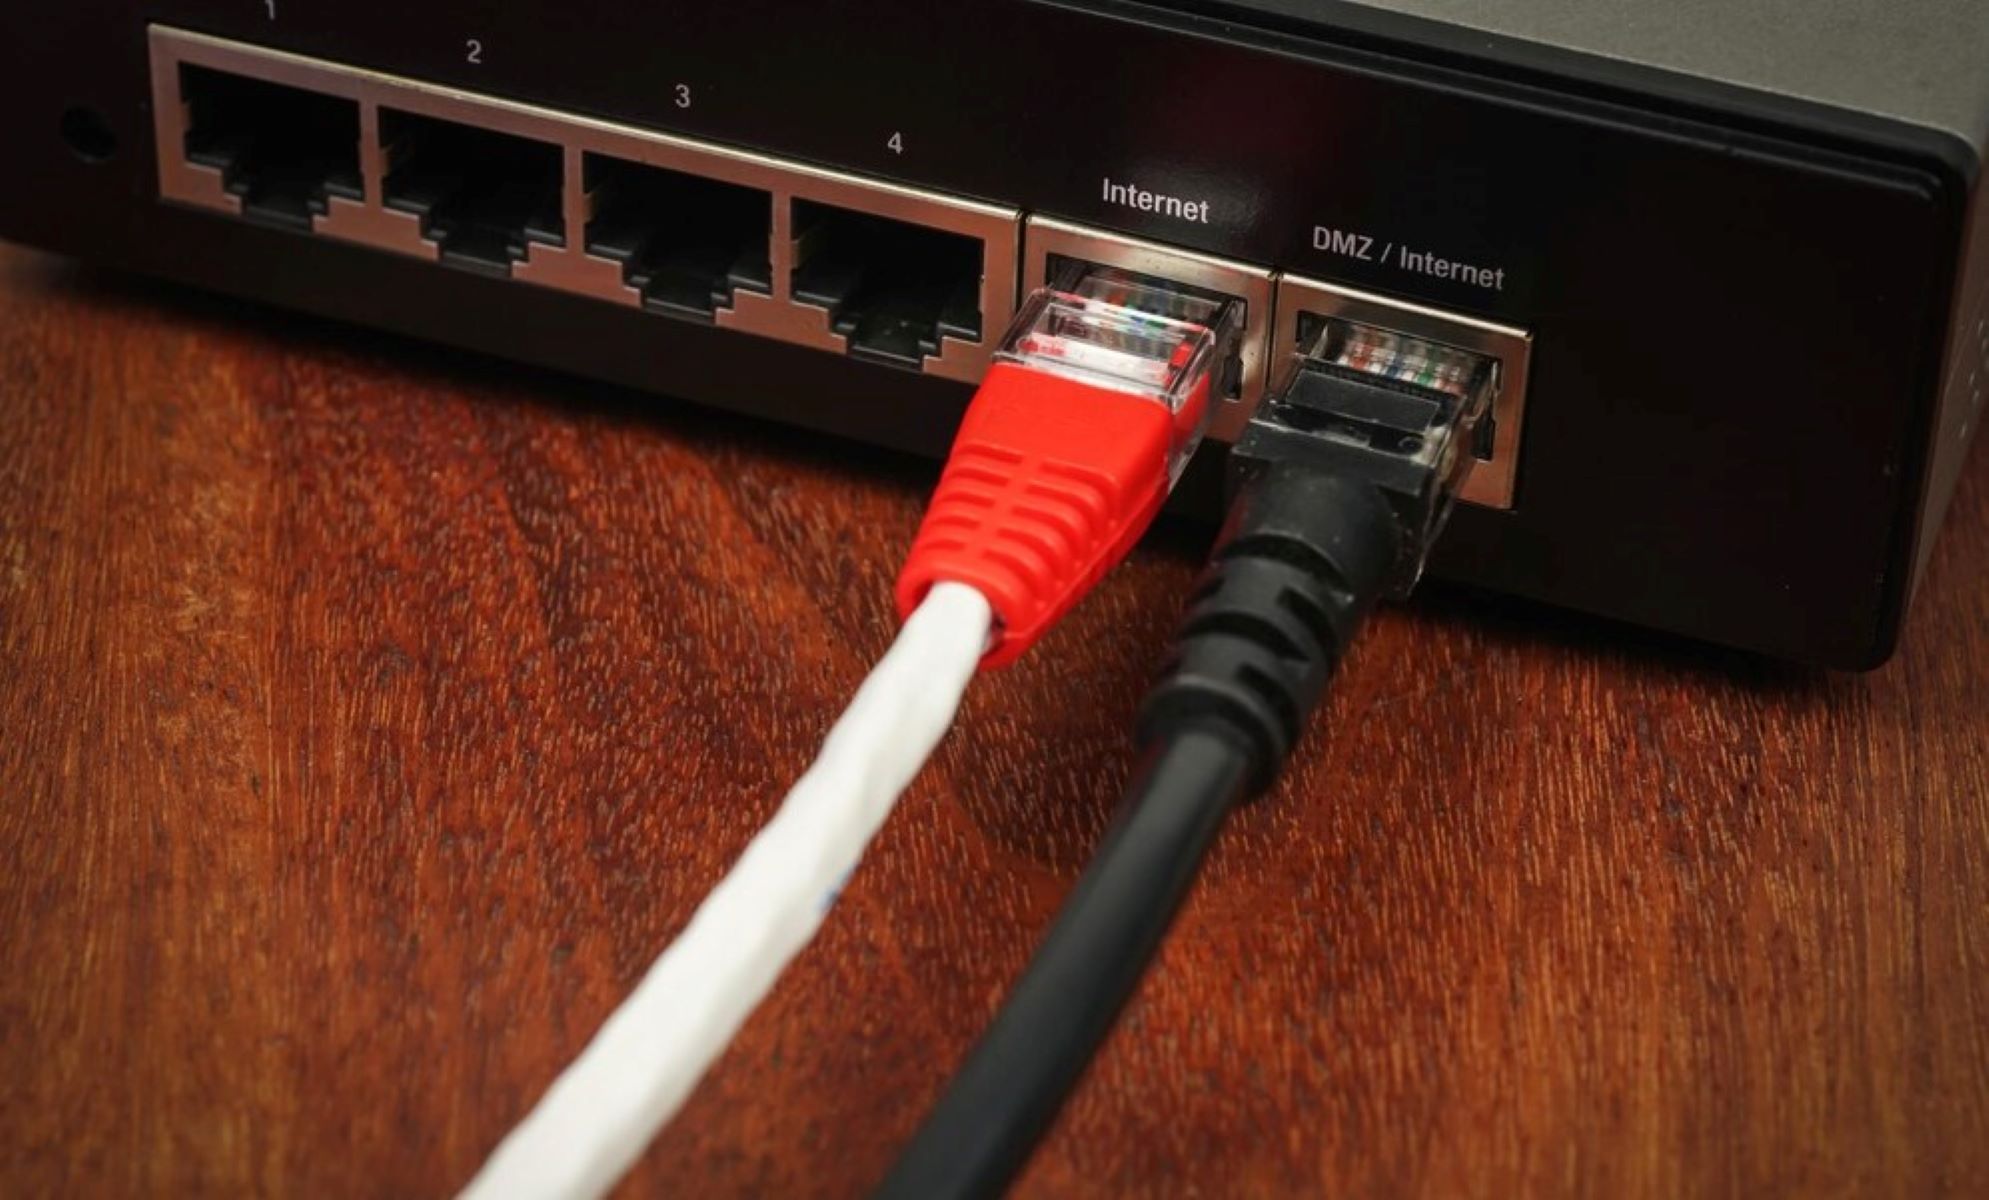
1. Begin by identifying an available Ethernet port on the switch. Most switches have multiple ports to accommodate multiple devices. The ports are usually located on the back or side of the switch and are labeled with numbers or indicators.
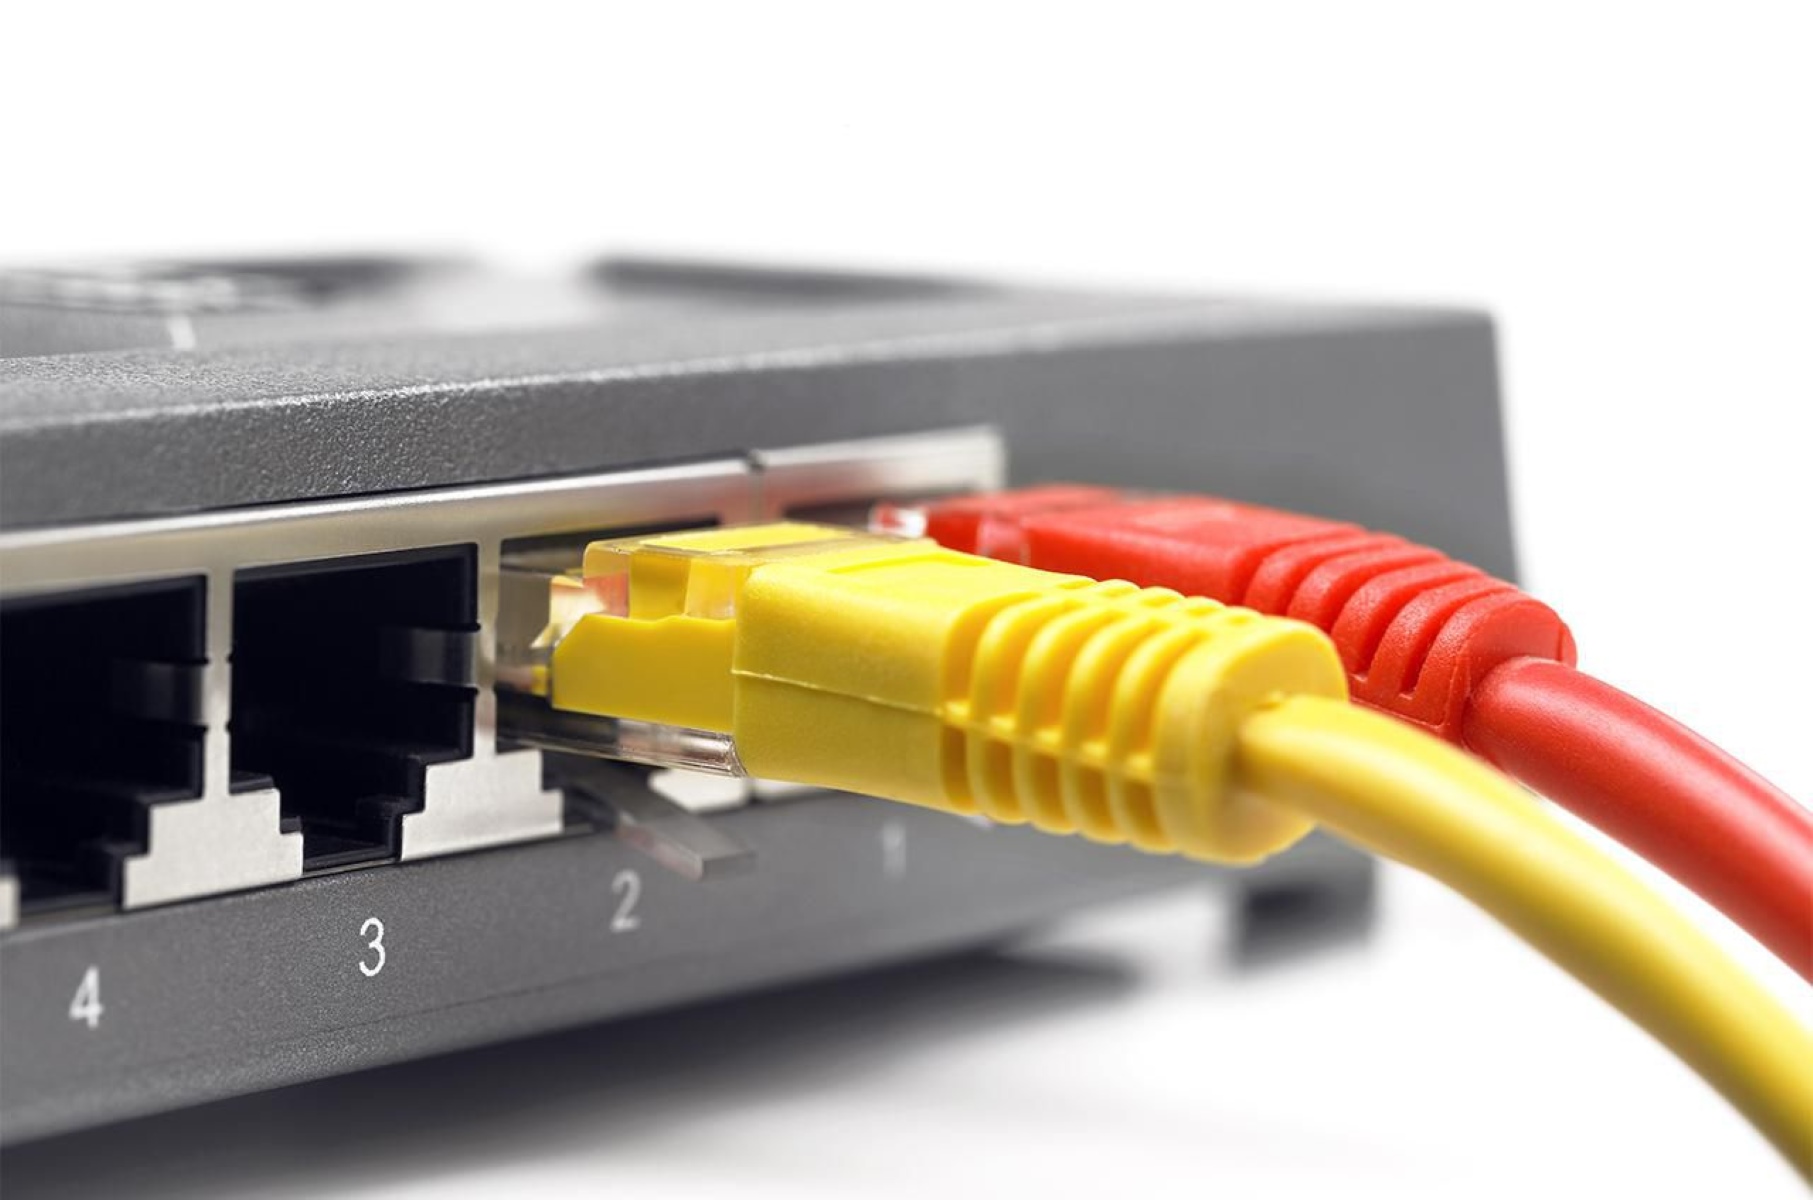
2. Take an Ethernet cable and plug one end into the Ethernet port on the switch. Make sure to align the connector properly and gently push it in until it clicks into place. A secure connection is important for uninterrupted data transmission.
3. On the other end of the Ethernet cable, identify the appropriate destination device. This can be a computer, a router, or any other network-enabled device that you want to connect to the switch.
4. Plug the other end of the Ethernet cable into the Ethernet port on the destination device. Again, ensure that the connector is aligned correctly and inserted fully into the port to establish a secure connection.
5. Repeat the process for any additional devices that you want to connect to the switch. Each device should have its own Ethernet cable connected to an available port on the switch.
6. Once all the devices are connected, ensure that the Ethernet cables are securely plugged in on both ends. Loose connections can lead to intermittent connectivity issues or slow data transfer speeds.
7. Finally, power on the switch by plugging it into a power source and turning it on. This will establish a connection between the switch and the devices connected to it.
By following these steps, you can successfully connect a switch to an Ethernet cable, allowing for seamless communication and data transfer between devices on your network. It is important to double-check the connections to ensure a stable and reliable network connection.
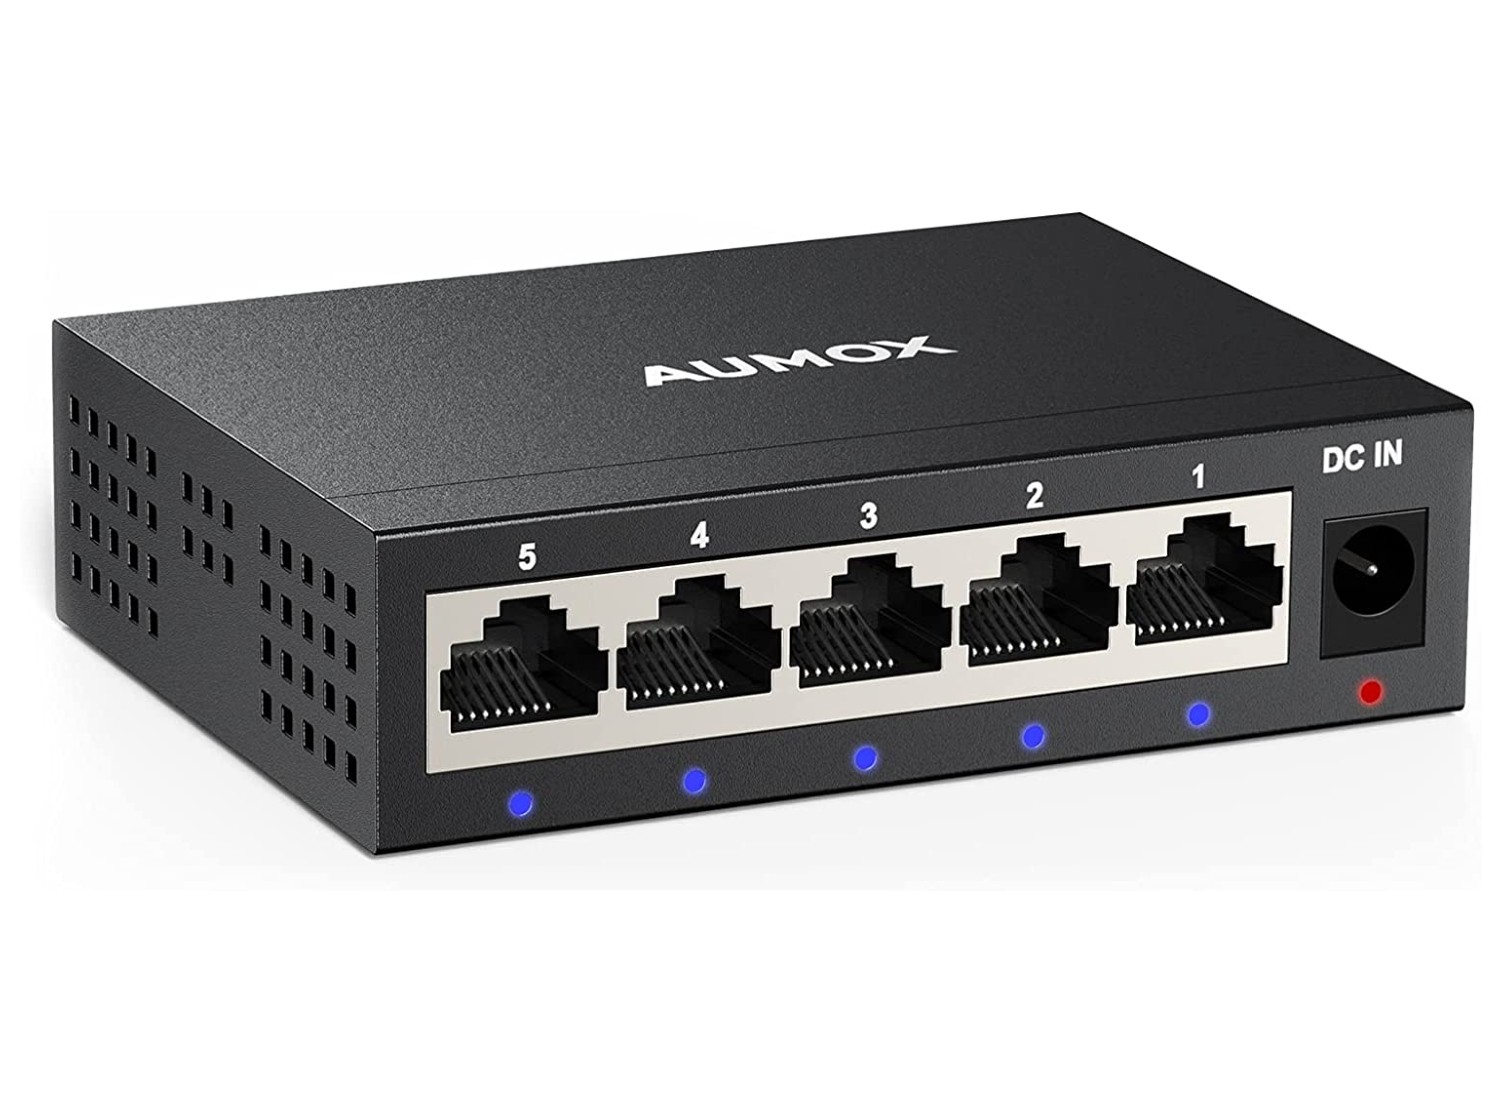
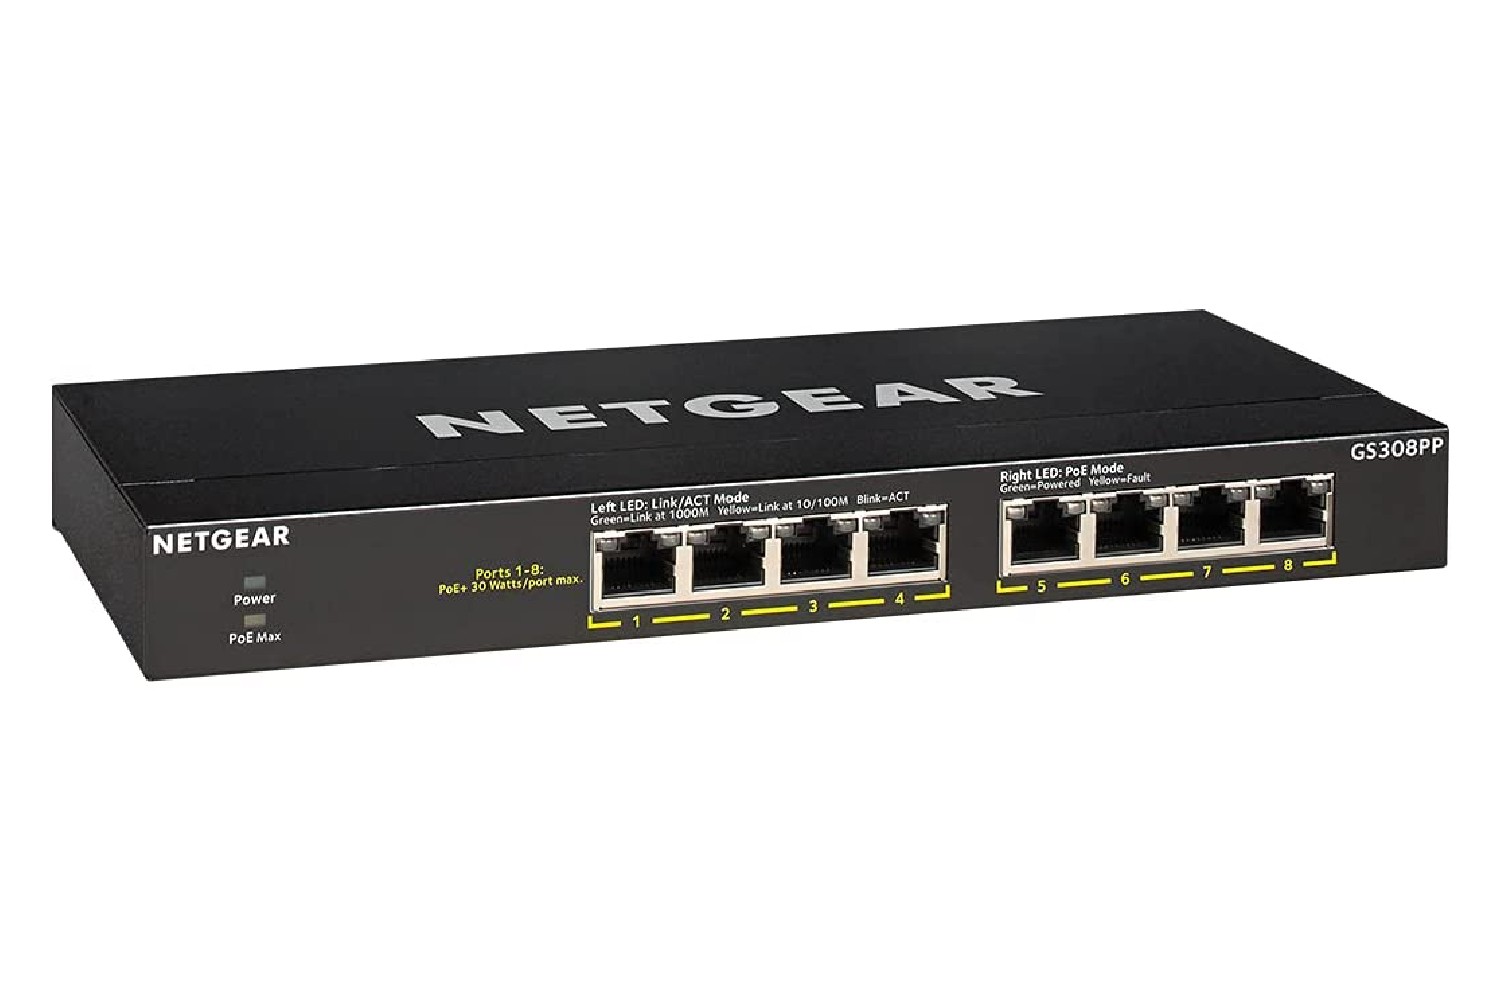
Identifying Ethernet Ports on the Switch
When connecting devices to a switch, it is essential to identify the Ethernet ports correctly. Most switches have multiple ports, each serving as a connection point for different devices. By understanding how to identify Ethernet ports on the switch, you can ensure that the devices are connected properly for seamless networking.
1. Physical Examination: Begin by locating the switch’s physical ports. Depending on the model, these ports can be found on the front, back, or sides of the switch. They are typically rectangular in shape and are labeled numerically or with other indicators.
2. Port Labels: Look for labels or indicators next to each port. These labels can provide helpful information such as port number, speed, or status indicators. The labels may be engraved, printed, or stickered on the device itself. Take note of the labels as they will guide you in properly connecting the devices.
3. Color Coding: Some switches use color-coding to differentiate their Ethernet ports. For example, a switch might use blue for regular ports, yellow for uplink ports, or green for PoE (Power over Ethernet) ports. Ensure to consult the switch’s documentation to understand the color coding scheme used, if any.
4. Uplink Ports: Many switches have one or more uplink ports specifically designed for connecting to other networking devices like routers or additional switches. These ports have higher bandwidth capabilities and are often labeled as “uplink” or designated with an arrow symbol. Using the uplink port ensures optimal performance when connecting the switch to another networking device.
5. PoE Ports: If your switch supports Power over Ethernet (PoE) functionality, it may have dedicated PoE ports. These ports can provide both data and power to compatible devices, such as IP cameras or wireless access points. PoE ports are labeled and sometimes have a different color or icon to differentiate them from regular ports.
6. Checking Documentation: If you’re unsure about the port identification or labeling on your switch, consult the switch’s user manual or manufacturer’s website. The documentation should provide detailed information on port numbering, labeling conventions, and any additional features specific to your switch model.
By identifying the Ethernet ports on the switch correctly, you can ensure a proper and efficient connection between the switch and the devices on your network. Carefully examine the physical ports, check for labels or indicators, and refer to the switch’s documentation if needed. Taking these steps will help you establish a reliable network infrastructure and avoid any connectivity issues.
Configuring Ethernet Connection Settings
After physically connecting the switch to the Ethernet cables, it’s important to configure the Ethernet connection settings to ensure proper network communication and optimal performance. Here are the steps to configure the Ethernet connection settings:
1. Access the Switch Interface: Most switches can be configured through a web-based interface or a command-line interface (CLI). Consult the switch’s user manual or documentation to determine the specific method for accessing the interface. Common methods include typing the switch’s IP address into a web browser or using SSH to connect to the switch.
2. Login and Authentication: Once you access the switch interface, you may need to provide login credentials to authenticate yourself as an administrator. This step helps ensure that only authorized individuals can make changes to the switch’s configuration.
3. Navigate to Ethernet Settings: Once logged in, locate the section of the interface that allows you to configure Ethernet settings. The exact location may vary depending on the switch’s firmware or user interface design.
4. Set Speed and Duplex: In the Ethernet settings, you’ll typically find options to configure the speed (e.g., 10/100/1000 Mbps) and duplex mode (e.g., half-duplex or full-duplex) for each port. Ensure that the speed and duplex settings match the capabilities of the connected devices to avoid compatibility and performance issues.
5. Enable Auto-negotiation: Auto-negotiation is a feature that allows devices to automatically determine the best speed and duplex settings for the Ethernet connection. Enabling auto-negotiation ensures that the connected devices can communicate effectively and adjust their settings accordingly.
6. VLAN Configuration: If your network requires virtual LAN (VLAN) segmentation, you can configure VLAN settings in the Ethernet settings section. VLANs allow you to logically separate network traffic for improved security and performance. Consult the switch’s documentation for information on VLAN configuration specific to your switch model.
7. Save and Apply Changes: Once you’ve made the necessary Ethernet configuration changes, save the settings and apply them. This step ensures that the changes take effect and the switch is properly configured according to your specifications.
8. Test Connectivity: After configuring the Ethernet connection settings, it’s recommended to test the connectivity between the devices. You can perform tests such as pinging devices, transferring files, or using network diagnostic tools to ensure that the configured settings are functioning as intended.
By configuring the Ethernet connection settings properly, you can optimize network performance, ensure compatibility, and facilitate efficient communication between devices. It’s important to refer to the switch’s documentation for specific instructions and consult with IT professionals if you’re unsure about any configurations.
Testing the Ethernet Connection
Once you have connected the switch to the Ethernet cables and configured the Ethernet connection settings, it’s crucial to test the connection to ensure its reliability and functionality. Testing the Ethernet connection involves checking for proper connectivity, data transfer speeds, and network stability. Here are some methods for testing the Ethernet connection:
1. Ping Test: One of the simplest ways to test the Ethernet connection is by using the ping command. Open the command prompt or terminal on a connected device and type “ping” followed by the IP address of another device on the network. If the ping commands are successful and you receive responses, it indicates that the devices can communicate with each other over the Ethernet connection.
2. Speed and Performance Tests: To evaluate the data transfer speeds and overall performance of the Ethernet connection, you can use online speed testing tools. These tools measure the download and upload speeds between your device and a server. Compare the results with the expected speeds based on your internet plan or the specifications of the Ethernet connection to determine if the connection is performing optimally.
3. Network Diagnostics Tools: Network diagnostic tools, such as Wireshark or Network Analyzer, can provide detailed insights into the Ethernet connection’s performance. These tools capture and analyze network traffic, helping to identify any potential issues, errors, or bottlenecks in the connection. They can also help verify if the Ethernet connection is operating at the expected speed and if there are any abnormal activities or errors occurring.
4. Stress Testing: Stress testing involves subjecting the Ethernet connection to heavy loads and monitoring its stability. For example, you can transfer large files between devices or run network-intensive applications to gauge how well the Ethernet connection handles the increased traffic. Performing stress tests over an extended period can help identify any potential issues with the connection, such as dropped packets or slowdowns.
5. Physical Inspection: Alongside electronic testing, physically inspect the Ethernet cables and connectors to ensure a stable connection. Check for any signs of damage, loose connections, or bent pins. Replace any faulty cables or connectors, as they can affect the Ethernet connection’s performance and stability.
By conducting these tests on the Ethernet connection, you can confirm its functionality, identify any potential issues or areas of improvement, and ensure a reliable network infrastructure. Regular testing of the Ethernet connection is recommended, especially during initial setup and whenever changes are made to the network configuration.
Troubleshooting Common Ethernet Issues
Despite its reliability, Ethernet connections can sometimes encounter issues that affect network connectivity and performance. Fortunately, many common Ethernet problems can be resolved through troubleshooting techniques. Here are some common Ethernet issues and steps to troubleshoot them:
1. No Connectivity: When devices connected to the Ethernet switch are unable to establish a network connection, ensure that the cables are properly connected and undamaged. Try disconnecting and reconnecting the Ethernet cables to ensure a secure connection. Restarting the switch or the devices may also help resolve the issue.
2. Slow Network Speeds: Slow data transfer speeds can be a result of various factors. Start by checking that the Ethernet cables are of the appropriate category for the desired speed (e.g., Cat5e or Cat6 for Gigabit Ethernet). Confirm that the devices connected to the switch support the same Ethernet standard. Verify that no unnecessary applications or background processes are consuming excessive bandwidth. If the issue persists, consider performing a speed test to determine the actual network speeds.
3. Intermittent Connection: If the Ethernet connection is unstable or drops frequently, check for loose or damaged cables. Inspect the connectors for bent pins or other signs of damage. Additionally, interference from other electronic devices or physical obstacles between the devices and the switch can cause intermittent connection issues. Relocating the devices or switching to shielded cables can help mitigate interference.
4. Device Compatibility Issues: Some devices may have compatibility issues with certain Ethernet standards or configurations. Ensure that the devices and the switch support the same Ethernet standards (e.g., 10/100/1000 Mbps) and have compatible settings for speed and duplex. Upgrading device firmware or drivers may also resolve compatibility issues.
5. IP Address Conflict: If multiple devices on the network have the same IP address, it can cause connectivity problems. Ensure that each device has a unique IP address in the network. You can try renewing the IP addresses or manually assigning unique IP addresses to affected devices to resolve the conflict.
6. VLAN Configuration: If you are using VLANs in your network setup, improper configuration of VLAN settings can cause connectivity issues. Review the VLAN settings on the switch and ensure that the correct VLANs are assigned to the appropriate ports and devices. Verify that the VLAN settings on the connected devices match the switch configuration.
7. Firmware Updates: Outdated firmware on the switch might lead to compatibility issues, connectivity problems, or security vulnerabilities. Regularly check for firmware updates from the manufacturer’s website and apply them following the provided instructions.
If troubleshooting these common Ethernet issues does not resolve the problem, consult the switch’s documentation or reach out to technical support for further assistance. Understanding the potential causes of Ethernet problems and taking proactive steps to diagnose and resolve them can help maintain a stable and efficient network connection.
Conclusion
Establishing a solid Ethernet connection is vital for seamless networking and efficient data transfer between devices. By understanding the fundamentals of Ethernet connections, connecting the switch to Ethernet cables, identifying Ethernet ports, configuring connection settings, and testing and troubleshooting common issues, you can ensure a reliable and high-performing network environment.
Through proper physical connection, such as plugging Ethernet cables into the correct ports, and configuring Ethernet settings, including speed, duplex, and VLAN configurations, you can optimize the performance and compatibility of the Ethernet connection. Additionally, testing the connection through ping tests, speed tests, and network diagnostic tools allows you to verify its stability and performance.
However, Ethernet connections may face challenges, such as connectivity issues, slow speeds, intermittent connections, and compatibility problems. To troubleshoot these issues, check for loose or damaged cables, ensure device compatibility, resolve IP address conflicts, and update firmware if necessary.
Regularly reviewing and verifying Ethernet connection settings, conducting routine maintenance, and staying up-to-date with firmware updates are essential for ensuring a reliable and secure network infrastructure.
In conclusion,
By following the best practices outlined in this guide and utilizing troubleshooting techniques, you can establish and maintain a robust Ethernet connection that supports uninterrupted communication and data transmission between devices on your network. With a solid Ethernet connection in place, you can enjoy fast and reliable internet connectivity, efficient file sharing, and seamless network performance that meets your needs.