Understanding the Basics
In today’s digital age, having a reliable internet connection is essential. Whether you’re at home, in the office, or on the go, connecting to Wi-Fi has become a way of life. One key component in establishing a Wi-Fi network is setting up a router. Understanding the basics of how to connect a router to Wi-Fi is crucial for anyone looking to enjoy the benefits of wireless internet.
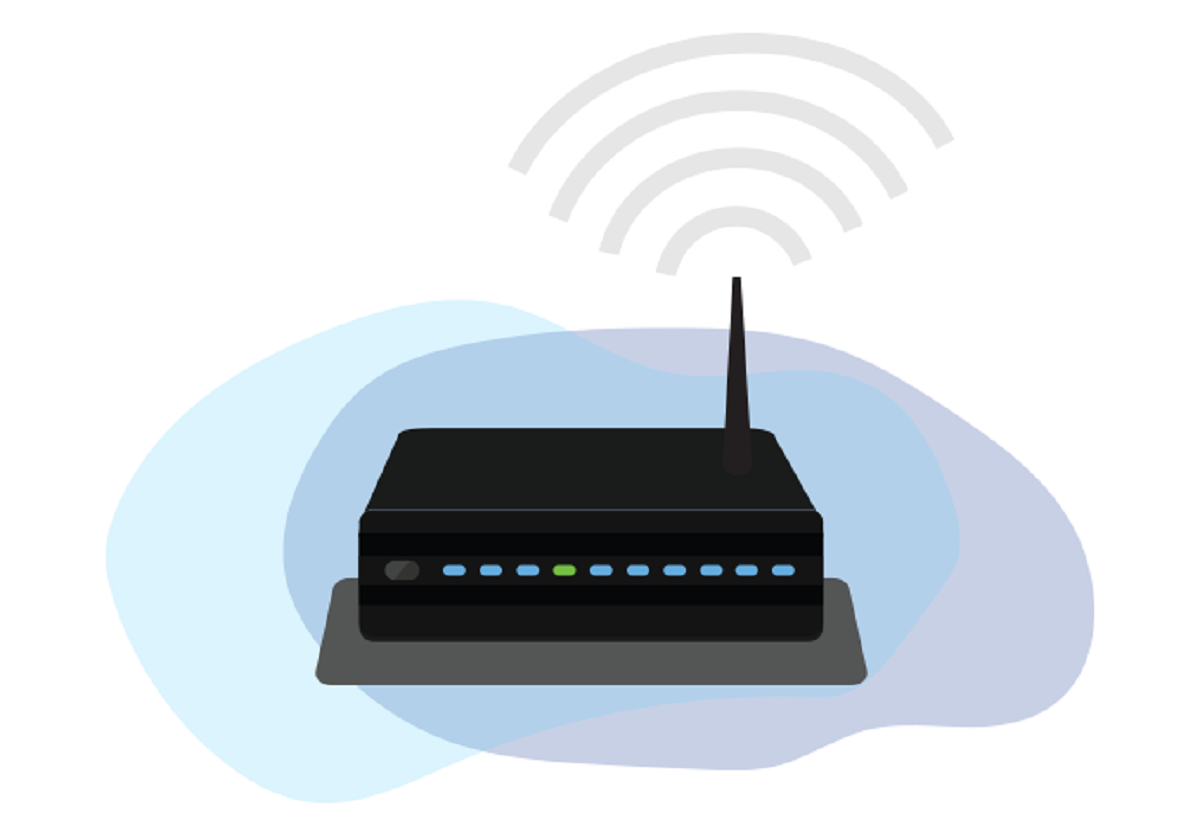
A router acts as a central hub that allows multiple devices to connect to the internet simultaneously. It serves as a mediator between the devices and the internet service provider (ISP), enabling data transmission and ensuring a secure connection. Before diving into the technical aspects of setting up a router, it’s important to have a clear understanding of the key components involved.
The main components of a typical router setup include:
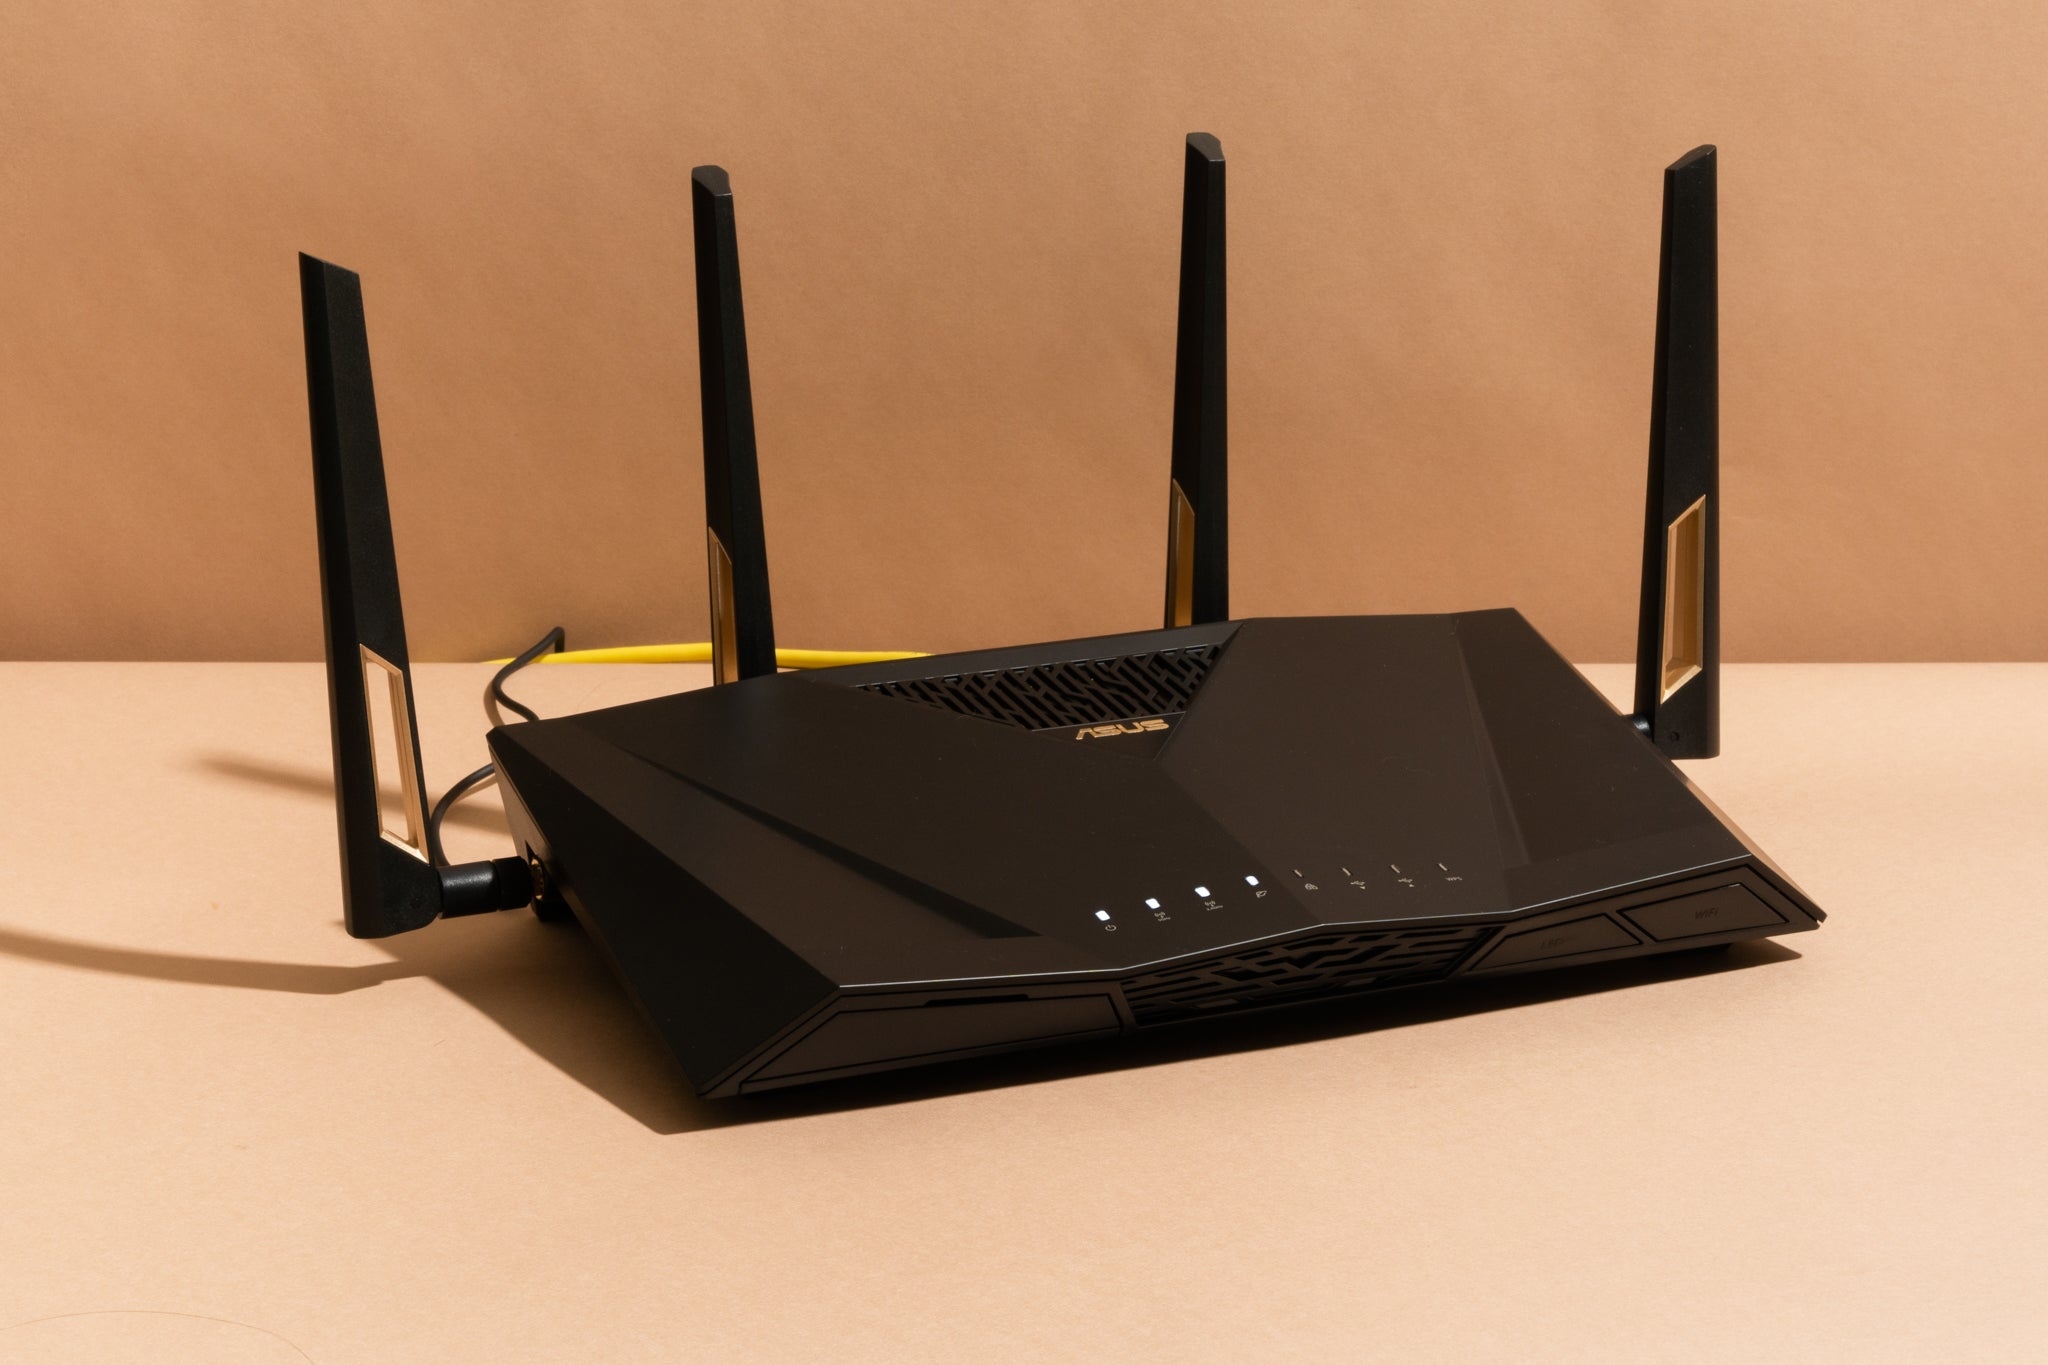
- Router: The main device responsible for creating a Wi-Fi network and connecting to the internet.
- Modem: Connects the router to the ISP’s network, translating the data signals between the router and the internet.
- Internet Service Provider (ISP): The company that provides internet connectivity to your location.
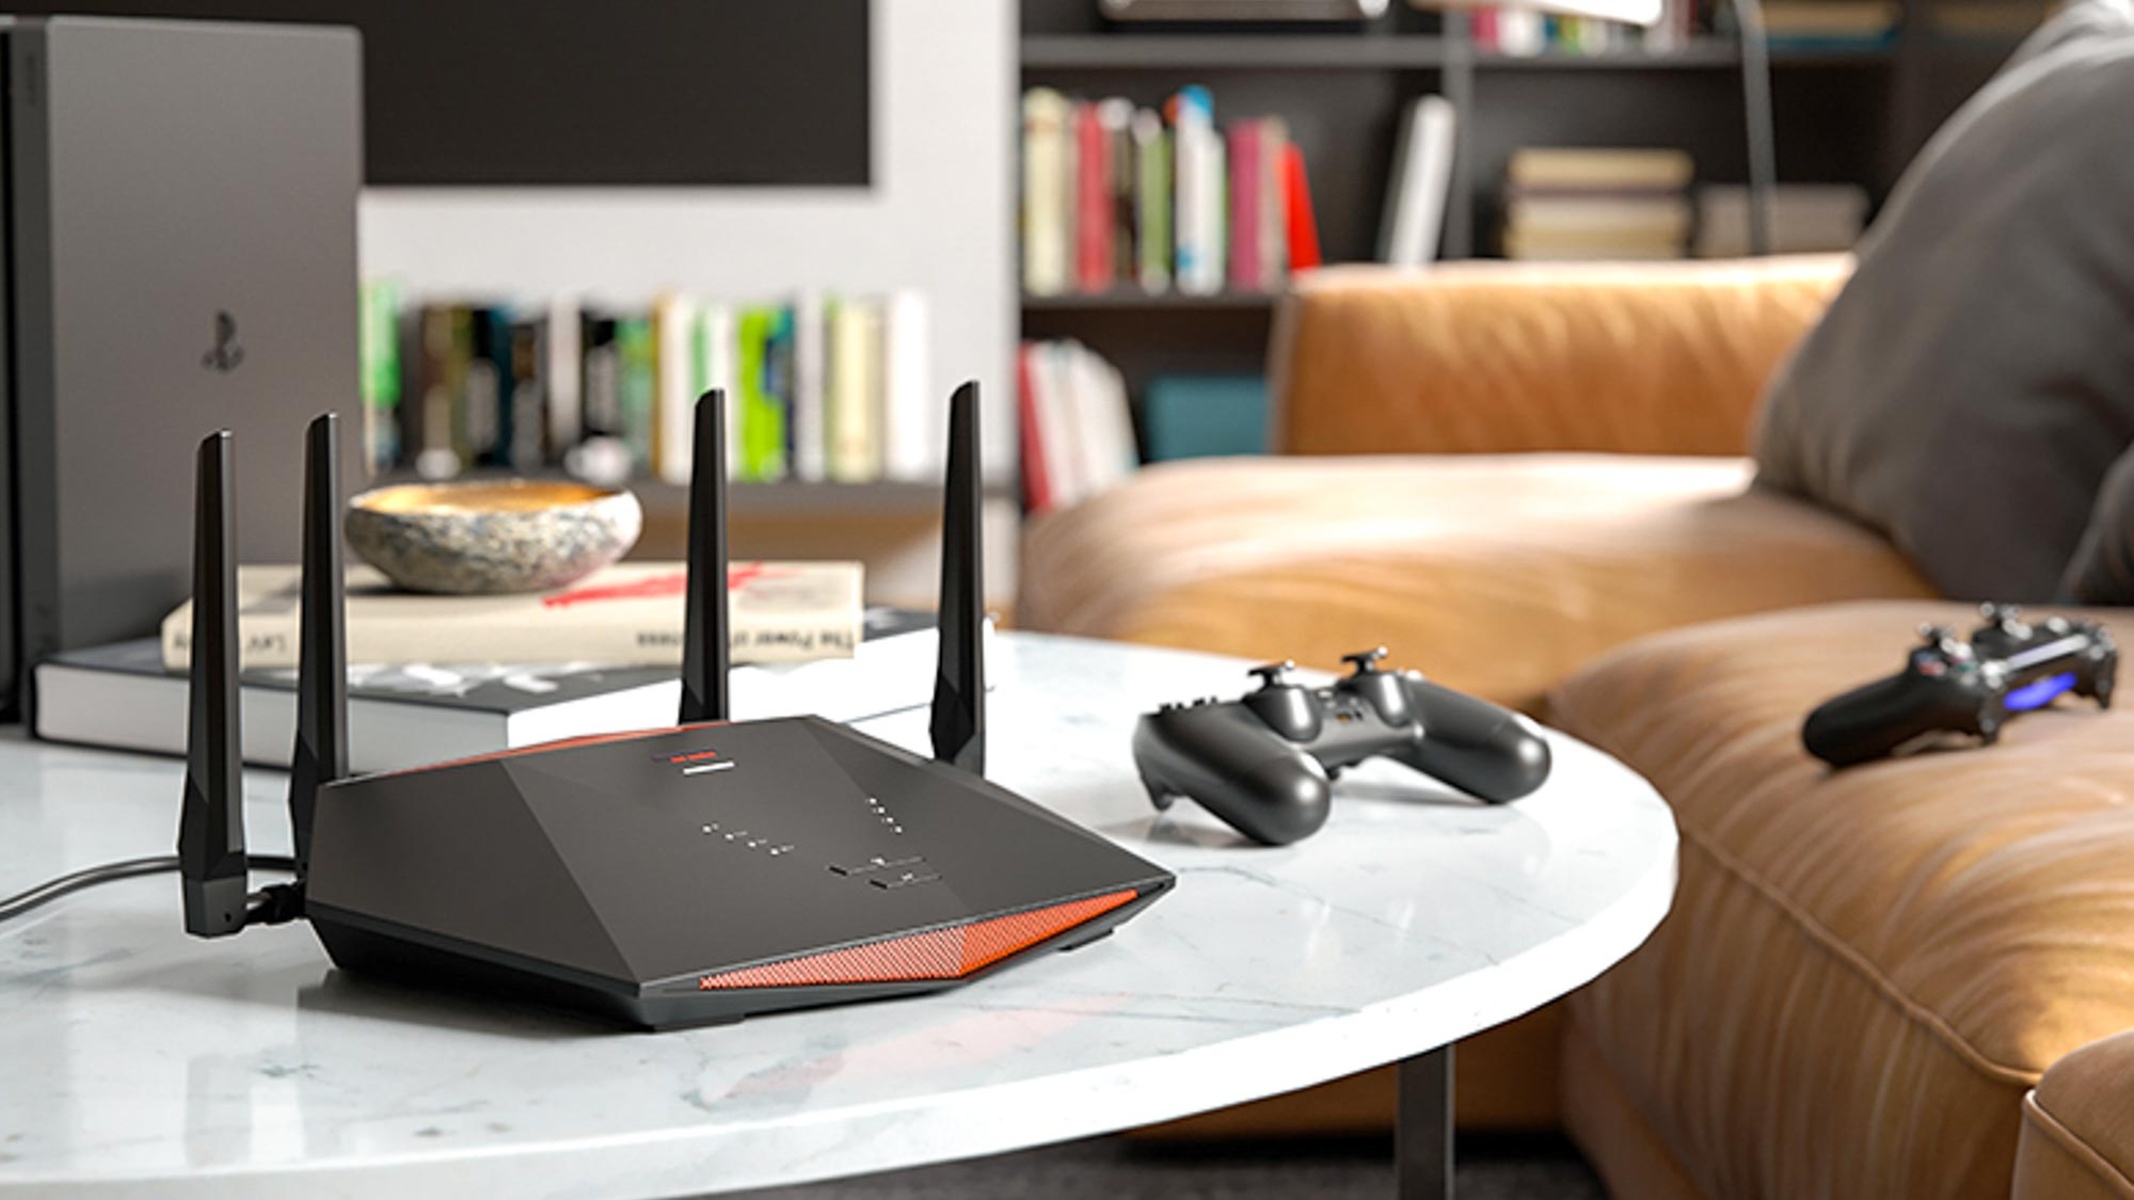
- Devices: The smartphones, laptops, tablets, and other devices that will connect to the Wi-Fi network.
By understanding these basic components, you’ll be better equipped to set up your router and establish a secure and reliable Wi-Fi connection. In the next sections, we’ll guide you through the step-by-step process of preparing your equipment, connecting the router, configuring the settings, connecting devices, and troubleshooting common issues that may arise along the way. Let’s get started!
Preparing Your Equipment
Before you start connecting your router to Wi-Fi, it’s important to gather all the necessary equipment and ensure everything is in working order. This will help streamline the setup process and minimize any potential issues that may arise. Here are the steps to prepare your equipment:
1. Choose a Suitable Location: Select a central location for your router that is free from obstructions and interference. Avoid placing it near large metal objects, concrete walls, or other devices that emit wireless signals.
2. Gather the Required Equipment: Typically, you’ll need the following items:
- Router: Ensure you have a router that is compatible with your internet connection. Consult your ISP or refer to the router’s documentation for specific requirements.
- Modem: If you don’t already have one, check whether your ISP provides a modem or if you need to purchase one separately.
- Ethernet Cable: This will be used to connect the modem to the router. Make sure you have a reliable Ethernet cable of sufficient length.
- Power Adapter: Ensure you have the appropriate power adapter for your router.
- Computer or Smartphone: You’ll need a device with internet connectivity to configure the router’s settings.
3. Power Off Your Modem: If your modem is currently connected and powered on, turn it off before proceeding with the setup process.
4. Read the Router’s Manual: Familiarize yourself with the router’s manual or user guide. This will provide specific instructions tailored to your router model and ensure you have a clear understanding of its features and setup process.
By preparing your equipment in advance, you’ll be ready to seamlessly connect your router to Wi-Fi. In the next section, we’ll walk you through the step-by-step process of connecting the router. Let’s dive in!
Connecting the Router
Now that you have gathered your equipment and familiarized yourself with the basics, it’s time to connect your router and start setting up your Wi-Fi network. Here are the steps to connect your router:
1. Power Off Your Modem: Ensure that your modem is powered off to avoid any potential conflicts during the setup process.
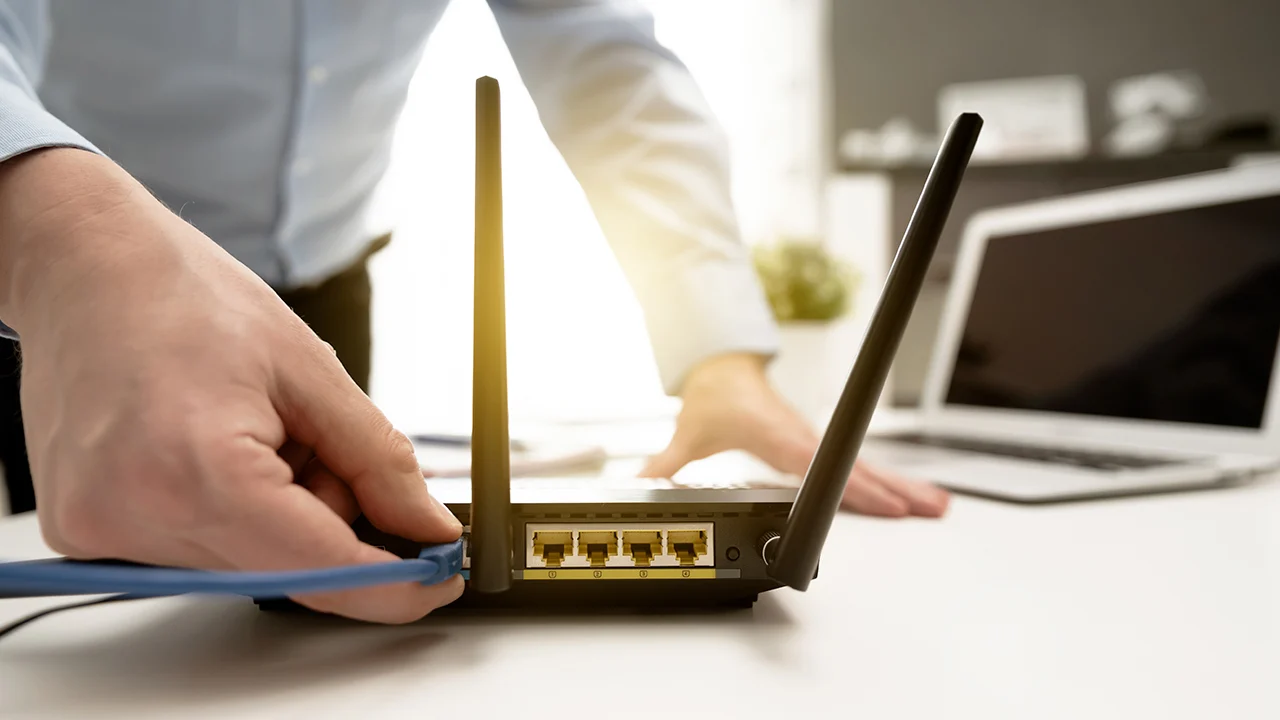
2. Connect the Modem and Router: Use an Ethernet cable to connect the modem’s Ethernet port to the WAN (Wide Area Network) or internet port on your router. This connection will establish the link between your router and the internet.
3. Power On the Modem and Router: Turn on your modem and wait for it to establish a connection with your ISP. Once the modem is fully connected and functioning, power on the router.
4. Wait for the Router to Initialize: Give the router a few minutes to initialize and establish a connection with the modem. During this time, you may see some indicator lights on the router blinking, indicating that it’s syncing with the modem and establishing a connection.
5. Check the Indicator Lights: Once the router has finished initializing, check the indicator lights on the router to ensure that it has successfully connected to the modem and is ready for setup. Different router models may have different indicator light patterns, so refer to your router’s manual for specific guidance.
6. Connect Your Computer or Smartphone: Using an Ethernet cable or over Wi-Fi, connect your computer or smartphone to the router. This will allow you to access the router’s configuration settings and complete the setup.
That’s it! Congratulations, you have successfully connected your router to Wi-Fi. In the next section, we’ll guide you through the process of configuring the router’s settings to customize your Wi-Fi network. Let’s proceed!
Configuring the Router Settings
Now that you have successfully connected your router to Wi-Fi, it’s time to configure the router settings to personalize your network and ensure optimal performance. Here are the steps to configure the router settings:
1. Access the Router’s Web Interface: Open a web browser and enter the router’s IP address in the address bar. The IP address is typically printed on the router or can be found in the router’s manual. Press enter to access the router’s web interface.
2. Enter the Login Credentials: Depending on the router manufacturer and model, you may be prompted to enter a username and password. Refer to the router’s manual or use the default credentials provided by the manufacturer. It is recommended to change the default credentials for security purposes.
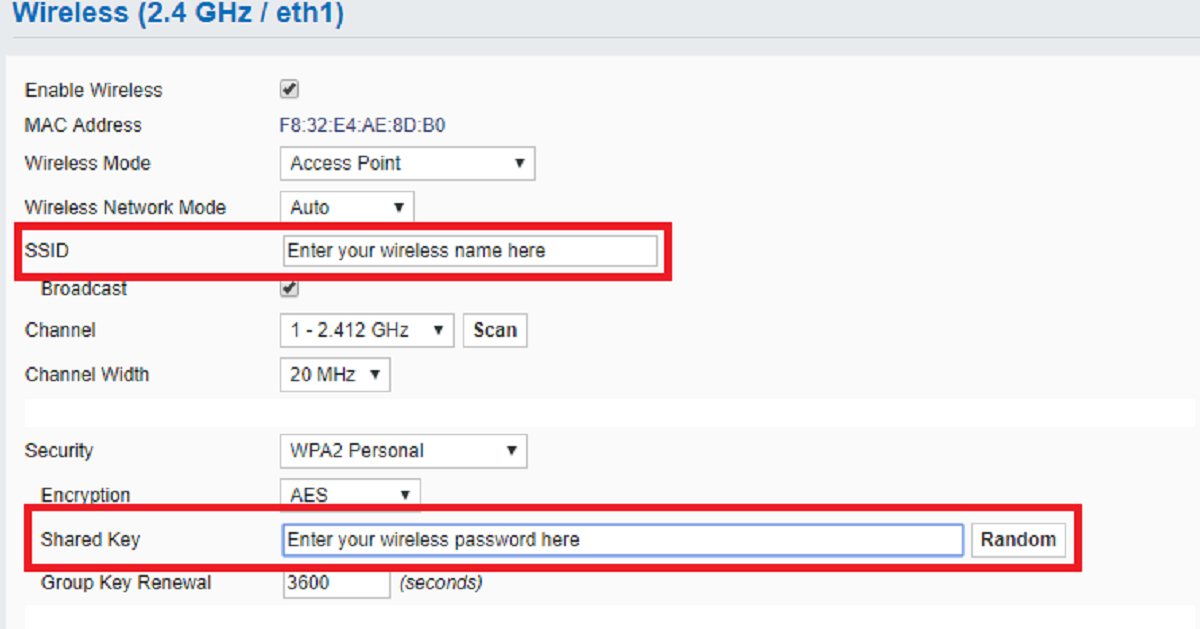
3. Configure Your Network Name (SSID): The SSID is the name that will identify your Wi-Fi network. Locate the settings to change the SSID and choose a unique, easily recognizable name. Avoid using personal information or sensitive data in the SSID for security reasons.
4. Set a Strong Wi-Fi Password: Enable wireless security and set a strong password to protect your network from unauthorized access. Use a combination of uppercase and lowercase letters, numbers, and special characters. A strong password will help ensure the security of your network.
5. Choose the Right Wireless Channel: By default, routers are set to auto-select the wireless channel. However, in crowded areas or if you experience interference, manually selecting a less congested channel can help improve Wi-Fi performance. Consult your router’s manual for instructions on changing the wireless channel.
6. Enable Network Encryption: Enable network encryption such as WPA2 (Wi-Fi Protected Access 2) to secure your wireless network. This helps prevent unauthorized access and protects your data from interception.
7. Customize Advanced Settings: Depending on your specific needs, you may want to customize advanced settings such as port forwarding, guest networks, or parental controls. Explore the router’s configuration options and adjust them to suit your preferences.
8. Save and Apply Settings: Once you have made the desired changes, save the settings and allow the router to apply the changes. This process may take a few moments, so be patient.
After configuring the router settings, your Wi-Fi network is ready to use. In the next section, we’ll walk you through the process of connecting devices to your newly created Wi-Fi network. Let’s continue!
Connecting Devices to the Wi-Fi Network
Now that you have set up and configured your Wi-Fi network, it’s time to connect your devices and enjoy the convenience of wireless internet. Here’s how you can connect devices to your Wi-Fi network:
1. Access Device Wi-Fi Settings: On the device you wish to connect, such as a smartphone, laptop, or tablet, open the Wi-Fi settings menu. This can usually be found in the device’s system settings or network preferences.
2. Select Your Wi-Fi Network: In the Wi-Fi settings menu, you should see a list of available networks. Locate your network name (SSID) and select it from the list.
3. Enter Network Password: If your network is secured with a password, you will be prompted to enter it. Type in the password you set during the router configuration process. Double-check for any typing errors as the password is case-sensitive.
4. Wait for Connection: Once you have entered the correct password, your device will attempt to connect to the Wi-Fi network. It may take a few moments to establish a connection, so be patient.
5. Confirm Connection: Once your device has successfully connected to the Wi-Fi network, you should see a Wi-Fi symbol or indicator on your device’s screen. This indicates that the device is connected and ready to access the internet through your Wi-Fi network.
6. Repeat for Other Devices: To connect other devices, such as additional smartphones, laptops, or IoT devices, follow the same process. Access the Wi-Fi settings on each device, select your network, enter the password, and wait for the connection to be established.
By connecting your devices to your Wi-Fi network, you can enjoy internet access on multiple devices simultaneously. If you face any connectivity issues, refer to the troubleshooting section next for possible solutions. Now, let’s move on!
Troubleshooting Common Issues
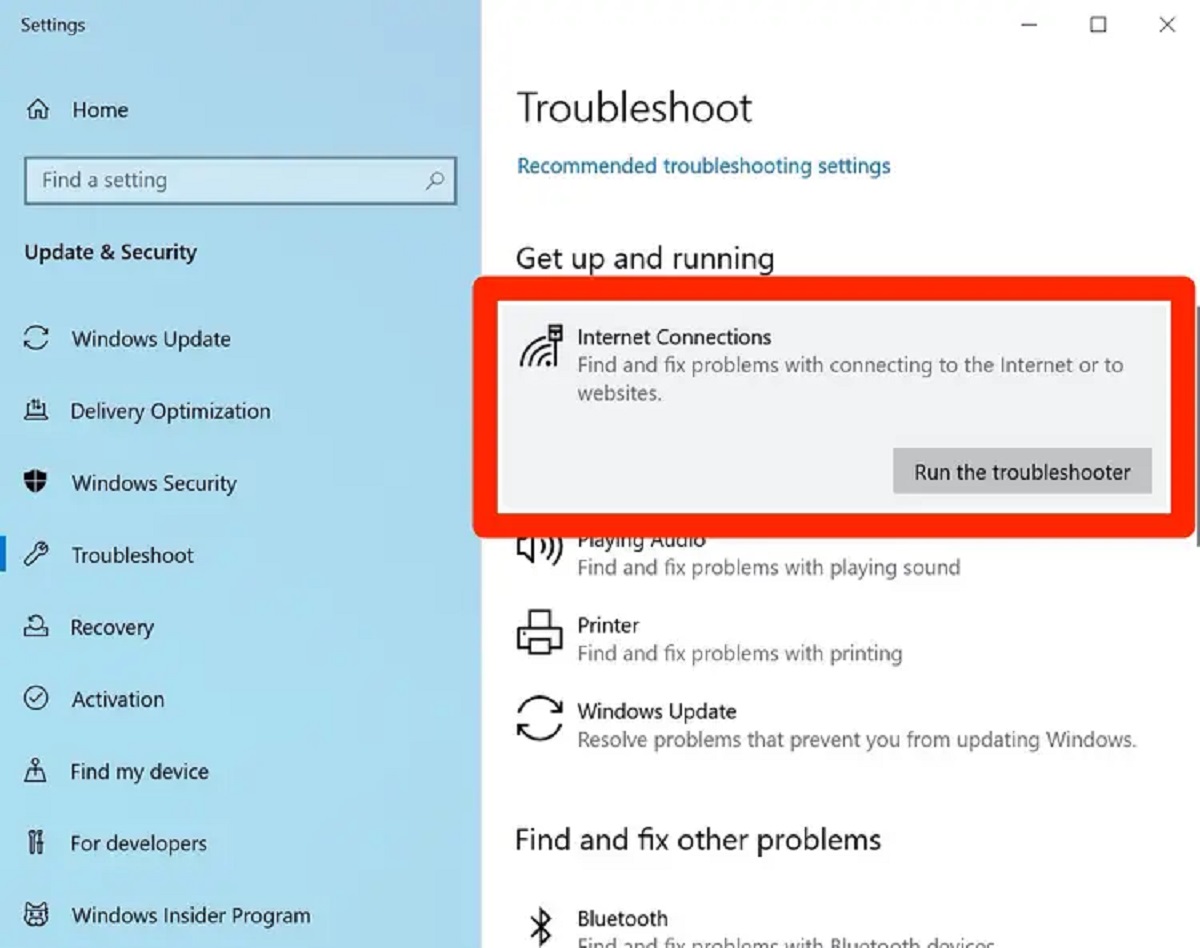
While setting up and connecting your router to Wi-Fi, you may encounter some common issues. Don’t worry, troubleshooting these issues is often straightforward. Here are some troubleshooting steps for common Wi-Fi problems:
1. No Wi-Fi Signal: If you don’t see your Wi-Fi network in the available networks list, ensure that the router is powered on and the indicator lights are functioning correctly. Check the router’s settings to ensure Wi-Fi is enabled and broadcasting. Also, make sure you are within range of the router.
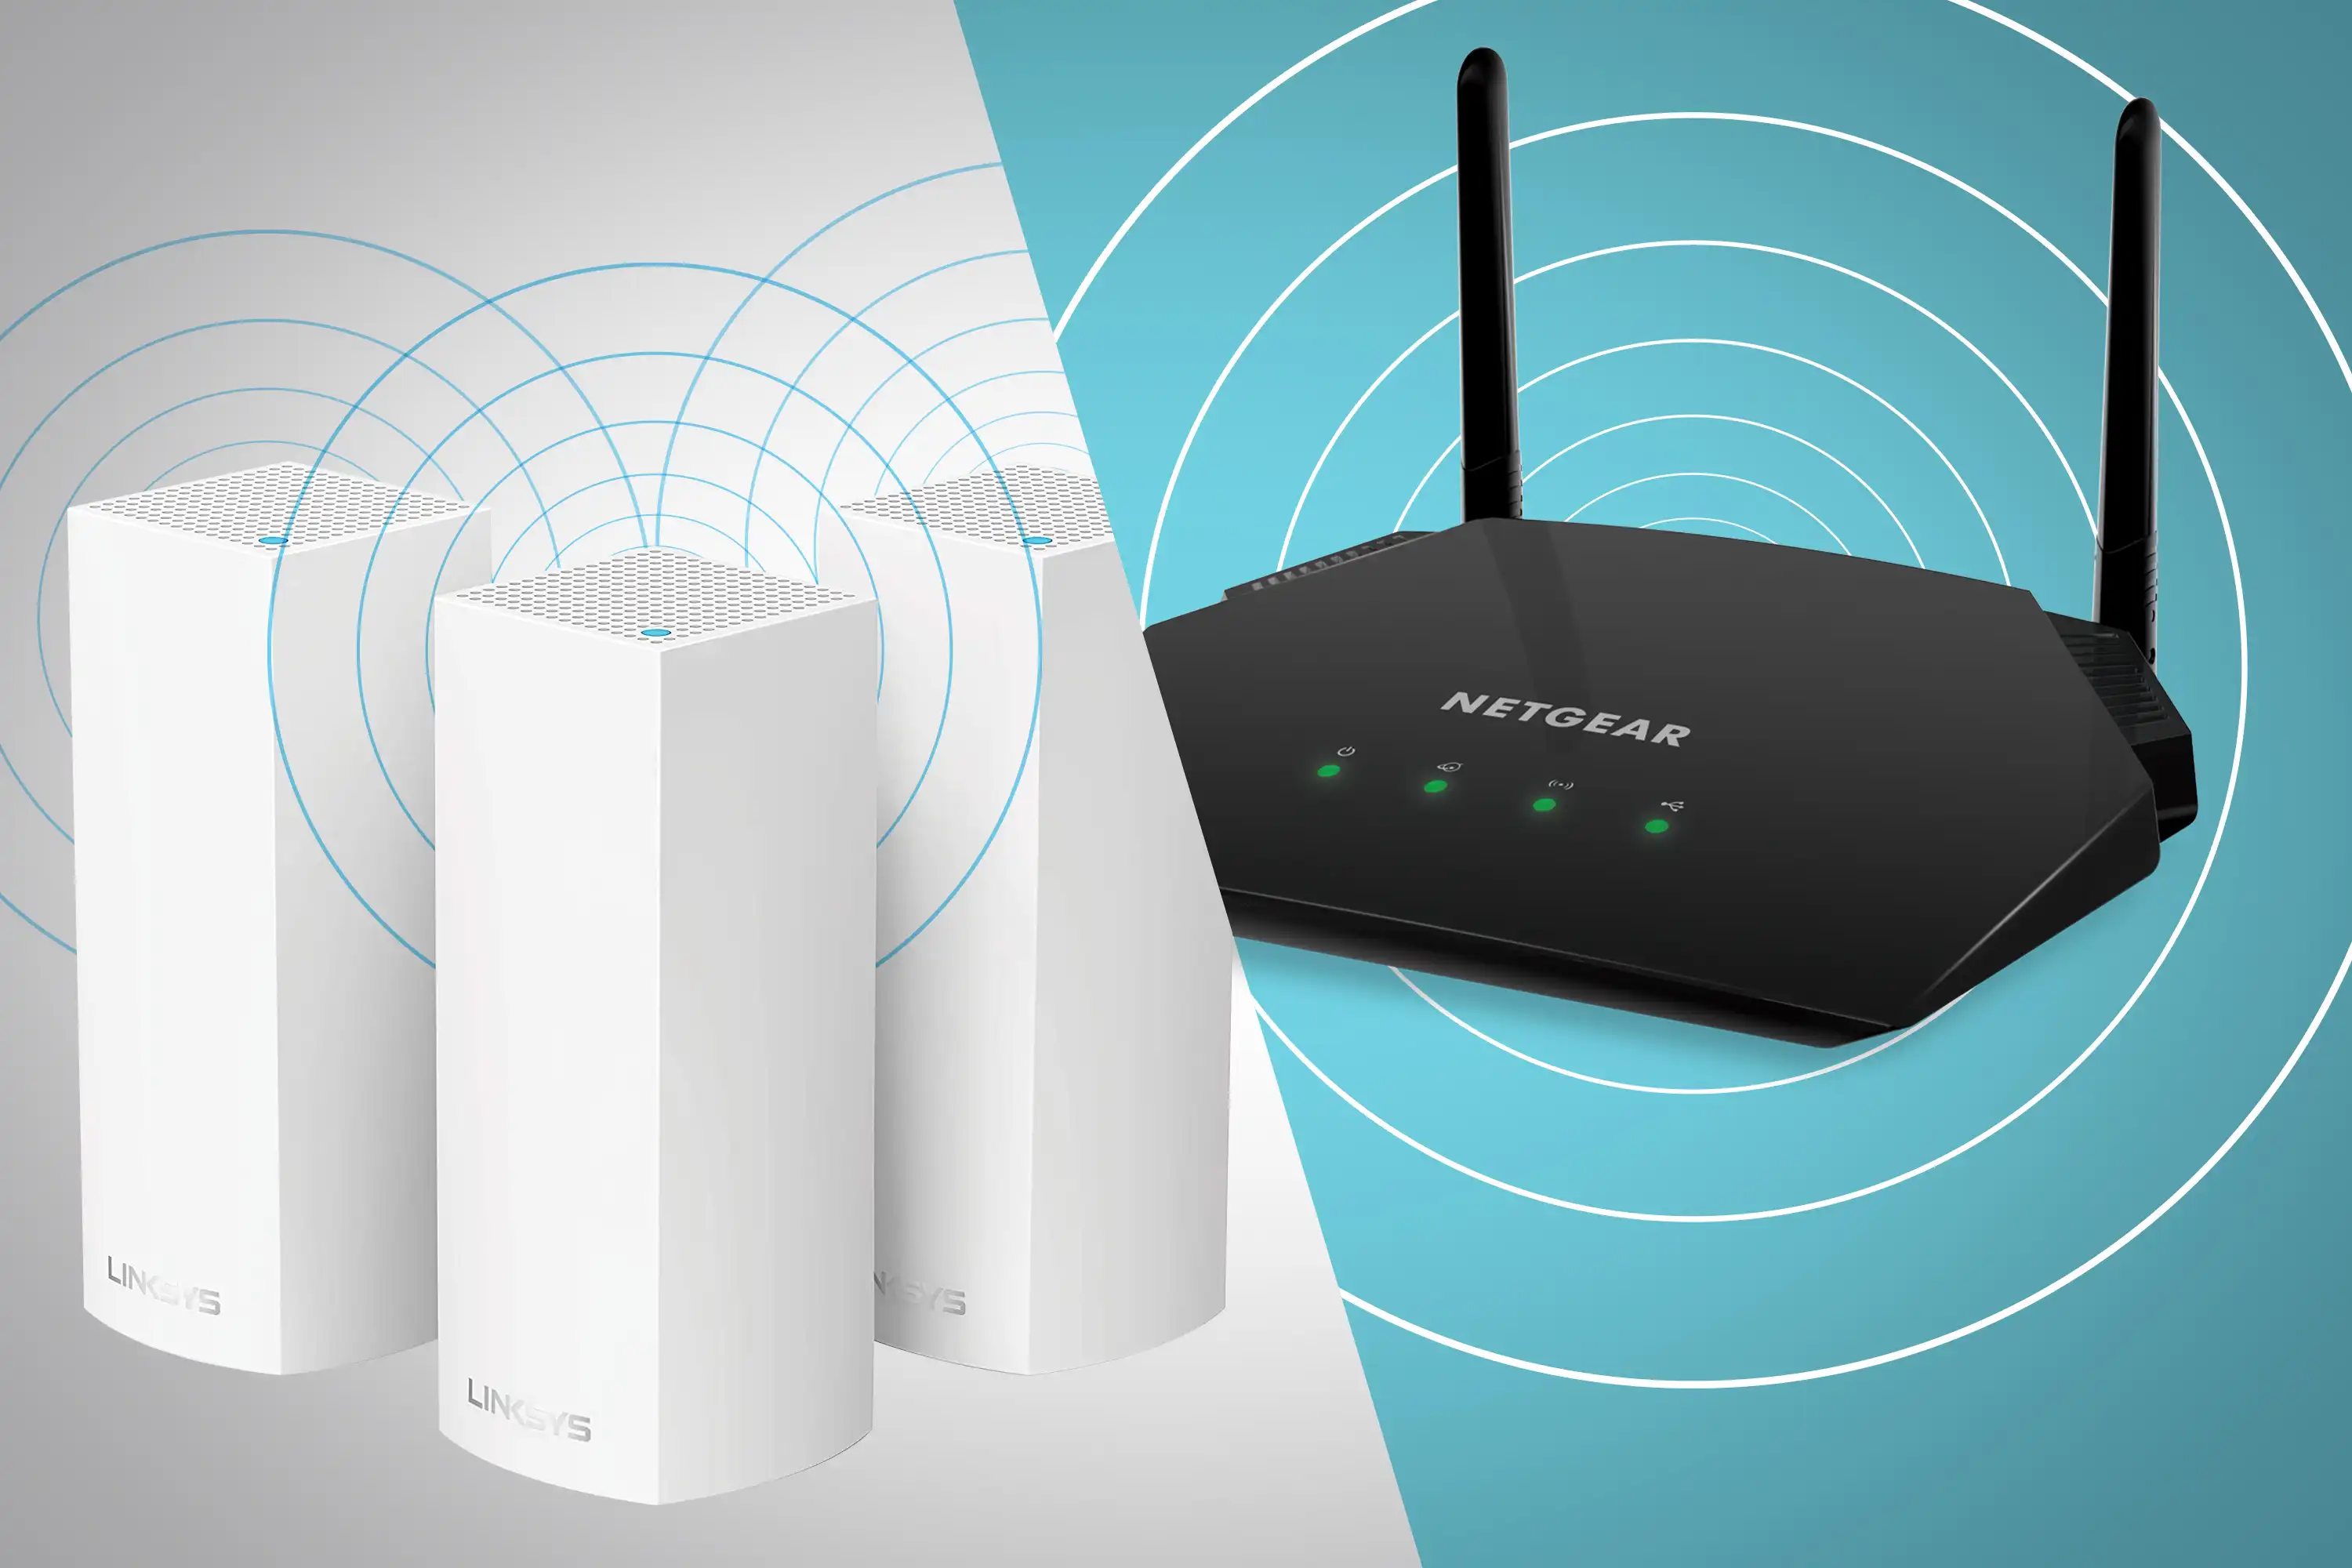
2. Weak Signal or Limited Range: If you are experiencing a weak Wi-Fi signal or limited range, try repositioning your router to a more central location, away from obstructions and interfering devices. Consider using Wi-Fi extenders or mesh Wi-Fi systems to boost the signal throughout your home or office.
3. Slow Speeds: Slow internet speeds can be caused by various factors. Check if other devices on your network are consuming excessive bandwidth. Additionally, ensure that your router’s firmware is up to date, and try power cycling your modem and router to refresh the connection.
4. Can’t Connect to Wi-Fi: If you cannot connect to your Wi-Fi network, check that you are entering the correct password. Double-check for any typing errors or capitalization. If the problem persists, try forgetting the network on your device and reconnecting. You may also need to restart your router.
5. Interference: Wi-Fi signals can be affected by interference from other devices, such as cordless phones, microwave ovens, or Bluetooth devices. Try moving these devices away from the router or switching to a different Wi-Fi channel to minimize interference.
6. Resetting the Router: If all else fails, you can try resetting your router to its factory settings. Keep in mind that resetting the router will erase all custom configurations, so make sure to back up any important settings before proceeding.
If these troubleshooting steps don’t resolve your issue, consult your router’s manual or contact your internet service provider for further assistance. By addressing common Wi-Fi problems, you can ensure a smooth and uninterrupted internet experience. Now, let’s wrap things up!
Conclusion
Setting up and connecting a router to Wi-Fi may initially seem like a daunting task, but with the right knowledge and guidance, it can be a straightforward process. By understanding the basics of router functionality, preparing the necessary equipment, connecting the router, configuring the settings, connecting devices, and troubleshooting common issues, you can create a reliable and secure Wi-Fi network for your home or office.
Remember to choose an optimal location for your router, gather the required equipment, and power off your modem before connecting the router. Once connected, access the router’s web interface to configure essential settings such as the network name (SSID), password, and wireless channel. Finally, connect your devices to the Wi-Fi network and troubleshoot any issues that may arise.
By following these steps, you can enjoy the convenience and flexibility of wireless internet access. If you encounter any difficulties, consult your router’s manual or reach out to your internet service provider for assistance.
Now that you’re equipped with the knowledge to connect a router to Wi-Fi, go ahead and create your own wireless network. Enjoy the freedom of accessing the internet from anywhere within your home or office!