Introduction
Connecting your PC to Wi-Fi without an Ethernet cable is a convenient and practical way to access the internet wirelessly. Whether you have a desktop computer or a laptop, establishing a wireless connection allows you to move freely within the range of your Wi-Fi network.
Gone are the days when Ethernet cables were the only way to connect to the internet. With advancements in technology, Wi-Fi has become widely accessible, allowing users to connect their devices effortlessly. However, if you’re new to Wi-Fi or facing connectivity issues, you may be unsure how to connect your PC without an Ethernet cable.
In this guide, we will explore the step-by-step process of connecting your PC to Wi-Fi without using an Ethernet cable. We will also address common issues and provide troubleshooting tips to ensure a smooth and hassle-free experience.
From checking your wireless network adapter to troubleshooting potential problems, this guide will equip you with the knowledge needed to establish a wireless connection on your PC. So, let’s dive in and discover how to connect your PC to Wi-Fi without an Ethernet cable.
Step 1: Check your wireless network adapter
The first step in connecting your PC to Wi-Fi without an Ethernet cable is to check if your PC has a built-in wireless network adapter or if you need to install an external one. Most laptops come with a built-in adapter, while desktops often require an external adapter.
To check if your PC has a built-in wireless network adapter:
- Go to the “Control Panel” on your PC.
- Select “Network and Internet” and then “Network and Sharing Center.”
- Click on “Change adapter settings.”
In the “Network Connections” window, you should see a list of connections. Look for a wireless connection or Wi-Fi adapter. If you see one, it means your PC has a built-in wireless network adapter, and you can proceed to the next step. If you do not see any wireless connection, you will need to install an external network adapter. External network adapters can be connected to your PC via a USB port.
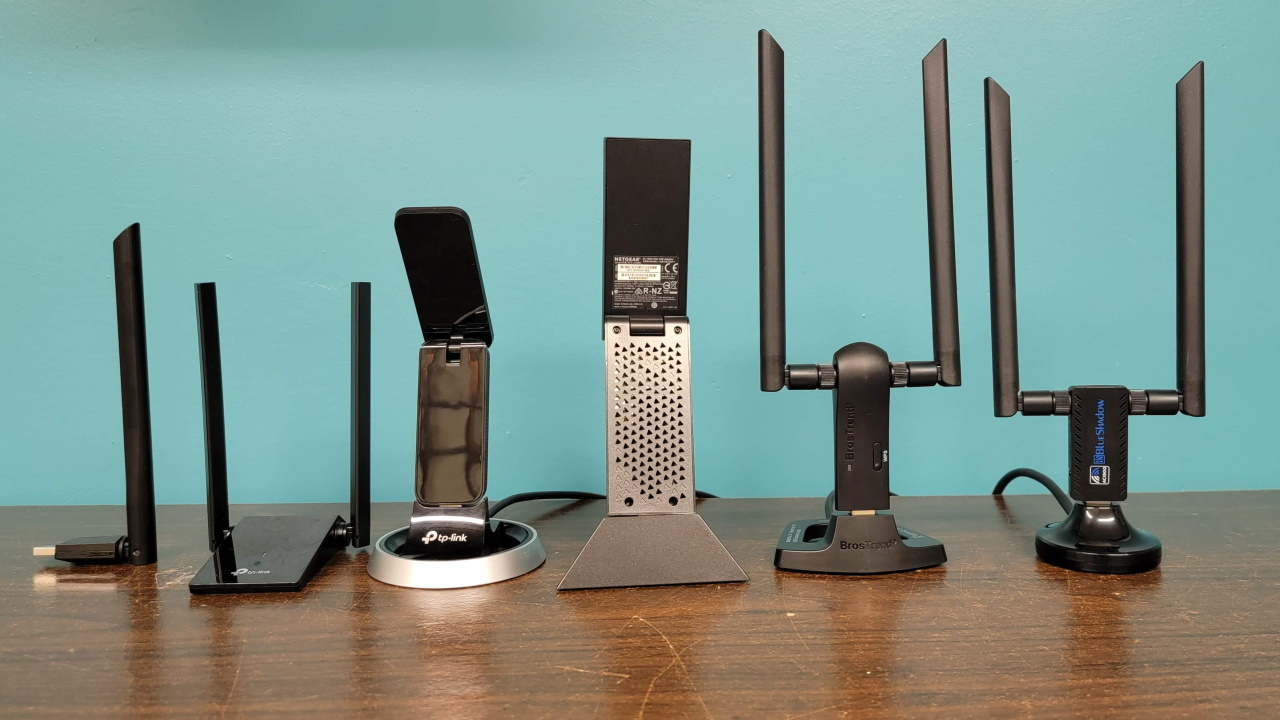
Note: If you are using a desktop computer, it is recommended to use a USB wireless adapter with an external antenna for better signal reception.
Once you have confirmed that your PC has a wireless network adapter, you are ready to move on to the next step.
Step 2: Connect to a wireless network
Now that you have checked that your PC has a wireless network adapter, it’s time to connect to a Wi-Fi network:
- Click on the Wi-Fi icon in the system tray at the bottom-right corner of your screen. It looks like a series of bars or a signal icon.
- A list of available Wi-Fi networks will appear. Select the network you want to connect to.
- If the network is password-protected, you will be prompted to enter the network password. Type in the password and click “Connect.”
- Your PC will attempt to connect to the wireless network. Once connected, you will see a confirmation message.
Depending on the network settings, you may be automatically connected to the network without entering a password if you have connected to it before. However, if it’s a new network or if the password has changed, you will need to enter the correct password to establish a connection.
Pro tip: If you don’t see the network you want to connect to in the list, click on the “Refresh” or “Scan” button to search for available networks again. Make sure that you are within range of the Wi-Fi network.
Once you have successfully connected to the Wi-Fi network, you can start browsing the internet, streaming videos, or performing any online activities on your PC without the need for an Ethernet cable.
Step 3: Enter the network password
When connecting to a password-protected Wi-Fi network, you will need to enter the network password to establish a connection. Follow these steps to enter the network password:
- After selecting the Wi-Fi network you want to connect to, a window will appear asking for the network password.
- Type in the password carefully. Take note that passwords are case-sensitive, so make sure you enter the correct capitalization of each character.
- Click “Connect” or press “Enter” to submit the password.
If the password is correct, your PC will attempt to connect to the network. It might take a few seconds for the connection to establish. Once connected, you will see a notification confirming the successful connection.
Pro tip: If you are connecting to a network for the first time or you have forgotten the password, you can ask the network administrator or check the back of your Wi-Fi router for the password. Some routers have a label with the network name (SSID) and password printed on it.
In case you encounter any difficulties connecting to the network, double-check that you are entering the correct password. It’s also worth ensuring that you are within range of the Wi-Fi network and that there are no physical obstacles interfering with the signal, such as thick walls or other electronic devices.
By correctly entering the network password, you are now ready to enjoy a wireless connection on your PC without the need for an Ethernet cable.
Step 4: Troubleshooting common issues
While connecting your PC to Wi-Fi without an Ethernet cable is generally a straightforward process, you may encounter some common issues along the way. Here are a few troubleshooting tips to help you overcome these challenges:
1. No available networks: If you don’t see any available Wi-Fi networks in the list, make sure that your wireless network adapter is turned on. Check the physical switch on your laptop or the function keys on your keyboard to enable Wi-Fi. Also, ensure that you are within range of a Wi-Fi network and that it is functioning properly.
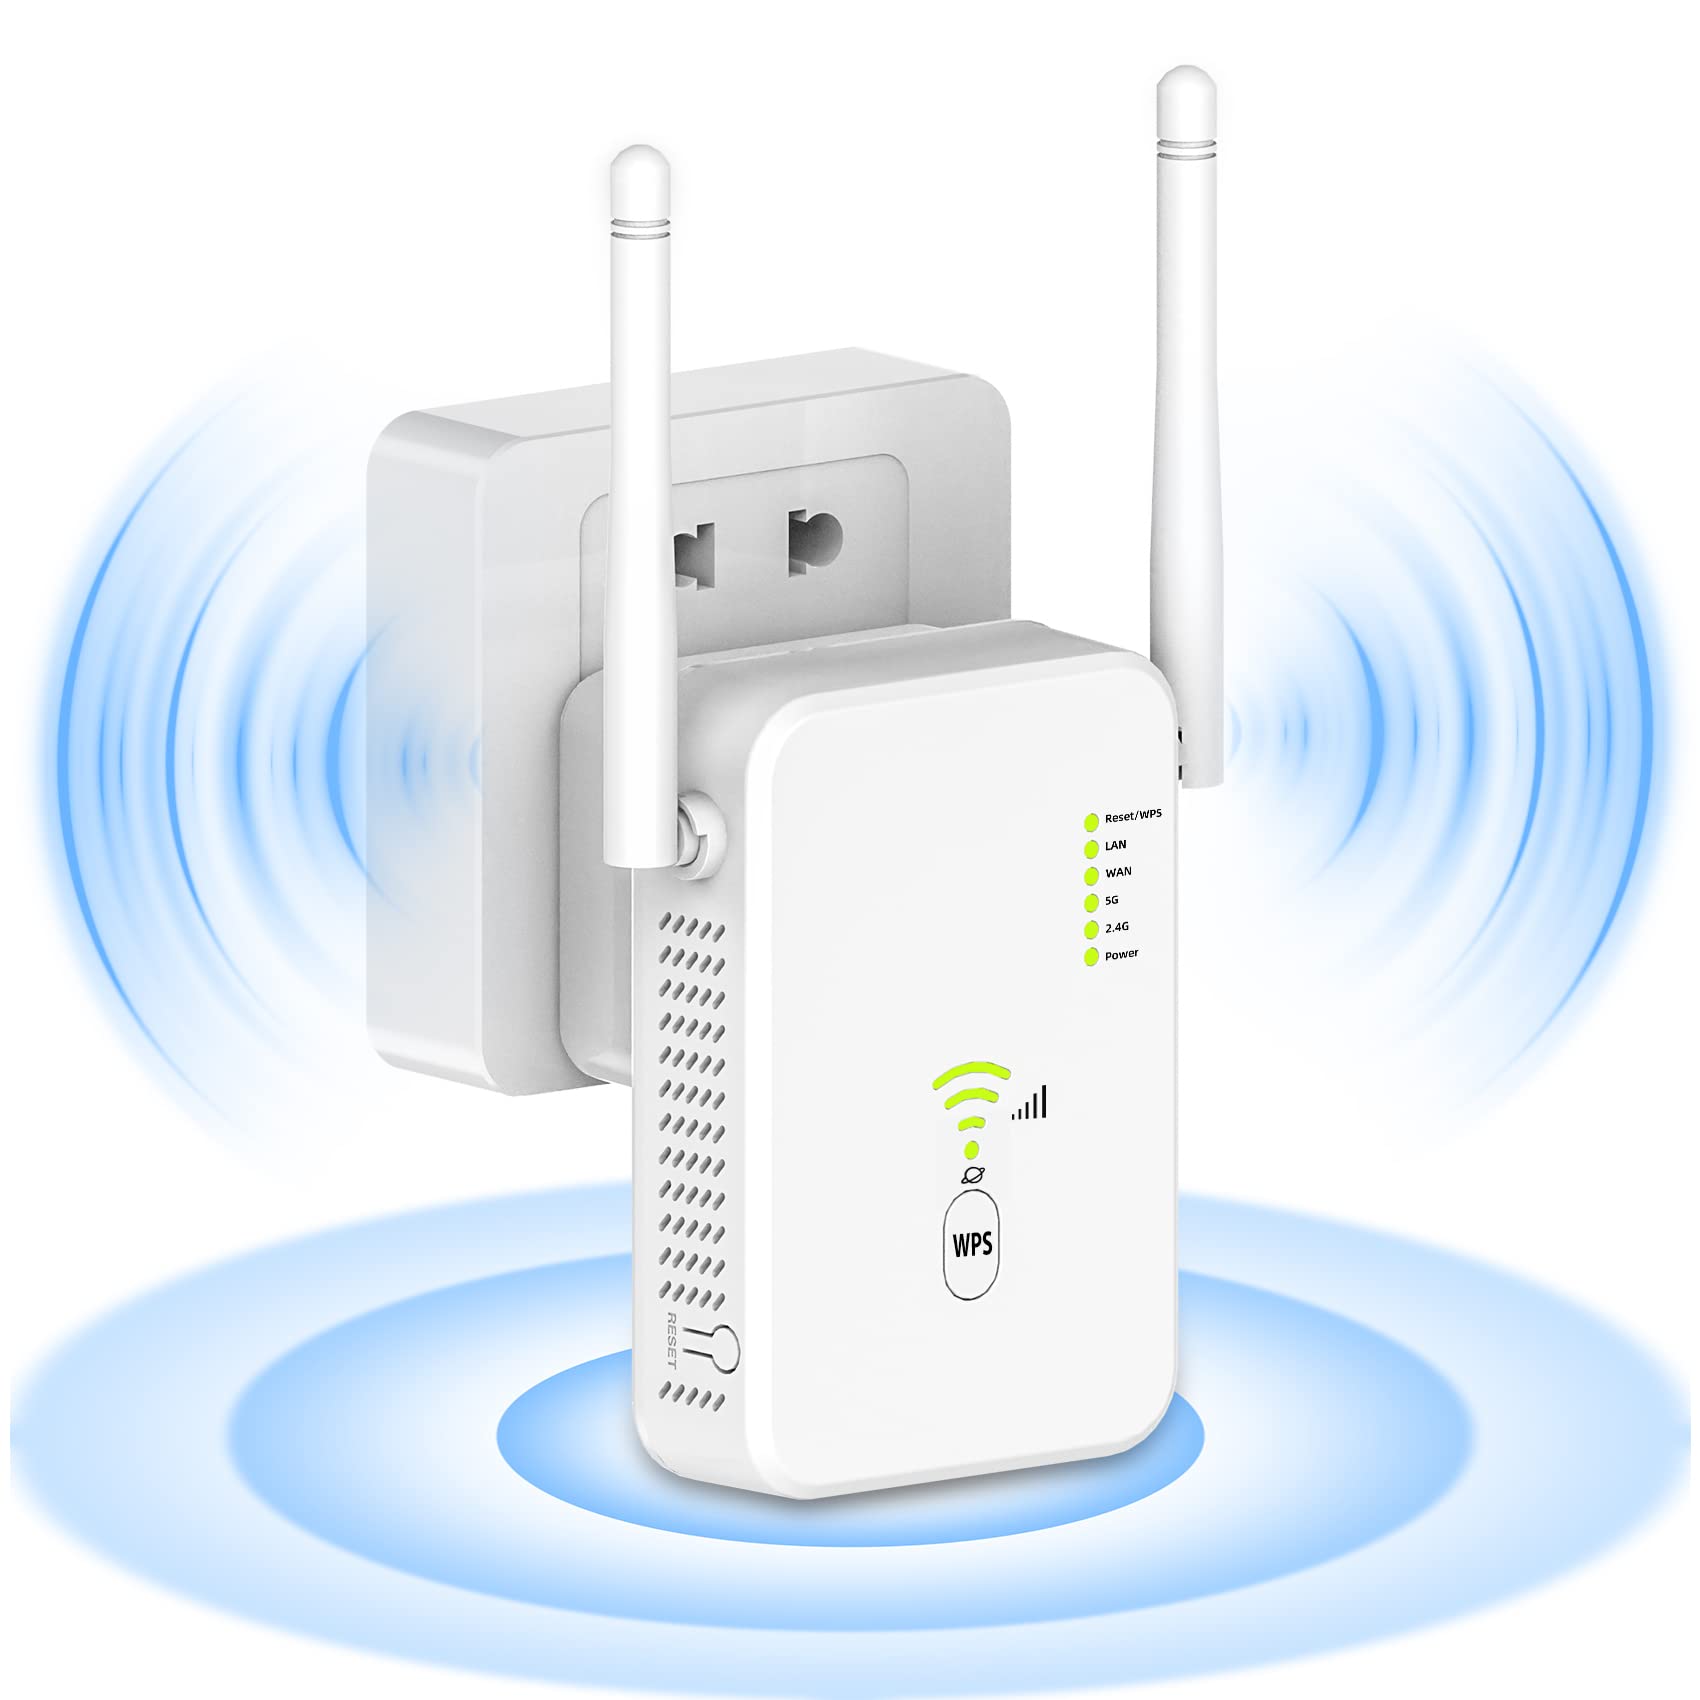
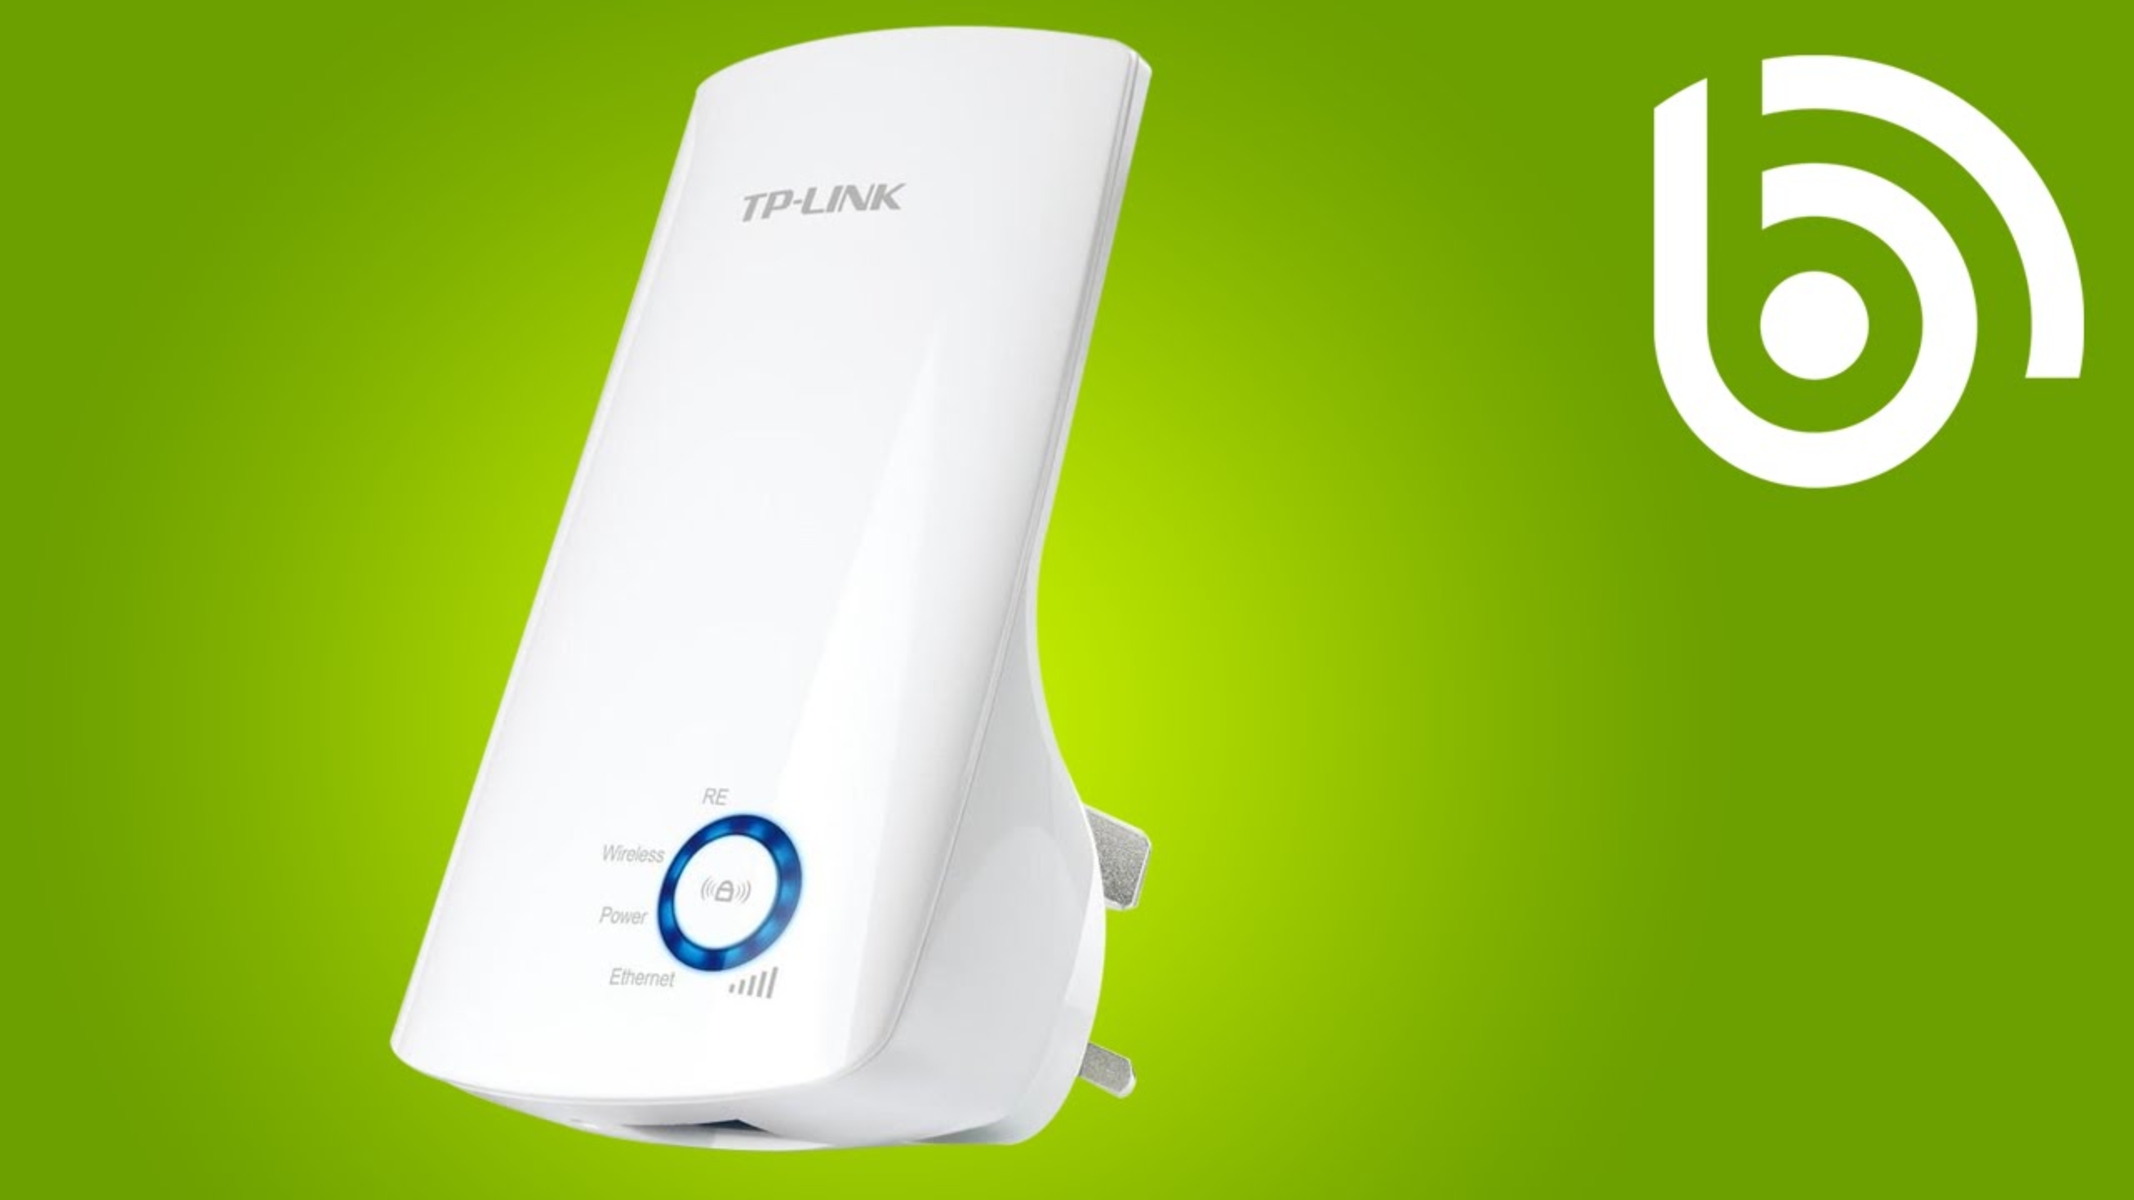
2. Weak signal: If you have a weak Wi-Fi signal, try moving closer to the router to improve the connection. Thick walls, interference from other devices, or a long distance between your PC and the router can weaken the signal. If the problem persists, consider using a Wi-Fi range extender or relocating your router for better coverage.
3. Incorrect password: Double-check that you are entering the correct network password. Remember that passwords are case-sensitive, so capitalization matters. If you are still unable to connect, you can reset the Wi-Fi router to its factory settings and set up the network again, ensuring that you have the correct password.
4. Driver issues: Outdated or incompatible network adapter drivers can cause connectivity problems. Visit the manufacturer’s website and download the latest drivers for your wireless network adapter. Install the updated drivers and restart your PC to see if it resolves the issue.
5. Router issues: If all other devices can connect to the Wi-Fi network except your PC, there might be an issue with the router settings. Restarting the router or resetting it to its default settings can potentially resolve the problem. If you are unsure about router settings, contact your internet service provider or refer to the router’s user manual.
By following these troubleshooting steps, you can overcome common Wi-Fi connectivity issues and ensure a smooth and uninterrupted wireless experience on your PC.
Conclusion
Connecting your PC to Wi-Fi without an Ethernet cable is a convenient and essential skill in today’s wireless world. By following the steps outlined in this guide, you can easily establish a wireless connection and enjoy the freedom of browsing the internet without being tethered to a cable.
We started by checking if your PC has a wireless network adapter, either built-in or external. This step ensures that your device is equipped to connect to Wi-Fi networks. Then, we moved on to connecting to a wireless network by selecting the network and entering the correct password.
Throughout the process, it’s important to troubleshoot any common issues that may arise, such as no available networks, weak signals, incorrect passwords, driver issues, or router problems. By following the troubleshooting tips provided, you can address these challenges and improve your wireless connectivity experience.
Remember to ensure that your PC’s wireless network adapter is turned on and that you are within range of a functioning Wi-Fi network. Additionally, keep in mind the importance of entering the correct network password, updating drivers, and resolving any router-related issues.
With these steps and troubleshooting techniques, you can confidently connect your PC to Wi-Fi without an Ethernet cable and enjoy the convenience and freedom of wireless internet access. Stay connected, explore the online world, and make the most of your PC’s capabilities.