Introduction
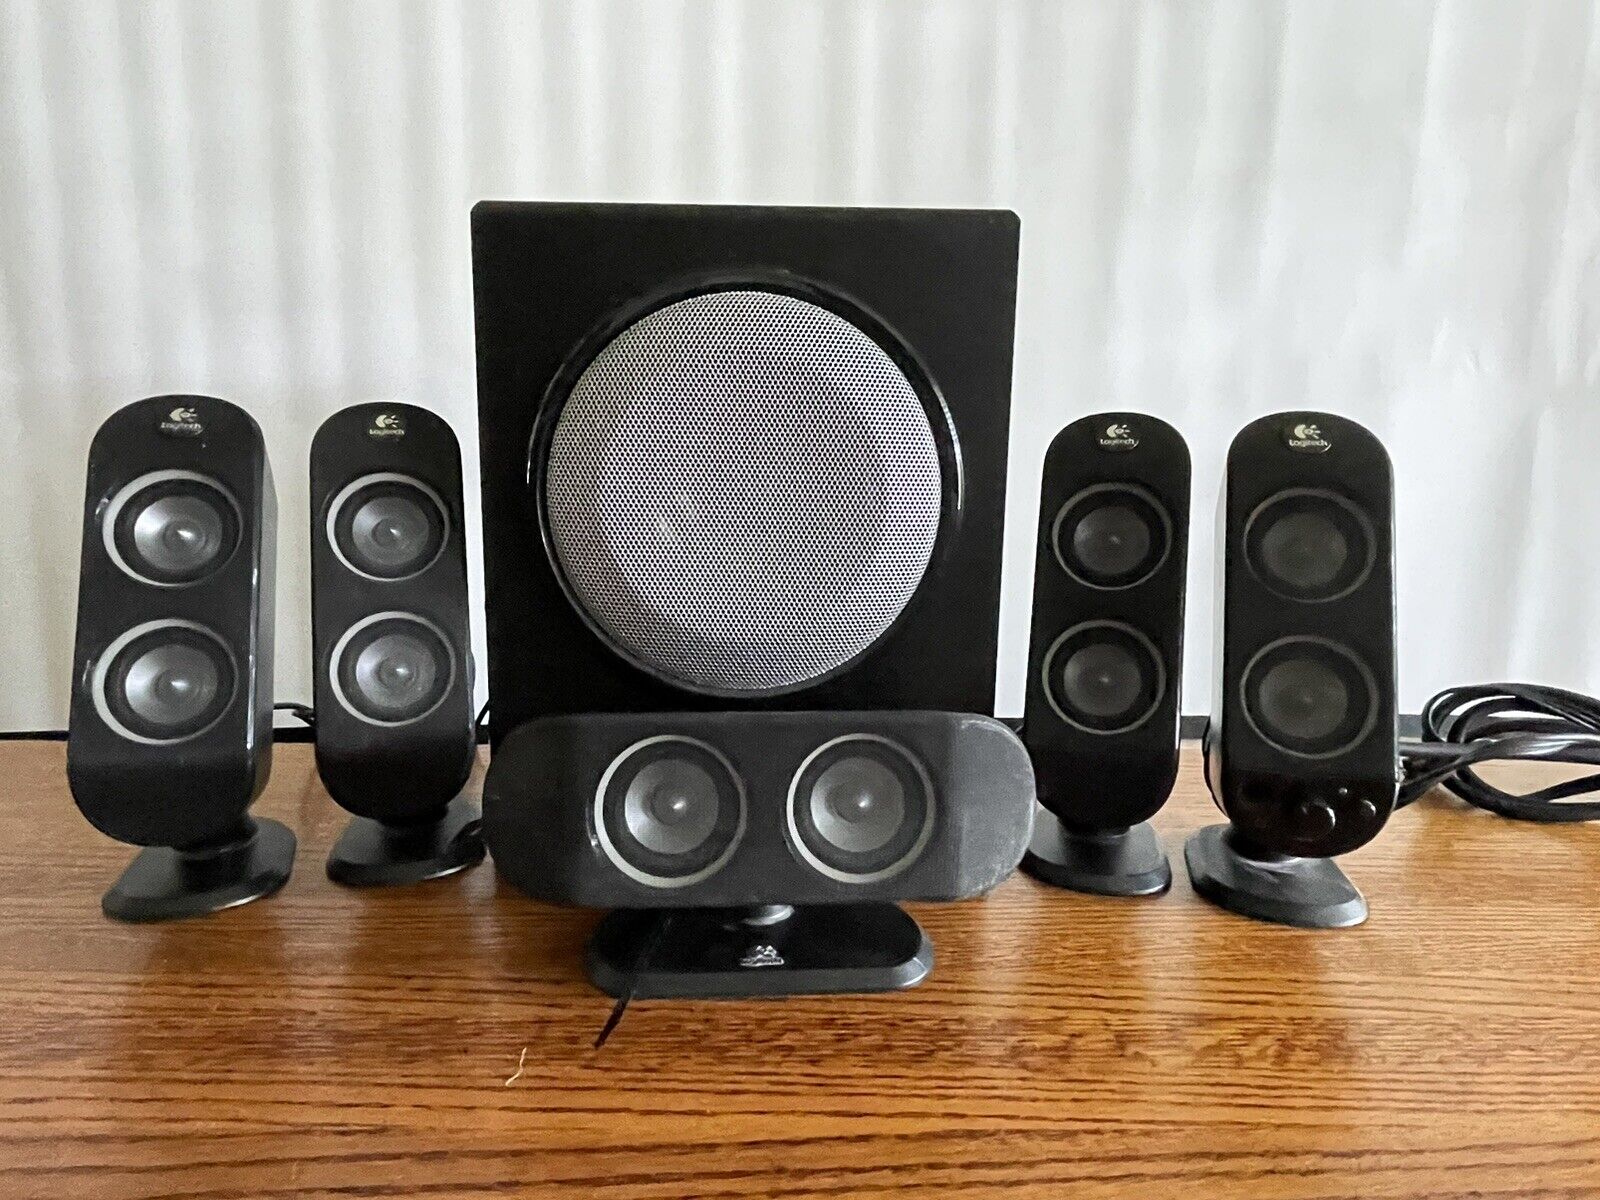
Welcome to the world of enhanced audio experience! If you have recently purchased a Logitech X-530 speaker system and are eager to connect it to your computer, you’ve come to the right place. The Logitech X-530 is a popular speaker system known for its excellent sound quality and immersive surround sound capabilities. With just a few simple steps, you’ll be able to enjoy a rich audio experience that will bring your computer-based entertainment to life.
In this article, we will guide you through the process of connecting your Logitech X-530 speaker system to your computer. Whether you’re a music enthusiast, a movie lover, or a gamer, having a quality audio system can significantly enhance your overall experience. We’ll show you how to properly set up your speakers, ensuring that you get the most out of your investment.
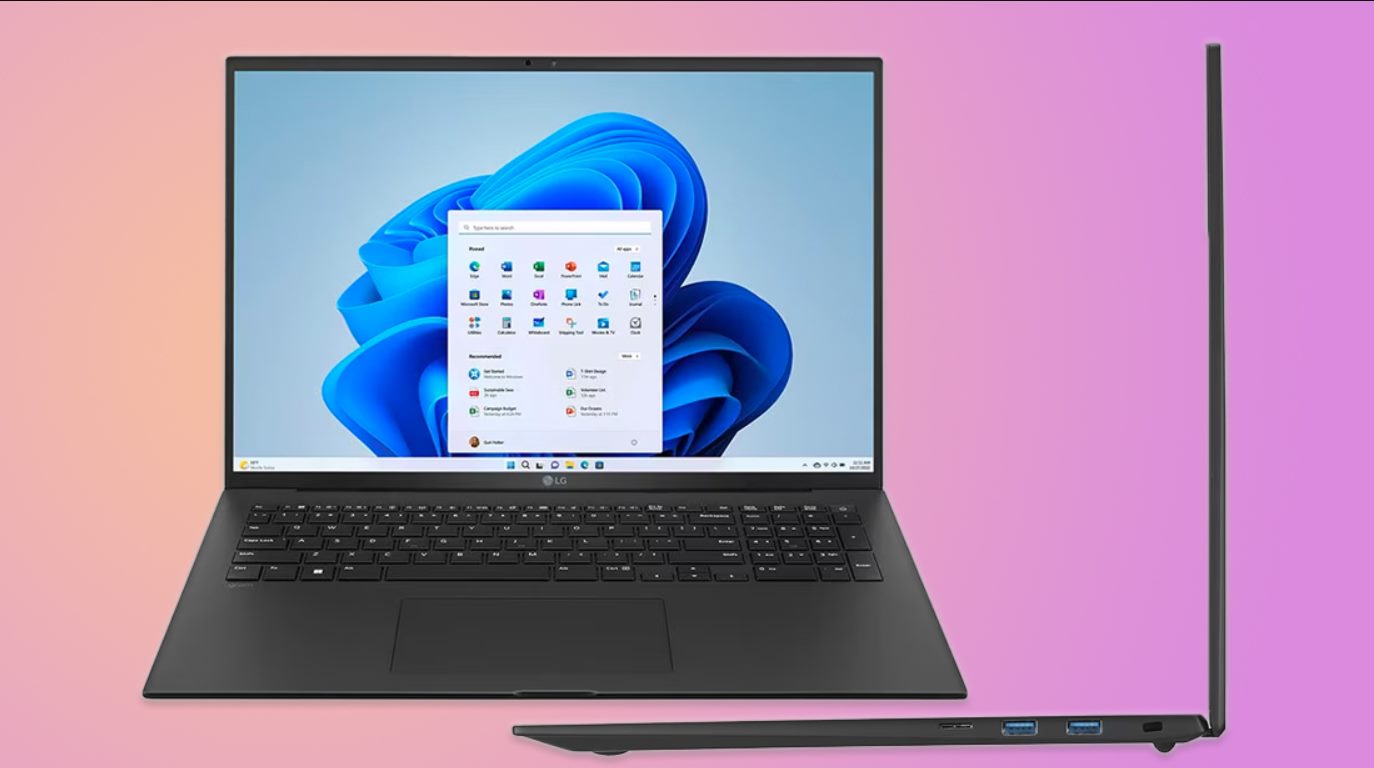
Before we dive into the step-by-step process, it’s important to note that the Logitech X-530 speaker system is compatible with both desktop and laptop computers. So, regardless of the type of computer you have, you’ll be able to enjoy the outstanding audio performance that these speakers offer.
So, let’s not waste any more time and get started with connecting your Logitech X-530 speaker system to your computer. By the end of this guide, you’ll be ready to immerse yourself in a world of superior sound quality and unbeatable audio performance.
Step 1: Check your computer’s audio outputs
Before connecting the Logitech X-530 speaker system to your computer, it’s important to ensure that your computer has the necessary audio outputs. Most computers have multiple audio output options, such as headphone jacks, line-out ports, or HDMI connections.
Start by examining the back or sides of your computer to locate the available audio outputs. These ports are typically color-coded and marked with icons that indicate their functionality. Common colors used for audio outputs include green for the main audio output and orange or black for surround sound outputs.
If you are using a laptop, you might find the audio outputs on the sides or the front of the device. In some cases, laptops may have a single combo audio jack that serves as both a headphone and microphone input. In this situation, you will need an adapter to split the audio and microphone signals.
Make sure to check the audio settings on your computer as well. Depending on your operating system, you can access the audio settings by right-clicking on the volume icon in the taskbar (Windows) or by navigating to the System Preferences and selecting Sound (Mac).
Once you have identified the audio outputs on your computer and confirmed that they are functioning properly, you are ready to proceed to the next step.
Step 2: Connect the main speaker to your computer
Now that you have identified the audio outputs on your computer, it’s time to connect the Logitech X-530 main speaker. The main speaker is the central hub that connects to your computer and controls the audio output for the entire speaker system.
Start by locating the audio cable that came with your Logitech X-530 speaker system. It should have two plugs: a green plug and a black plug. The green plug is for the main audio output, while the black plug is for the surround sound outputs.
Take the green plug and insert it into the corresponding audio output on your computer. The audio output is typically color-coded or marked with a headphone icon. Make sure to push the plug all the way in until it is securely connected.
Next, locate the input on the main speaker that is labeled “Front Left/Right.” This input is usually located on the back of the main speaker. Take the other end of the cable, which has a green plug, and connect it to the “Front Left/Right” input on the main speaker. Again, ensure that the plug is inserted fully to establish a secure connection.
Once the main speaker is connected to your computer, you can proceed to the next step, which involves connecting the remaining speakers to the main speaker and establishing the surround sound setup.
Step 3: Connect the remaining speakers to the main speaker
With the main speaker successfully connected to your computer, it’s time to set up the rest of the Logitech X-530 speaker system. The Logitech X-530 includes four satellite speakers that are responsible for delivering surround sound, creating an immersive audio experience.
Start by locating the satellite speaker cables that came with your Logitech X-530 speaker system. Each cable has a color-coded plug that corresponds to a specific satellite speaker. The colors usually include black, gray, green, and yellow.
Take the black plug and connect it to the “Rear Left” input on the main speaker. Similarly, connect the gray plug to the “Rear Right” input, the green plug to the “Front Left” input, and the yellow plug to the “Front Right” input. Ensure that each plug is securely inserted into its respective input.
Once all the satellite speakers are connected to the main speaker, carefully position them in your desired locations. The Logitech X-530 speaker system provides flexibility in speaker placement, allowing you to create an ideal surround sound setup. You can place the satellite speakers on bookshelves, stands, or even mount them on the wall using compatible brackets.
Consider the layout of your room and the ideal speaker placement for optimal surround sound experience. The Rear Left and Rear Right speakers should be positioned behind the listening area, while the Front Left and Front Right speakers should be placed in front, facing the listener.
Now that all the satellite speakers are connected and positioned correctly, it’s time to move on to the next step and complete the setup process by connecting the subwoofer to power.
Step 4: Connect the subwoofer to power
The subwoofer is an integral part of the Logitech X-530 speaker system, responsible for delivering deep and powerful bass. To ensure that it operates correctly, you need to connect the subwoofer to a power source.
Start by locating the power cable that came with your Logitech X-530 speaker system. The power cable has a specific connector that fits into the input located on the back of the subwoofer. Plug one end of the power cable into the subwoofer’s input and the other end into a power outlet or surge protector.
Once the subwoofer is connected to power, turn on the power switch on the back of the subwoofer. You should see a power indicator light up, indicating that the subwoofer is receiving power.
Ensure that the subwoofer is positioned in a suitable location in your room. The subwoofer is designed to produce deep bass frequencies, so placing it on the floor or near a wall can help amplify the effect. Experiment with different locations to find the best balance of bass response for your listening environment.
Now that the subwoofer is connected to power, we can move on to the final step, which involves adjusting the audio settings on your computer to ensure optimal sound quality.
Step 5: Adjust the audio settings on your computer
Now that the Logitech X-530 speaker system is properly connected to your computer, it’s time to fine-tune the audio settings to ensure the best possible sound quality. By adjusting the audio settings on your computer, you can optimize the audio output to match the capabilities of the speaker system.
Start by accessing the audio settings on your computer. On Windows, right-click on the volume icon in the taskbar and select “Open Sound settings” or “Playback devices”. On Mac, navigate to System Preferences and click on “Sound”.
In the audio settings, locate the Logitech X-530 speakers and set them as the default playback device. This ensures that your computer routes audio output to the Logitech X-530 speaker system. You may also need to adjust other audio settings, such as volume levels and audio enhancements, to your preference.
Once you’ve made the necessary adjustments, it’s time to test the audio performance. Play some music, a movie, or a game that features surround sound effects to experience the immersive audio that the Logitech X-530 speaker system is known for. Make sure the audio is balanced across all speakers and adjust the volume levels if needed.
Remember that you can further fine-tune the audio settings within specific applications, such as media players or games, to optimize the audio experience further. Explore the settings of your preferred applications to make adjustments suited to your preferences.
Congratulations! You have successfully connected and set up your Logitech X-530 speaker system with your computer. Sit back, relax, and enjoy the enhanced audio experience that these high-quality speakers provide.
Conclusion
Connecting the Logitech X-530 speaker system to your computer doesn’t have to be a complicated task. By following the step-by-step guide outlined in this article, you can easily set up and enjoy the immersive audio experience offered by these powerful speakers.
We started by checking the audio outputs on your computer, ensuring that you have the appropriate connections for the Logitech X-530 system. Then, we proceeded to connect the main speaker, followed by the satellite speakers, creating a comprehensive surround sound setup.
After connecting the subwoofer to power, the final step involved adjusting the audio settings on your computer to optimize the sound quality. With everything set up and fine-tuned, you can now enjoy your favorite music, movies, and games with enhanced audio clarity.
The Logitech X-530 speaker system offers a rich and immersive audio experience, making it a fantastic addition to your computer setup. Whether you’re engaging in gaming marathons, binge-watching your favorite shows, or enjoying your favorite music genres, these speakers are sure to deliver exceptional sound quality.
Remember to experiment with speaker placement, volume levels, and audio settings to find the perfect configuration that suits your preferences and your listening environment.
Now that you have successfully connected and set up the Logitech X-530 speaker system, it’s time to sit back, relax, and immerse yourself in the world of superior audio quality. Enjoy the rich bass, the crisp highs, and the surround sound experience that will elevate your audio enjoyment to new heights.


