Introduction
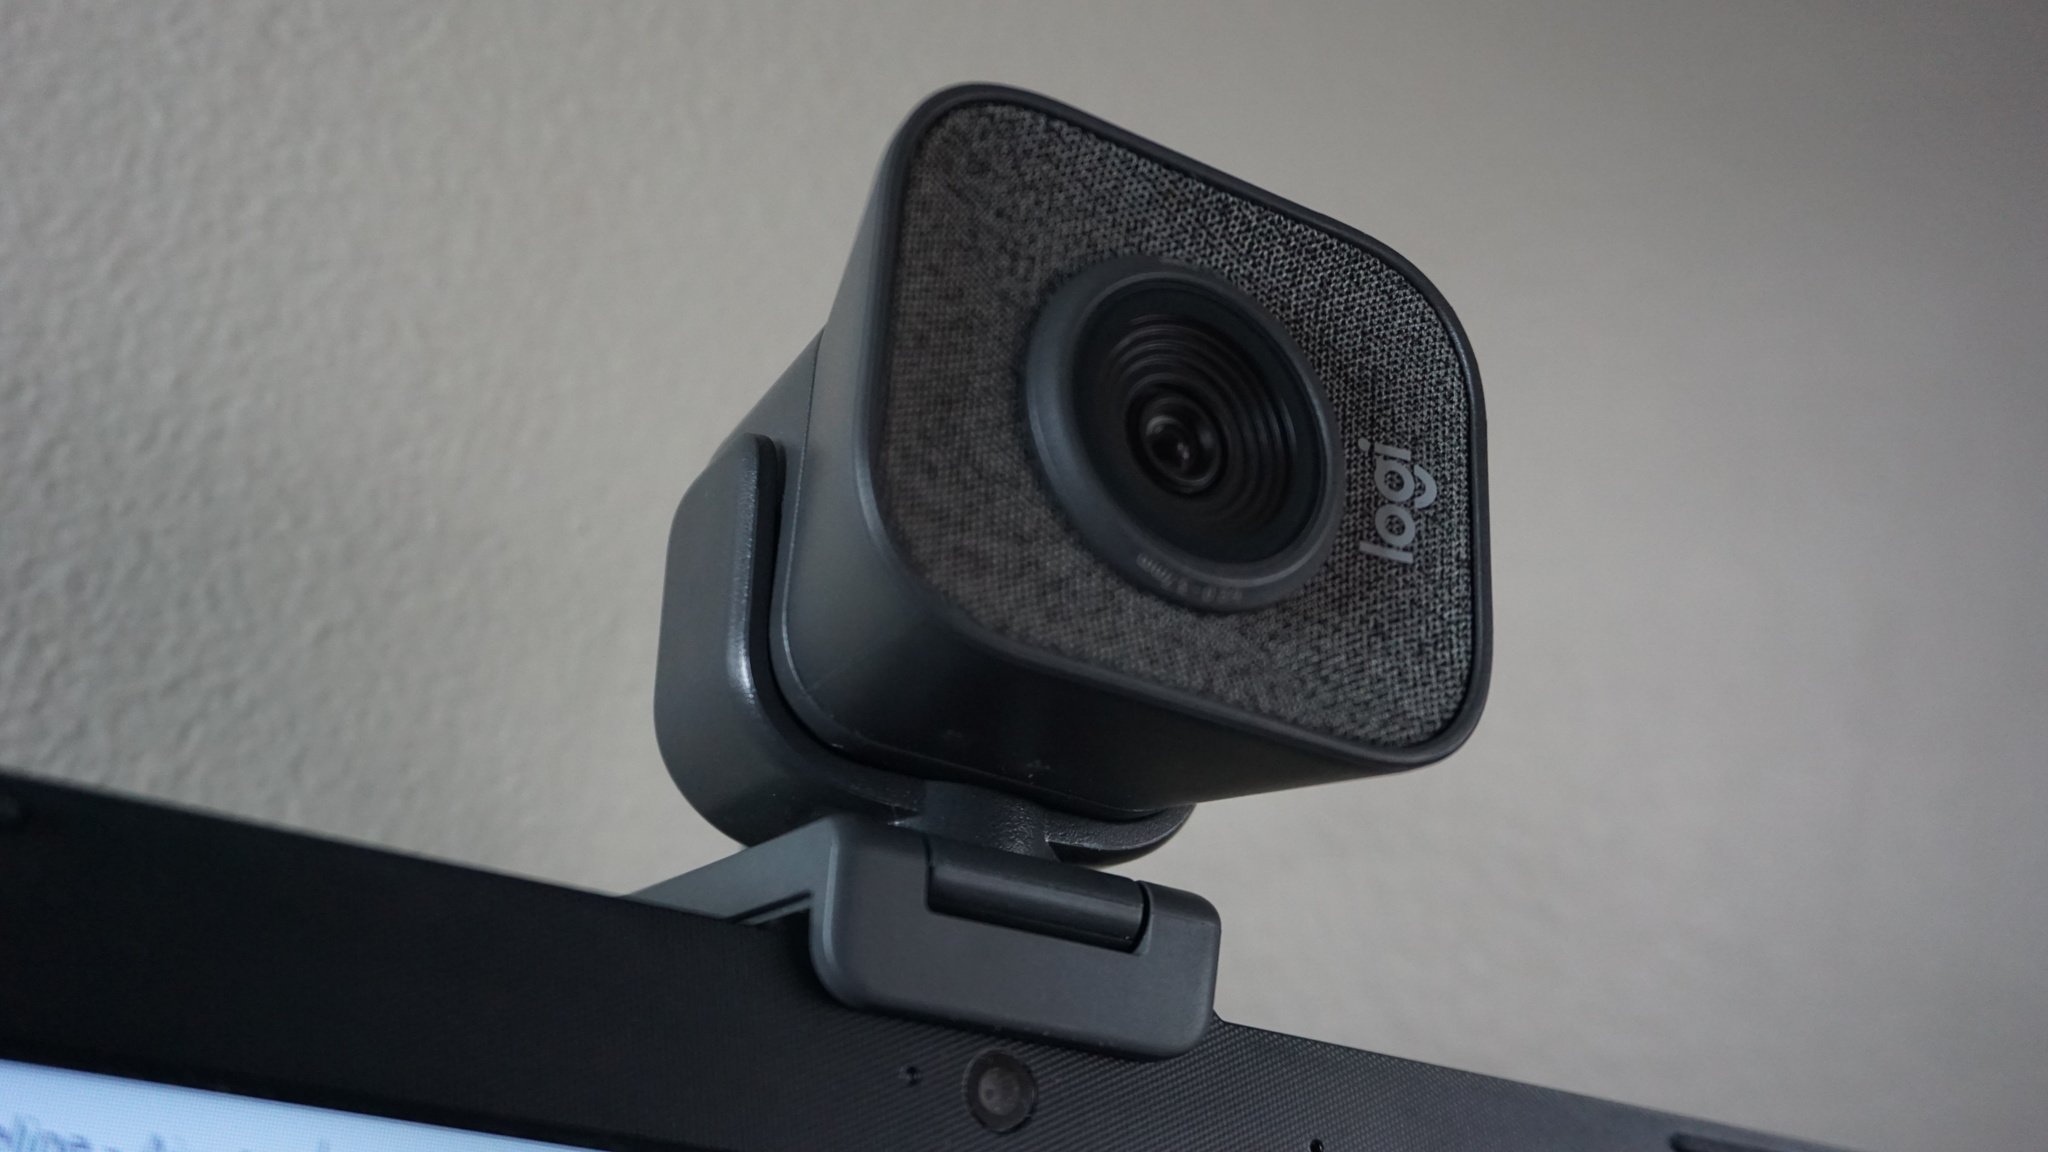
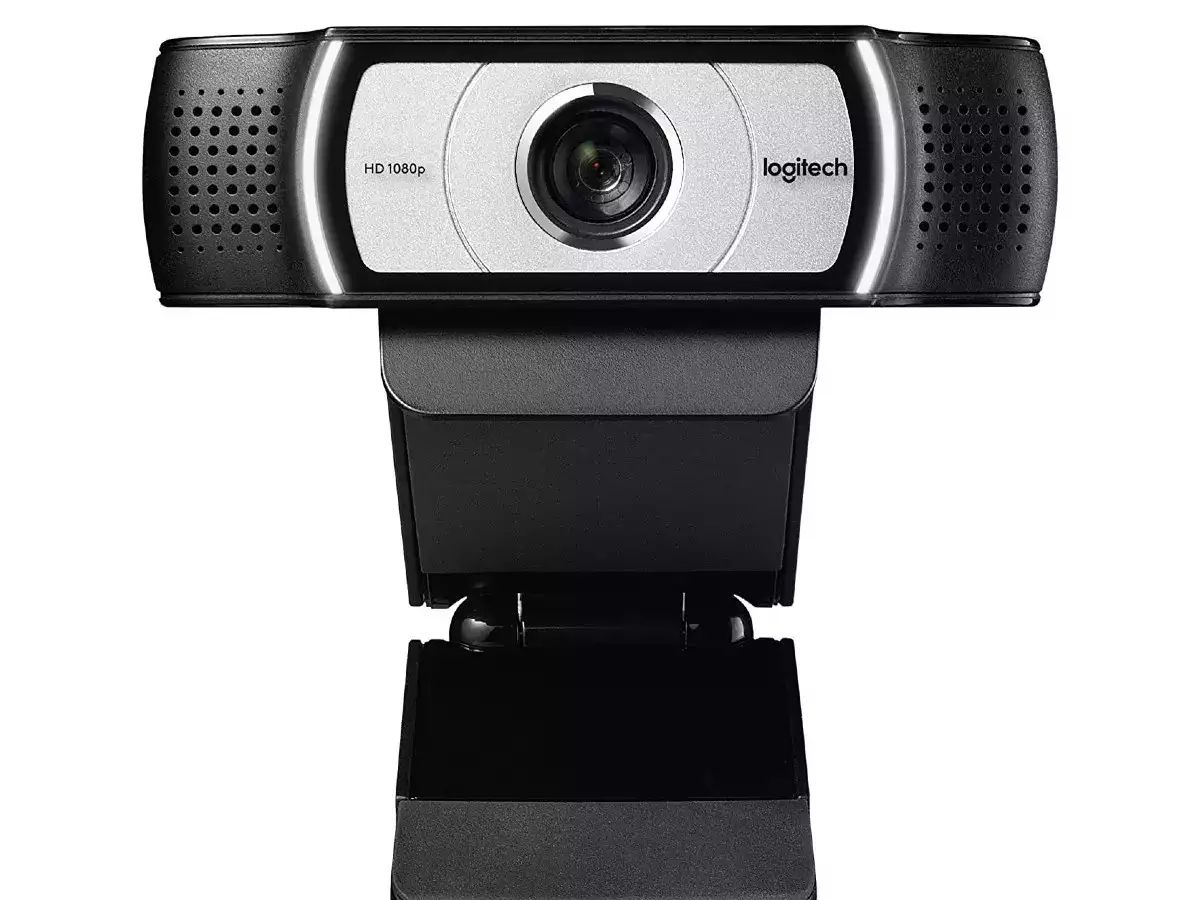
Welcome to our comprehensive guide on how to connect your Logitech webcam to the PS5! As the gaming industry continues to evolve, the ability to stream and interact with others has become an integral part of the gaming experience. Whether you’re a seasoned streamer or just starting out, having a high-quality webcam can greatly enhance your broadcasts and allow you to connect with your audience in a more engaging way.
While the PS5 console offers incredible gaming capabilities, it doesn’t come with a built-in webcam. However, with the help of a compatible Logitech webcam, you can easily connect it to your PS5 and start streaming your gameplay or video chatting with friends.
In this guide, we’ll walk you through the step-by-step process of connecting your Logitech webcam to the PS5. We’ll also cover how to adjust the webcam settings on your PS5 and test your webcam to ensure everything is working smoothly.
Before we dive into the details, it’s important to note that not all Logitech webcams are compatible with the PS5. Make sure to check the compatibility of your webcam model before proceeding. Let’s get started with the first step – checking compatibility.
Step 1: Check compatibility
Before connecting your Logitech webcam to the PS5, it’s crucial to ensure that your webcam model is compatible. Not all Logitech webcams work with the PS5, so it’s important to check the official Logitech website or the webcam’s product manual to confirm compatibility.
To check compatibility, follow these steps:
- Visit the official Logitech website or refer to the product manual of your webcam.
- Locate the list of compatible devices or search for your specific webcam model.
- Verify that your webcam model is listed as compatible with the PS5.
If your webcam model is compatible, great! You can proceed to the next step. However, if your webcam is not listed as compatible, you may need to consider purchasing a different Logitech webcam or explore other options for connecting a webcam to your PS5.
It’s important to note that Logitech periodically releases firmware updates for their webcams, which may introduce compatibility with the PS5. Therefore, even if your webcam is currently not compatible, it’s worth keeping an eye on official Logitech announcements for any updates in compatibility.
Now that you’ve checked the compatibility of your Logitech webcam with the PS5, you can move on to the next step – connecting the webcam to your PS5.
Step 2: Connect the webcam to the PS5
Once you have confirmed the compatibility of your Logitech webcam with the PS5, it’s time to connect it to your console. Follow these steps to connect your webcam:
- Start by turning off your PS5 console.
- Locate one of the available USB ports on your PS5. These ports are typically located on the front or back of the console.
- Plug the USB cable of your Logitech webcam into the USB port on your PS5. Ensure that the connection is secure.
- Turn on your PS5 console.
- Wait for the console to detect the webcam. This might take a few seconds.
- Once the webcam is detected, your PS5 will prompt you to install any necessary drivers or software. Follow the on-screen instructions to complete the installation process.
- Once the installation is complete, your Logitech webcam should be ready to use with your PS5.
It’s worth noting that some Logitech webcams require additional software or drivers to work with the PS5. Make sure to follow any specific instructions provided by Logitech for your webcam model to ensure proper installation and functionality.
Now that your Logitech webcam is connected to your PS5, you’re ready to move on to the next step – adjusting the webcam settings on your PS5.
Step 3: Adjust webcam settings on the PS5
After successfully connecting your Logitech webcam to the PS5, it’s essential to adjust the webcam settings to ensure optimal performance and video quality. Here’s how you can adjust the webcam settings on your PS5:
- Go to the “Settings” menu on your PS5. You can access it by selecting the gear icon on the top right corner of the home screen.
- In the settings menu, navigate to the “Devices” section.
- Select “Audio and Video” from the list of device options.
- Under the “Video” section, you should see a list of available cameras. Choose your Logitech webcam from the list.
- Once selected, you can customize various webcam settings, such as brightness, contrast, resolution, and frame rate.
- Adjust the settings according to your preferences. Experiment with different settings to find the balance that provides the best video quality for your streams or video chats.
- Make sure to save the changes before exiting the settings menu.
It’s worth noting that the available webcam settings may vary depending on your Logitech webcam model and the firmware version of your PS5. Refer to the user manual of your webcam or check the Logitech website for more detailed instructions on adjusting specific settings.
Now that you’ve adjusted the webcam settings on your PS5, it’s time for the final step – testing your webcam to ensure everything is functioning correctly.
Step 4: Test your webcam
Once you’ve connected and adjusted the webcam settings on your PS5, it’s important to test your Logitech webcam to ensure that it’s working properly. Here’s how you can test your webcam:
- Launch a compatible application or game on your PS5 that supports webcam usage. Popular options include streaming platforms like Twitch or YouTube, or video chat applications.
- Within the application or game, look for the camera settings or options.
- Select your Logitech webcam as the video input source.
- Ensure that the video feed from your webcam is displayed correctly on the screen.
- Verify that the audio from your Logitech webcam’s built-in microphone, if applicable, is also functioning properly.
- Perform a test stream or video call to check the quality of the video and audio output from your webcam.
- Observe the stream or video call playback to ensure that the video quality is satisfactory and the audio is clear.
If you encounter any issues during the testing process, ensure that all connections are secure and that you have followed the previous steps correctly. You may need to revisit the webcam settings on your PS5 to further troubleshoot or make adjustments.
If you’re still experiencing problems, consult the user manual of your Logitech webcam or reach out to Logitech customer support for additional assistance.
Congratulations! You’ve successfully connected, adjusted, and tested your Logitech webcam on the PS5. You’re now ready to enjoy high-quality video streaming and engaging video calls with your audience or friends.
Conclusion
Connecting your Logitech webcam to the PS5 opens up a world of possibilities for streaming your gameplay or engaging in video chats with friends and fellow gamers. By following the steps outlined in this guide, you can easily connect, adjust, and test your Logitech webcam on the PS5, ensuring a seamless and high-quality experience.
Remember to check the compatibility of your Logitech webcam with the PS5 before proceeding. It’s also essential to follow any specific instructions provided by Logitech for your webcam model to ensure proper installation and functionality.
Once your webcam is connected, adjusting the settings on your PS5 allows you to customize the video quality to suit your preferences. Experiment with different brightness, contrast, resolution, and frame rate settings to achieve the best results for your streams or video chats.
Lastly, don’t forget to test your webcam within compatible applications or games to verify that everything is working as expected. This will help you ensure that your viewers or video call participants can see and hear you clearly.
With your Logitech webcam successfully connected to the PS5, you can now immerse yourself in the world of live streaming, sharing your gaming experiences, and connecting with others in a whole new way. So grab your Logitech webcam, power up your PS5, and get ready to take your gaming and streaming journey to the next level!


